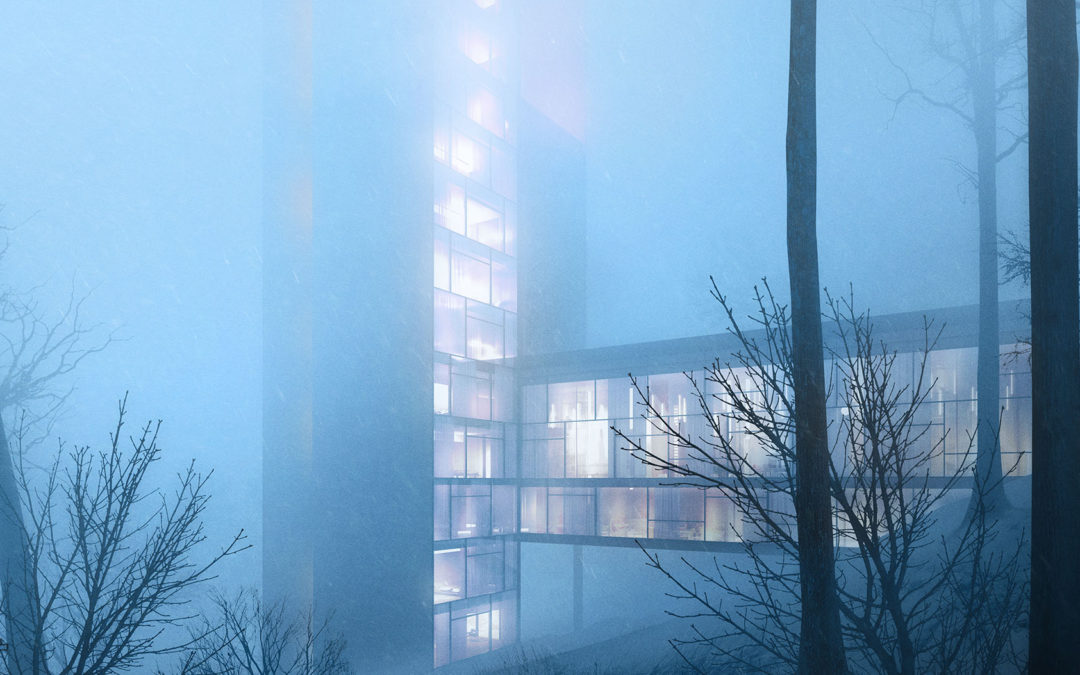
For this year’s Winter Special illustration, I decided to create a series of images partly because I couldn’t decide on one view, but also to experiment with the effects of thick snow at different view angles. I was less interested in the architectural clarity of the images and more interested in the atmospheric depth and how light and color react in a thick snow storm. I also forced myself to spend less time on these images than I normally would so that I would get less distracted by the details and focus more on the big moves.
I am breaking down one of the images below to show the layers of color and fog inserted into the image throughout the process. One of the most important steps was to separate out the light and move it above the fog because of how light seems to cut through the haze whereas everything else softens and absorbs the tones of the fog.
01. Base Rendering
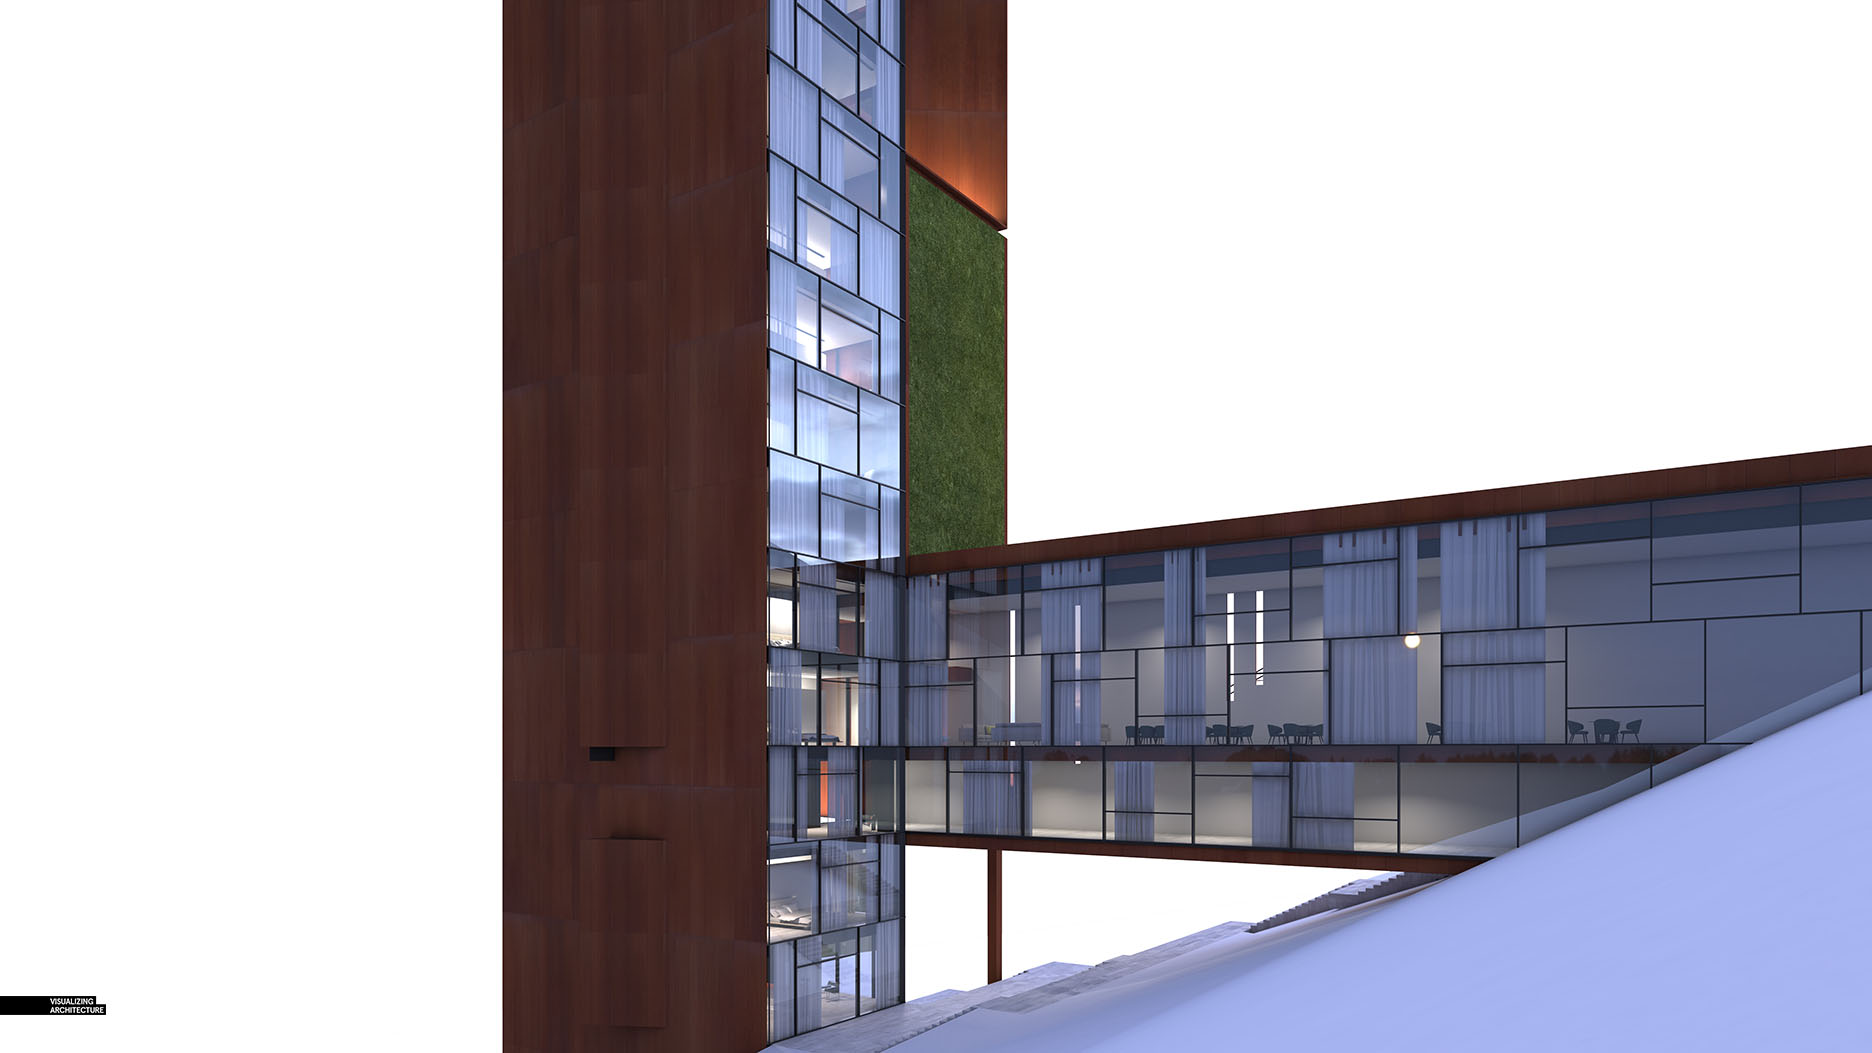
The V-Ray Base rendering used a simple overcast light and some minor interior lights. The fog/snow diffuses the light so much that there are no sharp shadows from the sun. I also knew going into this that the image would be heavily Photoshopped, so the details and quality of the rendering were less important.
02. Darken The Scene
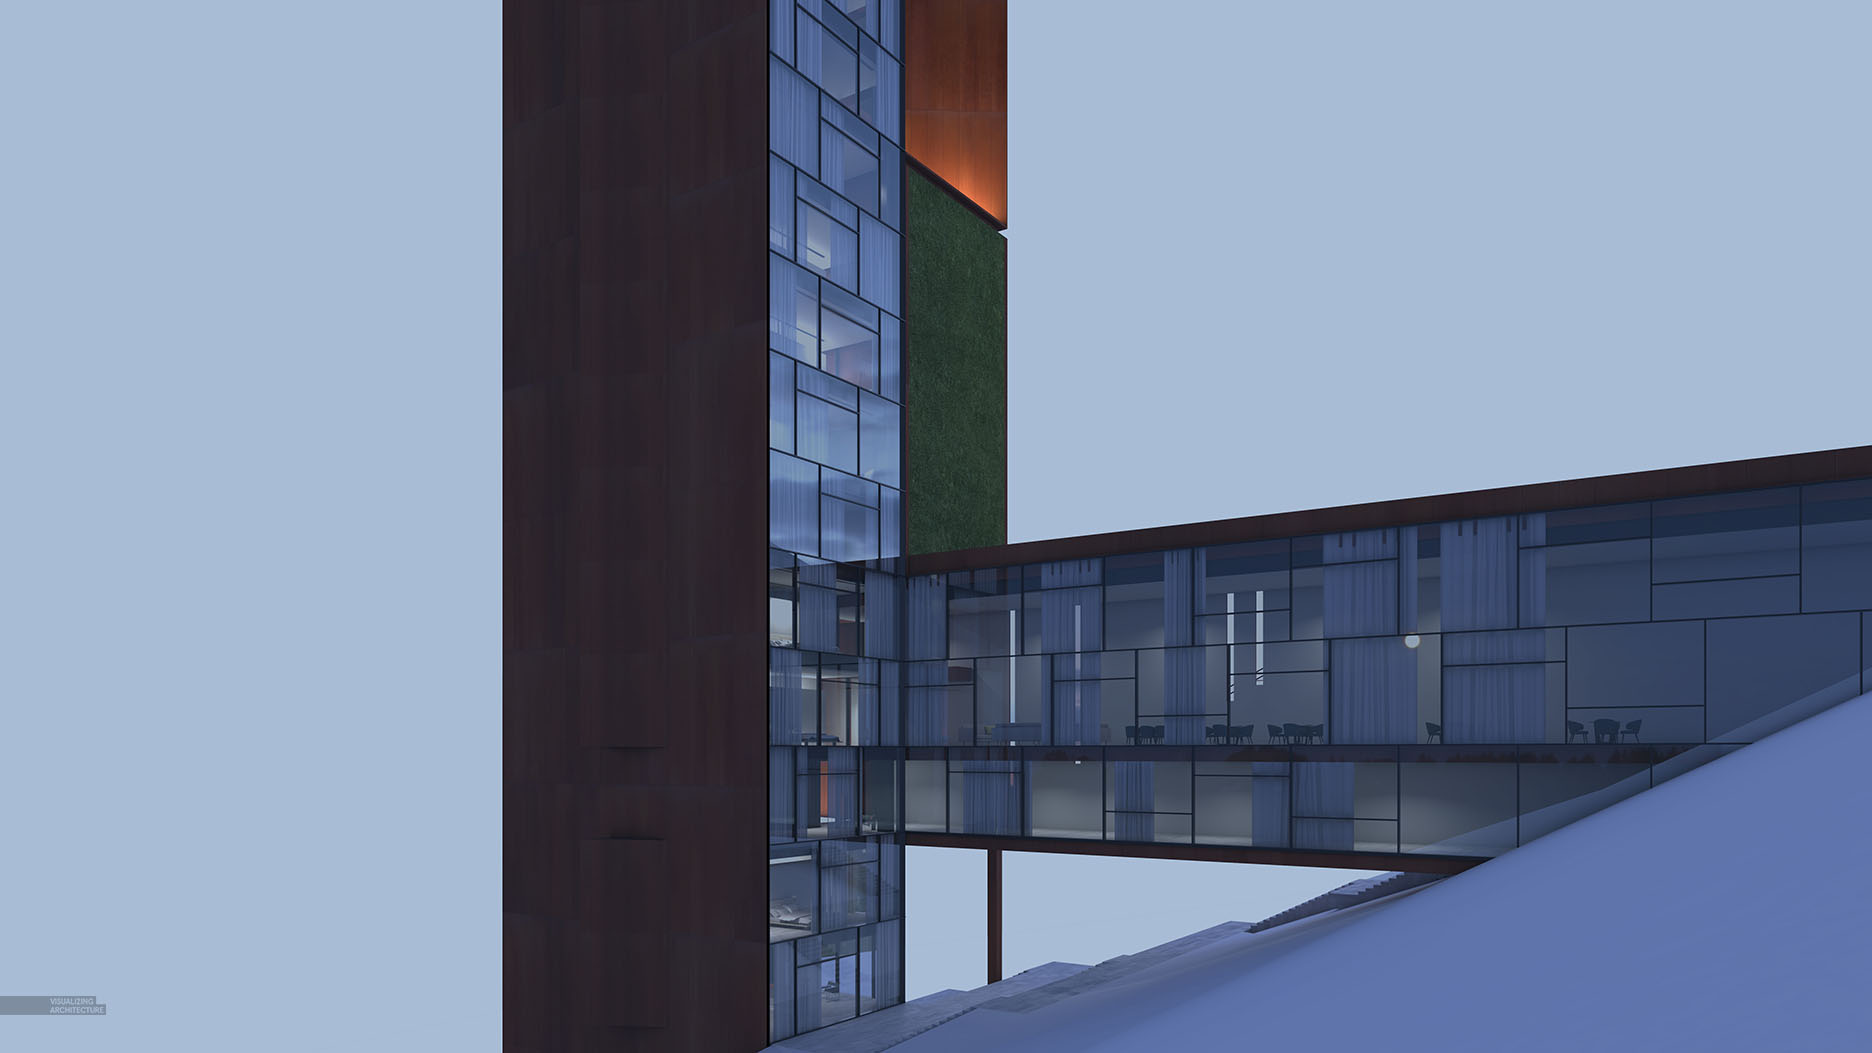
Next, I darkened the image. I did this by painting a dark blue color over the image and setting the Layer Blend Mode to “Multiply”. This was done to further remove some detail from the geometry, give the scene more of a blue overtone, and help create more contrast between the shadow and light coming in the next step.
03. Interiors
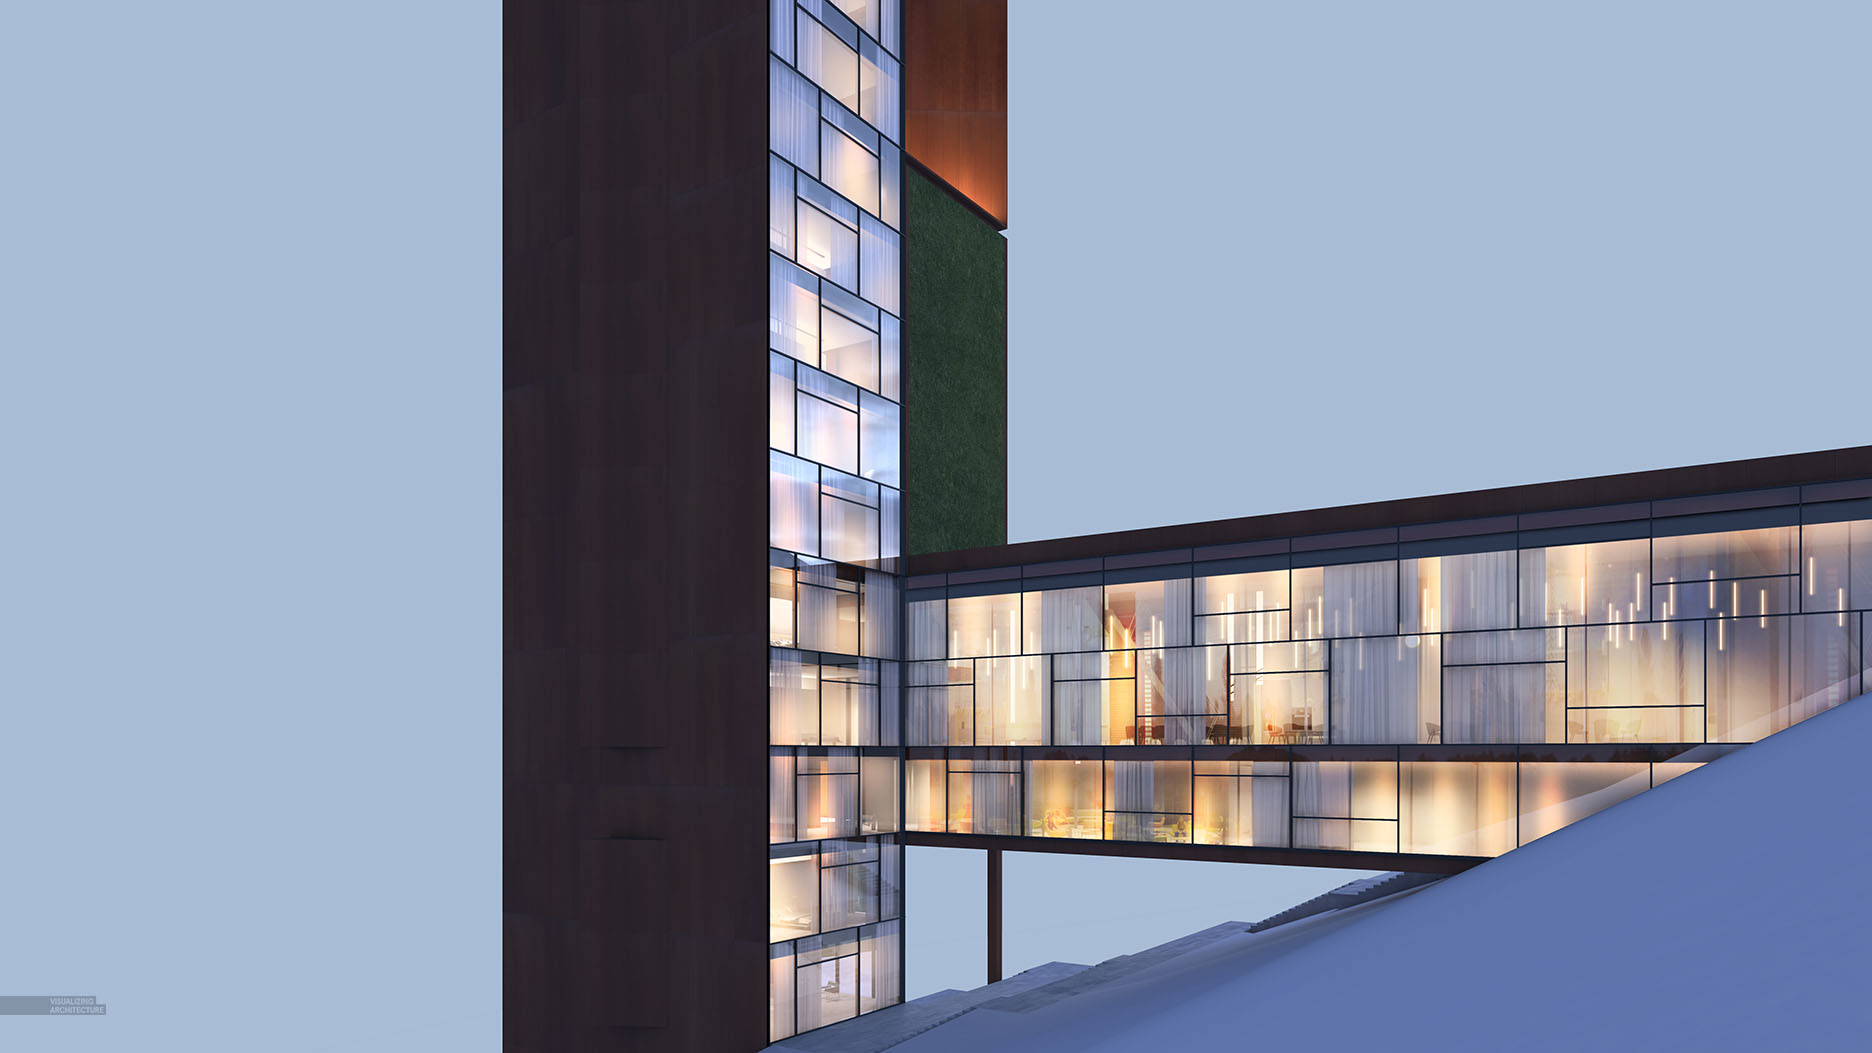
Here, I amplified the interior lights. This was done by first masking away the dark overlay from the previous step. Next, some textures were added in and some warm overlays applied on top. Because of the layers of fog coming next, I again ignored the details and just focused on getting things close.
04. Fog Round 1
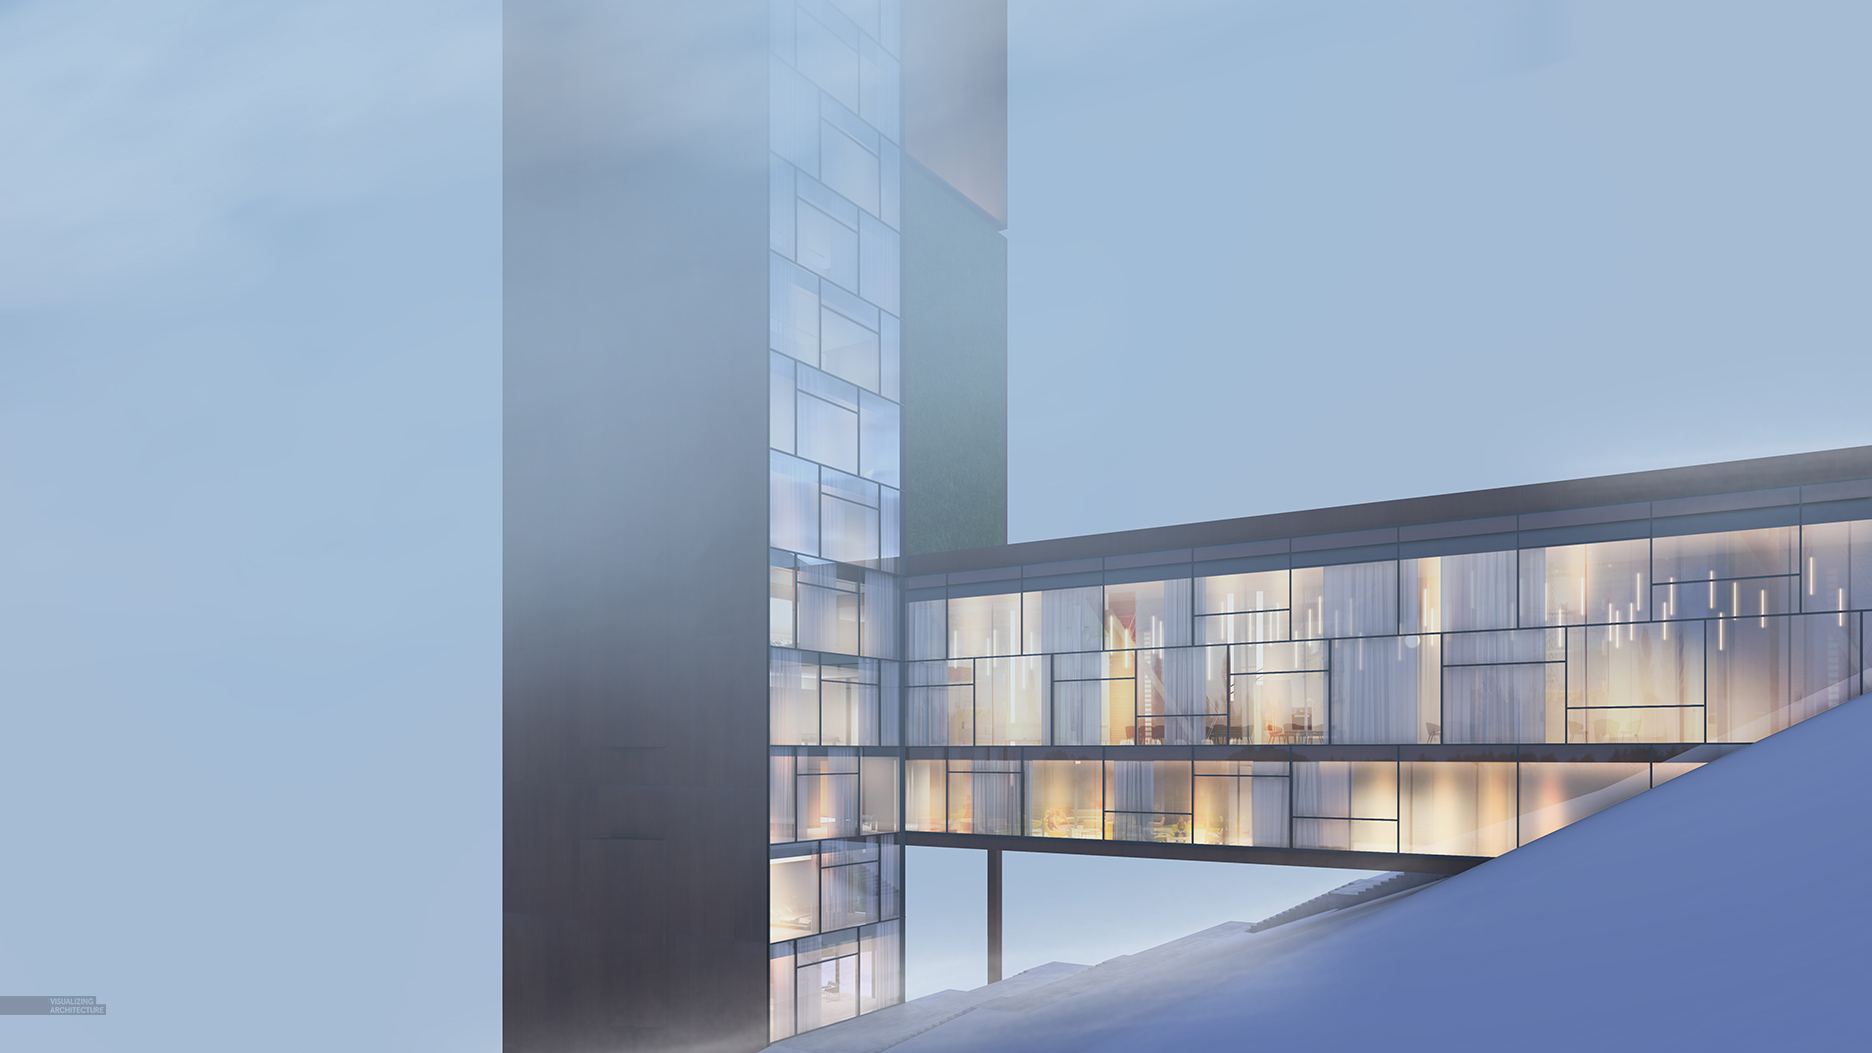
The first layer of fog was created with grainy textures that have a movement and energy to them. This layer of fog will be softened by other fog layers coming next.
05. Fog Round 2

The next layer of fog was applied using the Brush Tool. In the top left corner, I layered in a light blue paint with a darker blue paint in the bottom right corner. I was trying to create a gradient over the image as well as fade out the architecture as it goes higher in the sky.
06. Color
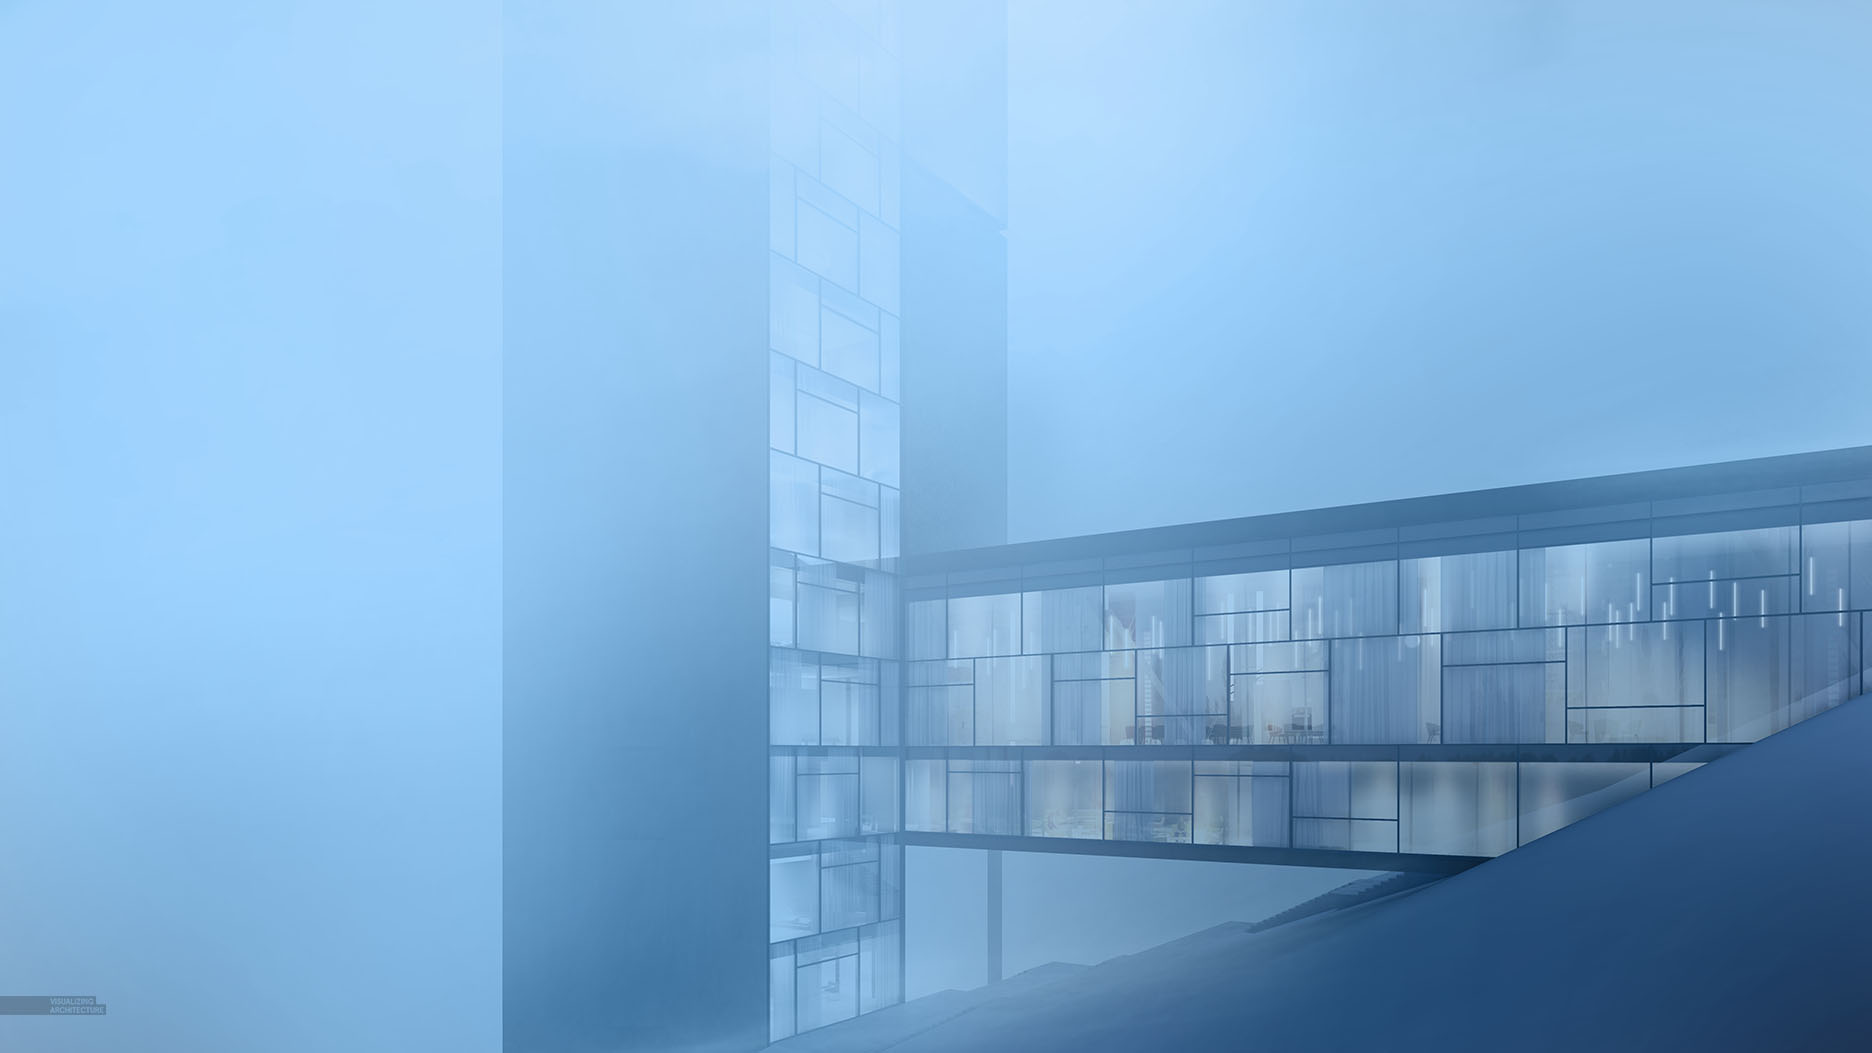
Applying a blue overlay brought together all of the different tones in the image. This was done by painting a blue paint over the entire image and setting the Layer Blend Mode to “Color”.
07. Background Details
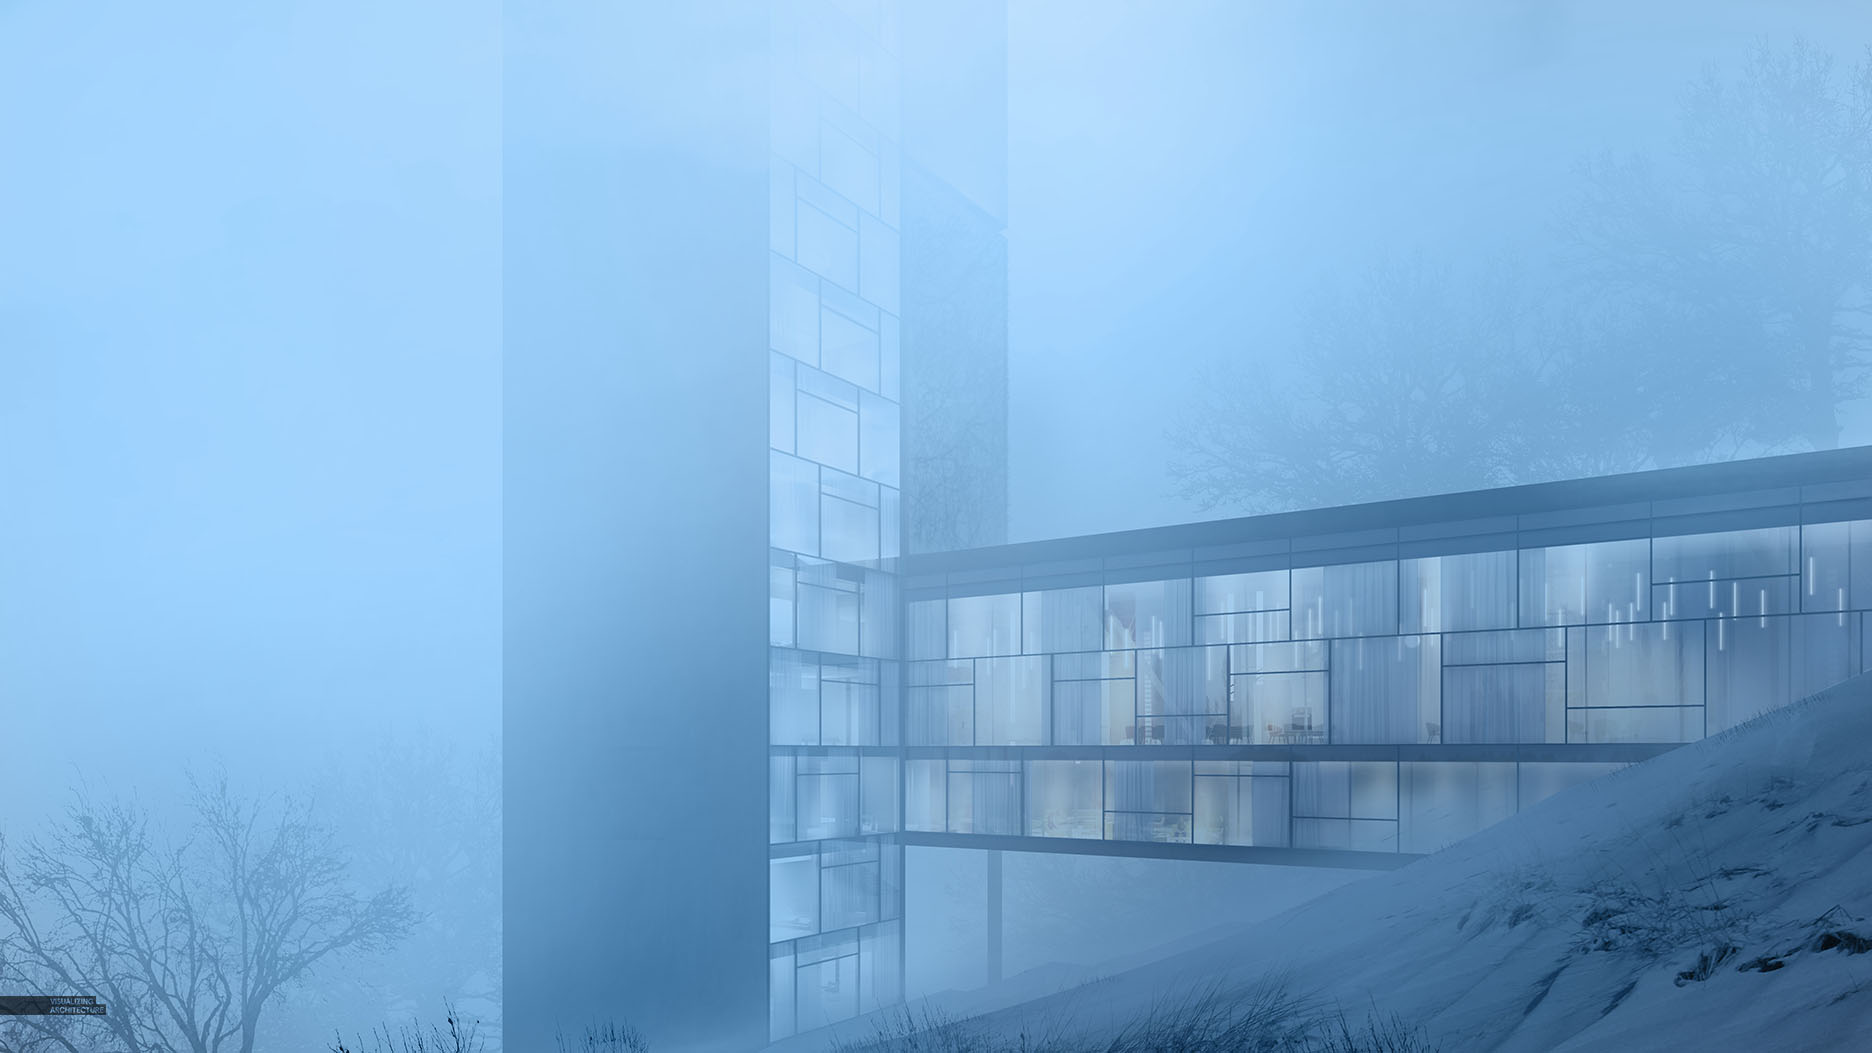
Not much will be seen in the distance, but I still took this time to insert some subtle tree silhouettes and ground textures.
08. Light Amplification Again

This is where the image gets some of its energy back. Now that I have applied several layers of fog, the interior light is largely covered up. Therefore, I went and grabbed my interiors group, copied it, and brought it above the fog layers. Finally, I set the group’s Layer Blend Mode to “Soften”. This increased the light in some areas, but left others still muted. Also, as the light moves further up into the denser areas of the fog, I painted in a soft glow to spread the light out more.
09. Foreground Elements
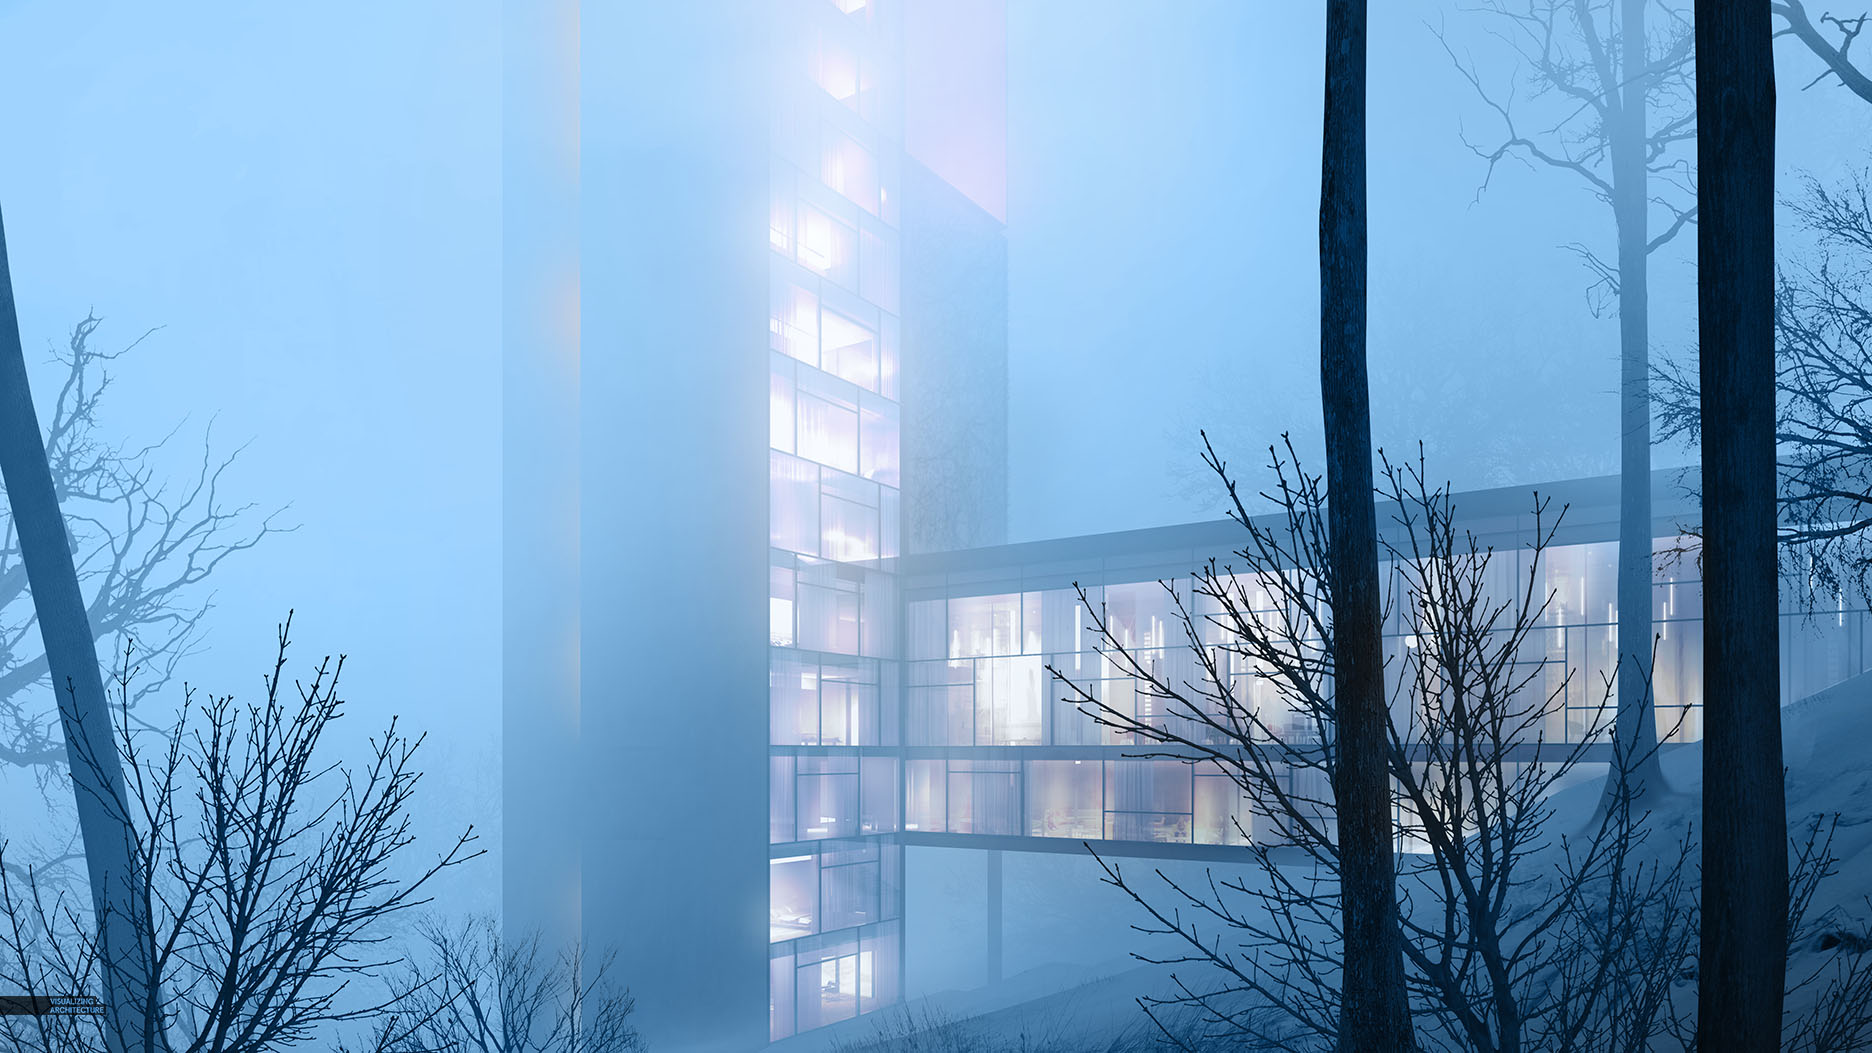
In order to increase depth, I placed in some shadowing foreground elements. The sharpness of the foreground elements also helps to increase the sense of softness in the fog beyond.
10. Blur
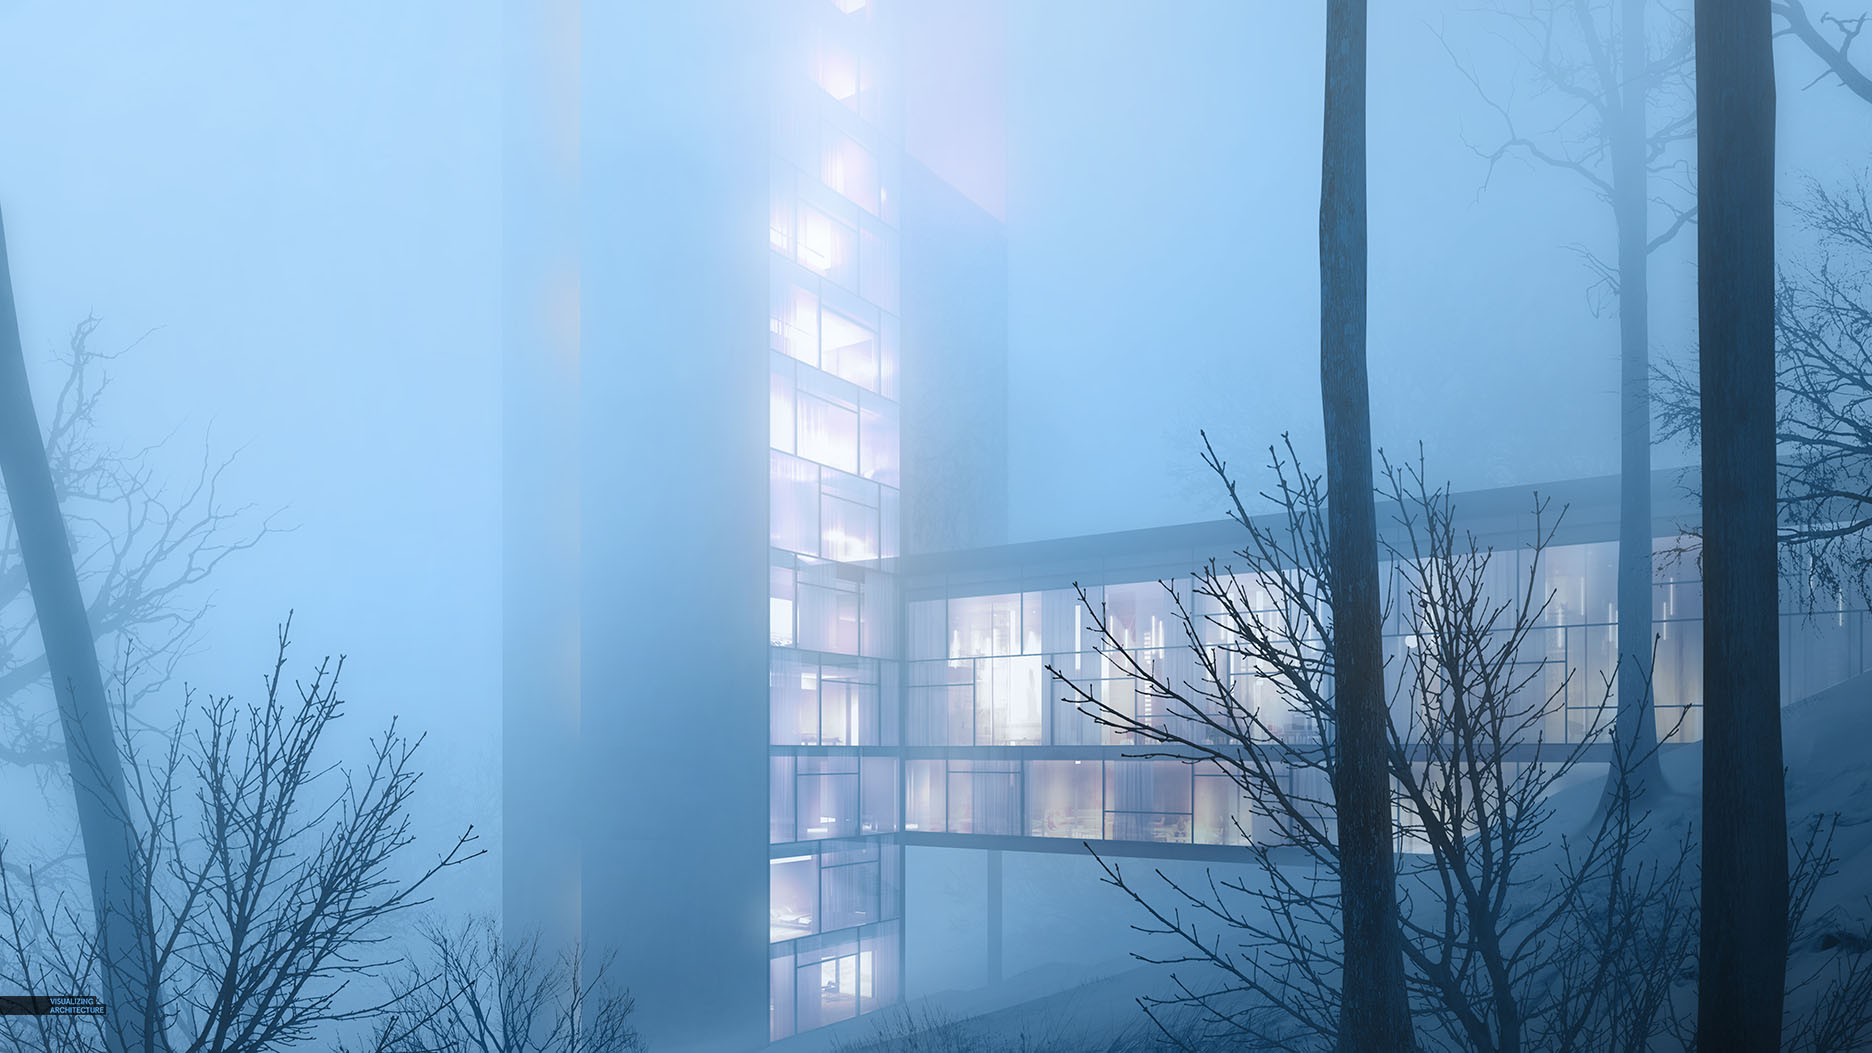
For the really foggy scenes, I often do a copy merge of all of the layers at the top of the layer stack, then give the new layer a slight blur. Then I lower the opacity of that blurred layer to around 50 percent. This adds just a little more softness to the image and really plays up the idea of light bouncing around the atmospheric molecules.
11. Snow Texture

Finally, I added some snow textures to convert the foggy scene to a snow storm. I used to generate my own snow texture, but there are actually some good textures you can get if you simply do an image search for snow textures.
The Final Series of Images

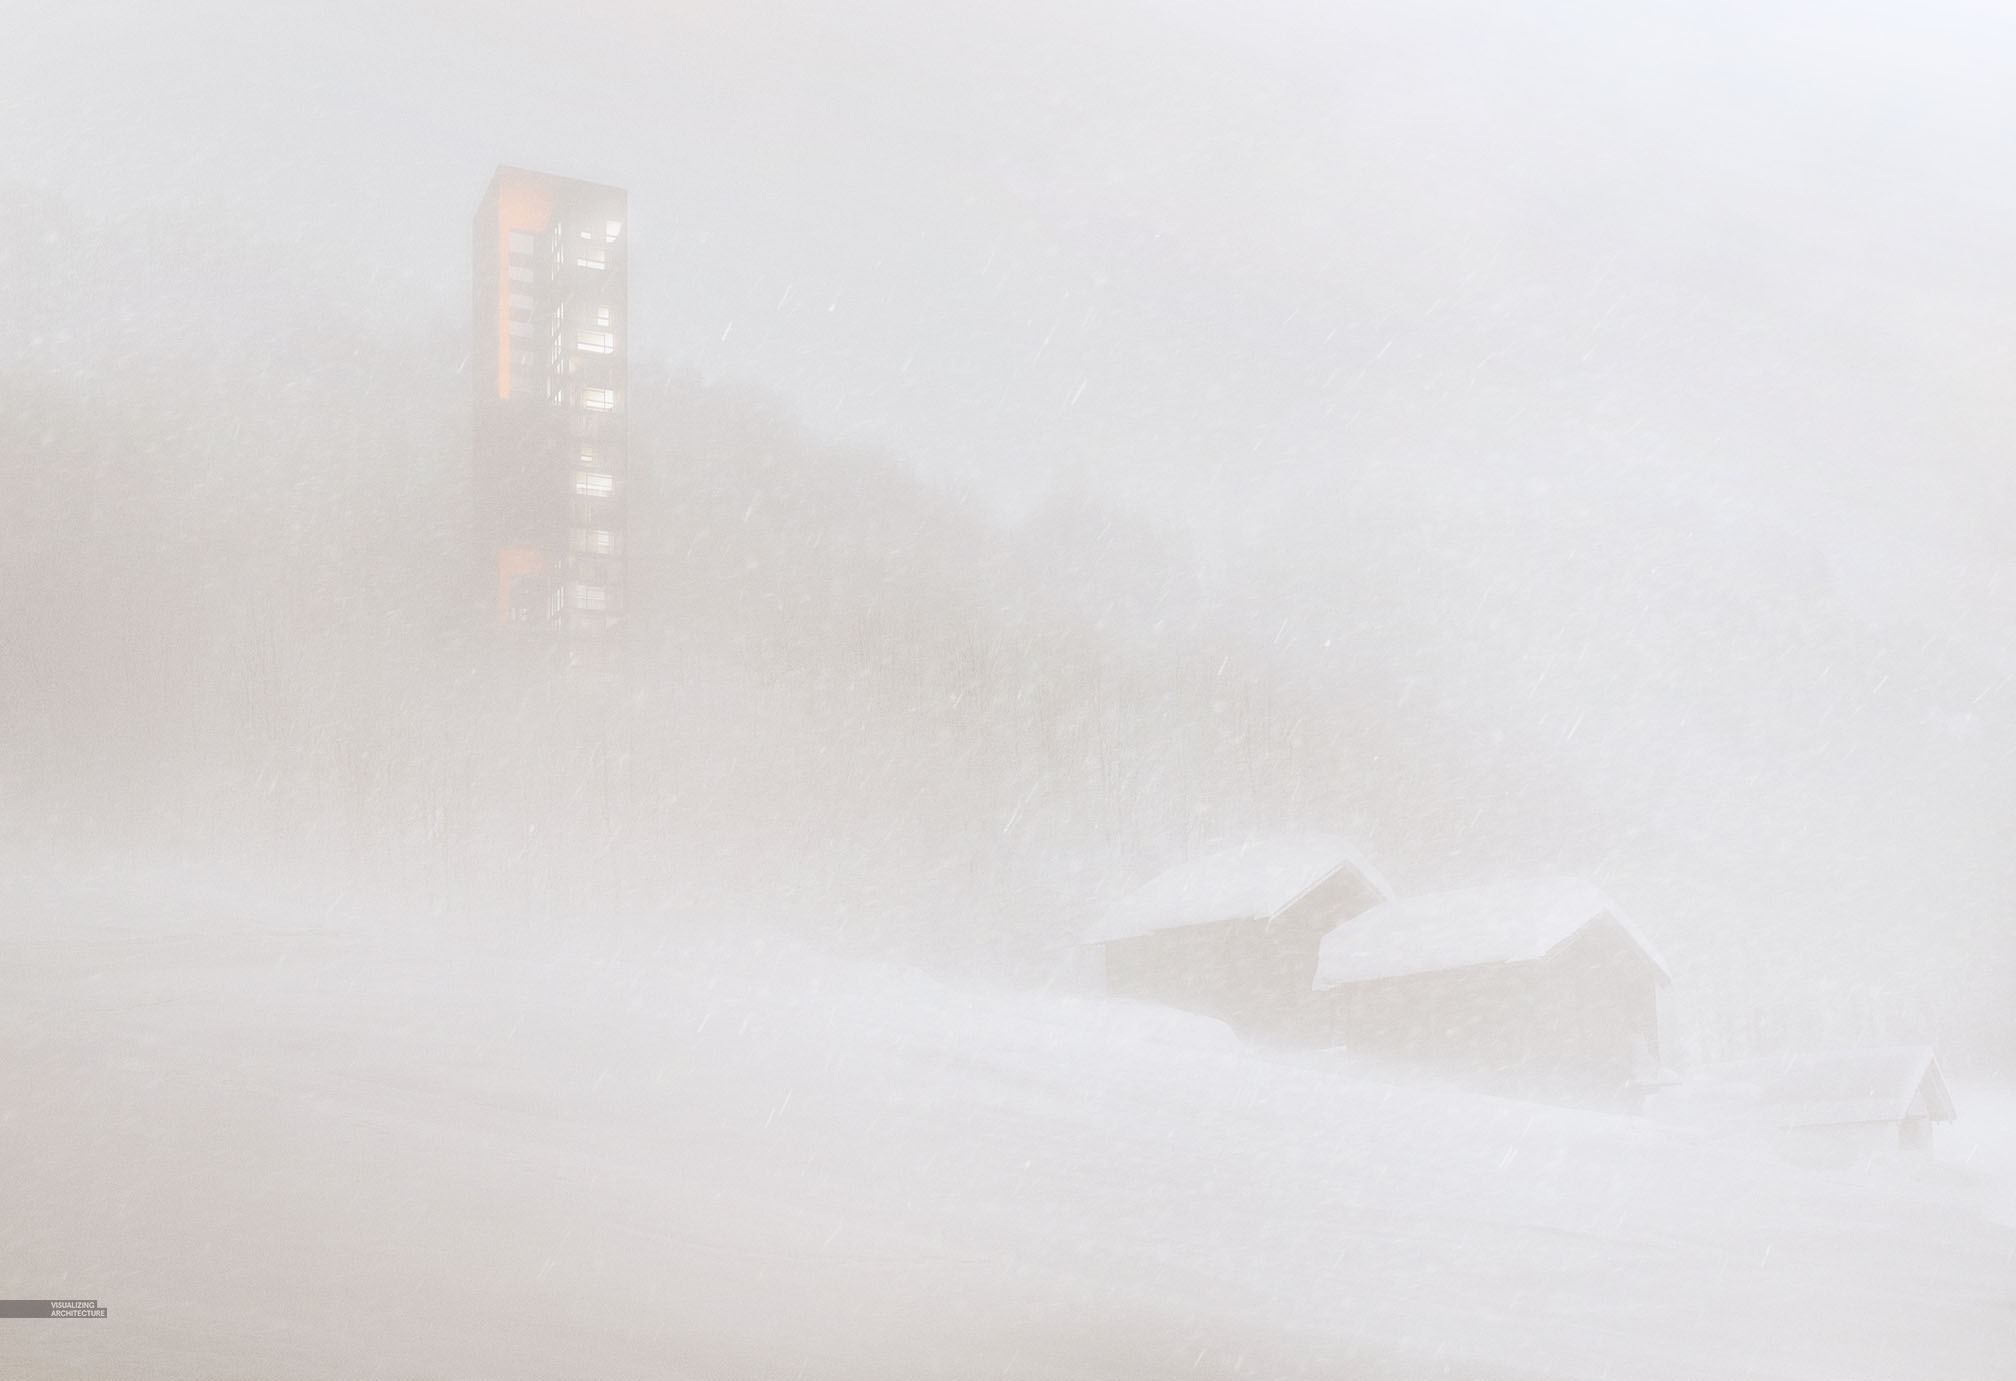

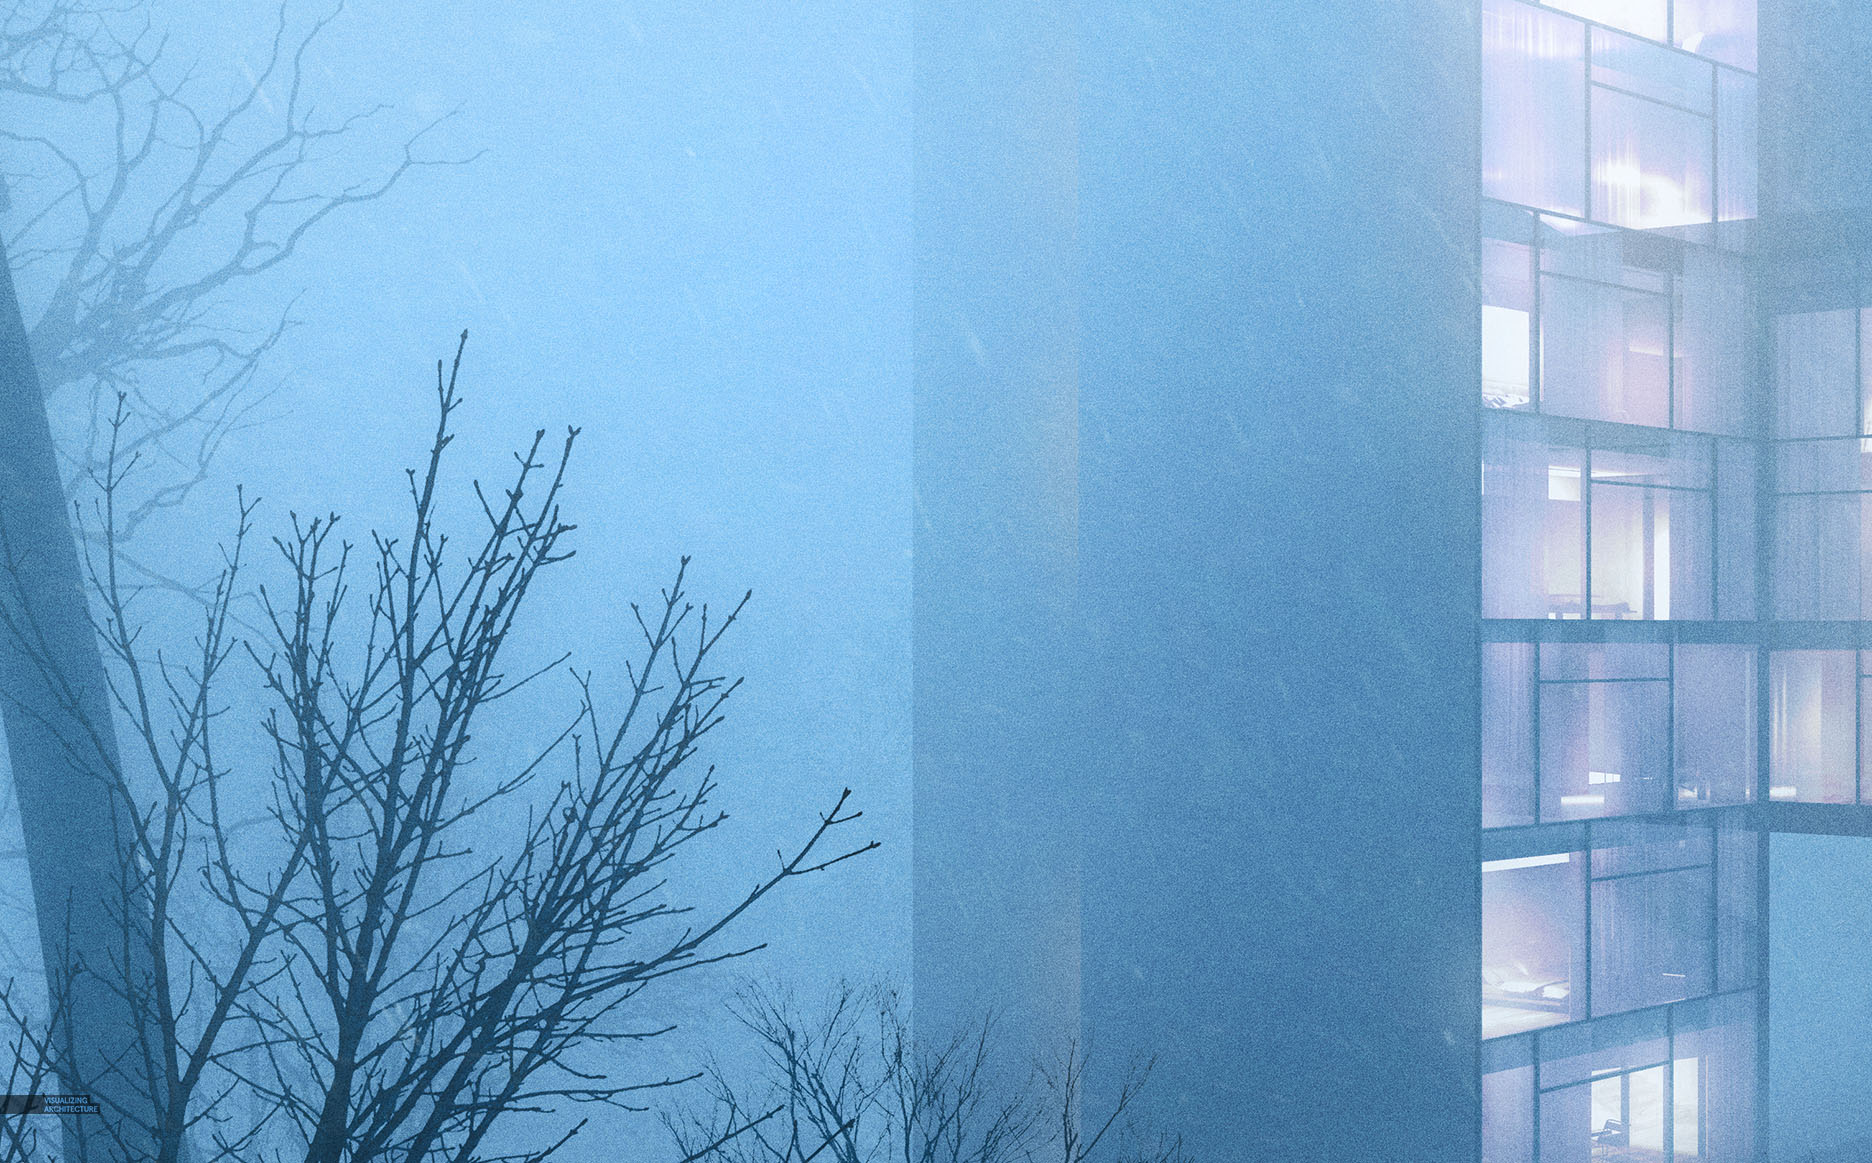
Finally, you can see all of my past winters special images by following the links below


What search terms are you using to find your interior “textures”? I particularly like the series of long pendants you’ve got in this one; it’s amazing how much life those textures add to the base render.
Please update your user tumbler gallery!
What A Great Informative Post. Thank you for sharing this with us. Keep posting And Helping Us
Great Post! Thanks For Sharing, Nice Article Keep Sharing Check Out Our Website for Pogo games related problems
http://games-help-number.com/pogo-customer-service-number/
good post. keep it up dear.
Can you post a video ?
Roblox Phone Number | Roblox Support
solitaire Game Not Working
Error Sage 50 cannot be started
Renew pogo subscription
Stack’em HD freezing half way
How to Fix Pogo Login Issue ?
How to Fix Juno Webmail Login Problems?
Garmin Gps Devices Support
Express Dictate Digital Dictation Software
Why medical practices are turning to Dragon medical voice recognition
Dragon Dictation Support
HP Printer
How do I purchase PLUS after I’ve already filed my 2019 return?
Arlo Support
How to Contact Pogo Customer Support
Fix problems sending AOL Mail
McAfee.com/activate
Canon support for basic issues
Zone Alarm Contact
Games not working? Try these troubleshooting steps
Poppit! Bingo game not working or loading
Trend Micro Security software
DICTATION PROBLEMS IN NATURALLYSPEAKING
Dragon Dictation
Trend Micro not opening
How To Fix Pogo Game Won’t Load or not stacking
Solitaire Game Support
Outlook Support
Roadrunner Email Support
Problem With Panda Antivirus
Quicken Error CC-501 Occurs
Quick Fix to AOL Gold Icon Not Responding Problem
MCAFEE ANTIVIRUS BASIC ISSUES AND ITS SOLUTION
How to Fix Common Webroot Antivirus Problems ?
Avast 2019 on Windows 10 Not Working
Webroot Key-code not working?
Norton Setup
How to Fix Overflow Error in QuickBooks Desktop: Step-by-Step Guide
Outlook is not opening
How to remove Porn Sites pop-up
Nice moody. Thanks for the breakdown.