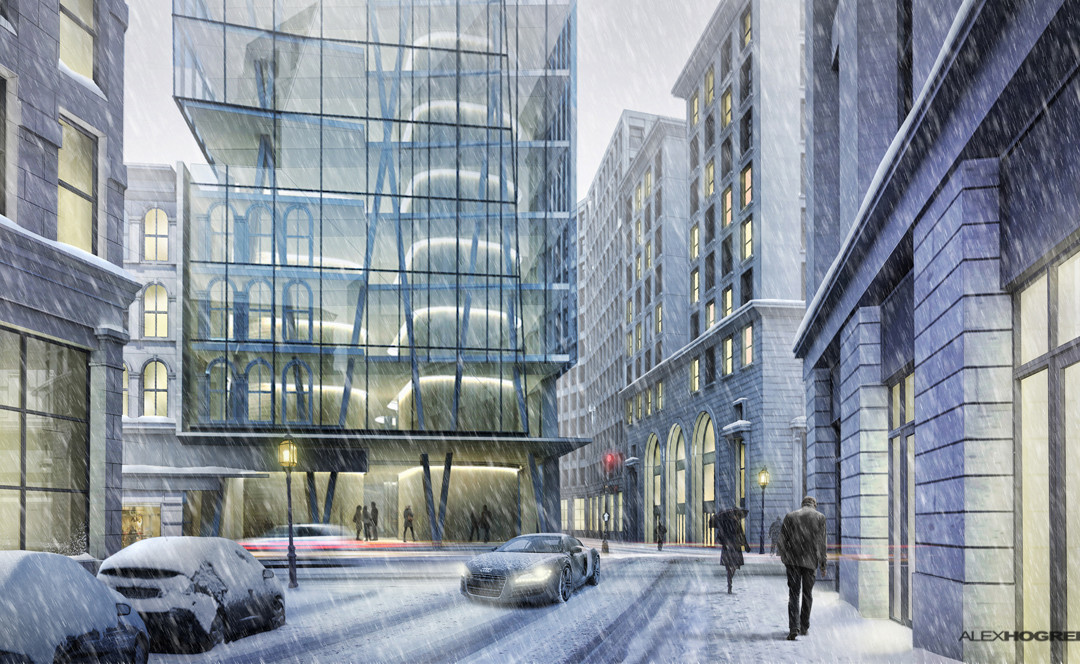
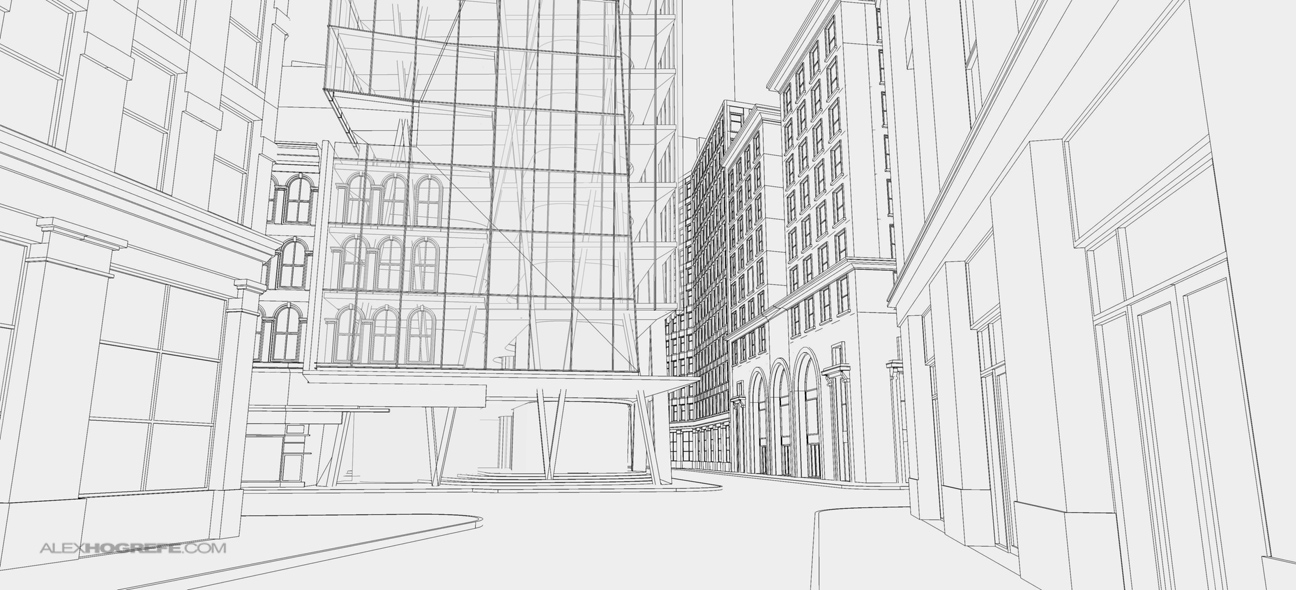
Those of you who have followed my site for a while may remember that I created a winter scene post last year right around this this time describing how to turn any rendering into a snow scene. It was one of the few snow scenes that I had ever created. Since then, I have yet to produce another winter scene so I thought I would start a tradition. I have been working on a new sketchup model (seen in last weeks post) which still needs to be developed further but decided it was far enough along to be used in this winter scene illustration.
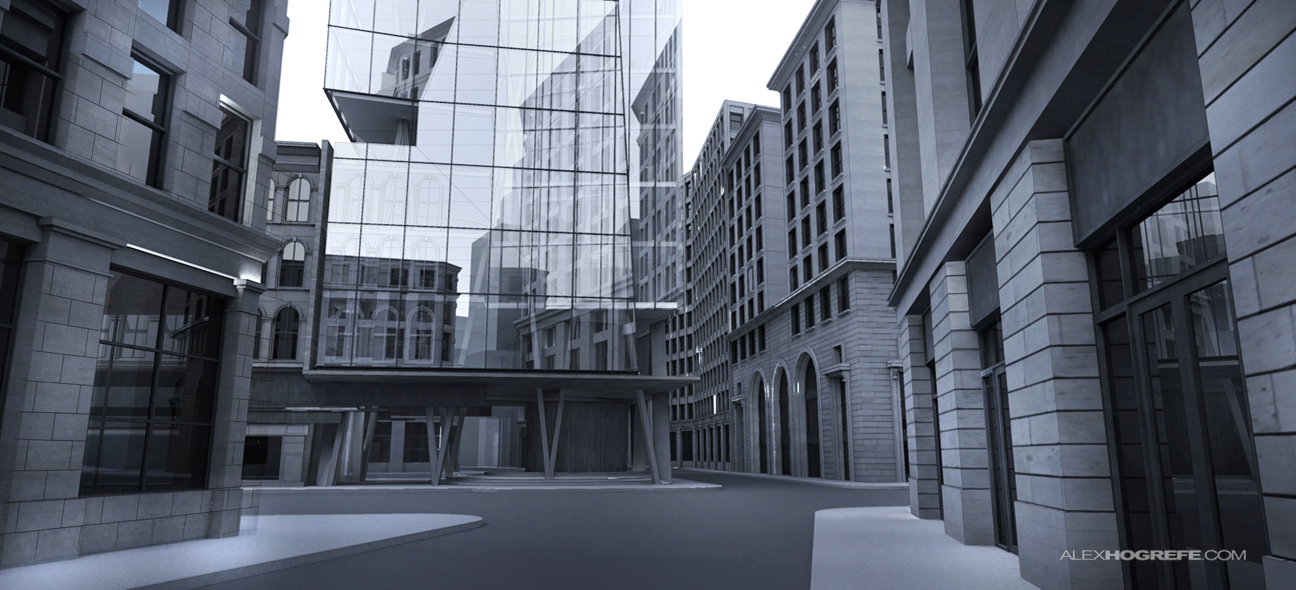
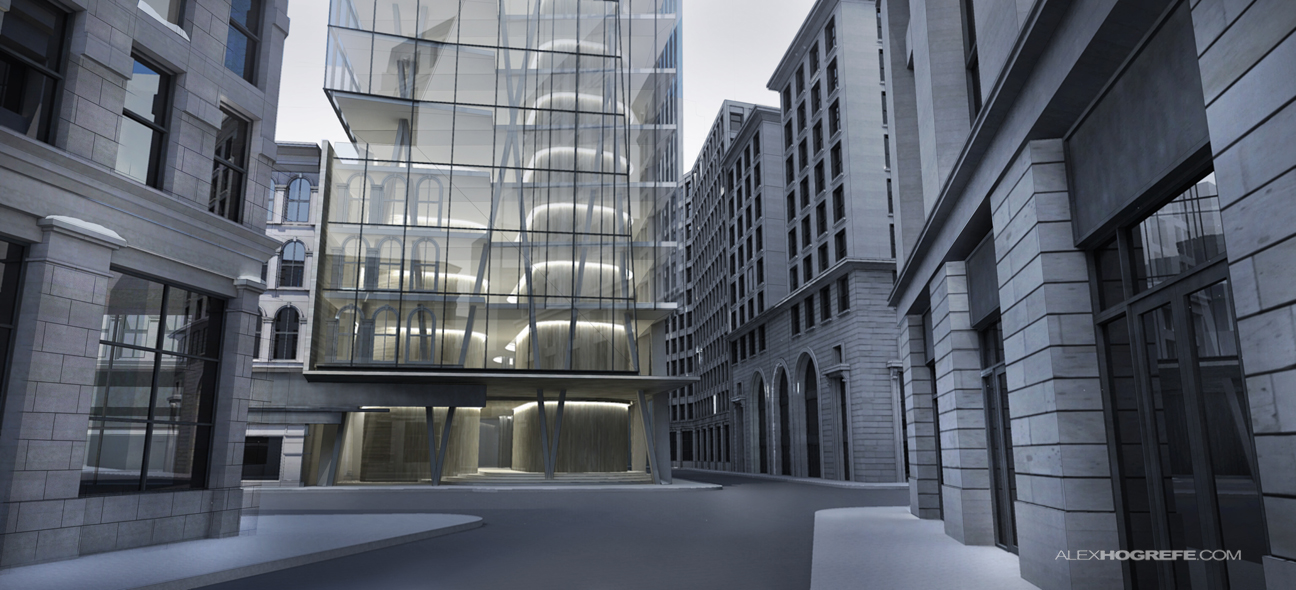
I initially didn’t have any idea what look/atmosphere I was going for. That may explain why I started out with just a typical daytime kerkythea rendering.
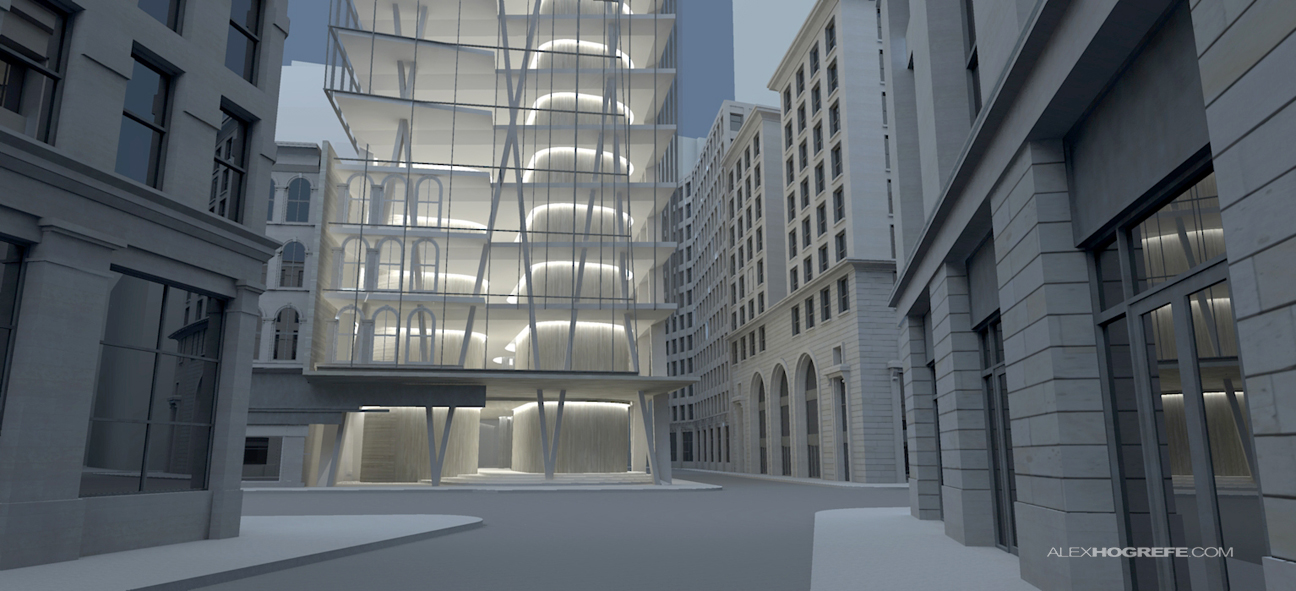
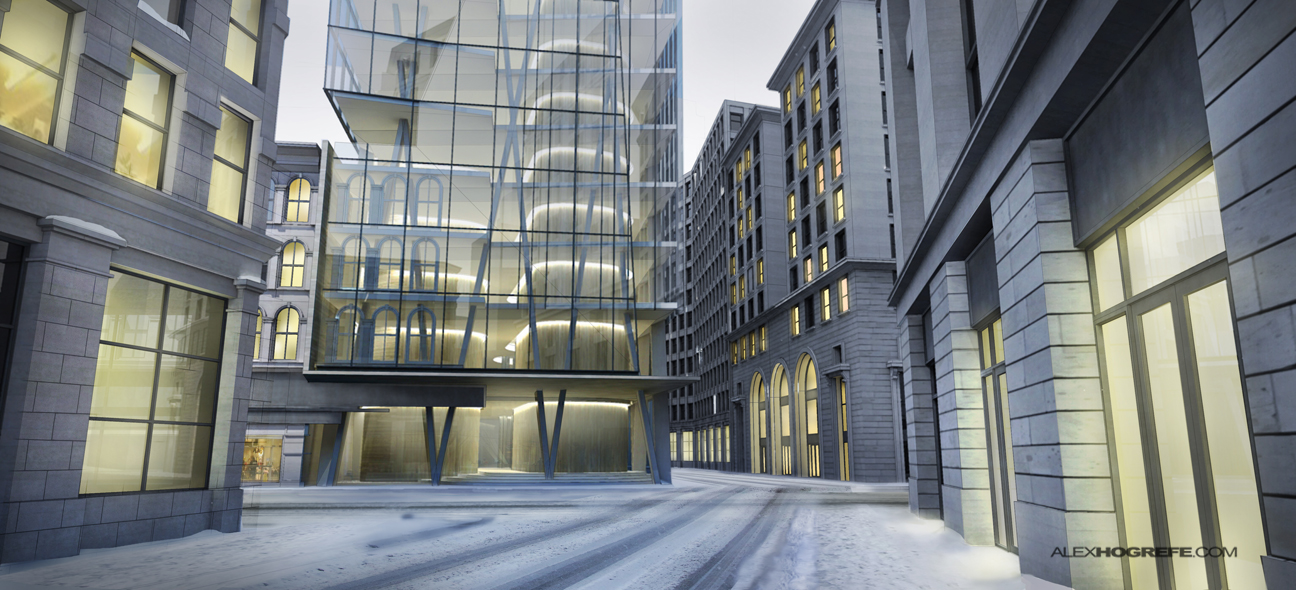
However, once I entered into Photoshop post processing, the illustration moved to a darker, overcast scene. Since the illustration was essentially going to be a night scene now, I started a new Kerkythea rendering with my tower design lit up from the inside. I didn’t even try to light up the surrounding buildings because I knew that it would significantly add to the rendering time.
If you look at the above two renderings, you will notice that I rendered the daytime scene with full reflection in the glass (just for the tower), while I rendered the night time scene with almost no reflection. This allowed me to combine the two and give me full control of how much reflection to add to the tower. I did this by cutting out the lit tower, and copying it to the daytime rendering. I then adjusted the opacity of the lit tower layer until I found the right balance of reflection and transparency in the glass.
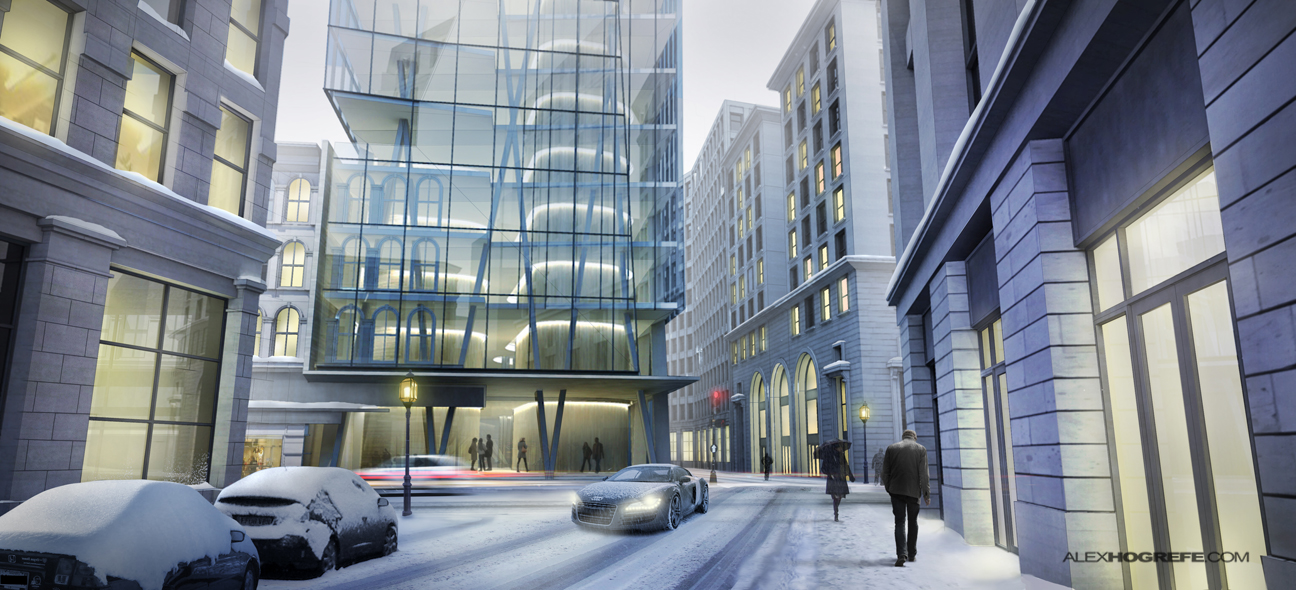
Once I had that down, I began painting in light to the surrounding building windows and doors. I then did a second pass highlighting the surfaces on the stone that were being lit by the windows. I also made sure to keep some of the reflection in the windows to add another level of depth to the glass. Also in this image, I began adding snow to the ground. This was much easier than it looks. I did some google image searches for “snowy roads” and then cut and paste.
I knew that I wanted to add some snow covered cars to the illustration. It was surprisingly hard to find cars at the correct angle with snow on them for this illustration. I also spent some time painting in snow on some of the ledges of the buildings and adding local Boston lamp posts and traffic lights.
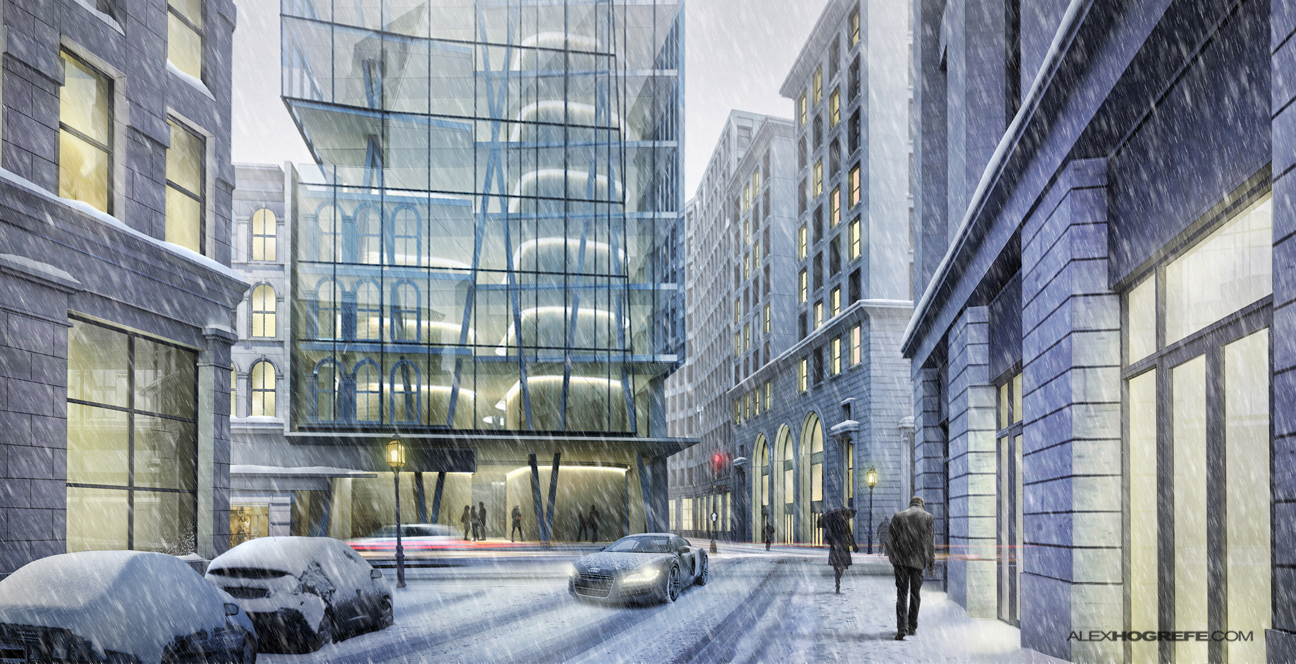
Finally, I added falling snow to complete the winter scene. You may also notice that I corrected the verticals so that the buildings no longer lean into the center of the image. As mentioned above, I created a tutorial on creating snow in last years post which can be found HERE. These winter scenes are easier to create than you might think. I strongly suggest experimenting with these techniques and seeing what you can come up with.
Happy Holidays


All I can say is WOOOW !!!
In my opinion , this is your very best illustration so far .
Don't stop with the great posts Alex .
Greetings from Bosnia & Herzegovina
amazing 🙂
i was just wondering if you had to texture/colour any of the surfaces in photoshop, because it looks like Kerkythea has done a lot of it for you… looks like im spending some time in Kerkythea/vray 🙂
thanks, this blog is amazing
how did u did the lights on the windows ?in photoshop or u iported the lights from Kerkythea?…and if u did them in photoshop …how?
How did you correct the verticals for the buildings? Thanks
this is just awesome, i agree, your best illustration so far……the textures are all put in kerky?? or from sketchup….and what settings do you put in kerkythea for the light rendering? are the lights put in kerrky as well? this is really great…thanks Alex
Alex – I just recently began following your blog. Fantastic site with tutorials and all! – Your work is fantastic as well! So cool to see the process images throughout the rendering! I am ditching my rendering ways and heading back to Pshop! – Thanks again! Keep it up!
@Mike, I did Photoshop some texture, but most of the textures are from the Sketchup model that were then imported into Kerkythea
@Sam, the windows other than the main glass tower were Photoshopped to look like they are were lit up. I plan to create a video tutorial on that soon.
@Worton, see this tutorial: http://www.alexhogrefe.com/blog/2011/8/27/quick-tip-adjusting-the-verticals.html
@Edwin, the lights for the glass tower were added in Kerkythea. I have tutorials for this in the tutorial section all the way at the bottom
@Adi and Chad, thanks!
Alex, it is a fantastic work. I learned your tutorial of snow rendering and I tried on my thesis project. It works very well. Thanks a lot.
I am trying to install Kerkythea and learning it. Except their official website, would you mind recommending any other ways to learn and master it in a quick way?
Thanks 🙂
Correct me if I'm wrong, but aren't the parked cars facing the wrong way for the side of the street that they are on? Otherwise another beautiful illustration! Good job
F*cking awesome! Great job on this one! You are an inspiration! Like the one without the falling snow more though! Great job!
Greats and happy hollidays,
From the Netherlands!
hi
I'm almost a architect and always I seen your page like a referent for my projects.
Very good work.
From Chile.
Bye
that`s perfect!!!
would you please explain more about how you added full reflection in day time rendering?
did you dielectric glass or thin glass? and what was the reflection and refraction settings?
Im with Sam – what type of glass did you use? When I try to adjust the reflection in Kerkythea it just darkens and turnes less transparant.
@Sam & Juniper,
Getting full reflection was really easy. I just selected the imported transparent skechup glass material, right-clicked and chose "Edit Material". In the dialogue box, right click on "Reflection", and choose the color wheel. For full reflection, you pick a white color. For less reflection, you choose a dark color. To adjust the transparency, you need to adjust the "Refraction". Again, for more transparency, you select a white color, for less transparency, you select a dark color. One last thing, too adjust the color tint, you need to adjust the "diffuse " setting.
when talking about reflections – you've got here the entire scene manually created,right? sooo if the settings are ok, you get the proper reflections in the end. but is it possible to use hdri maps in sketchup with vray? and then to get a satisfying result when there is no time for creating the surrounding of the main object? once i tried to add reflections with photoshop only but when there are more glass surfaces or worse – THERE IS NOTHING BUT GLASS it is hard to give it a proper look just with photoshop. alex,you're the rendering tricks encyclopedia! maybe you've figured out any androit techniques of adding reflections?
What lighting setup do you use for this image? Is it the overcast setting?
Hi Alex
Really enjoying your blog and, in particular your recent urban model explorations.
I'm working on such a large scale urban model at the mo (or trying to) and having drafted the location plan in AutoCAD and imported into Sketchup (having scaled back on the layers), I and perhaps many others would love to know how you break down all the groups/components in your urban model.
i.e. Do you place all levels/floors in one "group", separate groups for each level, along with or without walls etc?
Would appreciate such a tutorial in its own right and perhaps other readers have recommendations.
Happy Holidays and please keep posting into 2013
John
Alex,
Could you provide us a small video-tutorial about this night scene ?
ps. This would imply then redo it completely, so I´ll understand if you do not have time.
Greetings from Brazil.
GREAT WORK! your tutorials will really help me in my architectural thesis.
btw, i noticed before that you have links where we can download materials, entourage and etc. but now i can't find it in your blog. can you please send me links where i can download materials entourage and etc?
THANKS! it would really help me in my thesis:)
@Christine,
The links can be found on my "About me" page on the right side all the way at the bottom.
Very interesting as always Alex!
But for this kind of tutorials I think you should also do a videotutorial.
I'd make things clearer than they already are 🙂
As always thanks for sharing your works and skills with us 🙂
Alex – just new to this whole rendering workflow and man, you just keep on churning out fantastic work – as many have mentioned above, a true inspiration!
I'm sitting here and watching all your works, and I mean ALL of them. Each moment I see final effect I yell "No f*ckin way!", "Are you kiddin' me?!", "No.. no! it's impossible! There is no way you can do that!".
Your my psp god. You are master of masters. Thank you for sharing your experience. I hope that some day I will be half as good as you.
Greetings from Poland 🙂
@Missysleepy,
One of my all time favorite comments. Thank you
Alex, would you please make a post about lighting windows in Photoshop. I wuld be very thankful. Ohter than that, you are THE master 🙂 have a good day, and keep up the good work!
I hope to know how to render this with kerkythea.
Thank you.