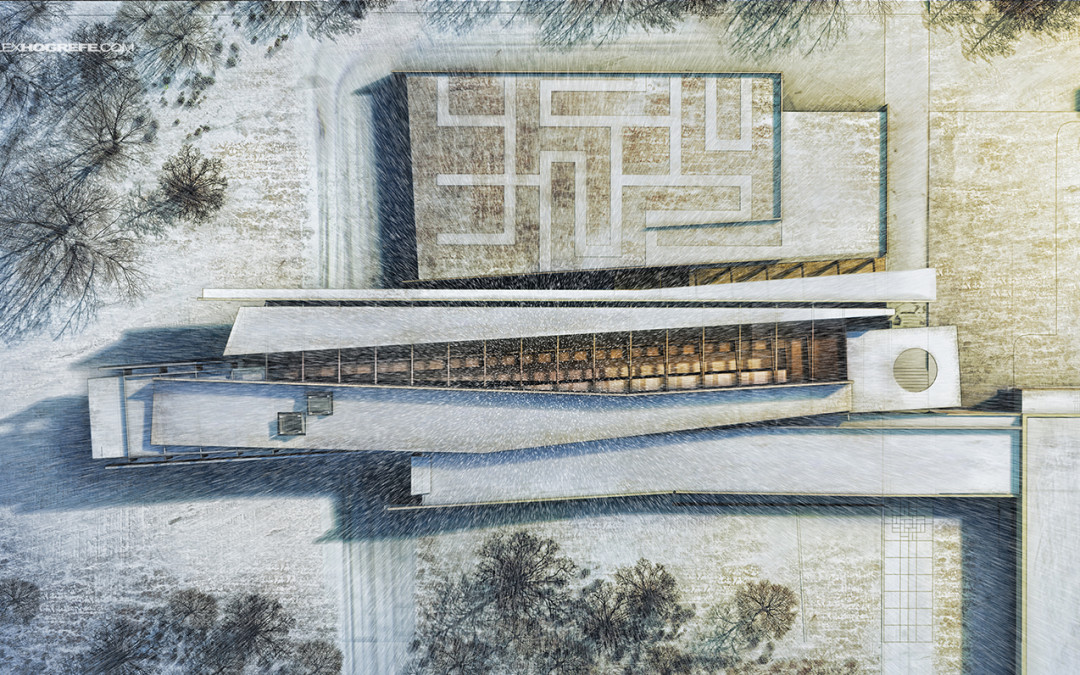
Every year around this time, I have made it a tradition to illustrate a winter scene. With the holidays around the corner, this weekend seemed like a good time to try out some different ideas and techniques related to snow scenes. Sitting down this morning, I didn’t really have a clear plan on how I wanted to tackle this illustration. The goal was to create a winter site plan with snow, something I have never done before. I am also making some final touches on “project portfolio updgrade” and I am in need of a few more renderings for the Cranbrook project. I thought why not kill two birds with one stone on this one.
A couple of decisions I had to make early on were how much snow was going to be on the ground and what time of day. I was looking for something with a lot of texture. Therefore, a light dusting where the grass showed through the snow seamed like a good idea.
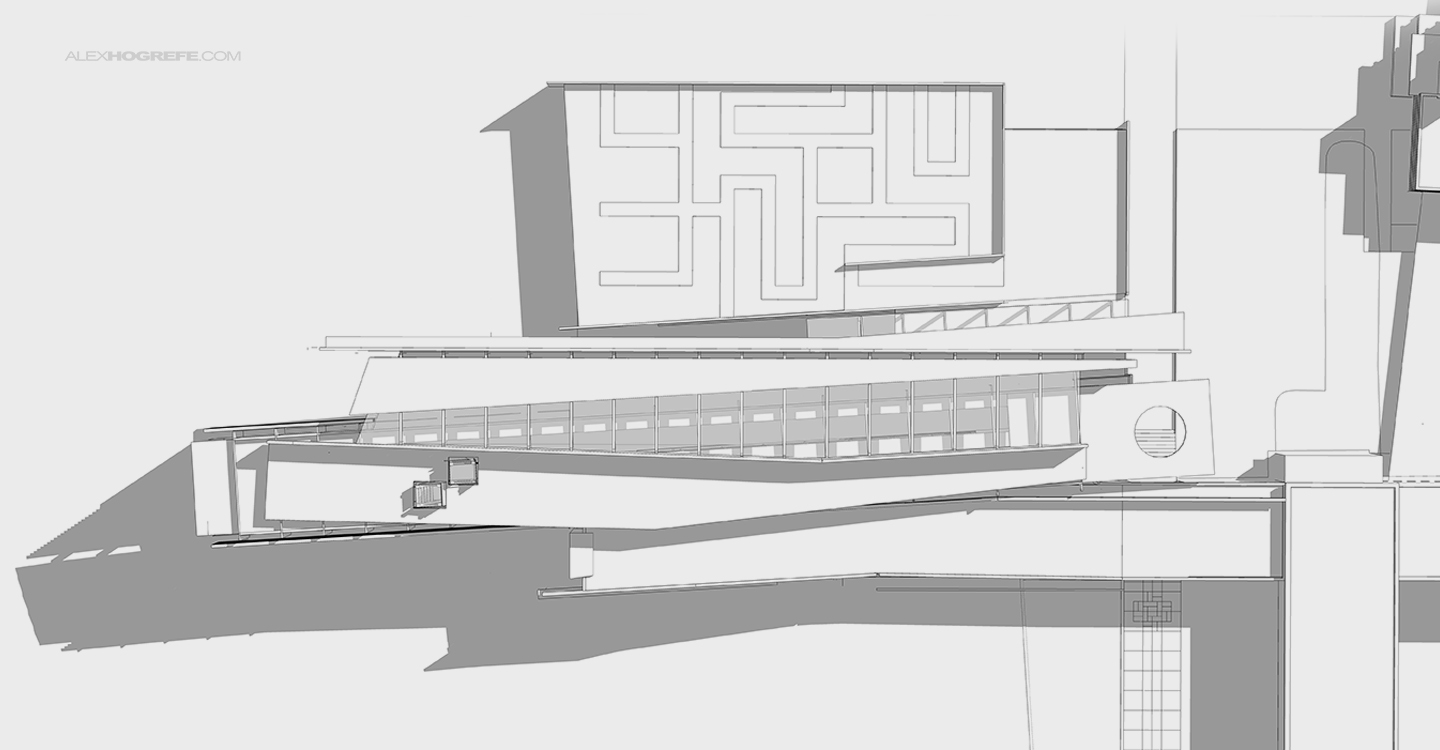
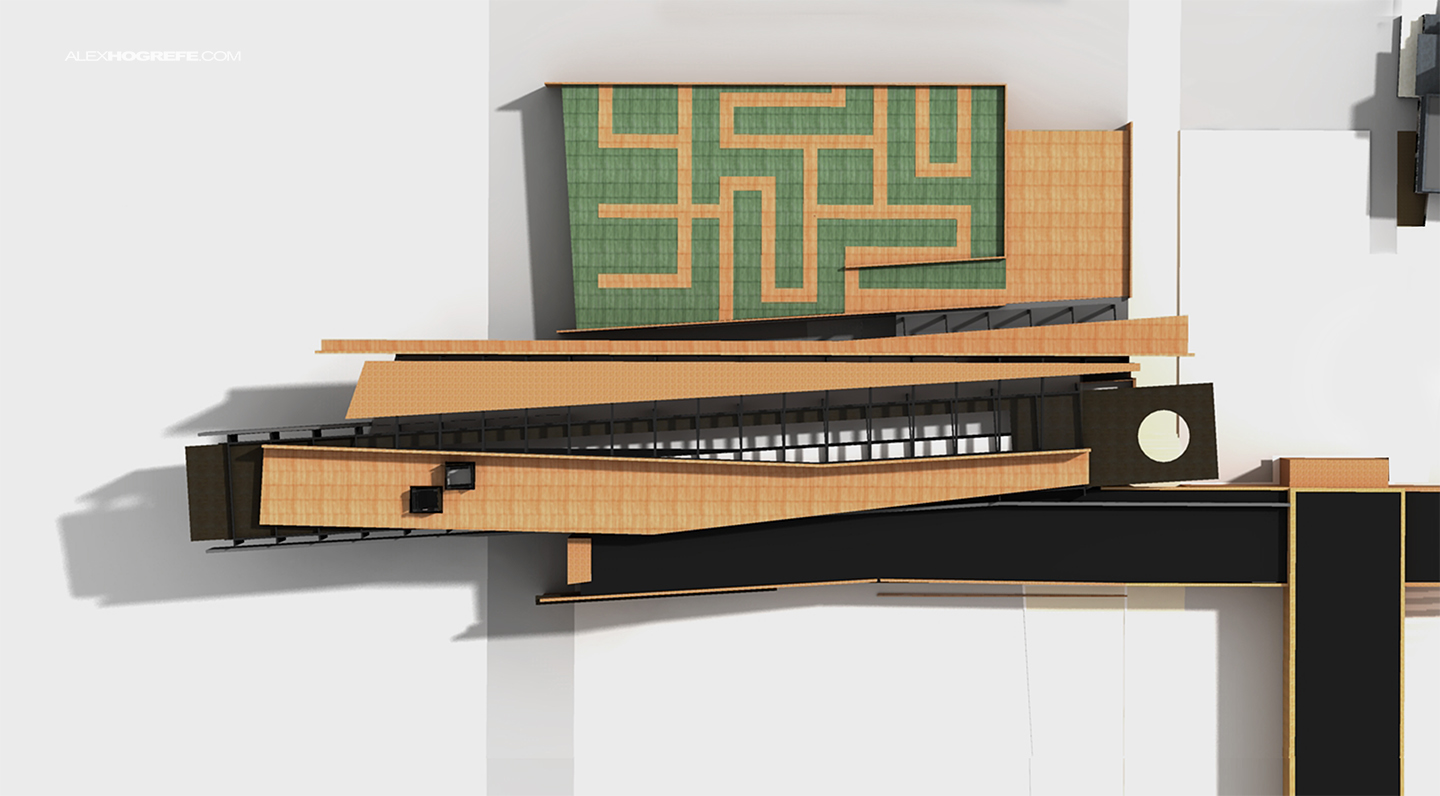
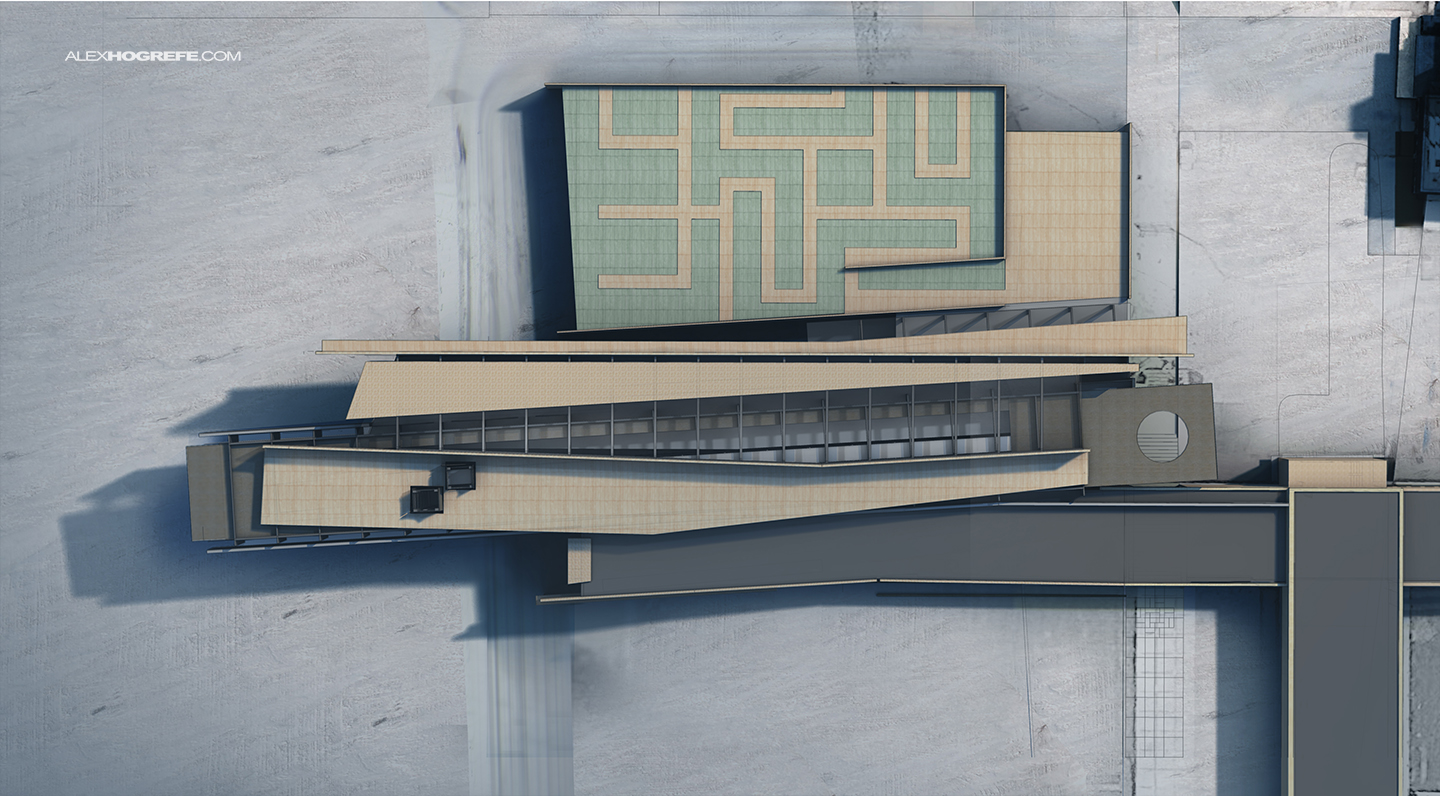
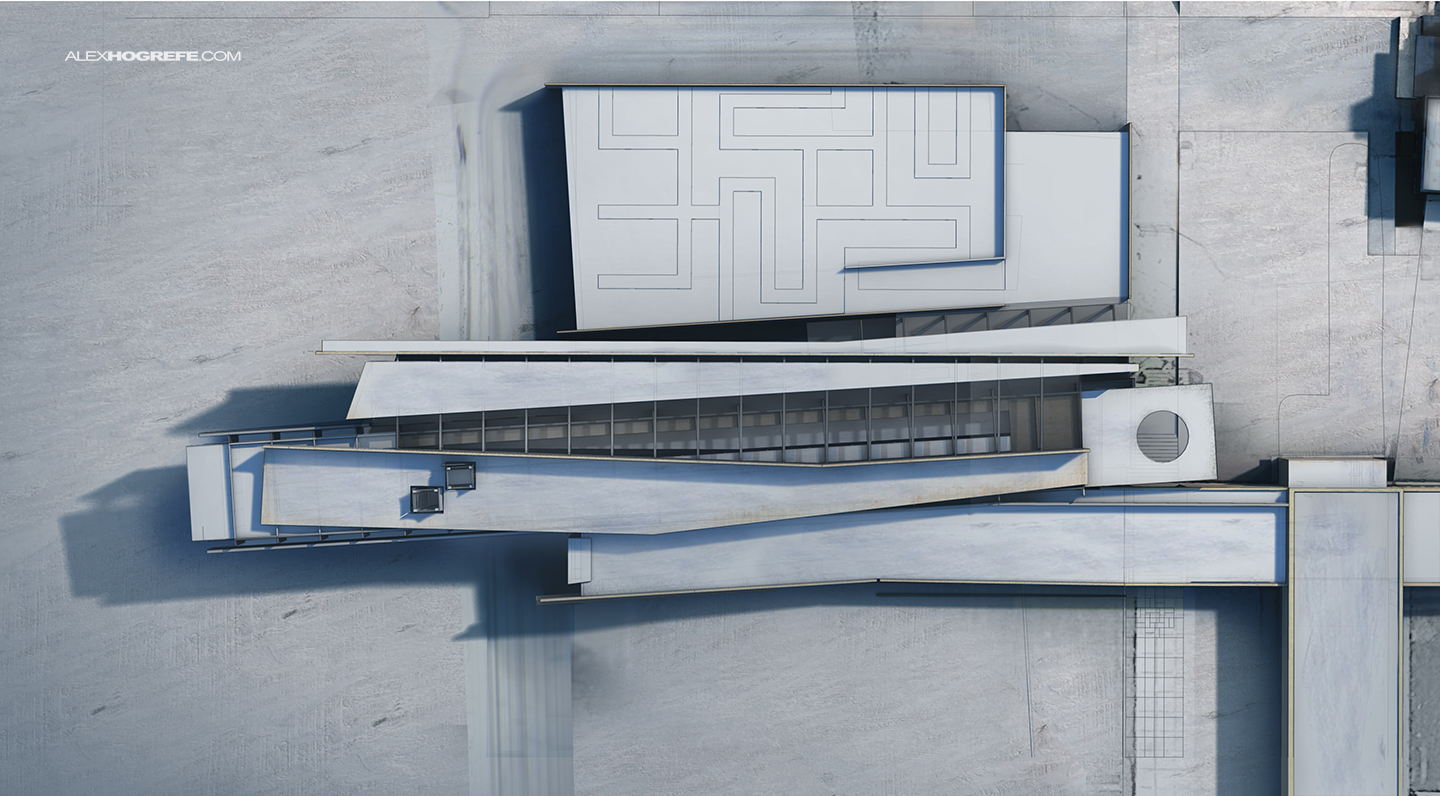
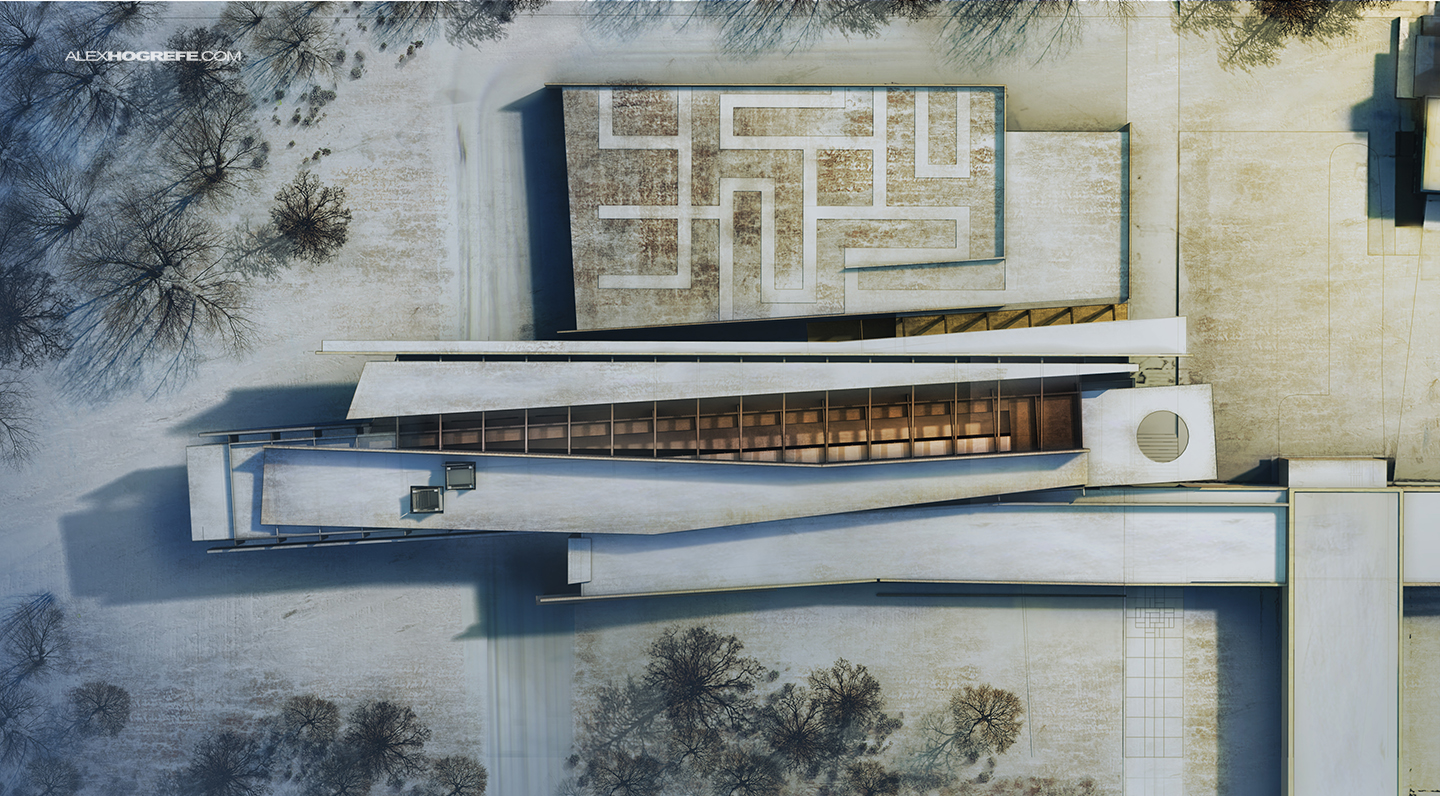
1. As always, I started with a basic rendering of the Sketchup model.
Above, the Sketchup model followed by a Kerkythea base rendering below.
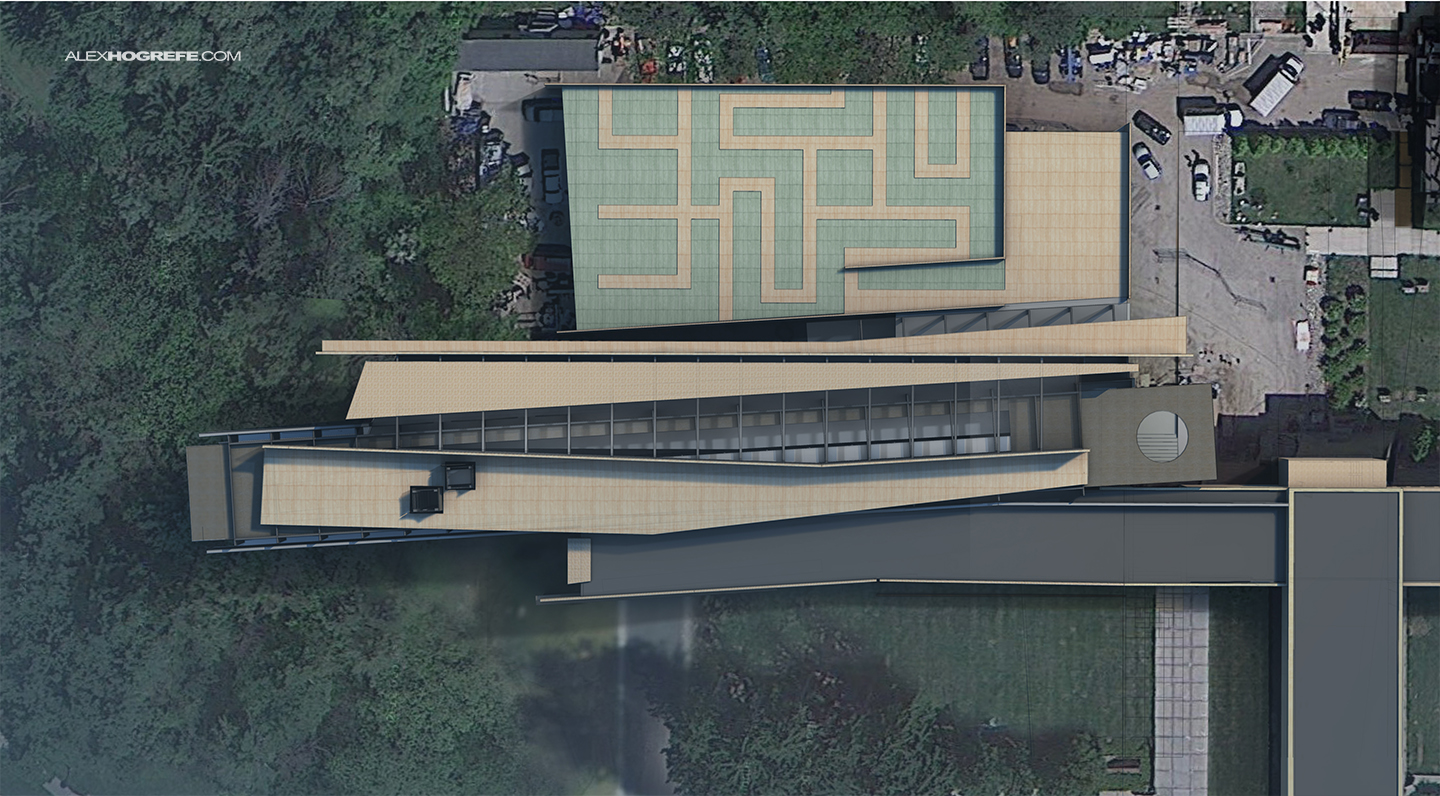
2. I needed some context for reference so I brought in an aerial image and placed it underneath my design in Photoshop. Though most of this aerial image will get covered up, it helps provide a sense of scale when Photoshopping in trees and textures. I also destaturated the building by about 50% to tone down the strong orange and green colors.
3. I began rummaging the internet for snow textures and trees. A good snowy base was crucial, so I started by filling covering much of the grounds with a basic white texture. I also added snow covered roadways to break up the base snow texture and help illustrate the location of the roads. There will continue to be many textures layered on top of this image so I didn’t spend too much time getting everything perfect.
4. Next came the snow cover roofs. This step simply involved selecting each section of the roofs with the polygonal tool and painting them white with the brush tool. I then followed that by overlaying some more snow textures found online to give the white paint more depth.
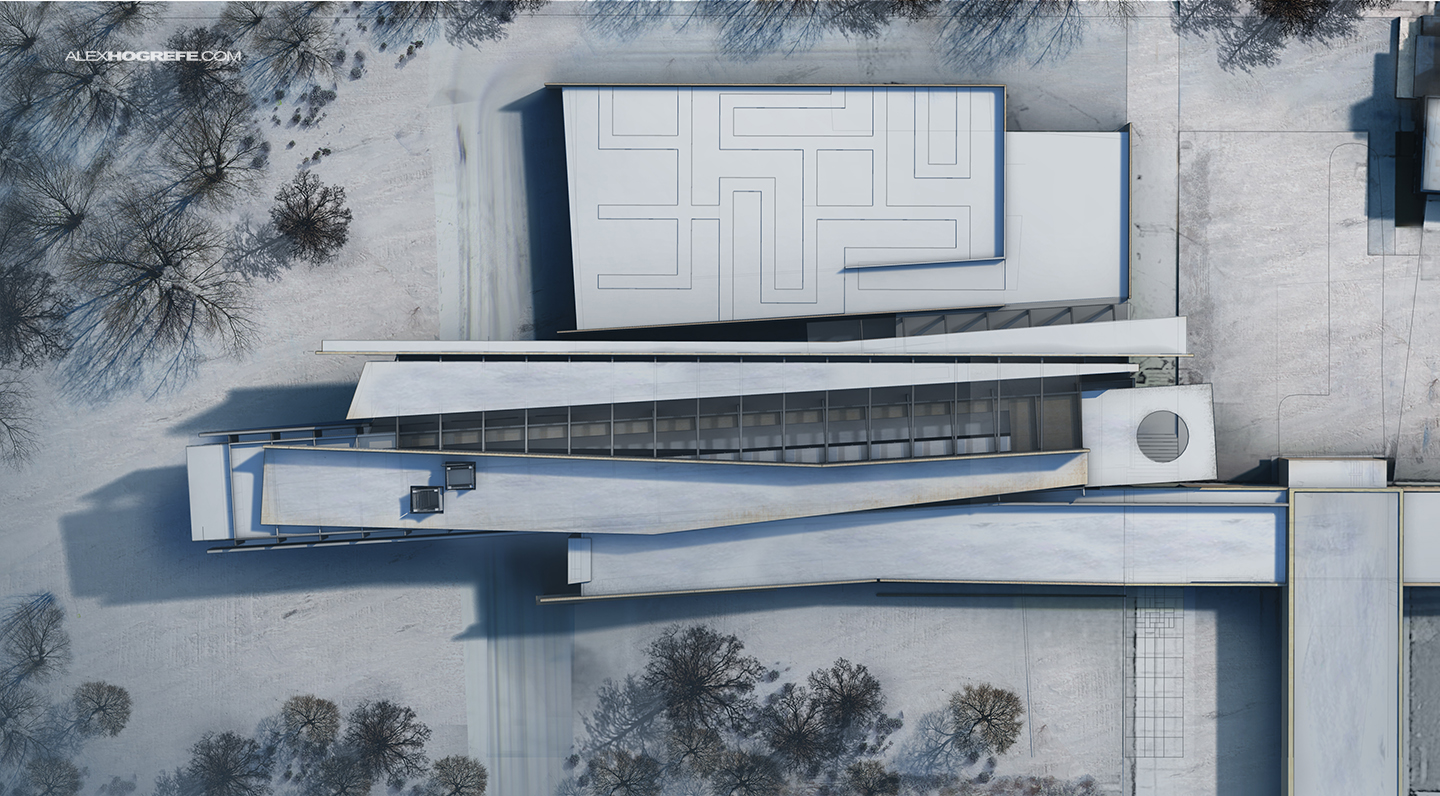
5. I spent a lot of time looking for winter trees in plan view. Luckily, inserting the tree images into the illustration is simple because they are essentially silhouettes. Images of winter trees have no leaves and white backgrounds because of the snow. All I needed to do was set the layer blend mode to “Multiply” to get rid of the background but still keep the tree and shadow.
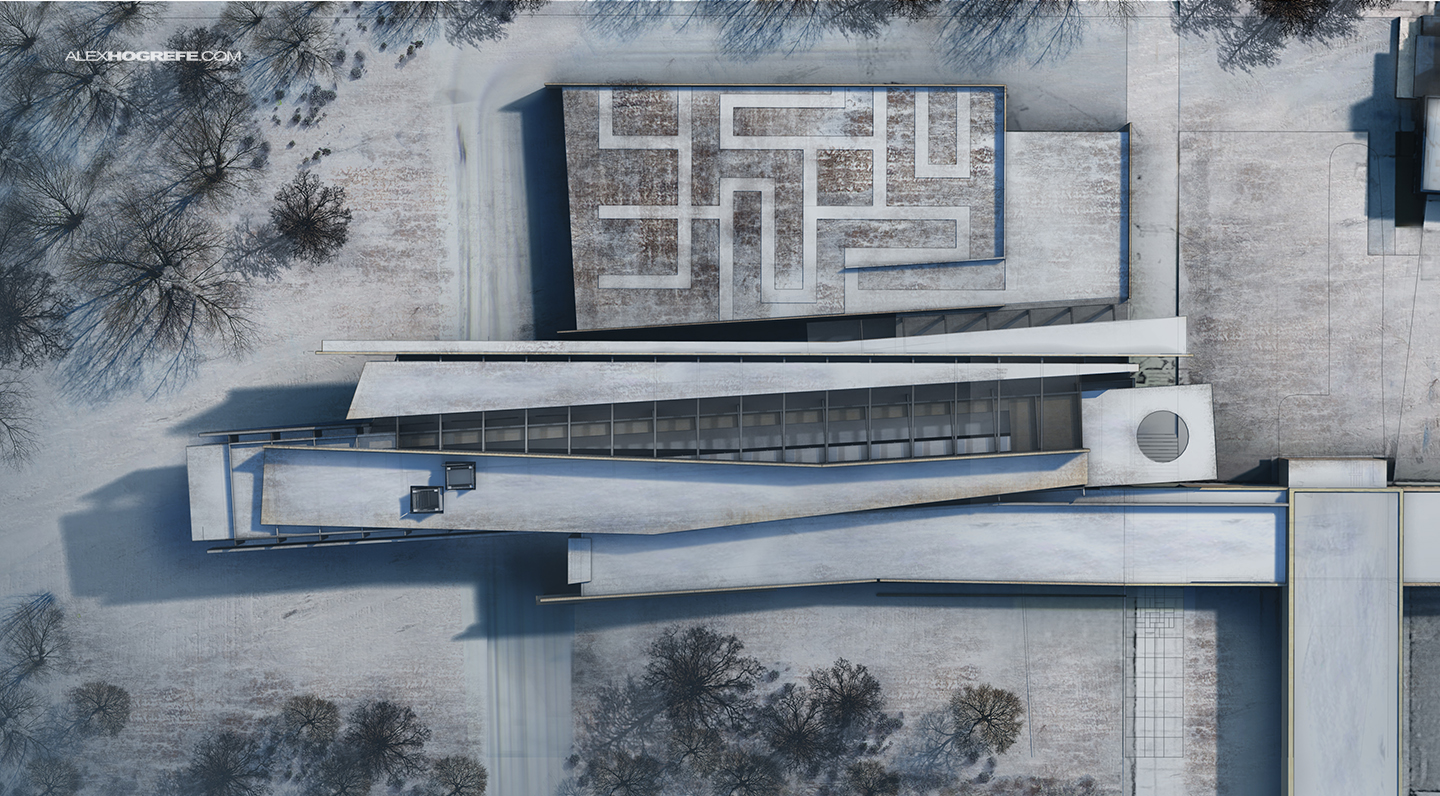
6. I liked the idea of letting the grass and landscape peak through the snow and I was able to find a texture online that gave me this look. I copied it several times to generate a larger texture. I started on the roof garden and carried this texture throughout the site.
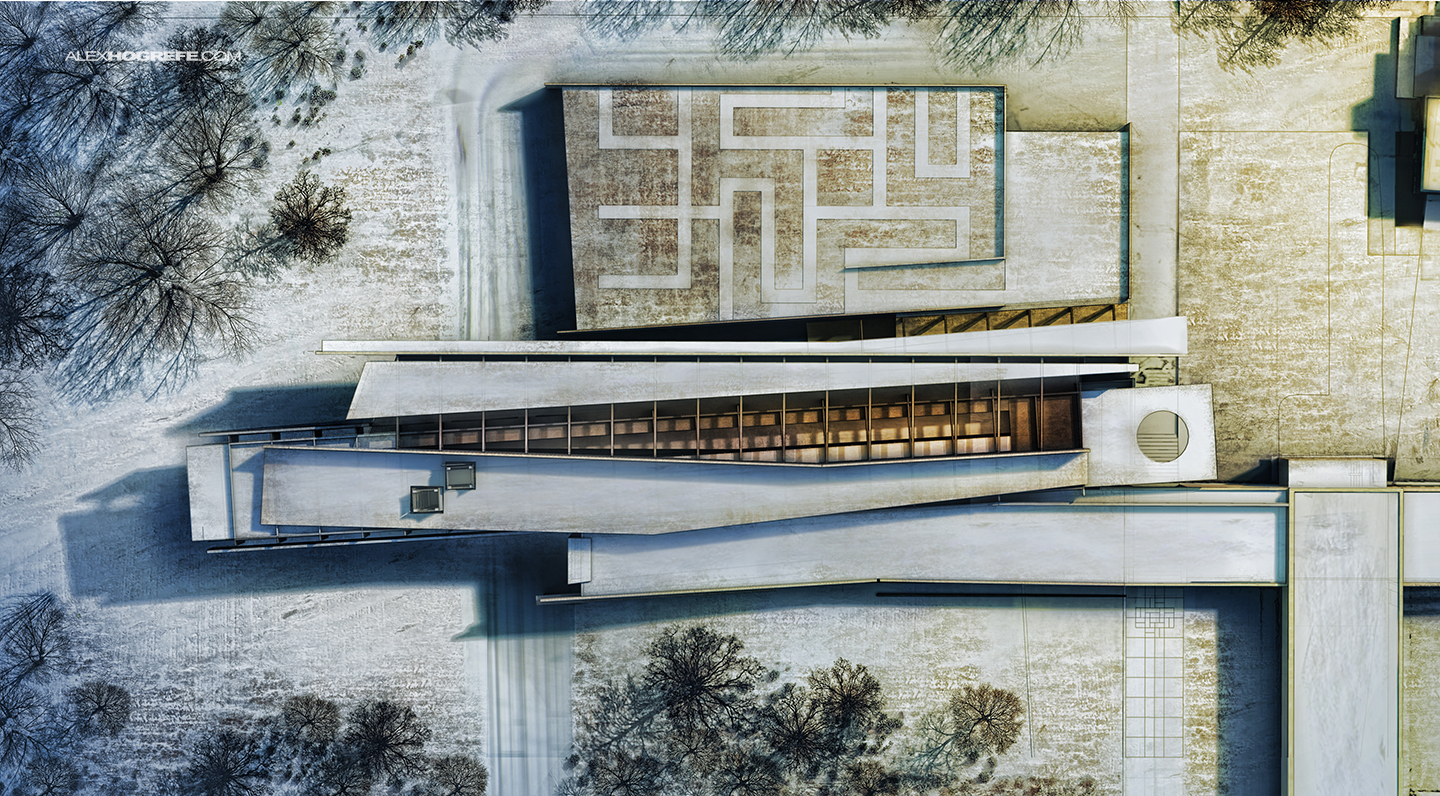
7. It’s usually around this time that I begin tweaking the colors. In this case, I wanted the image to read largely cool with lots of blues. However, I added a yellow color overlay to offset the cool tones and give some contrast. I also wanted the interior of the building to pop so I amped up the warm tones in these areas as well.
8. I plan to add falling snow which significantly reduces the clarity and detail of the base image. I jumped into my TOPAZ LABS Photoshop plugin to increase the detail and texture to help offset this dilution. I endued up using the “Clarity” preset within TOPAZ ADJUST to get the below result.
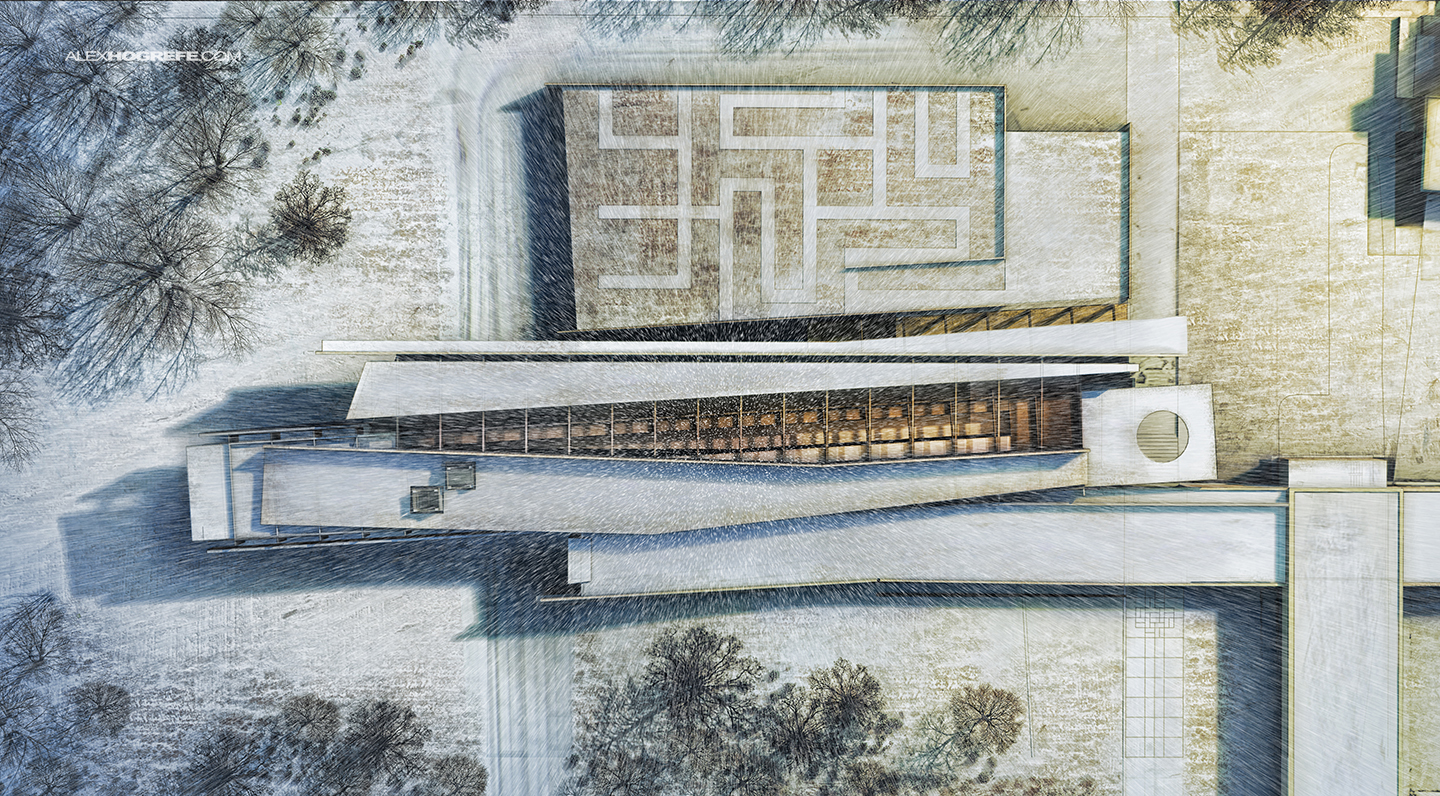
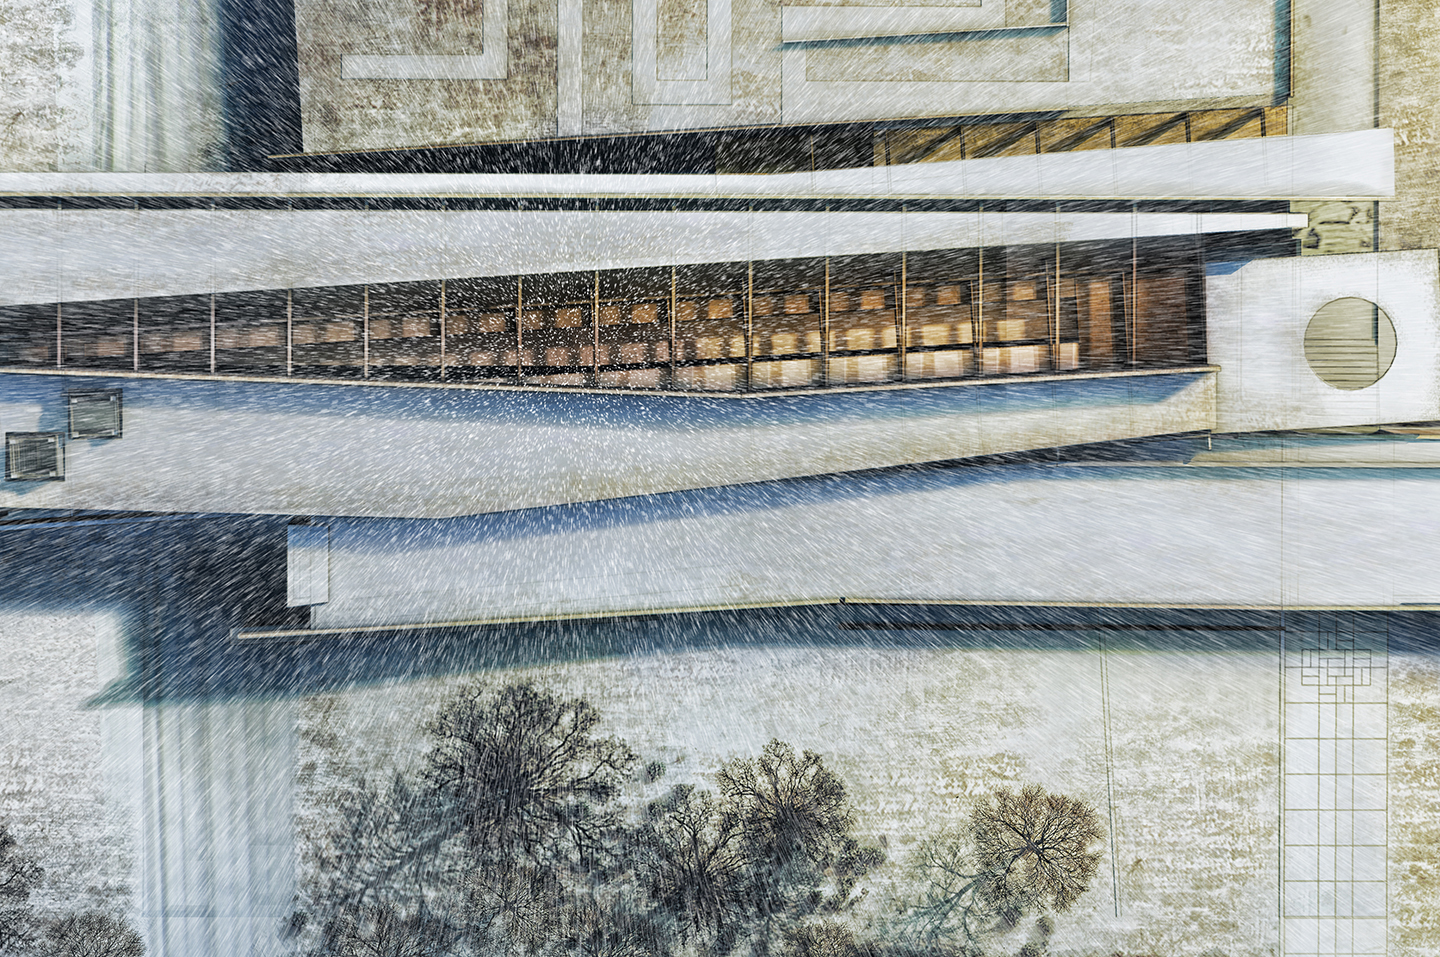
9. Finally, a winter scene would not be complete without some falling snow. Because of the view, vertically falling snow that I have used in past illustrations would not work here. Instead, I used the radial blur filter which created an interesting effect. The texture is great and really sets the mood for the scene. A detailed tutorial on how to create falling snow can be found HERE.


your a beast. keep up the work man, you have no idea how much you have helped me.
Where did u get the Nice trees from? Ive been looking for ages for birds eye Winter trees like you got.
Hey, great work. Keep it up.
Hey Alex, this is stunning, thanks a lot. Can you tell me where you get aerial photography at such high resolutions though?
@Paul,
Just from google searches. I found several and just copied and scaled them to get a good diversity. Like I said in the post, they where photos (not cutouts) that I set to "Multiply" to get rid of the snow background.
@Chris,
none of the images where high resolution. They were all obtained from google image searches. I took the "medium" res images and cloned/copied them to build larger textures. The trees too, were not great resolution but high enough to get by. I will say that I spent a lot of time looking for just the right images.
I think Step 8 has a little more clarity. The failing snow is a nice artistic touch, but ultimately detracts from the image – especially a site plan. I would lower the opacity and/or decrease the density of the falling snow. However, it depends on the what you trying to achieve. If you were trying to be creative and fun then you nailed it.
Great work!
Hey , thanks a lot. I really enjoy your illustration techniques . I use them all in my works
great work
Great work Thanks for sharing!
Great work. Do you mind telling me where you found the winter trees? Where do you find any trees in plan view for that matter. I have no trouble finding images of trees to be used for elevations and perspectives but I have had some trouble finding any sort of trees in plan view to add to my image libraries. Most of the images of plan view trees that I find have annoying watermarks or are cartoonish. Thanks for sharing.
Hey Alex. Ive got to say your works inspire me alot and you have no idea how much you have helped me so long. Btw Ive got a question or two that I want to ask if you dont mind. There is and issue I always face which drives me crazy every time while photoshoping!! It is matching the external elements which I bring in to my render. Like trees or bushes. They dont match the lightning and the color of the scene so the look so artificial. I wanted to know how to fake the vegitation and matching the lightning and their color with my render. Thx alot, your my hero 🙂
hi could you make video of this tuturial ?
Hi,
My Google erth give me very low resolution and usefull image,I can't use it for landscape.
how u export image from Google erth?
@Veradi,
I usually zoom in really close and export many images. I then stitch them together in Photoshop.
inspirational
Hi, thank you very much. You could not imagine how helpful it is to me!
One little thing, Snow is light, so it has very low speed if there is no wind. I think your snow goes down too fast. It is more like rain.
Any way, thank you very much!
Would you recomend a reference that you follow?