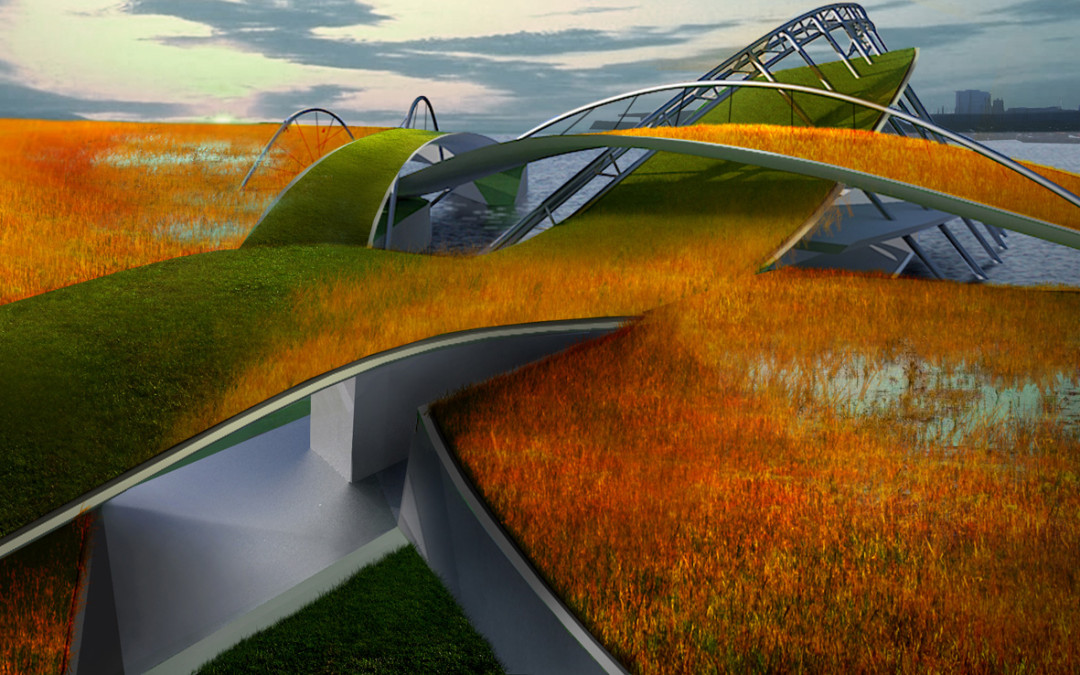
The illustration in this tutorial was used for a competition that another student, Jeff Kruth, and I worked on a few years ago in grad School. The video explains the work flow used to add tall grass to an otherwise dull Kerkythea rendering. Some important things to pull from this video are how default Photoshop brushes can be used to get rid of the clean edge lines left over from the rendered image. In this case, a default grass brush in Photoshop was used to soften the edges of the landscape. The burn and dodge tools were used to add shadows and highlights to the vegetation.
In order to cut down the length, I didn’t really take my time with the clipping and making selections. Normally, this would be done a little more carefully and precisely. The base rendering isn’t at a very high resolution either. The video moves pretty fast, but there is a lot of information I am trying to fit in a small amount of time. You may have to use the pause button quite a bit.
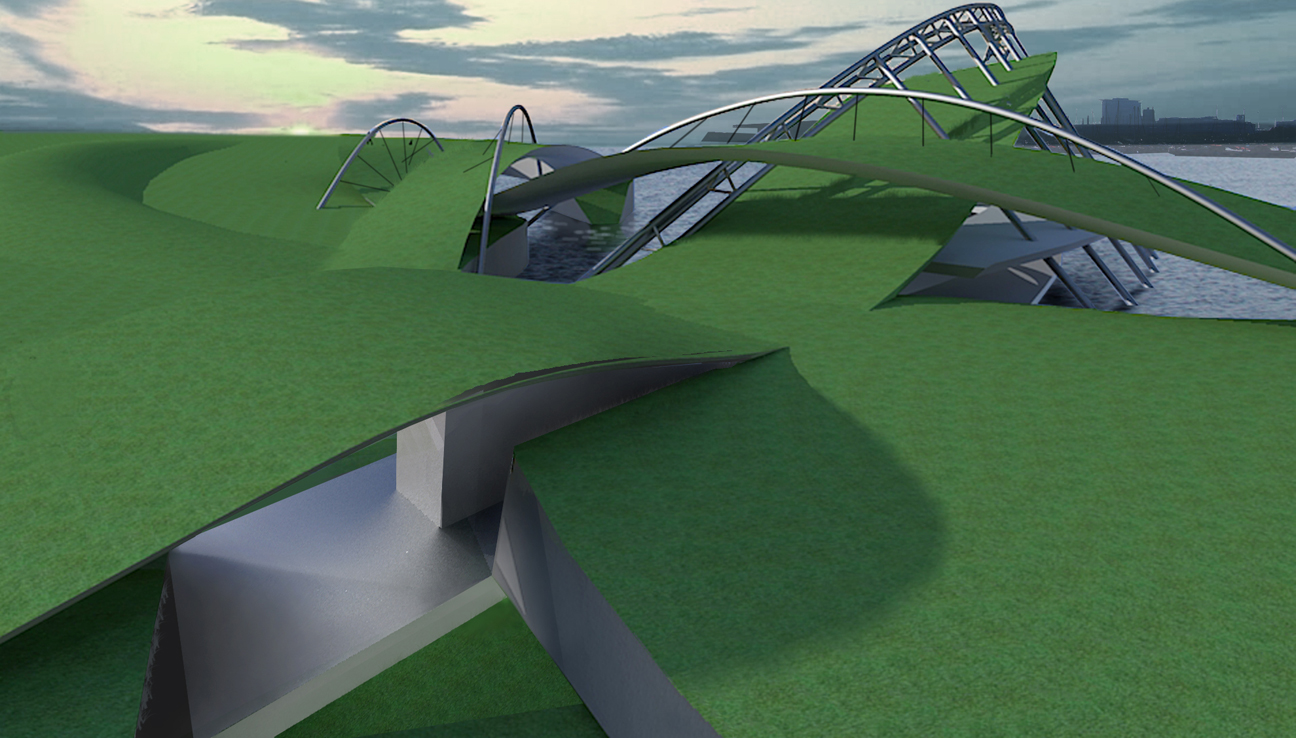
(Above) Base Kerkythea rendering with sky and background elements Photoshopped in.
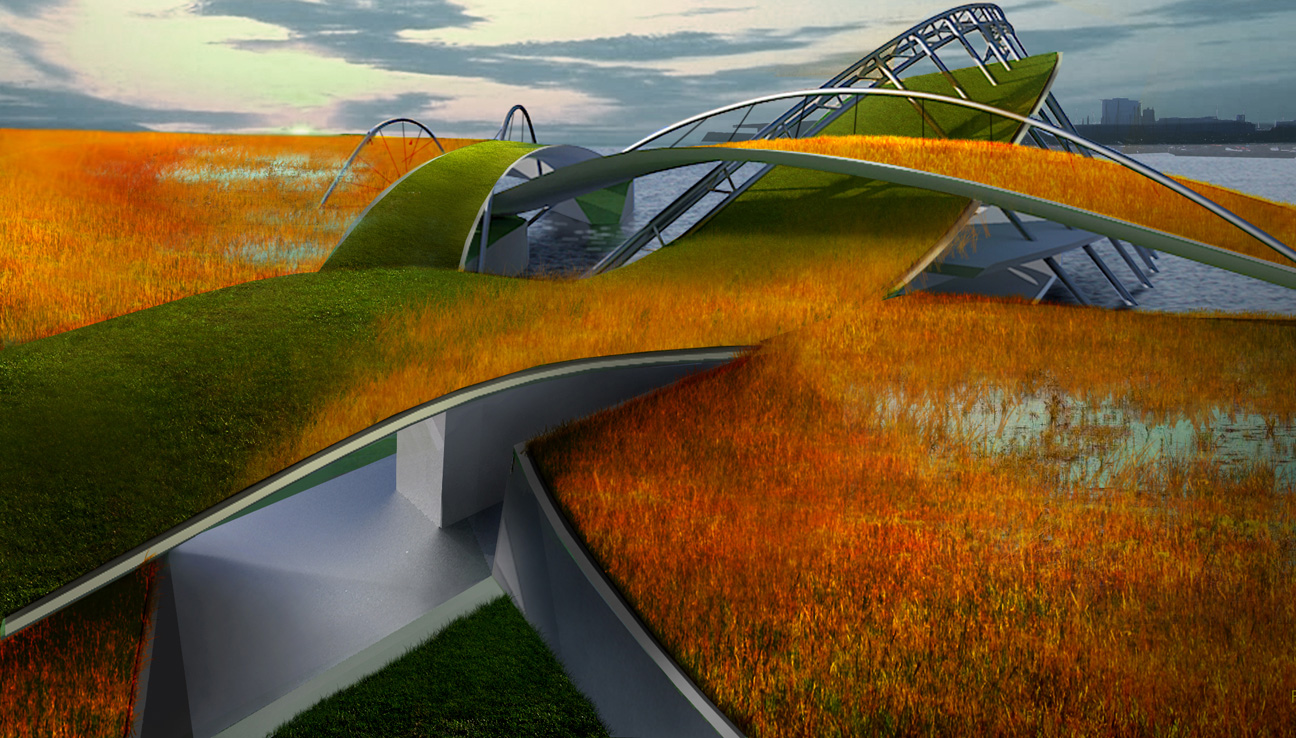
(Above) Grasses added through Photoshop.


We all are supposed to learn from somebody like you
Thanks. Teacher
See you soon
welcome
We all are supposed to learn from somebody like you
Thanks. Teacher
See you soon
You're a great friend to all students of architecture.
Thank you very much for showing your work. You have a friend in Spain
Thank you, very much
Just GREAT man! You´ve always have a free beer in Germany:)
Thanks a lot!
Thank you Alex!
Hey Alex,
plz dont stop teaching us! Your always welcome to Vienna!!!
Thanks a lot man!
Cheers.
Vienna and Germany, awesome.
…and Bulgaria!:)
Amazing tutorial! Never thought the basics on Photoshop could be brought to such a high level!
Thanks for your time and effort. Please do not stop these wonderful tutorials!
Thanks Alex!! your tutorials are helping me a lot … Saludos desde Honduras!!
Christmas gift <h1>coach bags outlet</h1>
The most fashionable cheap <h1>coach outlet online</h1>
Christmas Specials <h1>authentic nfl jerseys</h1>
Beautiful and unique <h1>coach outlet online</h1>
2011 most unique design <h1>wholesale designer bags</h1>
Buy want to buy products <h1>coach outlet store online</h1>
Professional design <h1>coach handbags on sale</h1>
Single product sales <h1>coach bags on sale</h1>
Cheap and good-looking <h1>coach outlet store</h1>
With top design <h1>authentic jerseys suppliers</h1>
Male friend love <h1>nfl jerseys from china</h1> Very glad that you buy
You have been viewed, and greeted from Lebanon, Beirut, just have to tell you sir, that you are amongst the best, just to show the whole world your experience and teach all of us, no one could do what your doing, and without taking granted, that’s quite something! Thank you and keep up the good work, we even learn from your tutorials in class man!!
No teacher I know teaches rendering the way you do. We have learned not just to use the tools but you have also shown us the ways one can expand the creative horizon. Thank you.
Thank u and thank you for your remarkable work!
Thank you Alex.
you are a savior
Thanks very much for the tutorial from Italian architecture student, just one question: where can I find the “grass brush”?
You’re awesome Alex 🙂 Beer on me if you’re in Canada sometime!
where can I watch your video? It was awesome but now it is gone 🙁
the vedio doesn’t appear 🙁 please can you help me to see it .
your a great teacher a beer for in in Nigeria as well wen ever u visit.
Really amazing, not only tutorial but also the music. Thx man!!
Just want to say thanks for all the help your tutorials have given me. You got me started on Kerkythea, and I’m now realising what’s possible with Photoshop to take things to the next level.
Cheers!
I’ve watched with full of admiration 🙂
That was awesome, thanks a lot for the tutorial!
What do you touch, what’s the keyboard shortcut when you select inverse, and that grass gains shape into the first selection before selecting inverse?
help me a lot. thank you very much! I wonder if you could put out the materals that you uesd in the work, it’s really awesome, I can’t find those material as good as yours. By hte way, it confused me a lot, how to deal with the shadow of material?
you follower from China
Is there a video? It crushed…. I can’t find it
Really good tutorial and really good music. I’m becoming such a big fan of your work.
From an architecture student, thanks for this.
Thanks a lot Alex. I’m just beginning to learn viz. At some point you merge down layer 3 to 1, was that done to control them 2 together?
forgive my late coming
Thanks a lot !
You have a friend in Mexico love your work keep it up !
Thanks from Argentina 🙂
I love you work and the effor you put in this site.
Si vous glorifiez les bâtisses en bois, voilà http://www.Woodyloft.fr qui propose des annexes en bois. Vous êtes un original à la recherche d’un logement pour recueillir votre foyer le temps d’un pont ou bien pour coucher un universitaire ? vous êtes un professionnel à la recherche d’un cabinet autonome et dépeuplé de la maison individuelle ? Woodyloft propose des Studios de jardin en bois de caractère livrés rapidement chez vous. Contactez nous pour plus d’informations sur nos studios de jardin.
Thank you so much! Your work and your tutorials are amazing – big fan from Vietnam
Do you have a spam issue on this site; I also am a blogger,
and I was curious about your situation; many of us have created some nice
methods and we are looking to trade methods with others, be
sure to shoot me an email if interested.
Using this is 2017. Can’t say how helpful this is. THANK YOU for taking the time to make these.
Great Video! what is the grass texture/picture you used at the begining? Is it a picture of a wheat field or some other plant?
Thanks!
AMAZING MAN !!
I use this approach for the grass on a recent rendering. It’s a great way of getting around the limitations of Revit grass.