I spent the weekend modeling up an old studio project that I designed my sophmore year in undergrad. It’s something I have been wanting to do for a while since the original project was done by hand i.e. no computer. I was able to scan and scale my old hand drawn floor plans and sections and begin building the 3-D model based on that information. This model should come in useful for some posts that I have planned later on down the road.
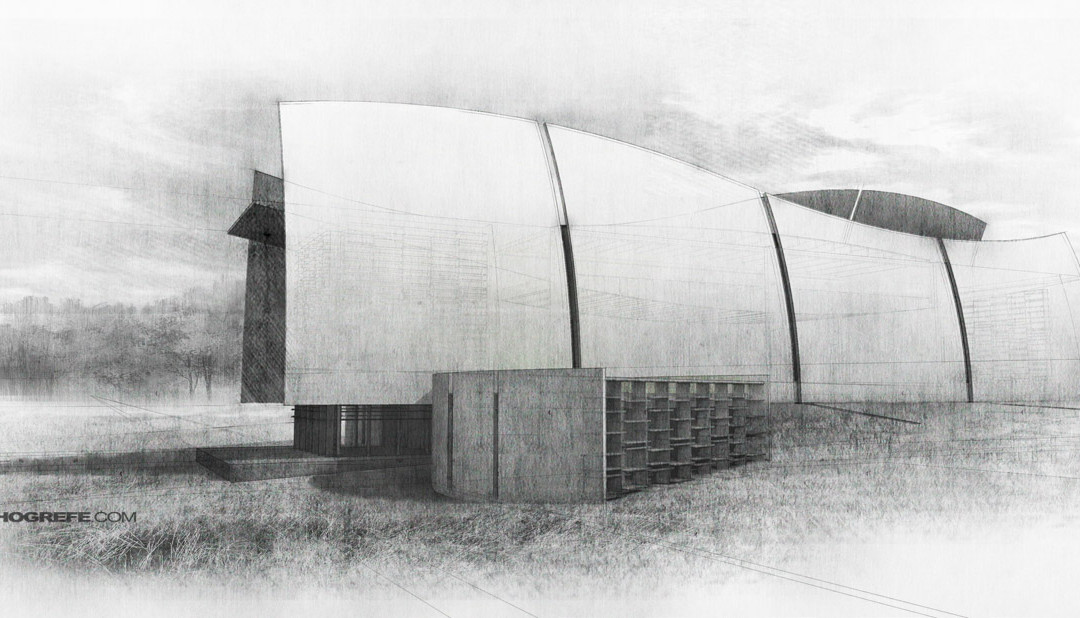
I have also been wanting to revisit the “Sketch” illustrations that I created a while back. They received a lot of positive feedback and many people asking for a tutorial. My intention this weekend was to build the model and create a tutorial but time wasn’t on my side. I was able to put together one illustration, but the tutorial will have to wait until my next post. Be sure to check back. For now, I have uploaded some of the images used to compose the final sketch look.
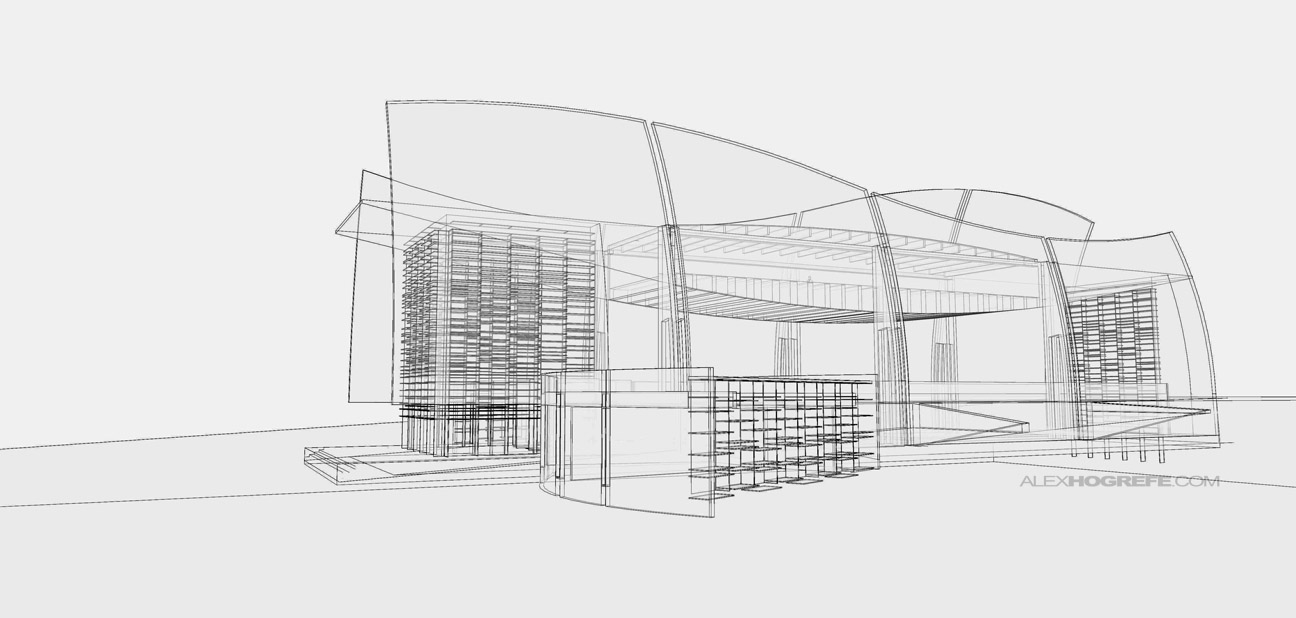
I used the x-ray image to give a slight hint of what sits behind the large curved walls. It’s sublte in the final illustration, but helpful in understanding the geometry.
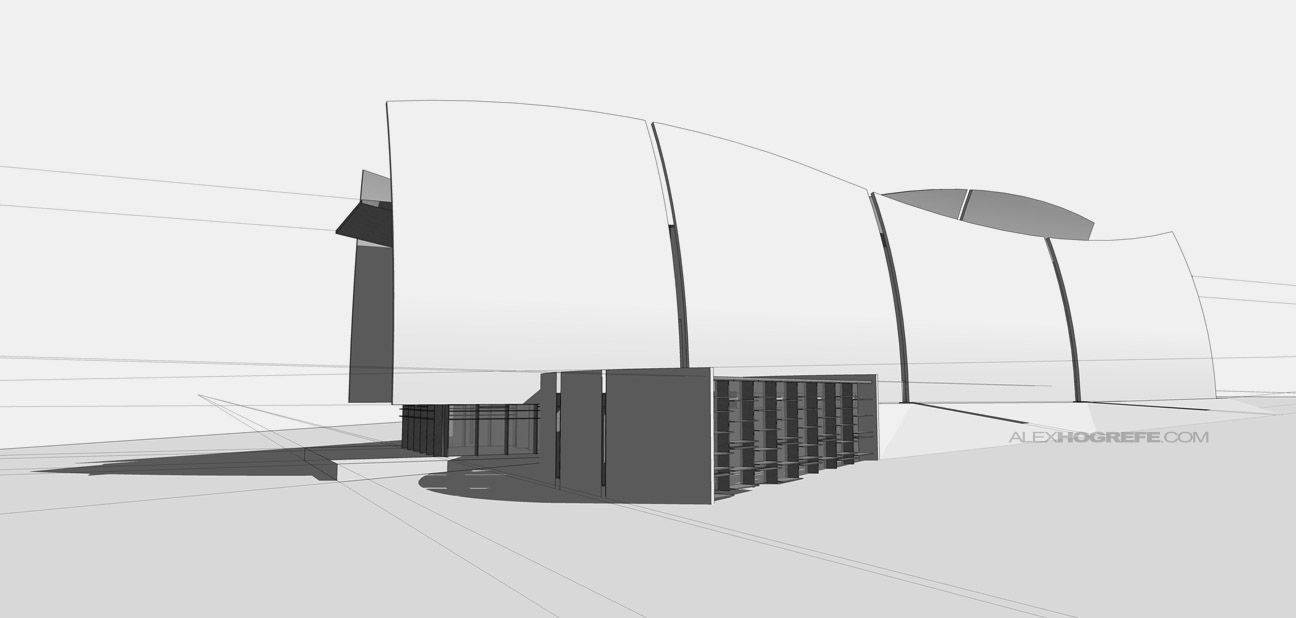
I didn’t really use the above Sketchup export in the final illustration, but thought it would be useful to post a screenshot of the model.

As always, a Kerkythea clay model rendering was used to provide shading information for the illustration. A V-Ray or 3d studio renderings would work just as well.
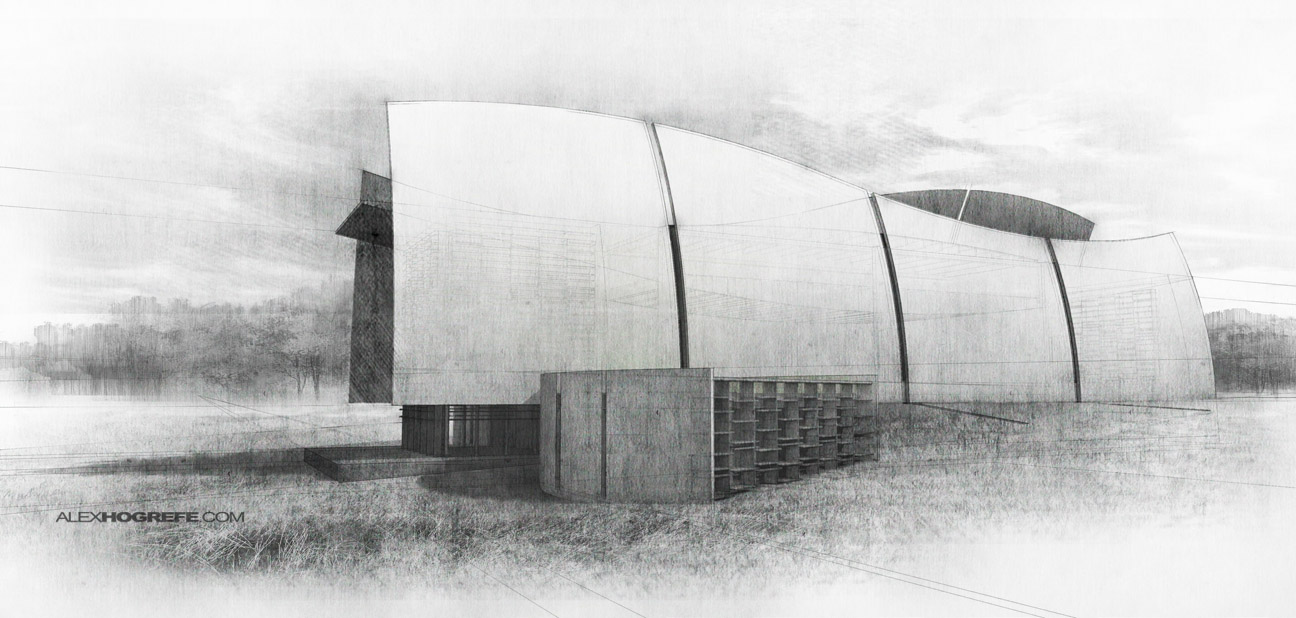
Textures are what make this image. I scoured the internet looking for many different types of sketch textures as well as created some textures from my own drawings. In the end, it’s all about how you combine the textures and add imperfections to get the realism. Like I said above, I hope to go into more depth on this illustration next post.


As always Alex, so inspiring. I'm 6 weeks into my final semester of Architecture and I brushed up on my presentation skills by scouring your tutorials! I look forward to seeing a tutorial for this one – the last sketch tutorial was really helpful.
Cheers,
Ben
Victoria, Australia
my clay renderings dont match with the normal pics….help!
edwin,
your 3D environment camera may not match your render camera – ie the 3D space may be at 35mm, but your render might be at 50mm.
Can you do a video showing how to get last image?!
Your work is great.
I am a student from Argentina … your graphic are great … I also use kerkythea and photoshop I hope to become as good 🙂
Alex, I cant describe how helpful has been your tutorials. I´m a studen from Argentina and you have made my works emprove a lot. I can´t wait to see more!!!!
Thank you.
I really enjoy your work and your tutorials.
Have you done one showing any of your sketchup secrets yet?
I love the curvature of the buildings wall and the detail you can get in your models.
Your sketchup work always looks so flowing so I was wondering if you could share with us some of your tips.
I have done multiple tutorials but none of them are as helpful as yours!
Thanks!
Wow, Im really behind with comments. Its always good to hear such positive feedback.
@Edwin, a couple of things could be causing the problem. First, "parallel" projection SU views tend to not import into Kerkythea very well. You may have to zoom in or out to get the geometry back into frame. Also, when you import a "perspective" into kerkythea, try not to move or orbit inside Kerkythea and don't change the resolution when you go to render. Then, see if that fixes the alignment issue. Sometimes, changing the resolution changes the proportions of the frame, making it a little tricky to align the rendering with the SU exports.
@Andrew, I get that question a lot. I have been trying to avoid tutorials focusing on SU modeling because its off topic of the site and architectural illustrations. However, I have a lot to say, and there doesn't seem to be too many "clear" cut explanations on how to model in SU. Or at least, the way I do things. There are some overall concepts along with some tips and tricks that I have in mind. I will see if I can put something together. Thanks for the comment.
Amazing~! Finally, I can see your amzing job.~! Also I'm really looking forward to see your next post~! Keep it up~!
En verdad admiro su trabajo, es fascinante.
Thanks Alex!
If you have the chance, that would be great!
Since many of your illustrations have a base in Sketchup, having the ability to build a better model could help anyone trying to get close to your illustration level.
Keep up the fantastic work!
Hey alex…was wondering where you get your "sketchy textures" from…having trouble finding some I can use to overlay my renderings…do you have a website you use or what ? thank you for your time ??
THANK YOU!!!!!!!!!!!!!!!!!!!!!! 🙂 Please don't stop blogging here 😀
Fantastic! thank you!