A while ago, I created a tutorial showing how to render a section only using a Sketchup image and Photoshop which can be seen HERE. That tutorial was meant as a last second resort when time was limited and a decent looking image was needed fast. However, there is a second way of rendering sections that I have used in the past which was a little more complicated but provided a better result. This other way makes use of a great Sketchup plugin called Zorro 2 by Dale Martens. The plugin takes any section plane in Sketchup and cuts the model while deleting whatever was behind the cut. This means the model can be rendered in any rendering program like Kerkythea as a 3D section. My Sketchup models are usually made up of layers upon layers of groups which make it a hassle to cut sections manually. The Zorro plugin automates the process and saves all of the groups. It’s a huge time saver and something everybody should have who uses Sketchup.
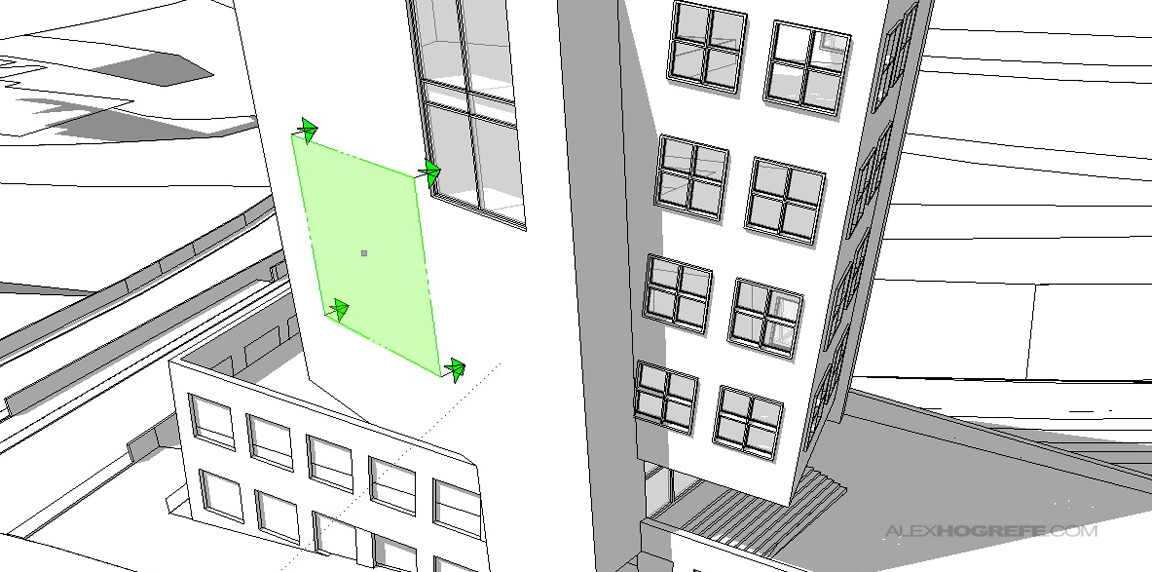
The plugin is easy to use. First, download and install the plugin. Then, using the “Section Plane” tool in Sketchup, cut a section in the model.
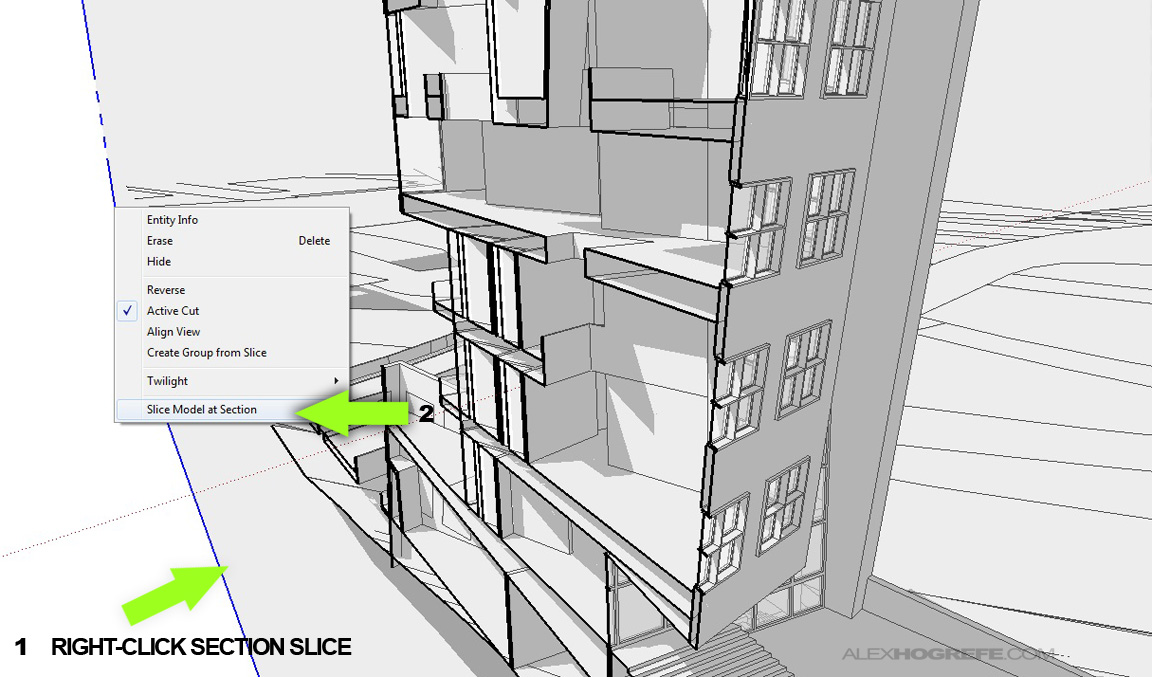
Next, right-click on the section plane and choose “Slice model at section”.
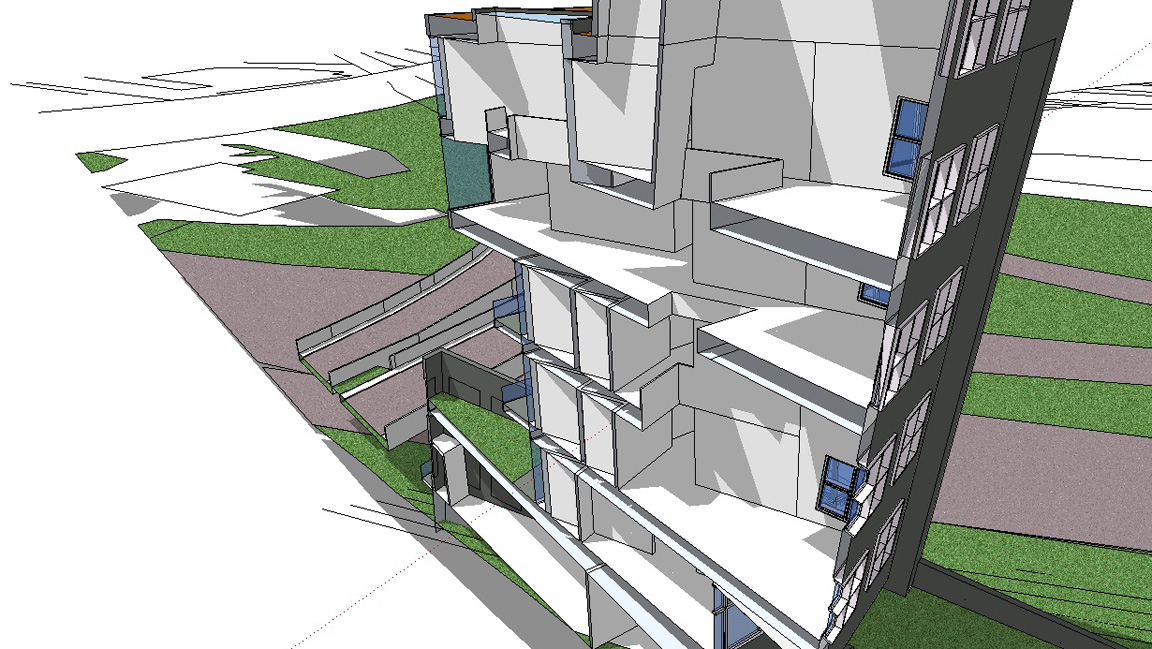
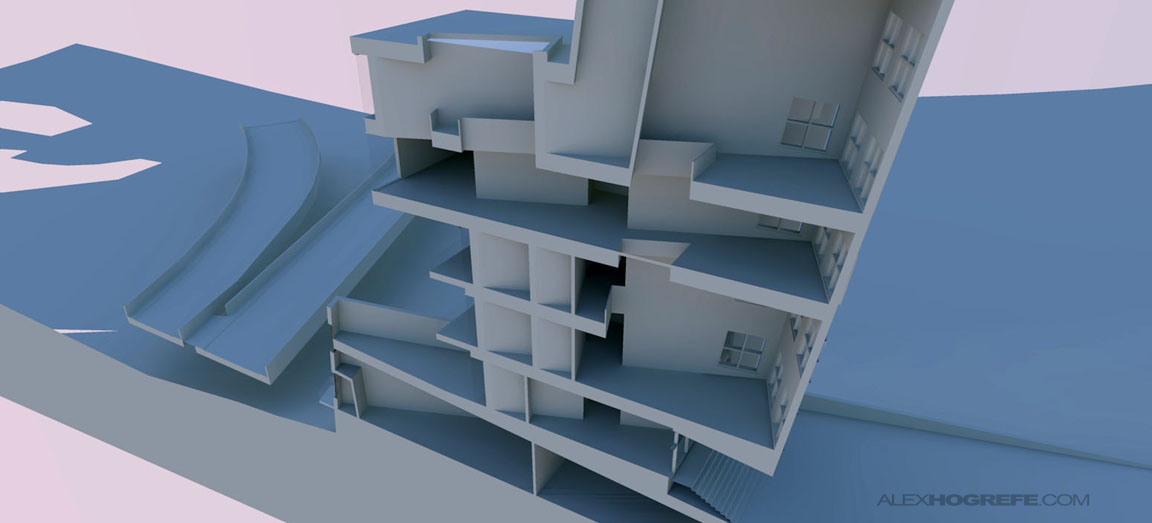
After a few seconds, what is left is the model cut exactly at the section plane with the area behind the section cut deleted. Obviously, it’s a good idea to copy the model before you use this plugin to avoid deleting half your model.
Once cut, the model can be rendered in any rendering program. I threw it in Kerkythea and just did a quick clay rendering
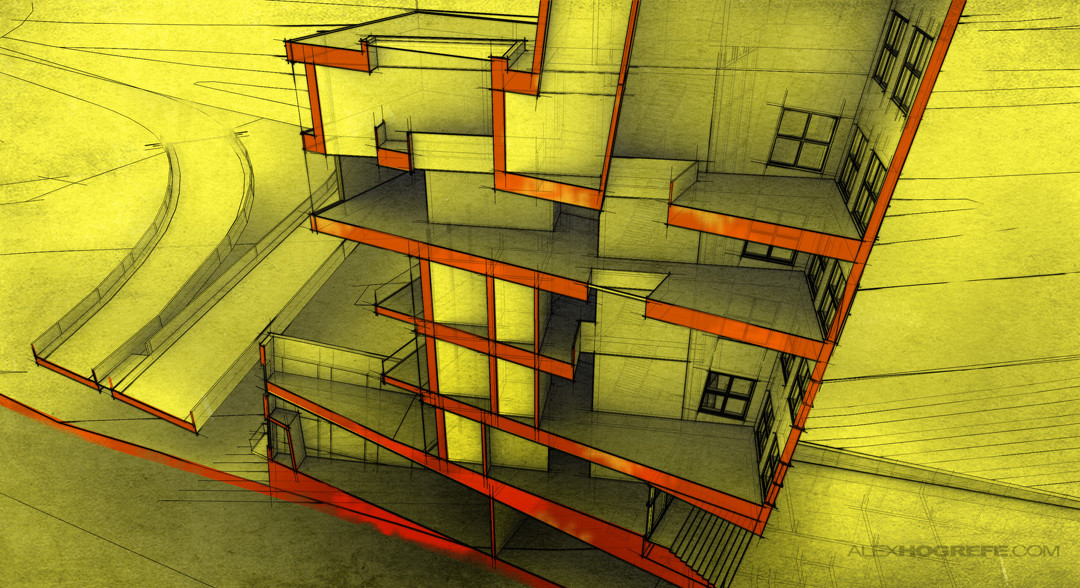
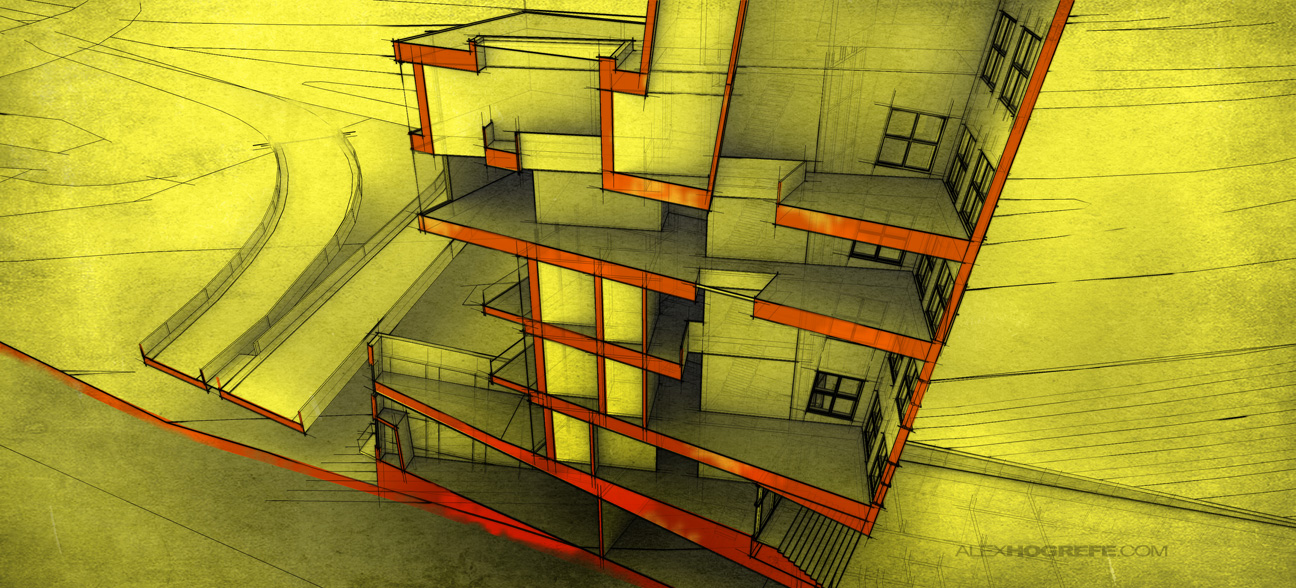
Finally, I did some post-processing of overlaying line work and giving the image some color and grunge. Nailed it.


First of all, let me congratulate you on a fantastic blog you run here. I wish more professionals shared their knowleadge like you do.
I have a question regarding the section cut. If I'm correct, the plugin cuts the model, but leaves some "holes" on the walls and floors. Do you fill the spaces in photoshop later or there is another way?
Thank you in advance and keep up the good work!
Fred
I am interested in how you create the hand drawing style at the last? I realize that you overlay the tecture onto the diagram…but how about the line weight and construction line? is it the style of sketchup or the edge style? or just create it using photoshop?
sorry for asking so much questions…
great tutorial Alex
@Fred
Your correct, it does not fill in the holes, however I think there is some type of plugin that specifically does that, I don't know it off the top of my head. For the model above, I just modeled surfaces over the wholes after I ran the plugin. They can be easily painted over in Photoshop as well.
@Ken,
Check out my Blueprint tutorial : http://www.alexhogrefe.com/3d-blueprint/2011/7/3/3d-blueprint-tutorial.html#entry11999234 : I used pretty much an identical workflow, just with different colors.
The tutorial you provided was such a big help for me. Thanks for sharing and hope to see more of your helpful blog posts in the future.
hey alex, where can I download the zorro 2 plug in.. i cant seem to find it on the link .. thanks..
@Rojo,
You have to register and sign into the forum. Then a file will appear for download when you go to the link. I had the same problem the first time I went there haha.
Alex let me start by saying your tutorials are by far the best for architectural rendering I have used. I found this one and the previous one particularly useful at university. I was wondering if you are planning on doing a tutorial where you show us how to add greenery and planting such as ivy to facades, fences and columns. Theres alot of people as well as me who would find this very usful !
and thanks again for the tutorials
Kind Regards,
Tom
wow. 😉 very nice and veryinteresting results.
@James,
Thanks for the kind words. I covered that topic somewhat in my landscape tutorial : http://www.alexhogrefe.com/blog/2011/11/6/workflow-video-landscape-via-photoshop.html . I have a few more things I want to cover before I do another landscape tutorial. Take care
Hi Alex, I tried to download the plugin but i can't even when i login
"You do not have the required permissions to view the files attached to this post."
veeeery nice! tks for sharing
Hi, I am trying to use zorro for the first time but every time I slice the model at the section I get an error message and sketchup closes down, how can I get it to work properly?
hi, ive tried this technique and it didnt cut my building. maybe because there are many components and groups inside but i'm doing a large scale building, it will be hard if i want to explode everything.
Hi Puteri,
It could be that you have so much geometry it is just overloading your system or taking an extremely long time. Something you could try is take sections of you building and copy them into another model using the "paste in place" option and use the zorro plugin on each section individually. Then just paste them all back into a single model when your done.
excelente tutorial justo lo que necesitaba gracias
@charlotte
i am having same problem.. did u solve it?
@Vernica & Charlotte,
There are a few things that could be causing the problem. Sometimes, when the model is extremely large and complex, the plugin has trouble cutting through all of the geometry and can cause the program to crash. Therefore if you have certain high poly items that you can turn off such as trees and cars, that may help.
Also, try exploding all of the groups and components. While the plugin can work with groups and components, sometimes it works better when everything is exploded.
If none of the above suggestions work, try copying all of the geometry into a new model.
Your problem has happened to me a couple of times and the above solutions tended to solve the crashing.
Hello Alex,
I find your blog very interesting and i visit it almost every day for updates.
I need to add something to this tutorial here(also the XRAY TUORIAL)
The plugin ZORRO2 crashes most often so i tried doing things some other way and I think this will solve many people`s problem.
WORKFLOW-
Create a "COPY" of your model."EXPLODE" it.
In the copied model,place the section plane, right click on the section plane and select "CREATE GROUP FROM SLICE"….this creates a group from the sliced edges,..Next you can create faces from the edges present in this group by "EDITING GROUP"…or run the "MAKE FACES" plugin inside the group…..the surface created can be used at place of section cut.
Go to top view,create a selection of the edges and faces before and after the section cut by dragging selection window from "TOP-LEFT TO RIGHT-BOTTOM"
(this selects only the edges completely in the selection window) and "CREATE A GROUP FROM THEM"…
…Playing around with these groups & the workflows mentioned in the BLOG can lead to similiar results.
I missed to add something.
To select the faces you need to "INTERSECT" the "SECTION SLICE GROUPS" with the "EXPLODED" model.
@Alex
Thanx for your help but it still doesnt work .. i get the same error report. My file has nothing other than the block i need section for.