
I’m always looking for ways to take renderings that just aren’t working and turn them into something that can be used for portfolios or cover pages. This tutorial is about as simple as it gets in terms of difficulty and speed. In the example below, the initial image was a crap renderings right out of Kerkythea. Sketchup images will work too, just turn off the line work. The idea is to take the dead rendering and dilute it to the point that it becomes more artistic and abstract. These types of images are great for introductory pages and portfolios because text can take on a stronger hierarchical role with the rendering moving to the background. You will see that it only takes a few steps to get to what I think is a nice looking result.
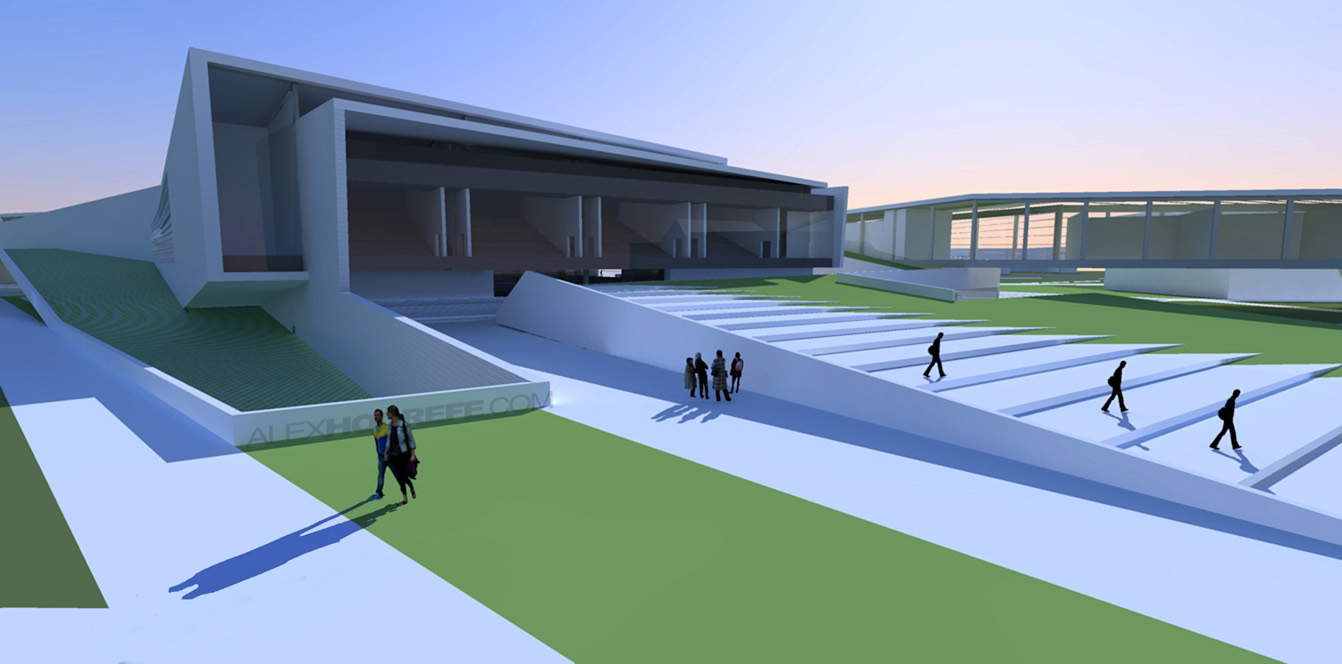
Below is the initial rendering right out of Kerkythea with no Photoshop post-processing.
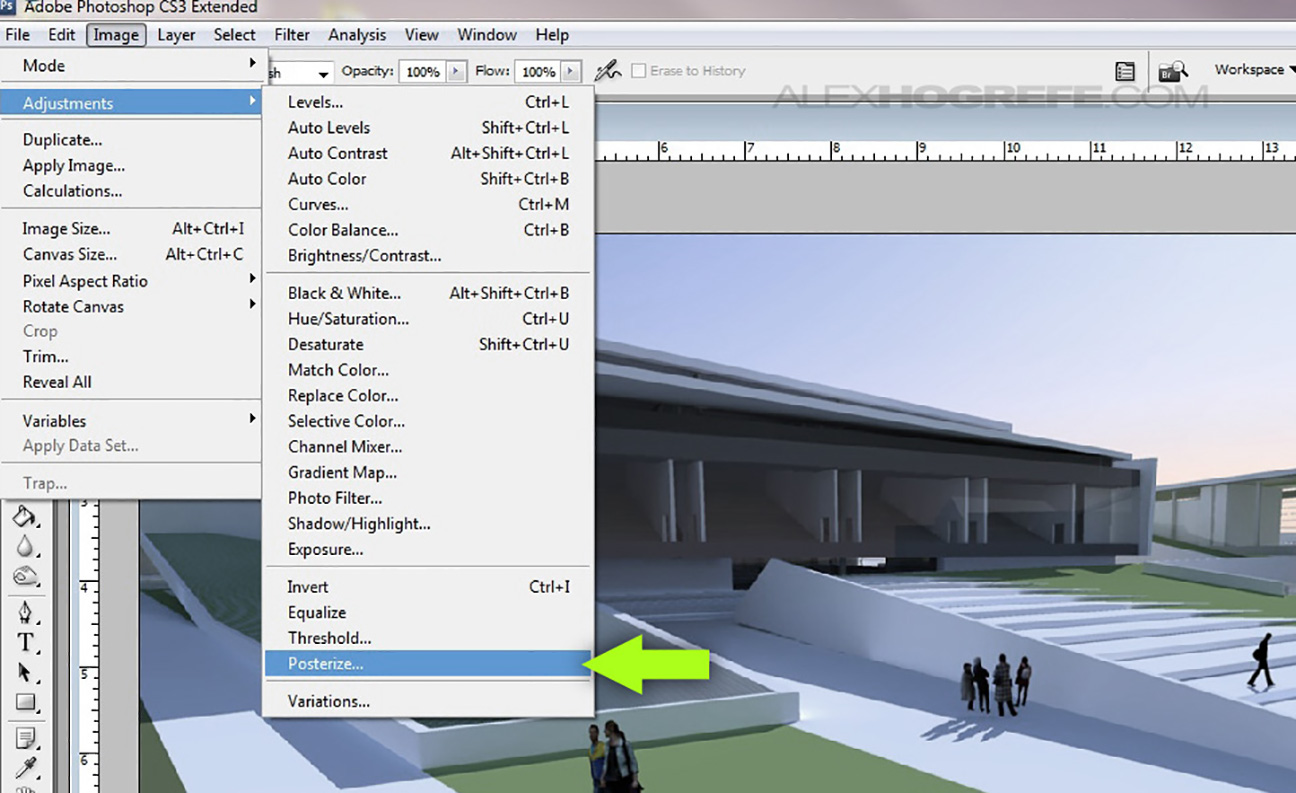
1. To begin, open the rendering in Photoshop. Then choose “Image>Adjustments>Posterize”.
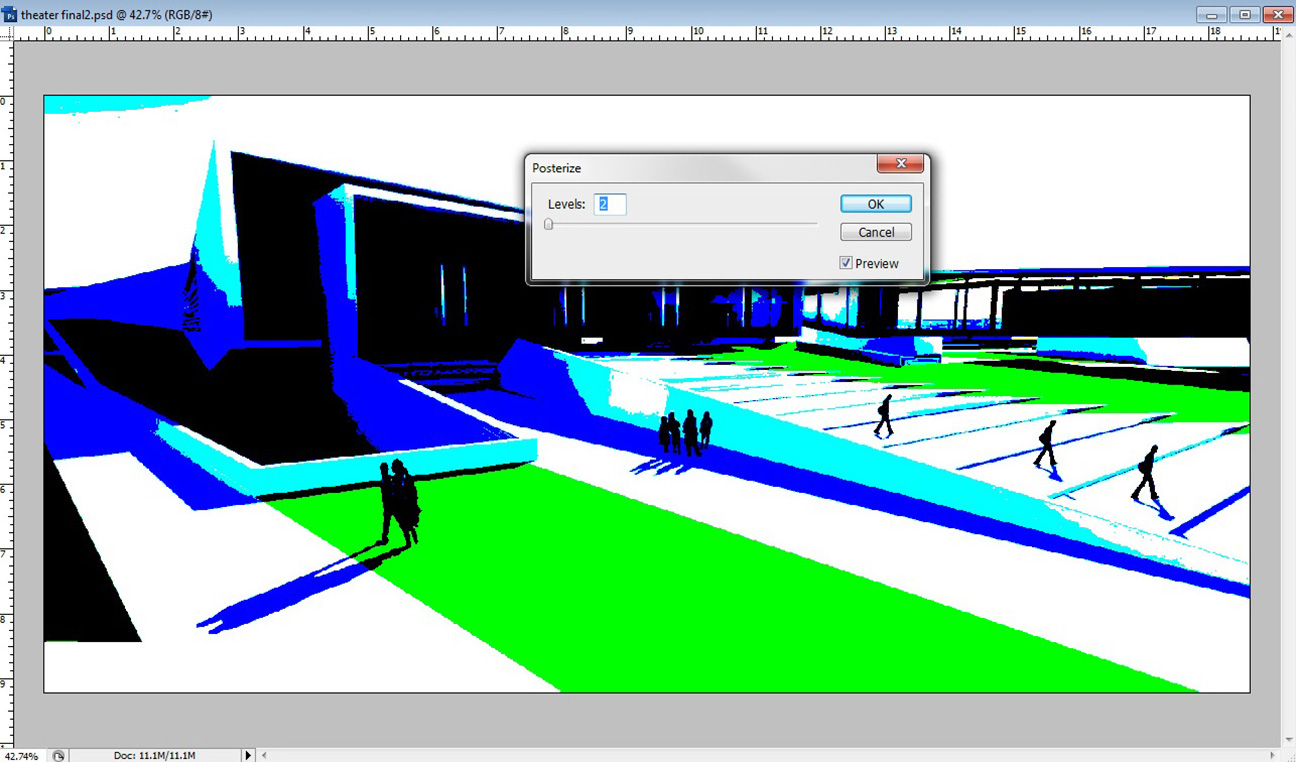
2. In the “Posterize” dialogue box, set the levels to “2”. I think the look is better with a minimal number of levels, however, you can use as many levels as you want. You may have to adjust the brightness or contrast prior to this step to get the Posterize filter to read better.
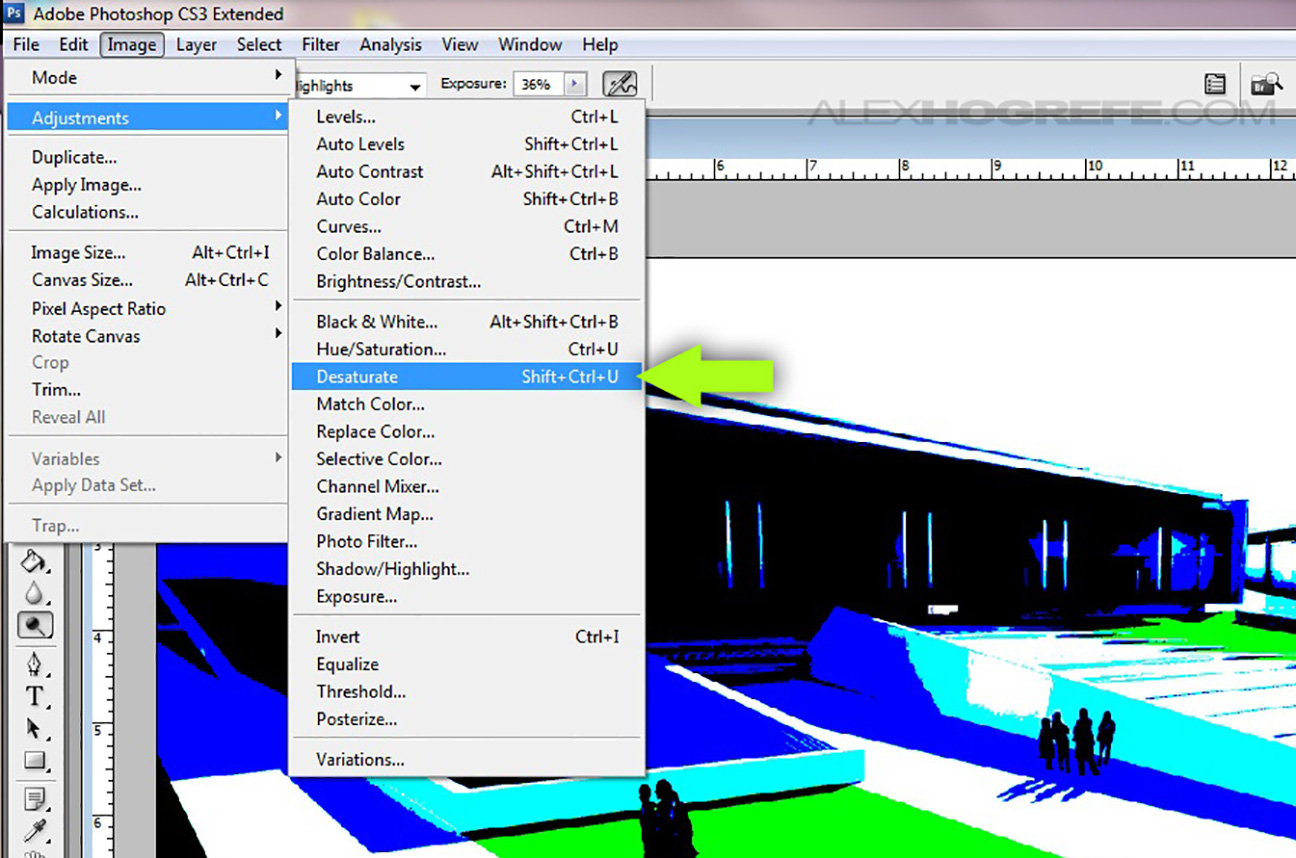
3. Choose “Image>Adjustments>Desaturate” to remove the color.
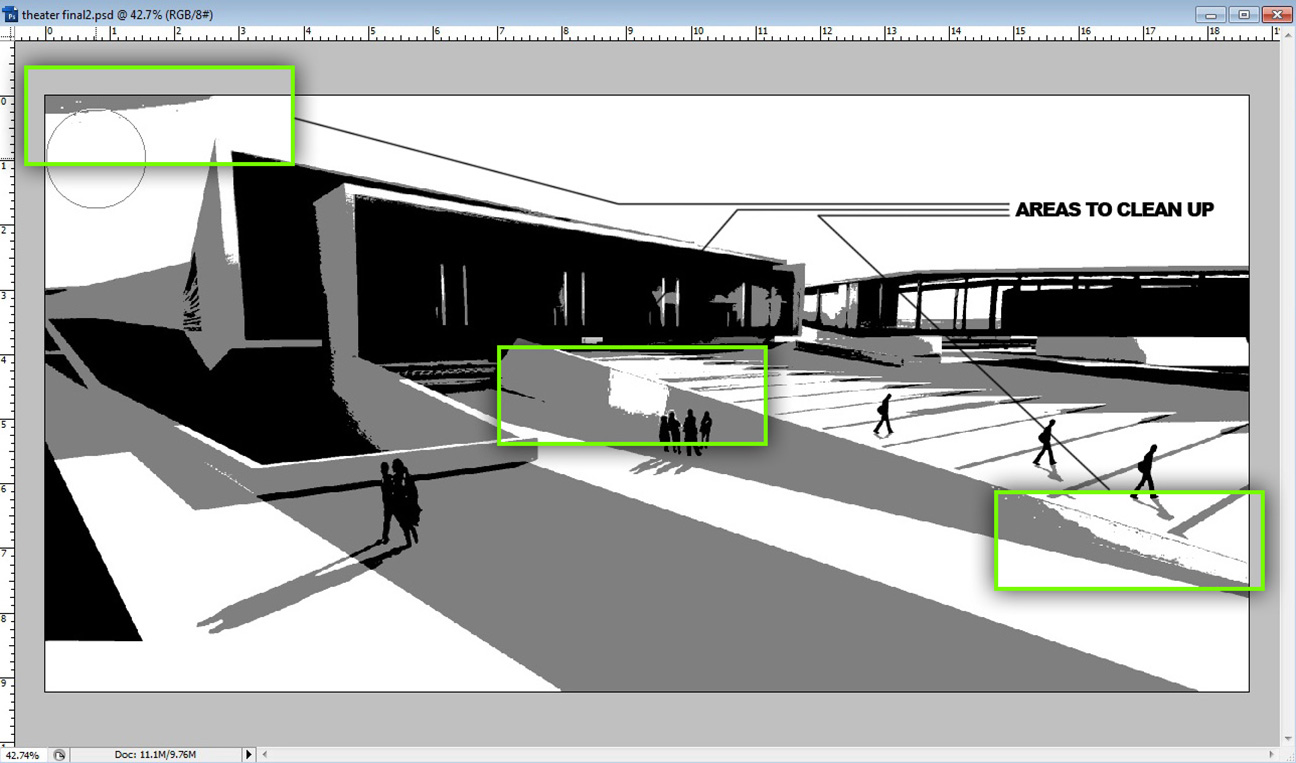
4. At this step, I usually take some time to clean up areas of the image with the “Clone Stamp” tool.
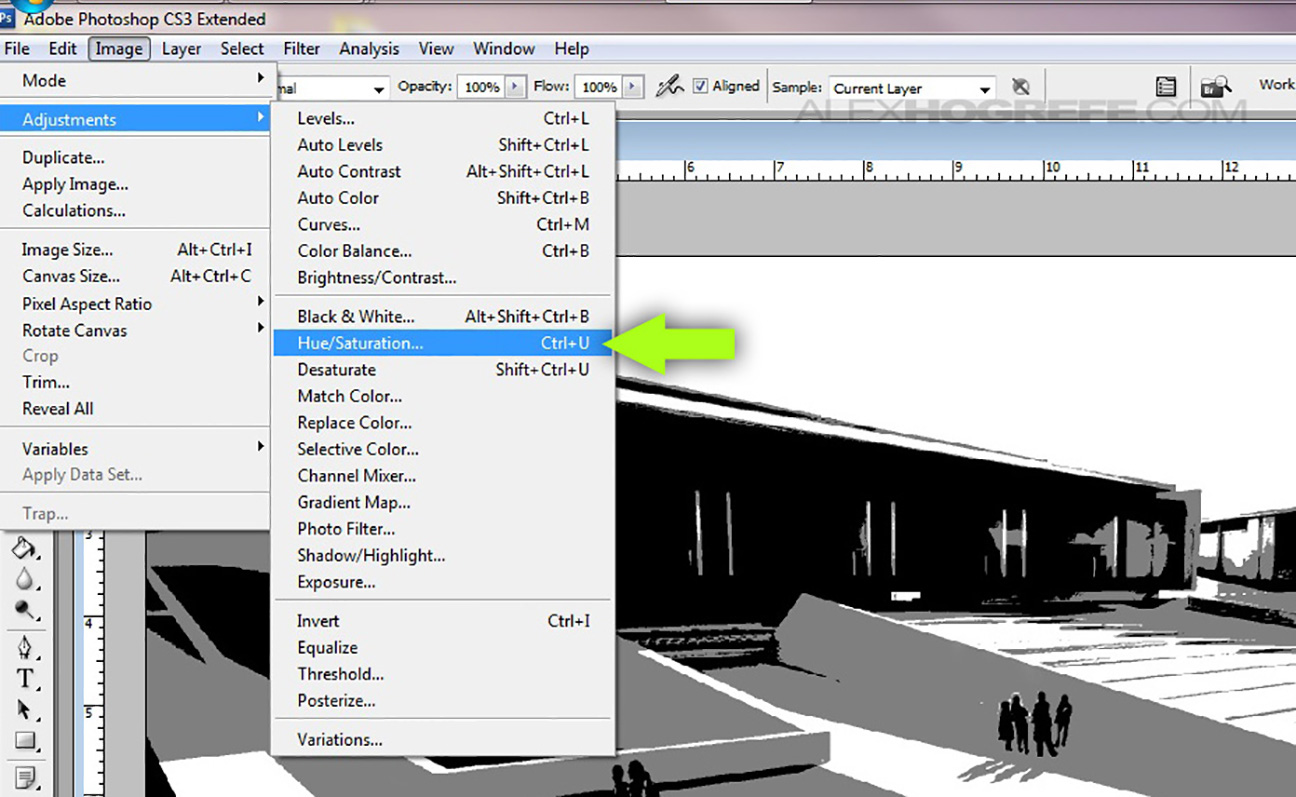
5. Next, choose “Image>Adjustments>Hue/Saturation”.
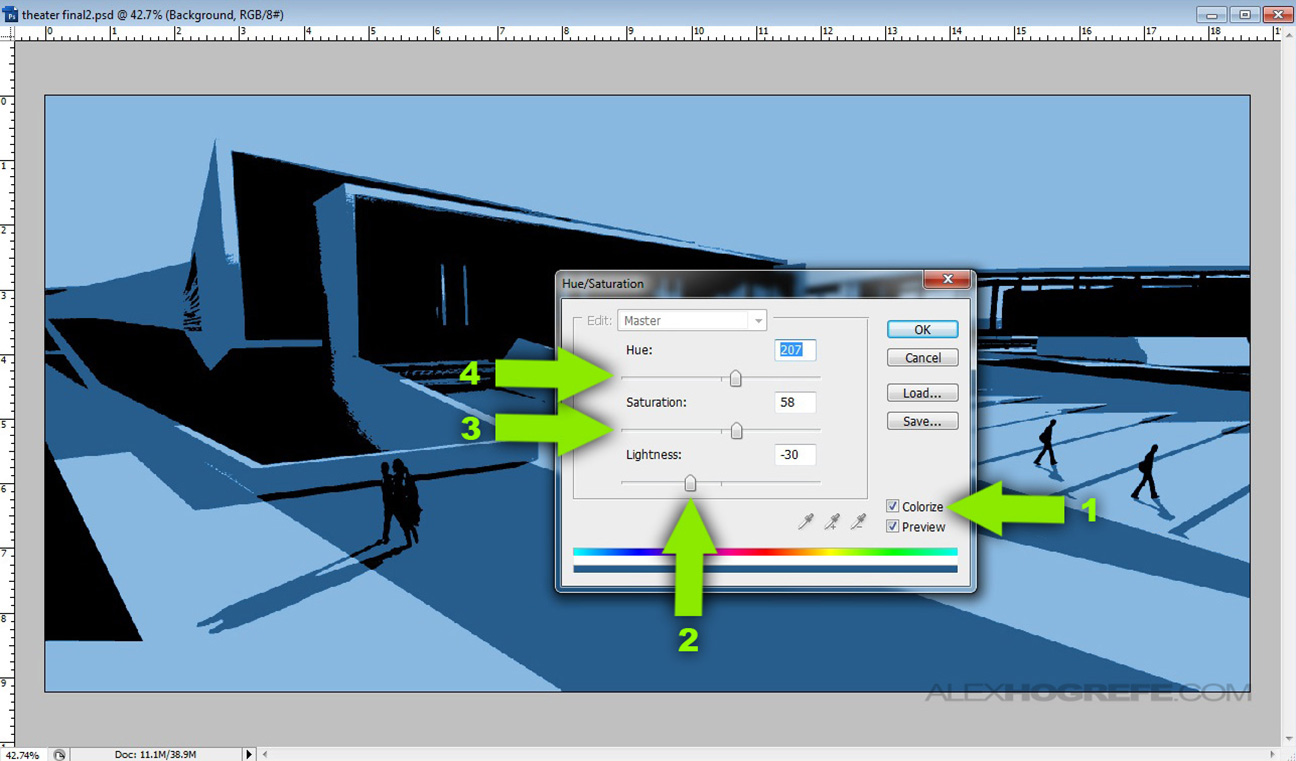
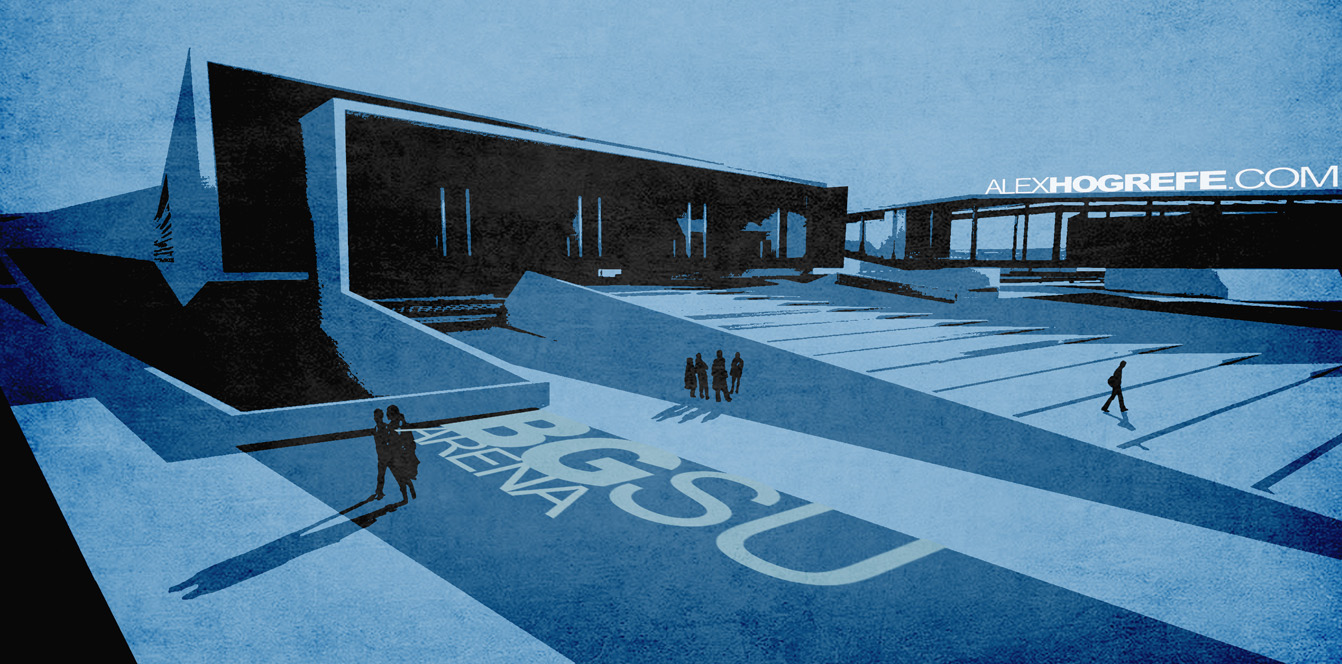
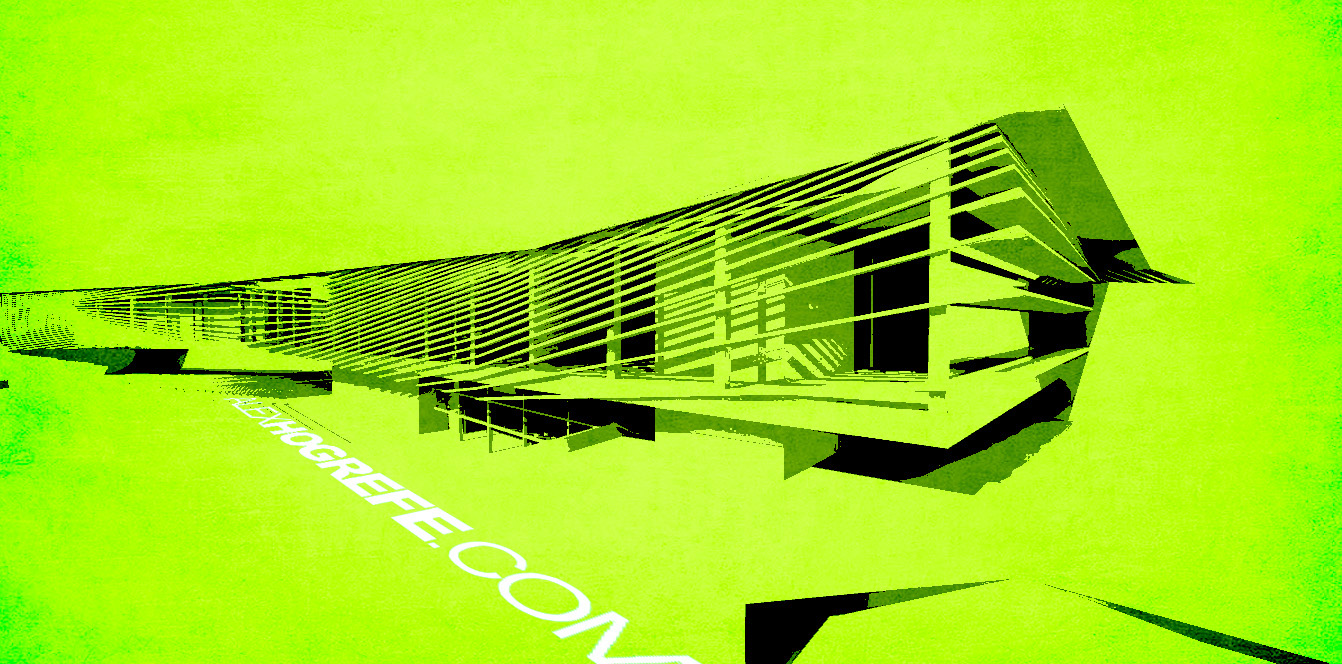
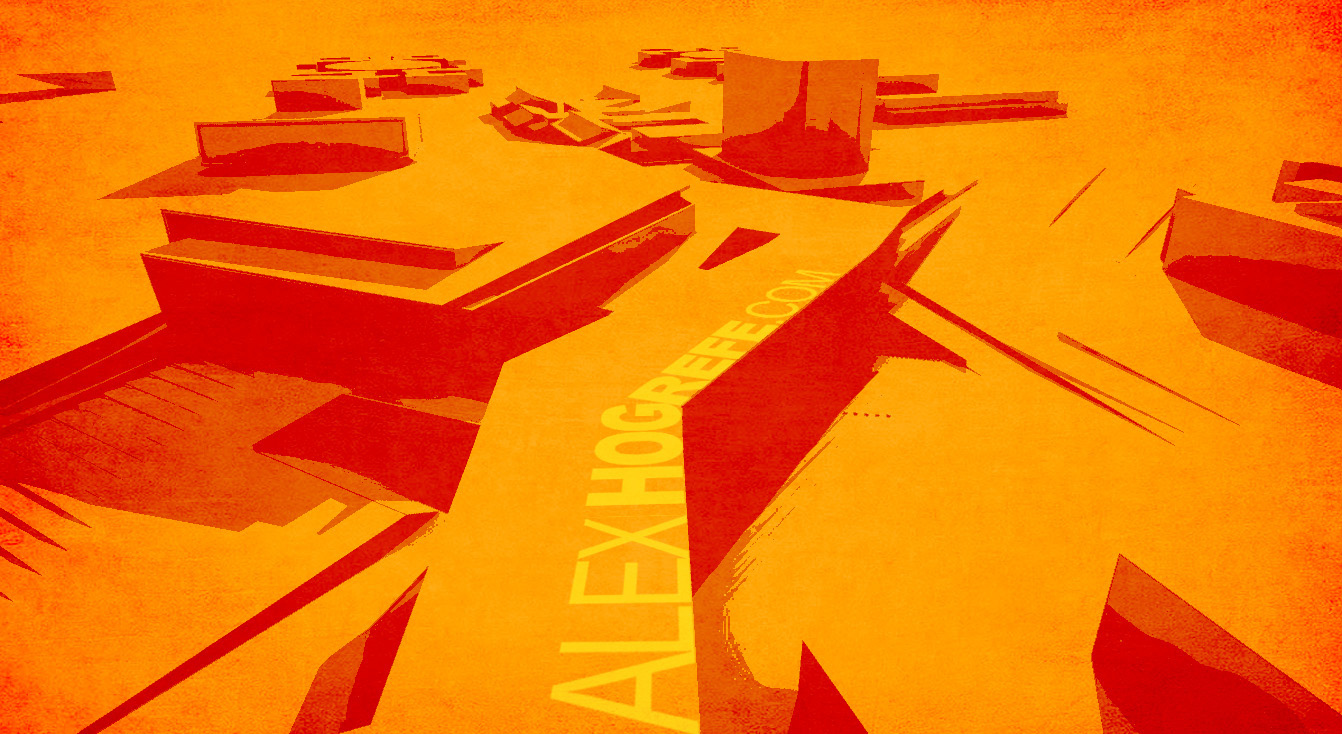
6. In the “Hue/Saturation” dialogue box, first check “Colorize”. Next, move the “Lightness” slider to the left so that all of the pure white color is removed. Move the “Saturation” slider to the right to increase the color according to your preference. Finally, adjust the “Hue” to the color scheme you like. I have found it is much easier to get the style your are looking for by adjusting the sliders in the above order.
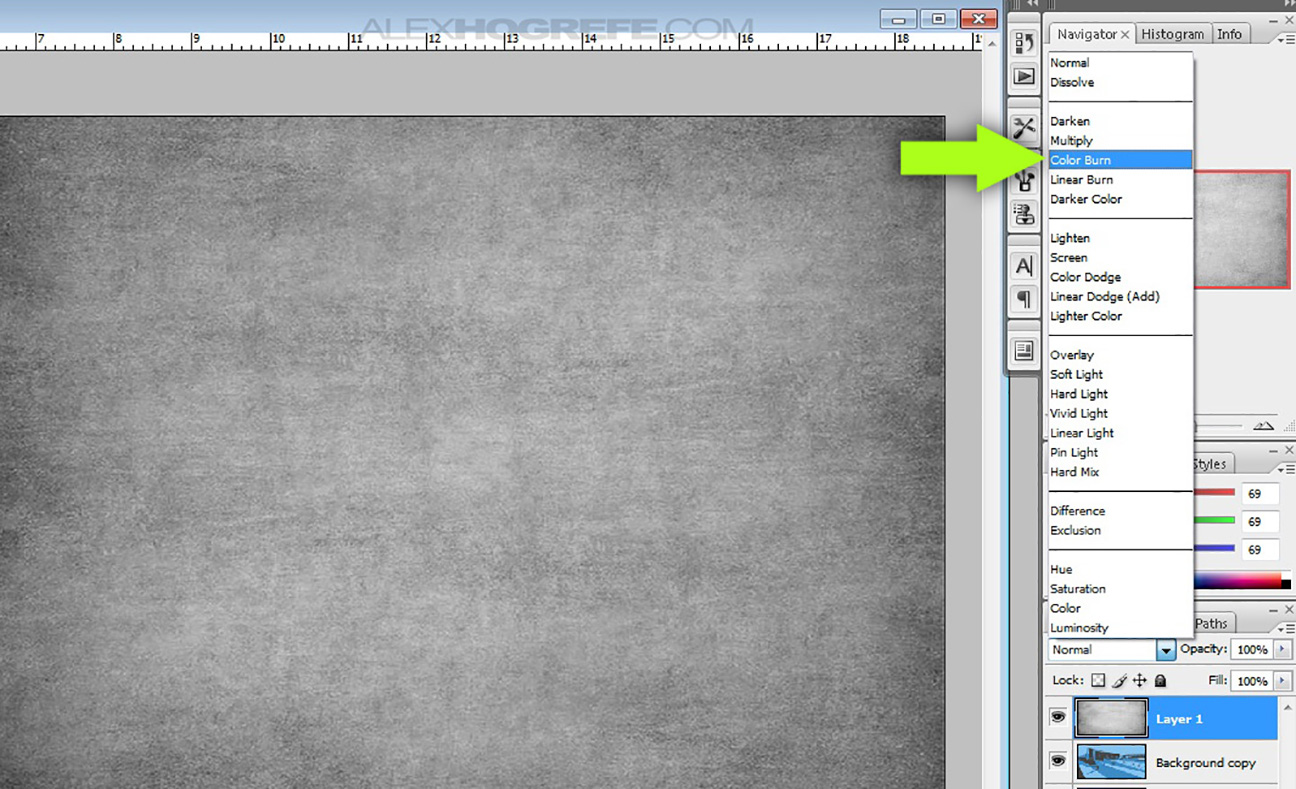
7. The image is a little too plain, so I will add some grunge. Open the grunge texture and set the layer blend mode to “Color Burn”.
The final result is an abstract graphic ready for text.


These are absolutely ideal as cover pages. Thanks for sharing your tutorials. 🙂
These are great! These inspired me to use the technique for a couple of pictures. 🙂 I guess a little tweaking and the process is applicable to many other uses. 😀 Thanks! 🙂
Your tutorials are very useful for me and others. I consider starting to use Sketchup myself. Thanks
how do you add the text in perspective in the last few images?
Such vast collection of presentation images is truly inspiring! Thanks Alex 🙂
Your work is amazing and thank you for sharing with us. In regard to the grunge texture and most of the textures you use in your tutorials which site do you use in order to download them?
Thanks for sharing this article, I am happy to get this. You have the best site and nice posts they very helped us. It’s an impressive one of the best blogs . I am very much impressed with you. Thank u all
THANKS