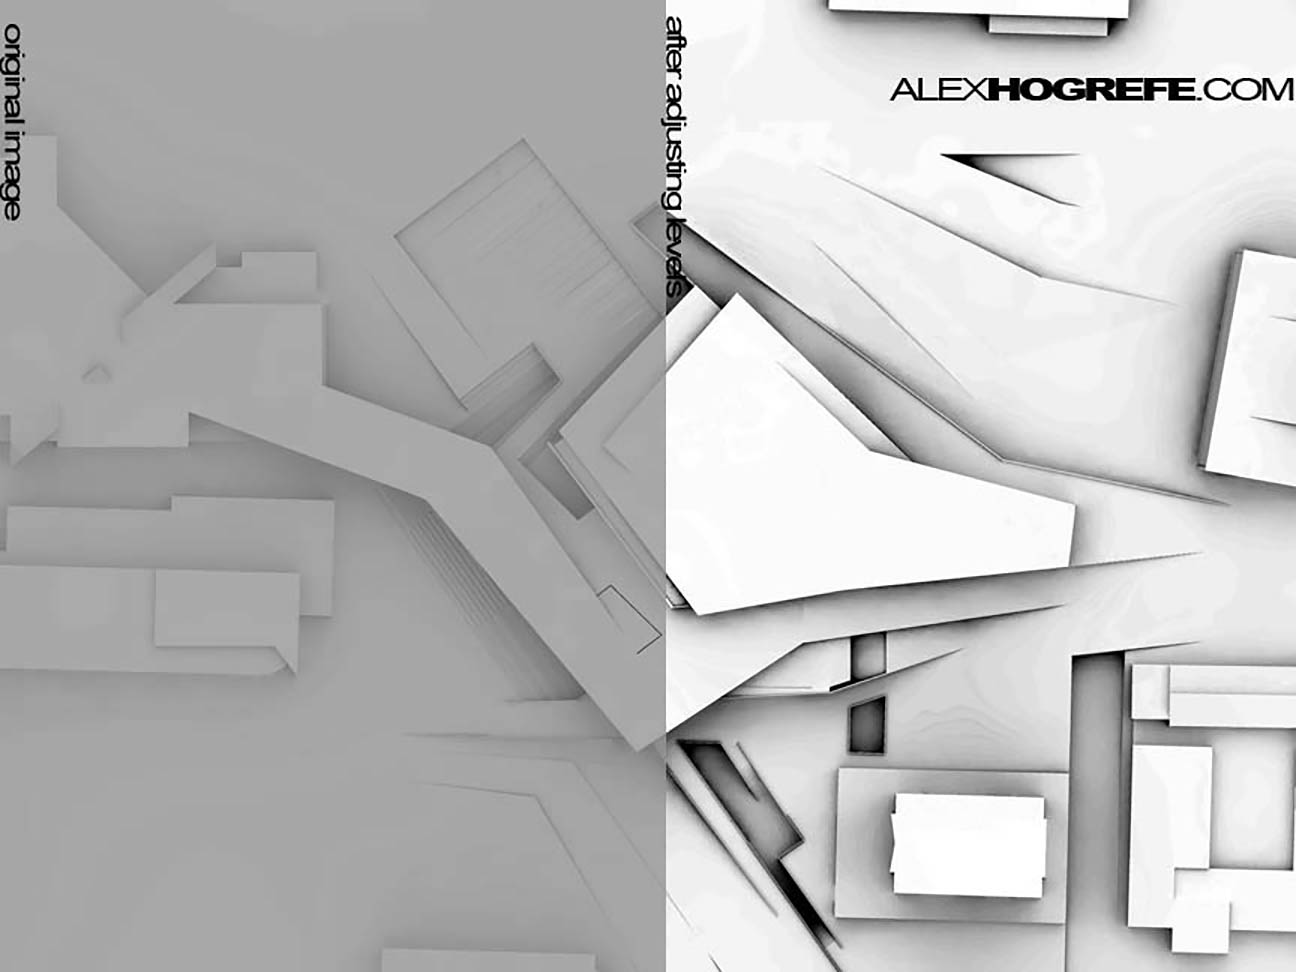
Adjusting the levels is similar to adjusting the contrast, but gives you more control. More importantly, it adds depth to an image and punches up the color just a bit. The process takes seconds, and is something I do at the beginning and end of post processing.
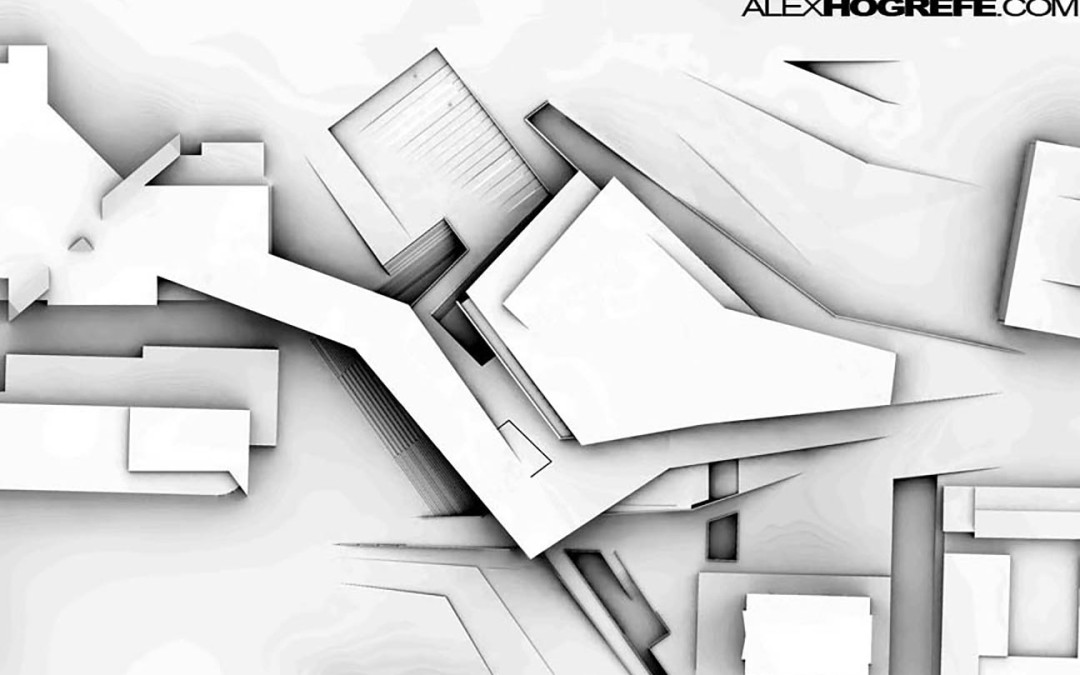
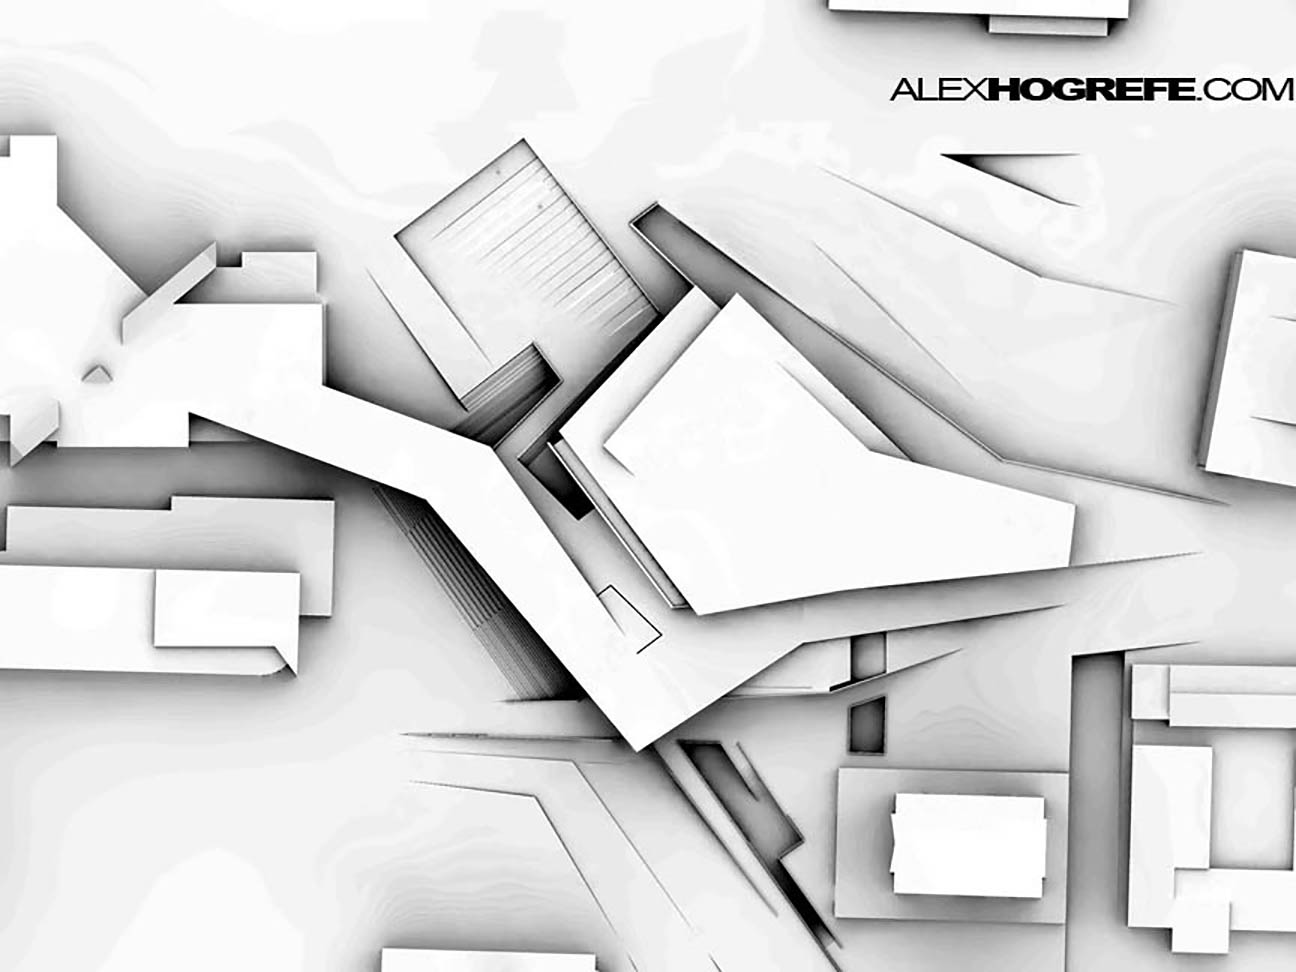
Above on the left shows the original Kerkythea rendering. The right shows the same image after adjusting the levels. Here is how it is done:
Open your file in Photoshop.
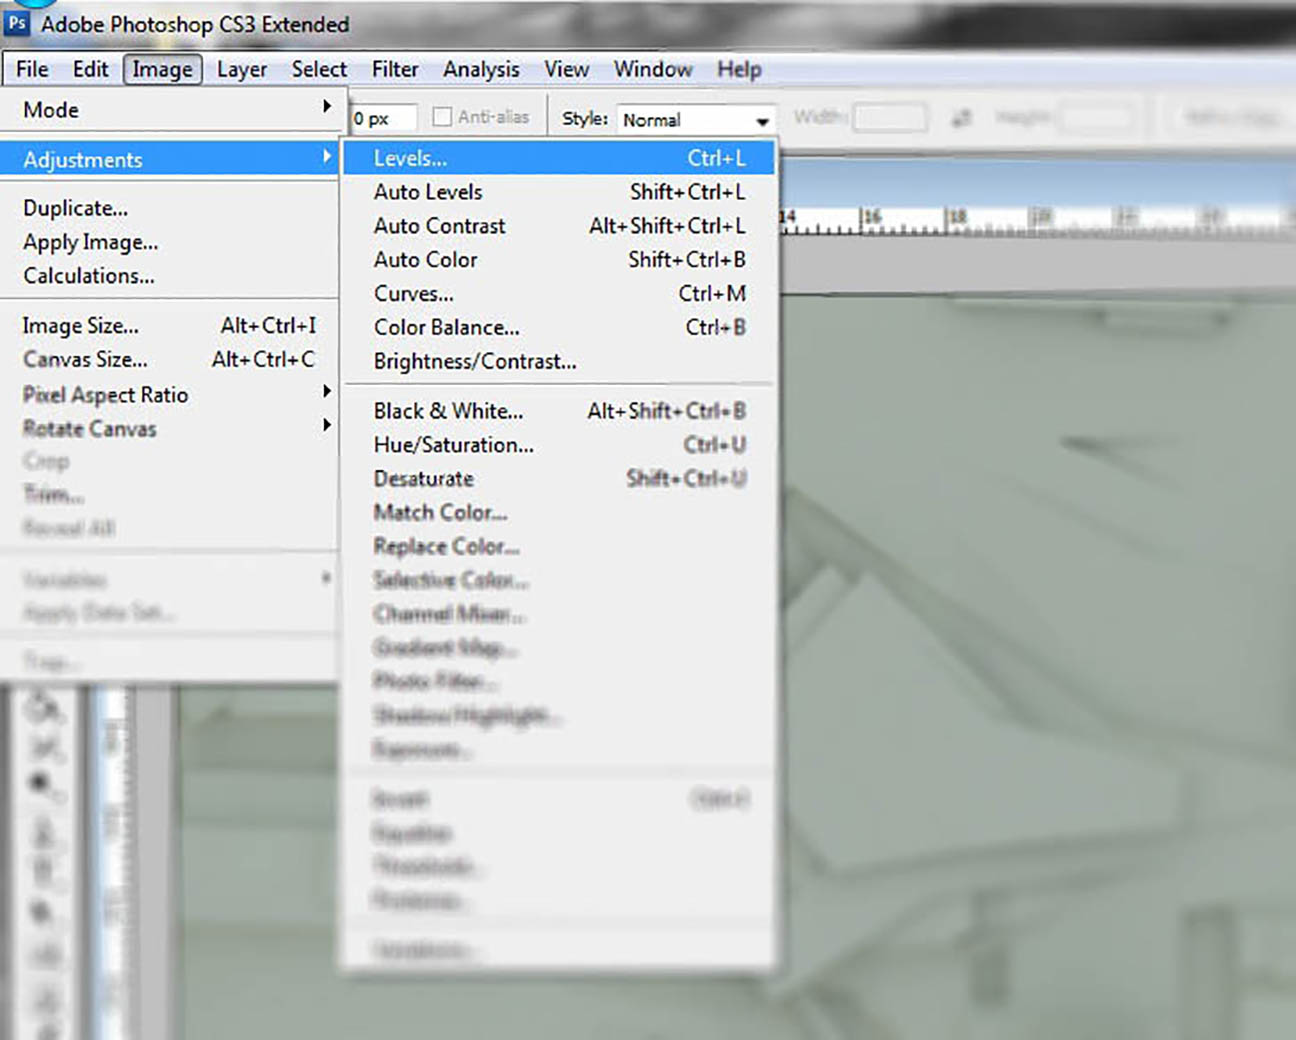
At the top, choose Image>Adjustments>Levels
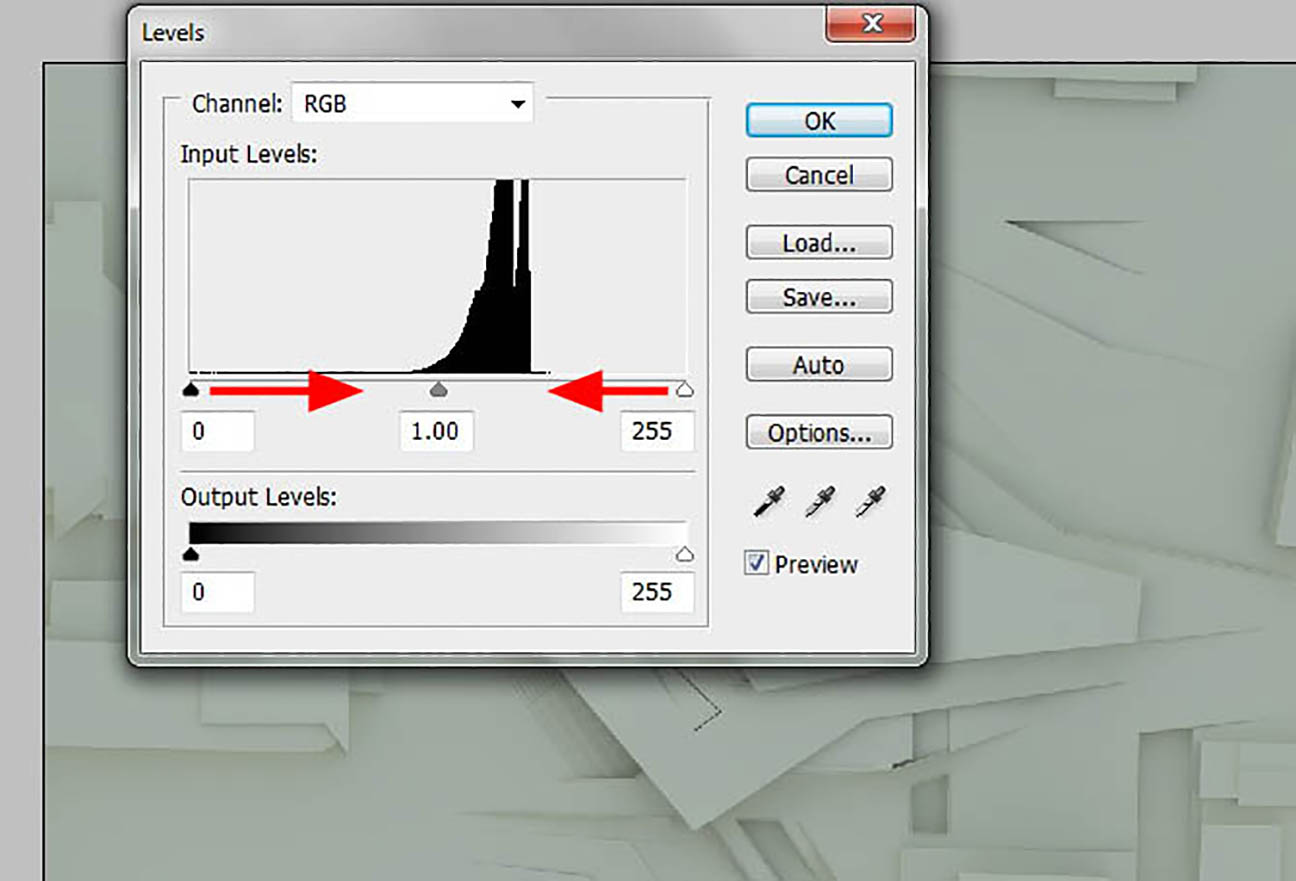
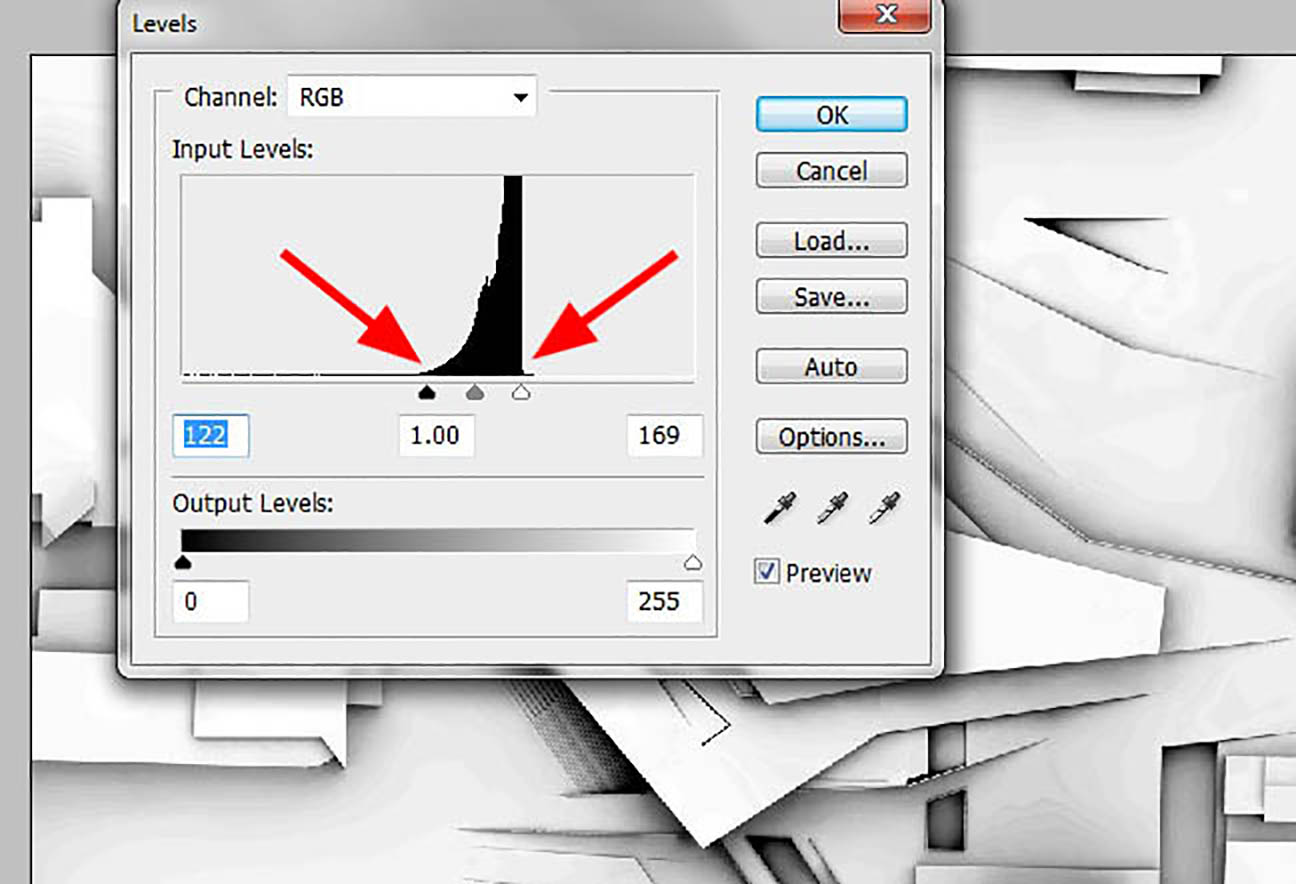
When the dialog box appears, you will notice the histogram (black curves) with three triangular sliders just below. The histogram represents the tonal range of the image. Typically, it is best to utilize the full range of dark and light. This can be done by simply dragging the black triangular slider to the right until it meets the point where the histogram begins to rise. The same can be done with the white triangular slider by moving it to the left until it meets the right side of the histogram.
The image below shows the new location of the black triangular slider and the white triangular slider both at the edge of the histogram. Obviously, every image will be different, but the concept will be the same.
The final result has more contrast and is clearer to understand.


Thanks for one's marvelous posting! I genuinely enjoyed reading it, you will be a great author.I will always bookmark your blog and will eventually come back in the future. I want to encourage you to ultimately continue your great work, have a nice holiday weekend!
This is such a great site with so many interesting articles; I'll be coming back for on a regular basis for sure.
I truly appreciate this kind of post. I happen to be looking around for this specific! Thank goodness I found it upon Bing. You’ve produced my day! Love to share this to my colleague that I am sure they will get benefited too like me. Awesome posts!
woooooooooooooooooooooooow very thanks to you
a usefull site that is unique and very intersting and pro simple practice
thank you thanks and thanks.
Who would have thought to make a unique decoration out of the coconut tree? genius! The only thing i can say is that if ever i will be using this coconut husk, i would probably use this in a restaurant or disco houses where lights are sparkling, glitters and all that.
I LOVE your website..
I've just graduated Bachelor of Archi, working in intern for 6 months..
I want to go through every one of your videos and learn before I go back to Masters!
It'll help me heaps!
Thank you for such a lovely tutorials!
This is really good.This might be the only website I have ever enjoyed.Please keep it up!
Great work, I recommend it anyone who is looking to learn how to produce professional quality work. I have been a design architect for more than 25 years and have learned many good things from your tutorials. Thank you.
我喜欢你的作品。
I am a landscape architecture student in Slovenia, and I come to your blog every day. You have amazing renderings and explain the process so thoroughly! Your work is much appreciated, thank you!
your each and every post is amazing.