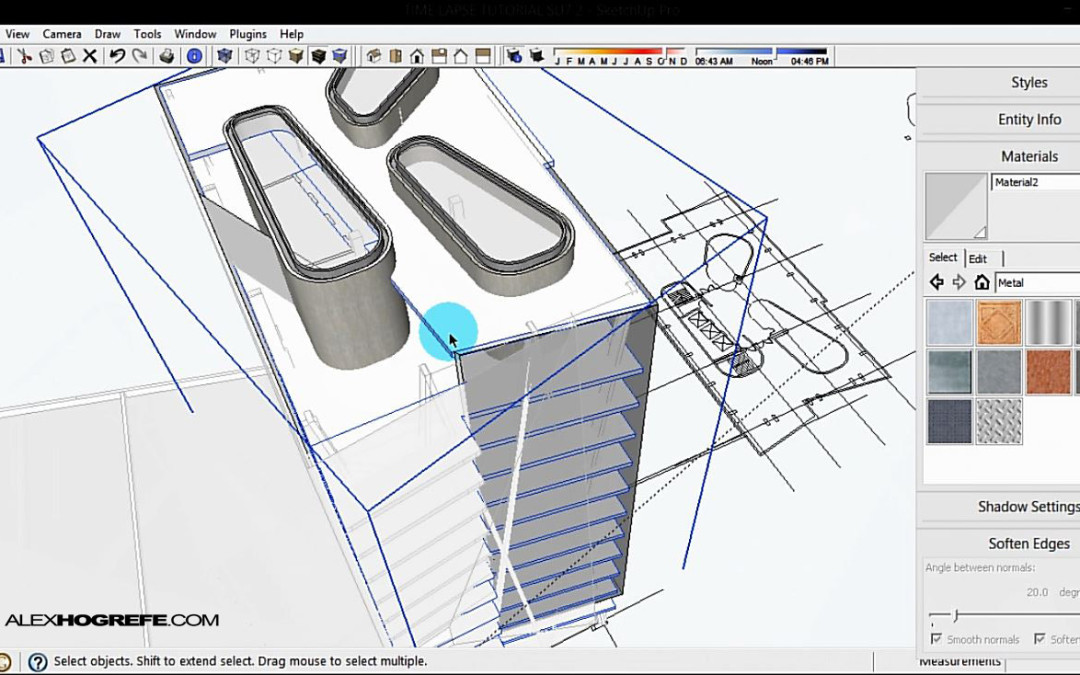
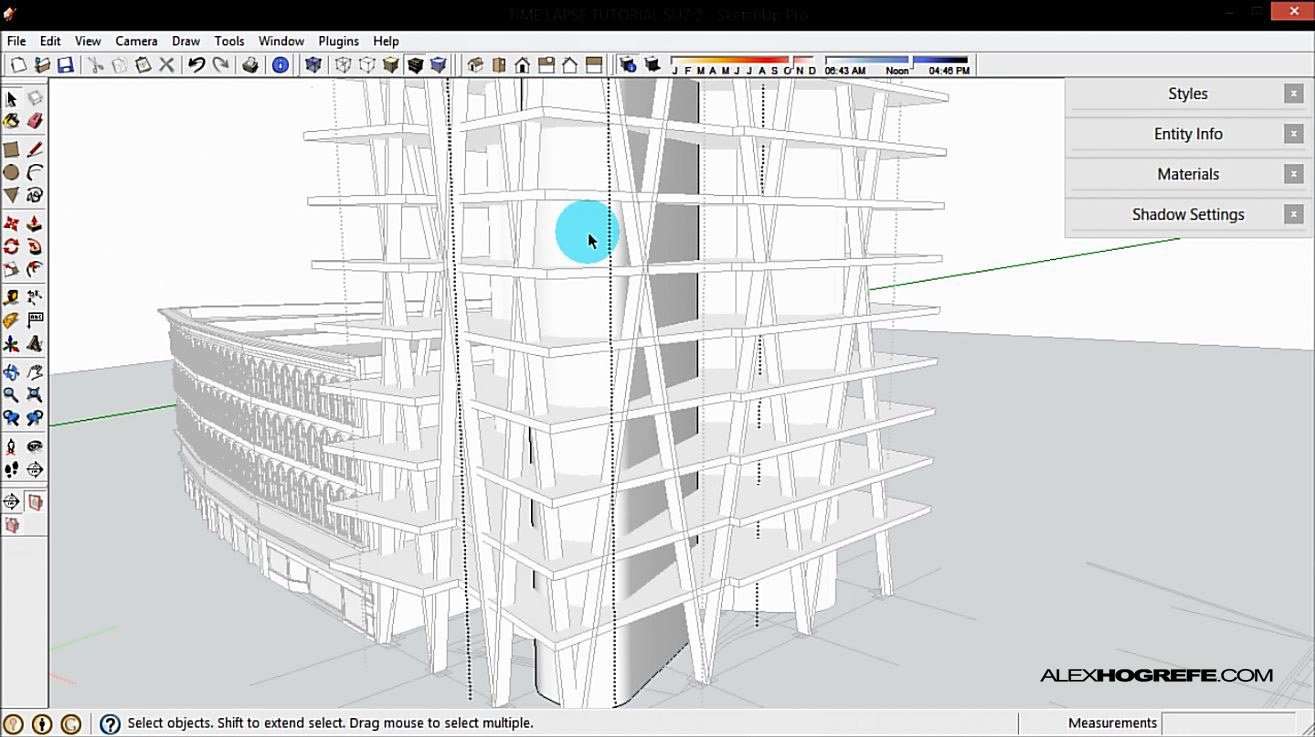
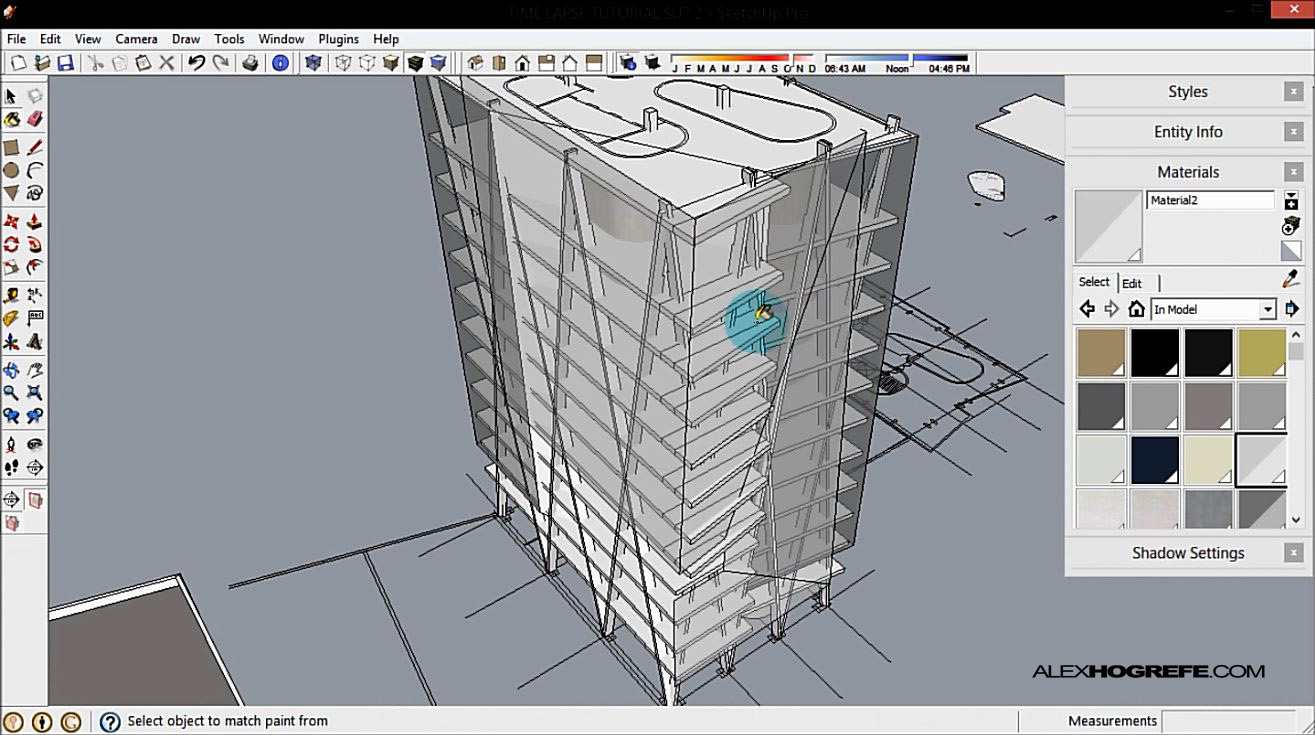
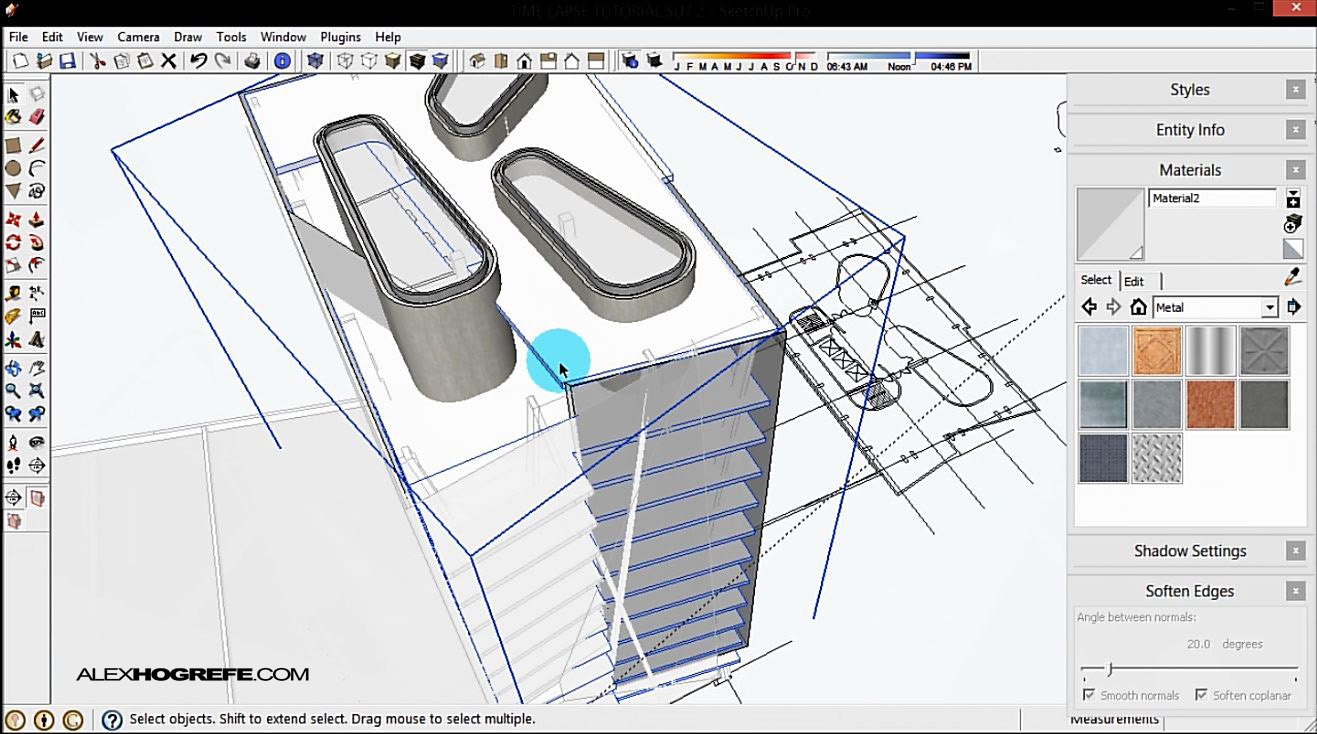
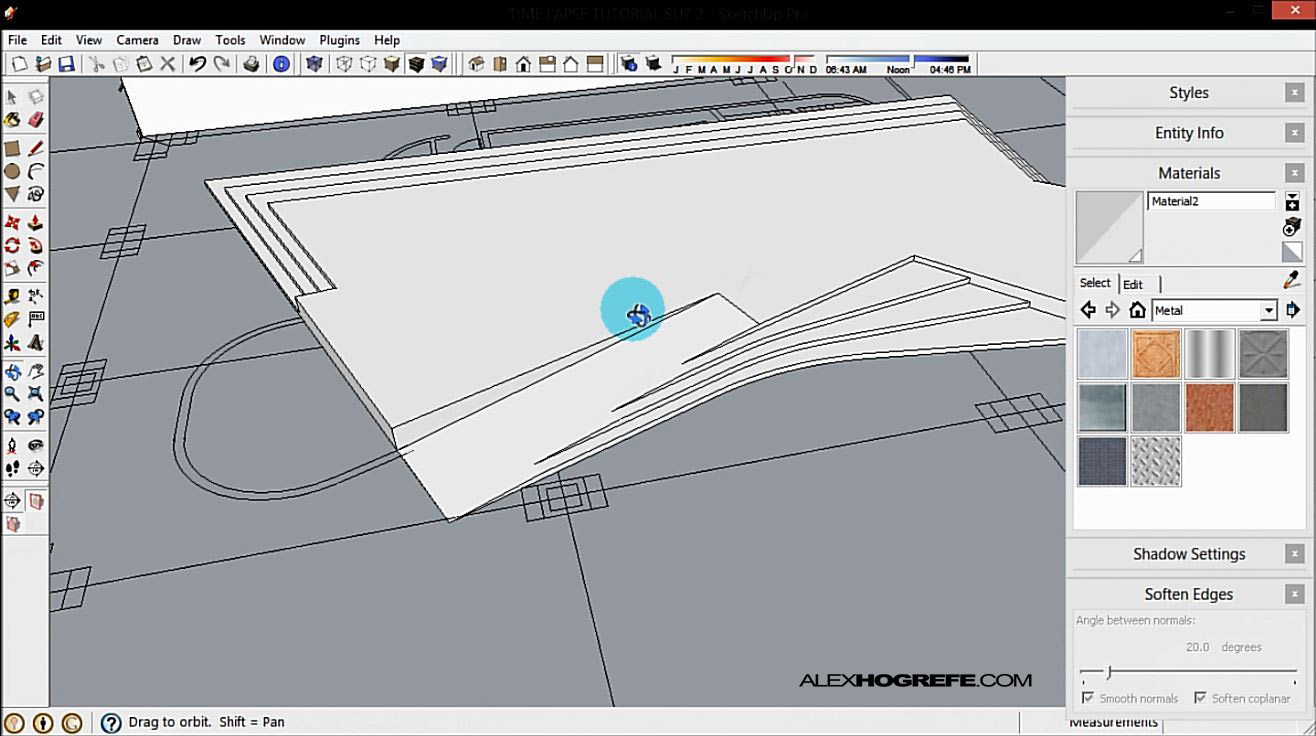
I thought it would be interesting to put together a timelapse video showing the basics on how I built the urban tower seen in the past few posts. A couple of things to note about this video is that I didn’t spend a lot of the time with the finer details such as placing every single mullion or fully finishing the roof. Instead, I focused on building a good base from which I could later make alterations or add more detail. Whenever I begin building a model, my primary focus is to have an editable model. Everything in the model is grouped and then placed in subgroups. This is important so that I can move sections of the model out of the way to get to other parts, so that I can isolate certain elements, or so that I can quickly make selections without fear of selecting things I don’t need. I also make extensive use of components such as the case with the columns, floor plates, and mullions.
I consider this a “finish” model meaning a lot of the decisions have already been made concerning form. Prior to this model, I created a series of massing studies testing out different design concepts and structural ideas. Once I’ve honed in on the final form, I then rebuilt the model investing more time into the details.
The video can be broken down into a few steps:
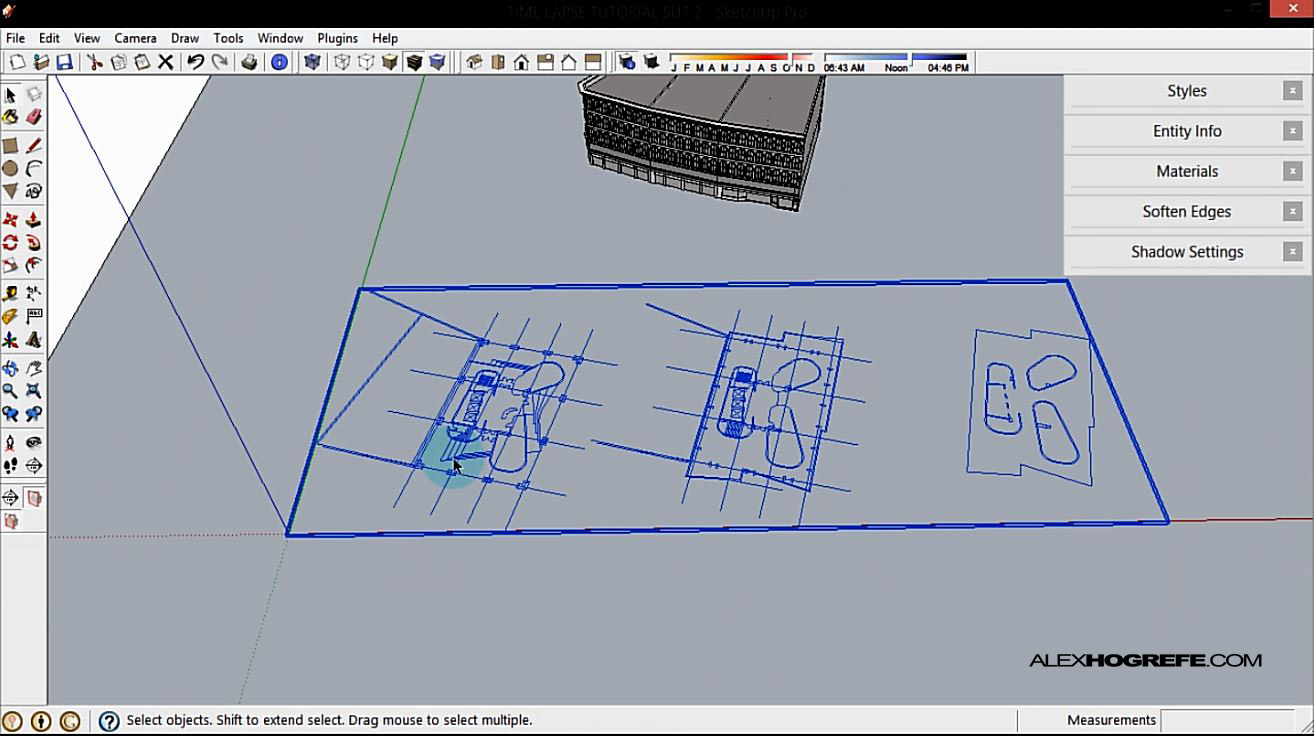
1. Import Geometry 00:07
Typically when I am building a “final” model, I am working off of a floor plan either developed in CAD or Revit. You can see in the video that the floor plan that I imported had some elements separated so that I could easily group and mass them out (such as the elevator core). A few other things to note: I have to downsave the CAD file to 2004 to import into Sketchup. Also, double check that the units all match before importing. Often in the office, we have projects that are both in Metric and Imperial and I am always catching myself importing with the wrong units.
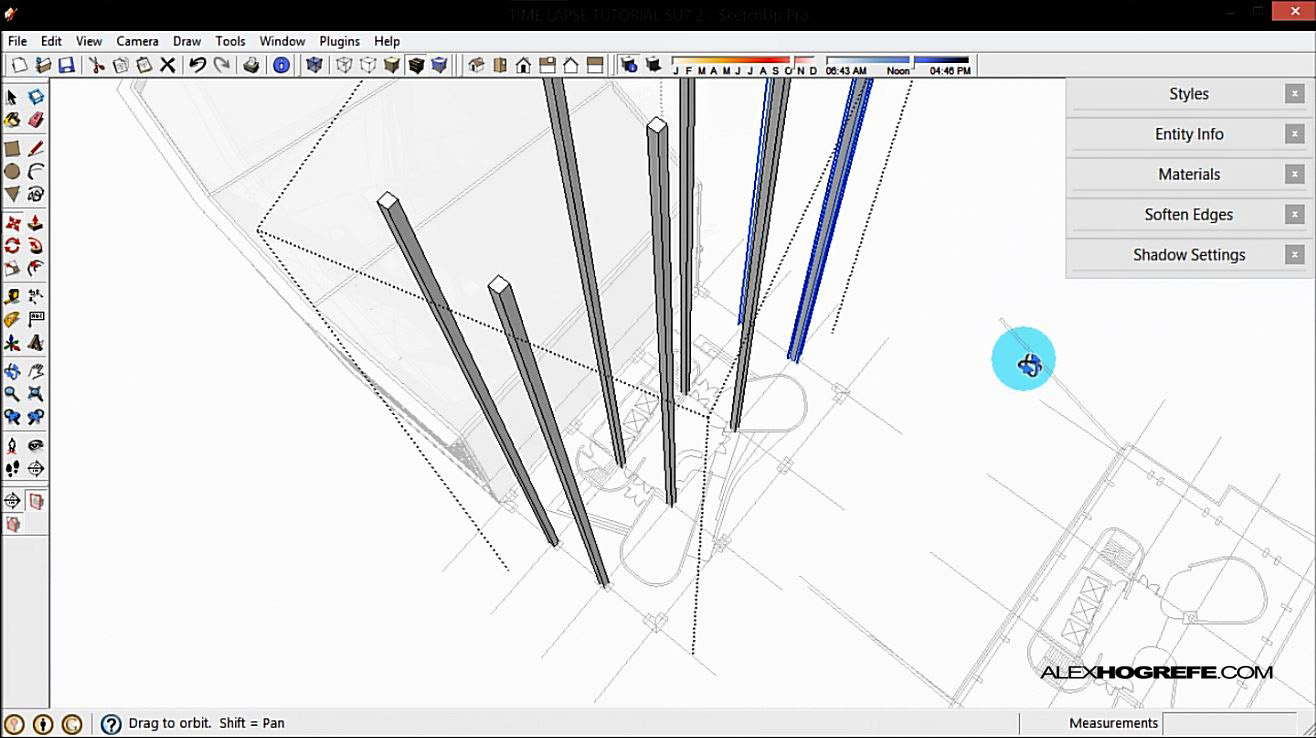
2. Build the Structure 00:16
In the case of this tower, I started with the columns. I grouped all of the columns together, and then created subgroups separating the perimeter columns from the interior columns. All of the columns are components so that I can quickly change their size or profile later on if needed.
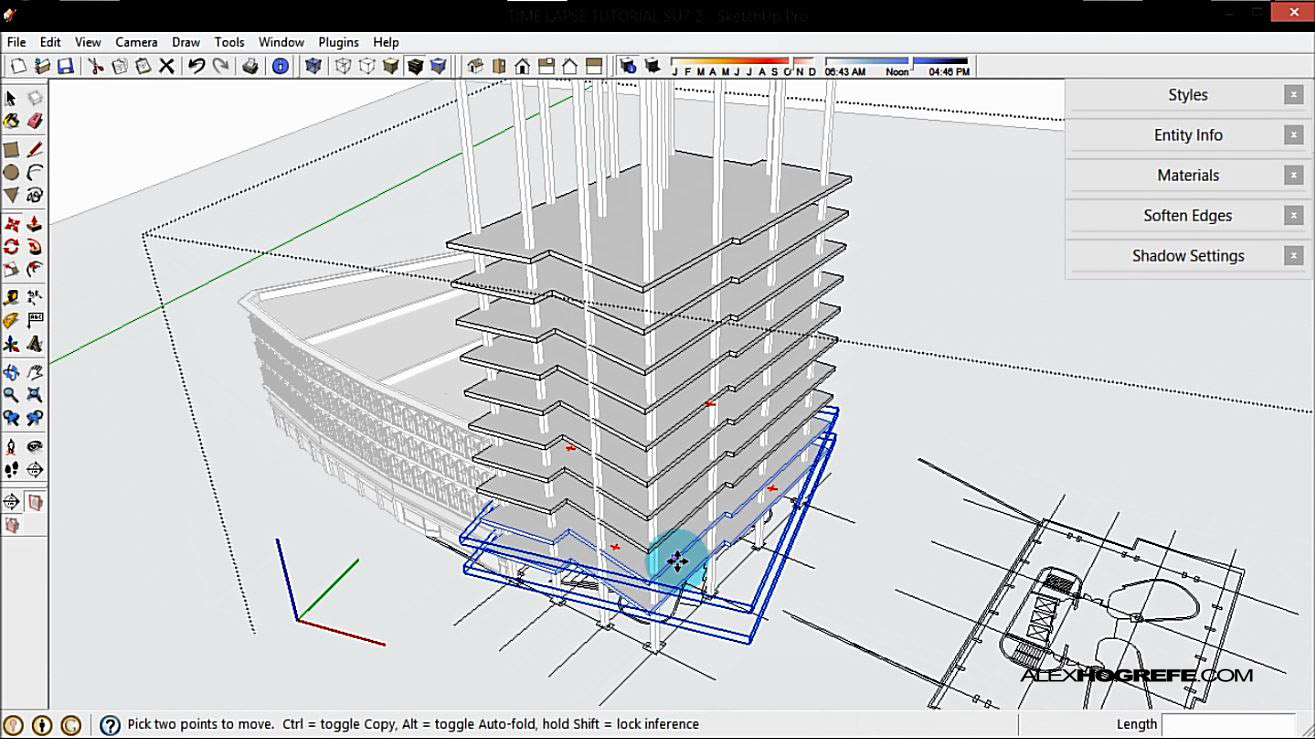
3. Floor Plate 00:40
Next came the floor plates which are grouped separately from the columns. Because the floor plates don’t change much from floor to floor, I turned them into components. This will save me time later on when I start to cut openings for elevator cores and stairs as well as adding details in the ceiling soffit and floors.
4. Core 02:57
In this video, the cores are simple extrusions which again are grouped separately from the columns and floor plates. Later on, I will play with the massing by cutting openings and adding curtain walls. The columns, floor plates, and core are all relatively simple elements in and of themselves, but by combining them the model is already gaining a decent amount of complexity in a short amount of time.
5. Envelope 05:42
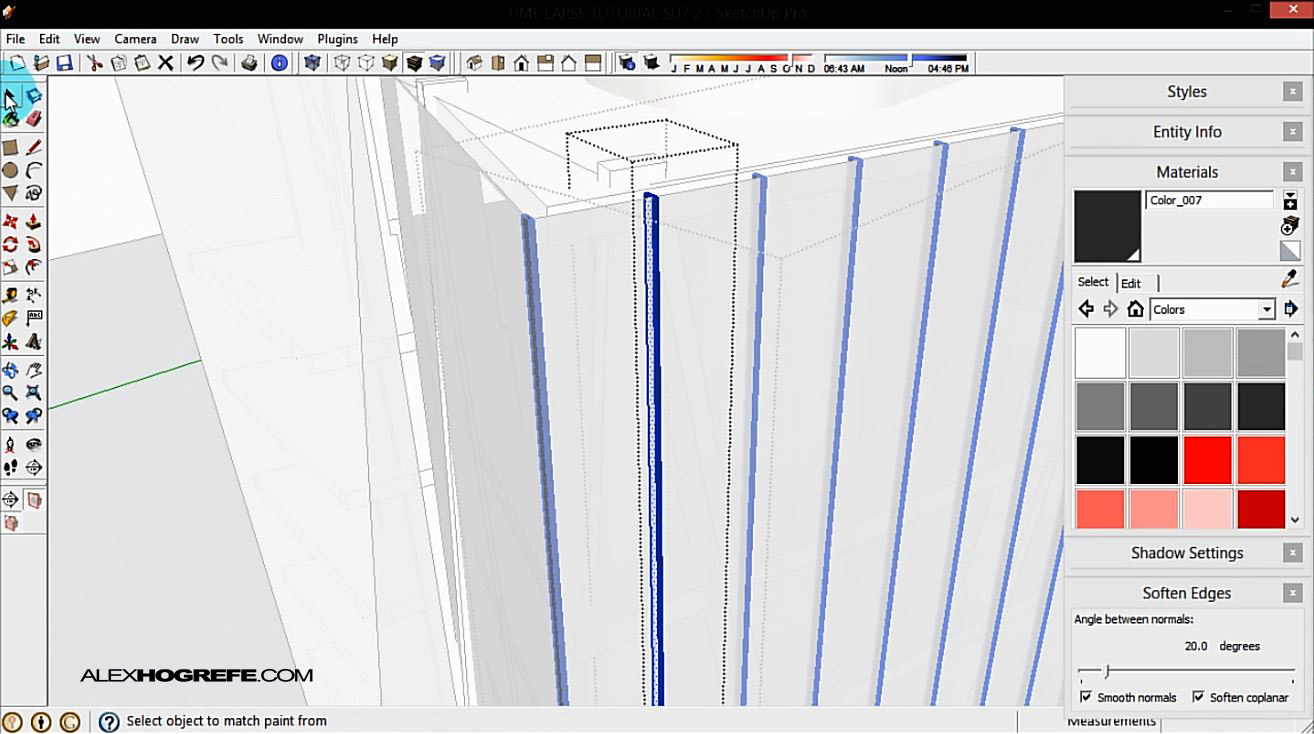
This is always my favorite part. For this model, the envelope is simple; glass. The envelope is made up of two different forms intersecting each other and therefore will be grouped separately. When I use glass, I don’t give it thickness. Instead, I build it as a single surface which makes editing much easier later on and also simplifies the rendering process. Besides, in the next step, I will be adding mullions which will give depth to the skin.
6. Detail, Detail, Detail 08:17
With the bones of the building complete and the skin added, it’s all detailing from here on out. This is the part that could go on forever, and where it can get a little fuzzy deciding when enough detail is enough. At this point in the video, I add elements such as the building base and mullions. Some things I still have left to model are interior walls, doors, ceiling soffit, and other minor details. Expect to see more renderings with this model in the future.


Really nice to see how you build your models!
Did you build all the surroundings yourself also? Do you have any tips to do such things fast or is it just tedius work that needs to be done one building/facade at the time?
Great work man.
Keep it up.
test
It's always great to see how other people work. I really liked how you manage a great looking model without not so much effort. -my mistake is that I always focus on details that won't really matter that much finally, and my cumputer ends up crashing-.
I guess you've heard already about the "make faces" plugin for SketchUp, but just in case, it's really useful when working from a 2d cad file, specially with those annoying curves that don't make faces easily xD
Keep it up!
@Gjalt,
I was able to find basic massing online. I spent about a day modeling the buildings immediately neighboring the tower by going off of Google street view images. I modeled them by building a single section of facade that spanned the bottom floor all the way to the top floor usually 2 windows wide. I turned that into a component, then copied that section across the entire facade. It worked pretty well and saved a lot of time.
@Dehecho,
Thanks for the tip. I have heard of that plugin but never actually tried it out. I will have to check it out.
Very nice workflow video and love the site. Can I ask what program you used? I actually had an idea like that a little while ago. I used a GoPro on the side of my desk and recorded a portion of a project i was working on. http://www.youtube.com/watch?v=2keWmQSah_A&feature=youtu.be. I have been looking at some screen recording software but have yet to find the best one for my use. Do you know of one that can take a image at X seconds as well. I was going to make the same comment about the Make Faces ruby. Not 100% but very helpful. Use it all the time. Thanks.
While importing drawings from cad, how do you ensure that the curved lines keep their original geometry? Sketchup simplifies all of my curves from cad, so I always spend a lot of time redrawing them in Sketchup. It can be pretty time consuming.
@thomas. Open up the ENITITY INFO window. Select the curve that you need to adjust and change the # of segments to your liking
Alex
Thank you very much.
Ditto – Reading Dehecho's comment and before you posted this time-lapse video pretty sure the rest of us familar with "Make Faces" (available for free via smustard.com) would have thought you used that ruby-plugin to make the urban model.
From a design point of view too, I really like the ramp/steps to the side of the building.
Much appreciated
John
Hi Alex!
I'm Valerio from Italy, I'm an architecture student in Rome 😉
As always Your tutorials are awesome; yesterday, when I saw this one I was completely astonished.
Your workflow is such an inspiration for me and my friends here at university!
Cheers man!
I can't wait for your next post 😉
Thank you Alex for sharing this. I love your sketch-up models; they don't look like they were made in sketch-up at all. It was really great to see your work flow! I appreciate the efforts that you put into this blog.
@ Dirk,
I use camstudio. Its free and as long as you can get the settings right, it does a decent job.
@Thomas,
Dirk is correct if you are working with true arcs or circles. If it is a spline or elipse, then the only way that I know of solving the problem is by actually breaking down the geomtry into segments in CAD. So if you have a spline, then you should be able to convert it to an pline and tell it how many segments to have. This gives you control on how many segments it has before it is imported into SU.
@Valerio and Tanya,
Thank you!
do you know sir how would i can see my model in kerkythea? because i first export a 3d model from revit going to sketch up then export it to kerkythea. but when i open it in kerkythea the model or even the lines are not seen? please help me sir. more powers sir.i'm a fan.God bless
Thanks for this post Alex, they're always a great help. Is there a post I can reference for sorting out difference in resolution and image size between Sketchup and Kerkythea? This is one part of my workflow that I can't seem to get right. You seem to overlay many images that are all perfectly sized to utilize shadow, line work, etc. FYI I'm using Sketchup Pro on a PC which does not let you input two resolution values for export. (apparently mac version does) Thank you!
this is more then awesome. i appreciate your work.