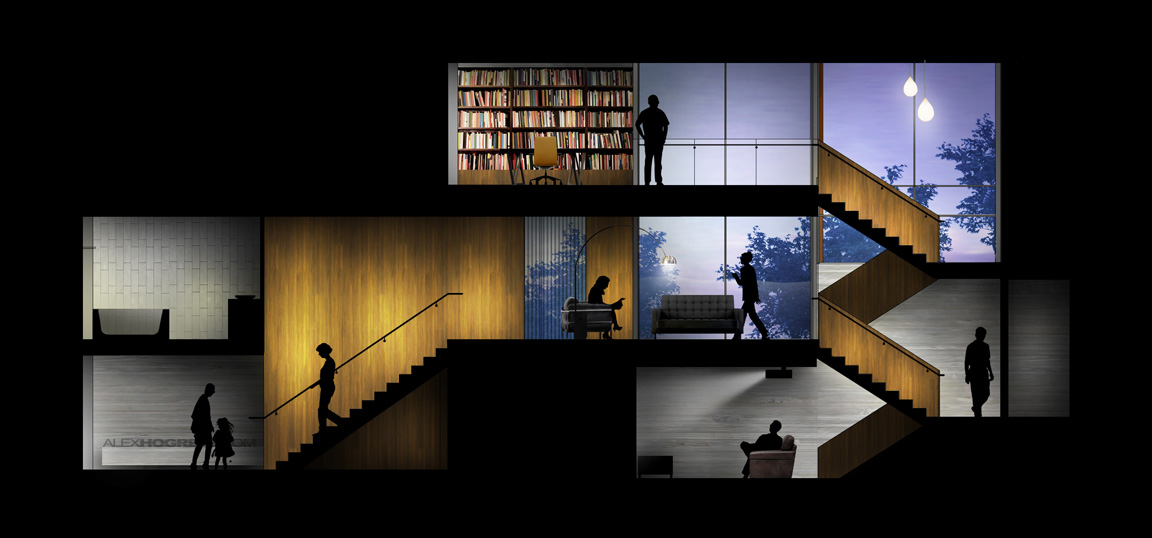
I spent some time this weekend developing some Photoshopped interior elevations in hopes of extracting a tutorial out of them for next week. We often create these types of elevations at the office for many of our clients, and the clients can’t seem to get enough of them. I can understand why, they very easy to read and give a great since of scale and understanding to the space. We often use scanned images of the exact materials we intend to use or images of furniture planned for the space.
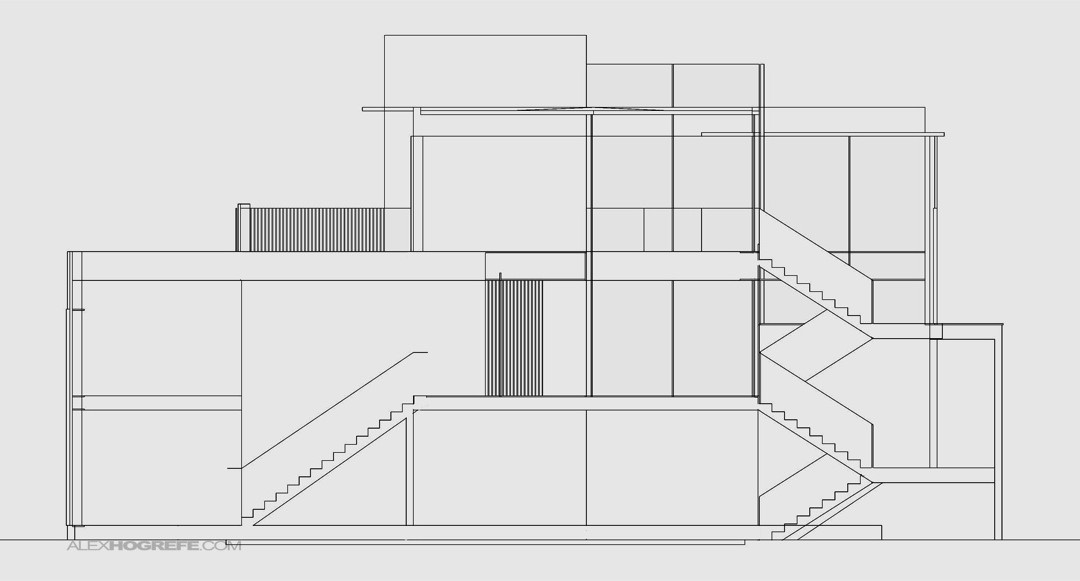
The best part about this illustration is that the workflow begins with just a simple linework drawing of the elevation. This can be done in CAD or generated from a 3D model with the perspective off. At the office, we typically have many CAD elevations in flux that we then take and apply this technique too for quick presentations. The CAD elevations make use of line weights which yield cleaner results.
From there, it is all Photoshop. No rendering engines required keeping things simple and fast.
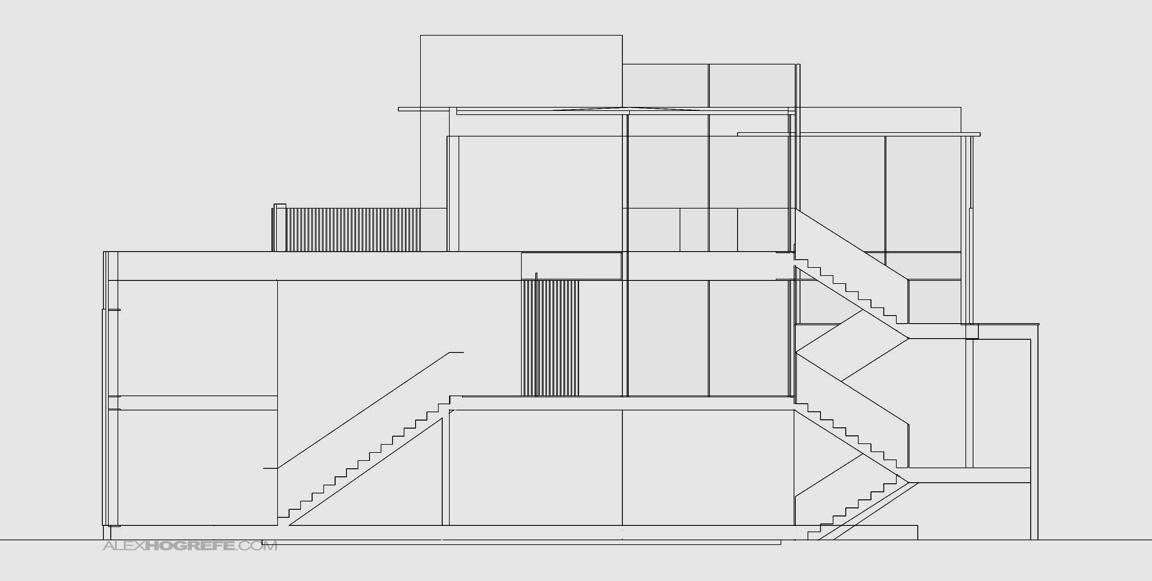
The above image was used as the base for the illustration and was an export from a Sketchup model (I didn’t have any CAD elevations for this personal project). You can see that the linework is very rough, however all of the imperfections were easily masked in Photoshop.
The secret to developing this type of illustration is focusing on the sequence of applying the materials, shadows, and lighting. I hope to have a tutorial next week detailing the step-by-step process of creating this type of illustration.


Thank you so much for all these tutorials Alex, we really appreciate your effort.
What merians said. Plus one more thanks.
Nice job and excellent tutorials Alex, I like it, I'm a Fan of your tutorials, congratulations.
I use this often but never thought about using it with this kind of lighting! Love the idea, must open my mind more in use of photoshop possibilities..
Keep it op Alex. Loving it.
Waiting for the tutorial, great work Alex!
Your tutorials are always a huge contribution to extend my humble abilities illustration.
Looking forward to the elevations tutorial, I'm about three weeks away from the due date for my 3rd year portfolio and your site has been enormously helpful, you're on my home tabs! Looking forward to the rest.
Alex, you have done it again. Love your site. I check it weekly. Thanks for putting in the work and effort for all of us.
great work Alex!
excellent work…
Hey Alex! Keep up the great work. You are truly talented and an awesome inspiration to many. Looking forward to the upcoming tutorial.
Greetings from South Africa
this is great! do you download you furniture and stuff from a particular website? keep up this great job. thanks.
@Alb,
I typically just do google searches for the furniture. It seems with these types of illustrations, most of my time is spent searching for the right images. At the office, we usually have furniture already picked out, and the furniture company websites are good at providing lots of different views and angles of their stuff.
Thank you very much for they teach us.
Do you have a pdf file for this Alex?