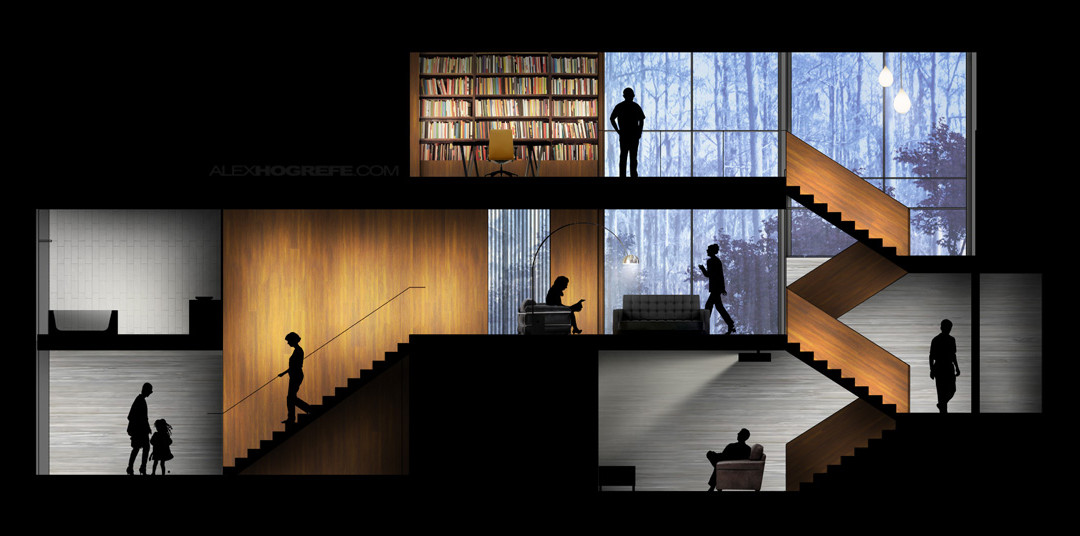
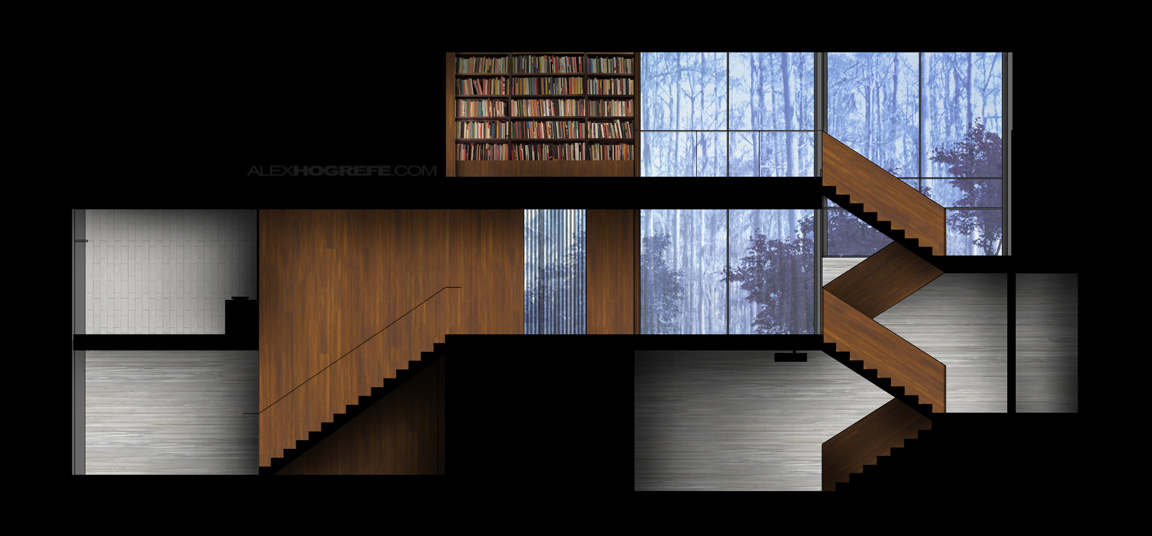
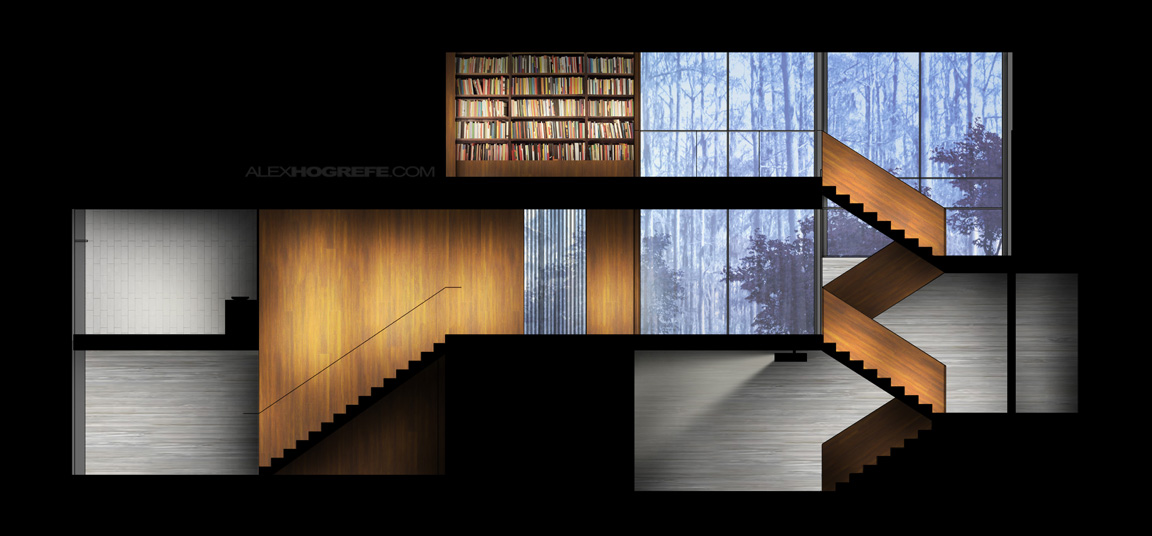
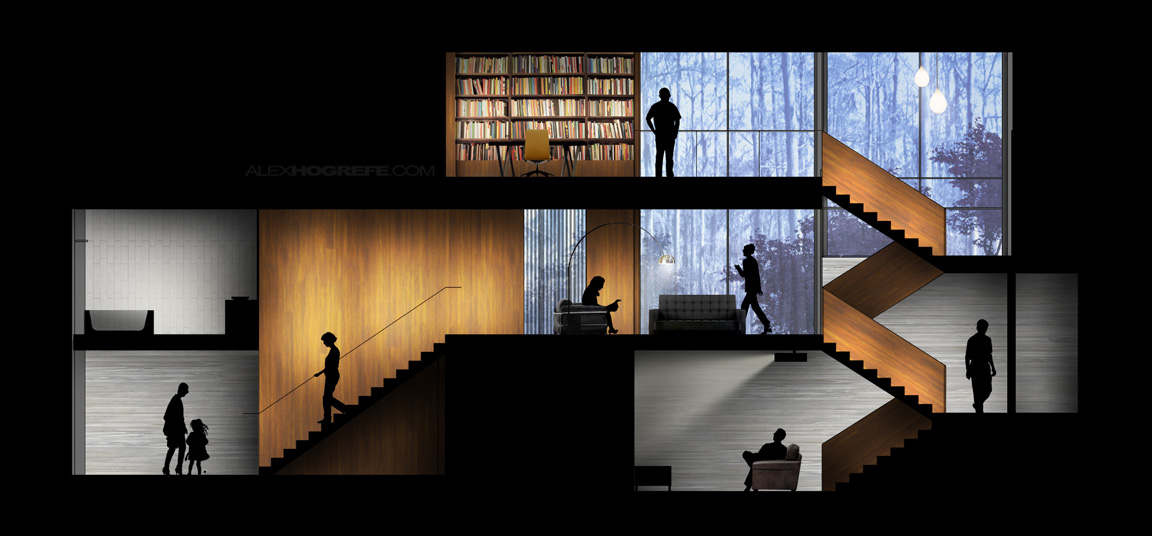
As promised, I put together a video tutorial explaining the workflow that I use to create colored interior elevations using only Photoshop. There was a lot to go over, and I’m surprised I was able to fit it all in one 15 minute video. The steps are not difficult in terms of skill required, however, the sequence of steps to build up the elevation plays a big role in the success of the final image as well as maintaining control of all of the layers. The video is broken down into 6 steps which are summarized below.
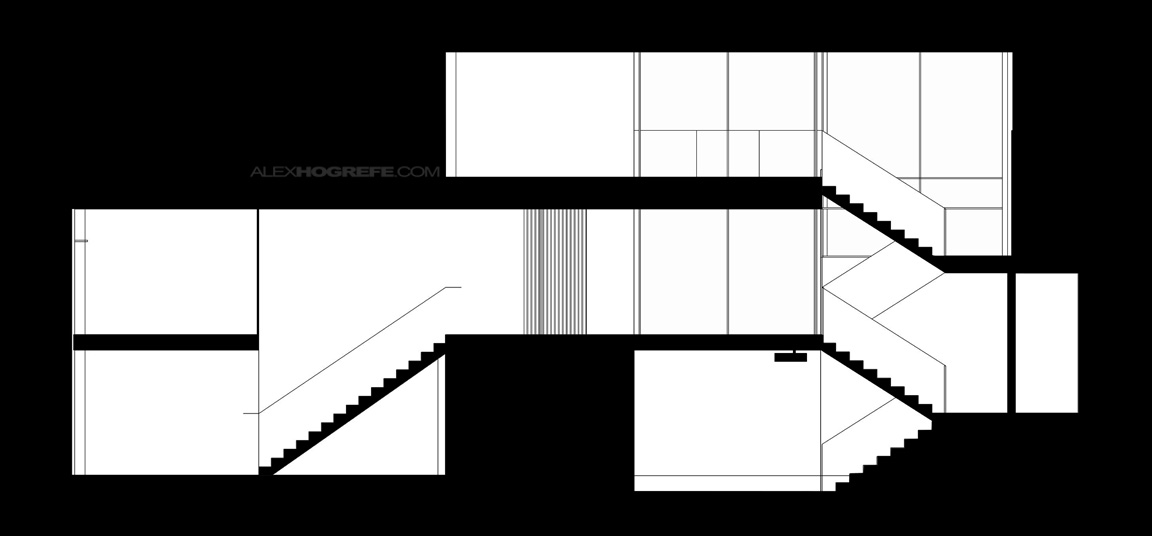
STEP 1: POCHE
In the video, I filled in the section cut and exterior of the illustration in Photoshop. This was done to simplify things, however, I would strongly suggest executing this step in CAD or Illustrator for more precise final results.
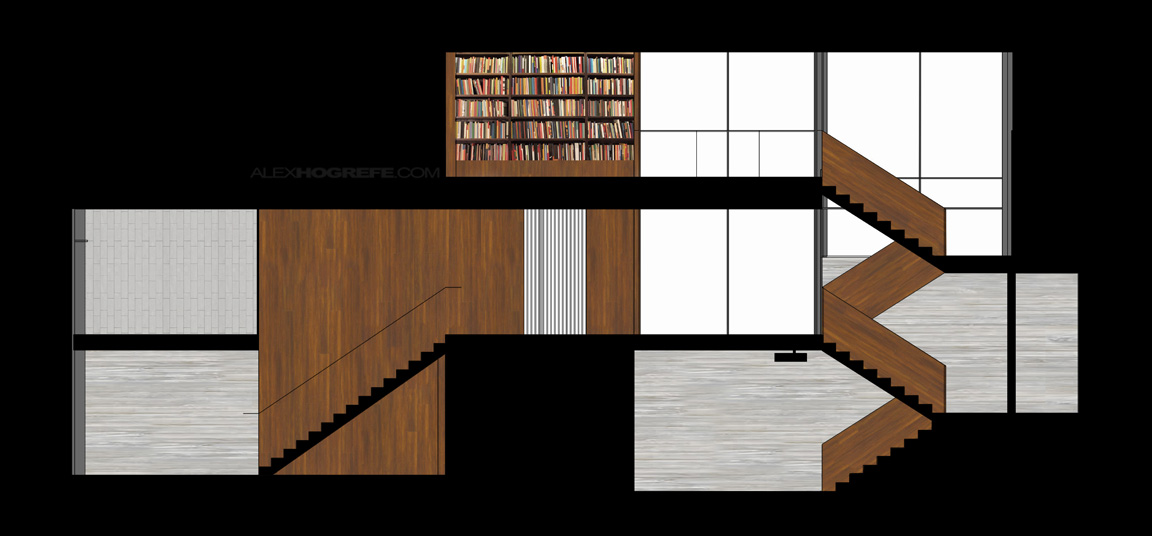
STEP 2: TEXTURES
In this step, the textures of the walls and other architectural elements are added. One things I suggest doing is merging all of the same textures into one layer (such as merging all of the wood textures in the different rooms into one layer). Many times, I want to adjust the hue, brightness, or levels of certain textures. Minimizing the amount of layers means I can make these changes quickly.
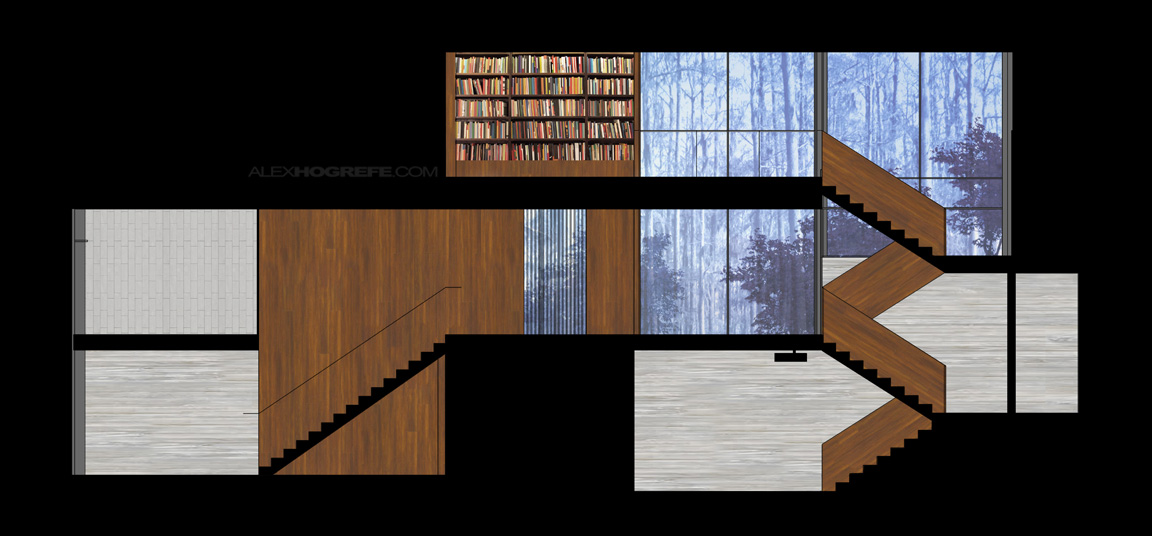
STEP 3: BACKGROUND
This step involves adding background information that can be seen through windows. It’s very easy for the background to get distracting, pulling the viewers’ attention away from the interior spaces. To avoid this, I tend to make the backgrounds more monochromatic, meaning I stick with one hue of color. In this case, I chose blue to compliment the warm tones of the wood.
STEP 4: SHADOWS
This step is an important part of the process, and is where depth is given to the elevations. My advice is to go one room at a time like in the video. Shadow is added where you have a corner condition such as where the wall meets the ceiling or where a wall meets another wall. Also when there is a change in depth, shadow should be added such as in the stair railing. Check out my “Ambient Occlusion” tutorial or my “Quick Sections” tutorial which both cover the topic of adding shadow in more depth.
STEP 5: LIGHT
Step 5 discusses adding spot lighting and accent lighting. This puts warmth into the illustrations and brings attention to the important parts of the space. Adding light is as simple as adding white paint and setting the layer blend mode to “overlay”. To punch up the strength of the light, duplicate the layer.
STEP 6: POPULATE
The final step invloves adding scaled people and furniture. This is where a lot of my time is usually spent. I have a huge library of people already cut out, but finding furniture at the correct angle can be difficult. Most of the time, this means distorting pics to look like they are in elevation. Take your time at this stage, because this is where a lot of interior elevations can get ruined with shotty Photoshop work.


Alexx you are amazingg:)) thank youu very much for showing all these perfect things. But ı have a question, where can ı find those furniture images like yours? cause they look absolutely real 🙂
Awesome tutorials, I have been integrating them into my class here at UMD. Thought you might like these guys tutorials too, they use 3ds and photoshop and come up with some pretty amazing stuff. http://www.pixelflakes.com. Keep up the good work!
@iklim,
The furniture is from many Google searches. As shown in the video, some of the images had to be edited to give the appearance of a straight on elevation shot.
@Doug,
That's great to hear that these tutorials are being used in the classroom. Also, thanks for posting the link. I like their style and I feel we share a very similar workflow.
thank you so much!! this is really helpful.
Hello Mr. Alex Hogrefe, My name is Osvaldo and I am from Angola, Africa
I am an admirer in the way you use Photoshop. I am enthusiastic about Designer 3D architecture and whenever I visit your site to see tutorials. I'm using Gimp to Produce Post my scenes modeled in SketchUp, rendered in Kerkythea. I have resorted to the techniques applied in the Gimp.
My request is to ensure that we provide a tutorial manipulation of grass in photoshop your way.
Hugs and success
Alex, do you use a tablet to do the freehand stuff like shadows and lighting or is it all mouse work?
Hi jmcc,
Everything was done with a mouse. I don't use a tablet for any of the tutorials or illustrations on this site
Wow!!!! this tutorial is just AWESOME!!!!! I love all your tutorials… do you have any with floor plans???
great job, thanks for sharing by the way…..
Alex, firstly i must thank you for your help and advice over the last two years i am a frequent visitor to your blog. i have decided to bother you regards some recommendations for some photoshop books! i feel confident operating most of the commands you outline in your tutorials. I would love to learn how to bring my drawings to another level of depth and realism. any hoo if you think any books may be of benefit id be glad to hear about them!
Kind regards,
Shane M, (Ireland)
Damn you got back fast on my comment on the blueprint tutorial. You were supposed to be busy with your awesome architecture life and take at least until I got back from school to see it, so that I had time to upload the other picture based on a tutorial of yours (and some others) to the gallery.
Here's the link again 🙂 http://mouseluva.deviantart.com/gallery/39702864
Feel free to ignore this – I just thought you might be interested to see, as I am when people do things in reference to my creations.
Thank you for the accurate and efficient memory tutorials. Shadows are beautiful. Depth can be seen very clearly. Has the effect of colors and shadows. I'm surprised your new design.
best regards.
soroush (iran)
amazing, your tutorials are very useful. thank you very much!
Hi Alex, I love your work. It is amazing what you do and your kindness to share with us.
How do you import your autocad files to photoshop? What is the best configuration to have a nice line in photoshop?
Many thanks,
Julia
@Julia,
I plot the CAD as a PDF making sure the plot style is set correctly. Then I open the PDF in Photoshop using a resolution of something like 300 dpi. You could also open the PDF in illustrator and adjust line weights there or even open the CAD in illustrator though I tend not to go this route very often.
Awesome videos. Thank you so much for posting these tutorials. Where do you get your wall textures?
Thank you,
Alex
its great like your other tutorials.
one suggestion:if you upload tutorials in VIMEO is better because vimeo is specialy for Individual Skills & if you permit we can download tutorial
Your a magician at presentations Alex!!
Nice Post..!!
Its Really helpful tutorial..!!
Yantram 3D Architecture studio
http://3d-walkthrough-rendering.outsourcing-services-india.com
grazieeeeeeeeee <3
Unfortunately the bannister seems not quite parallel with the stair case, apart from that 8/8 m8
I LOVE THE TUTORIAL! CLEAR AND SHOWS ALL DETAILS! THANKS!!! 🙂
Alex thank you so much for all your tutorials! They are amazing!
Awesome work….
Hello, Alex! I think your blog is great and really well done, it’s a pitty that I’ve find out now haha
I can’t watch the video you published. Do you happen to know why is that? Can I watch it somewhere else?
Hi Alex,
I think you’re amazing with visualization. I am just starting out in architecture viz and found your site to be extremely helpful.
Question, do you have a video showing how to apply exterior texture such as wood siding to still image of a building?
For example wood siding are typically 6″ wide and I’m applying it to an entire exterior wall . The siding comes in at a large image and when i texture it into my wall, I get two siding from the texture image.
Thanks for sharing the best posts they very useful to us. You made this site is awesome and you giving us such a great information on this topic it’s very interesting one. I am very impressed by your site and your thoughts they very help us
Thanks for sharing the best articles and you giving us such great information on this topic, it’s very interesting one. You made this sit is awesome. I am very satisfied with your site and your posts they very useful to us.
It’s great that people are interested in this topic.