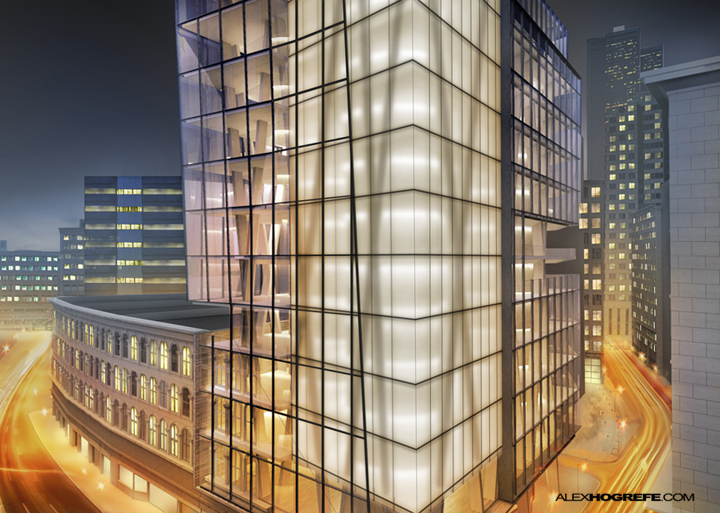
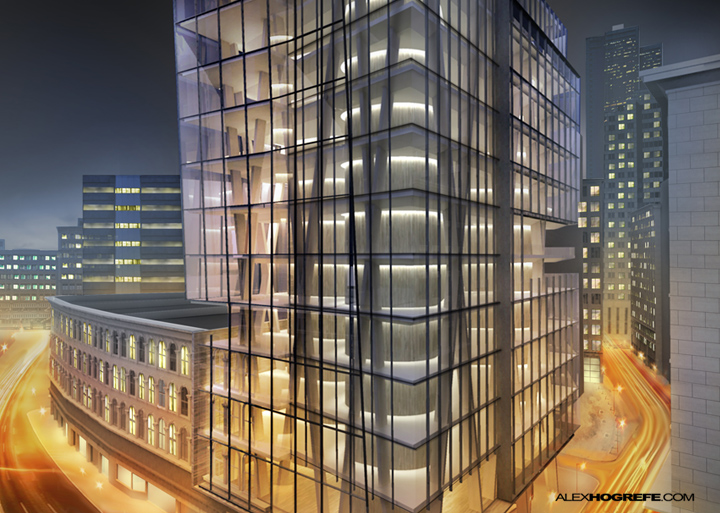
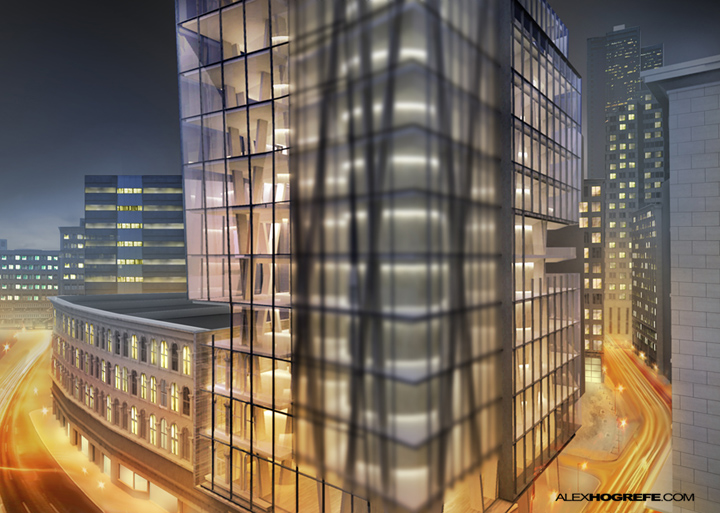
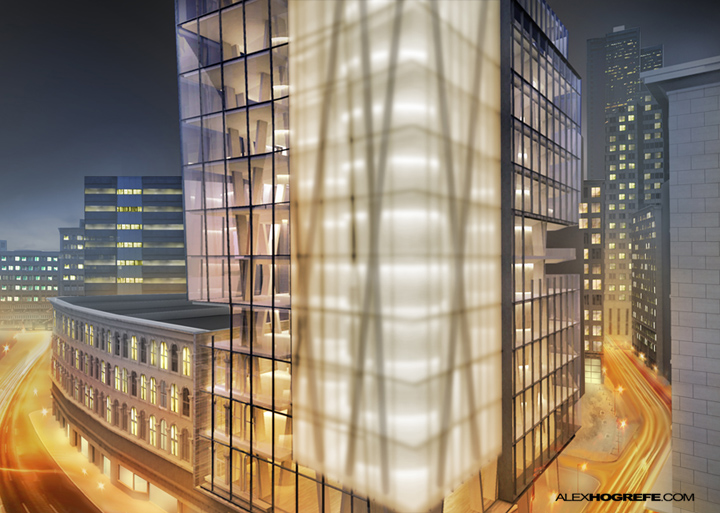
I have been using this technique to create frosted glass for as long as I can remember. The workflow is incredibly simple. Most rendering programs can generate frosted glass, but the setup can often be tricky. In the case of Kerkythea, these settings dramatically increase the rendering time. As with everything that I do, I prefer to use Photoshop because I have more control over the final outcome and I can quickly make adjustments to get the look I am going for vs. rerendering the entire scene.
The workflow can be broken down into 3 basic steps.
Above, the base image that I will be working off of.
1. Blur:
I first copied the part of the rendering that I wanted to be frosted glass and applied the Gaussian blur filter. The glass was rendered clear, therefore everything that is seen through the glass such as columns, walls, and lights should be blurred. It’s even make sure to blur the mullions outside of the glass.
2. Lighten
To get that “Steven Holl” frosted glass look, there are some concepts to consider. The overall brightness of the surfaces should be much lighter than standard clear glass. In the video, this is where I adjust the levels and use the dodge tool to brighten the copied layer.
Also, as objects get close to the frosted glass, their shadows become darker, and less blurred. That is why I darkened the diagonal columns and shadow under the mullions in the video.
3. Sharp Mullions
The final step is to add sharp mullions over the blurred glass layer. There are a couple of ways that I could have done this, but in this video I used sketchup linework for the mullions. Another path that I could have taken would have been to select the mullions from the original rendering using the “polygonal” tool, copy them to there own layer, and then move them above the frosted glass layer.


thanks for sharing, waiting for a long time for this
First of all, great final result!
very nice trick, but i have to say that working with masks / id's
(eg – materials id / objects id / etc) would have saved you 50% of your time.
all in all – nice one!
thanks for sharing.
Thanks a million! just in time for my final project!
WOW, thanks for all the tutorials, I am just putting together a portfolio for Grad School and you have no idea how critical your website is to me. I just wanted thank you for taking to time to put together and update these tutorials.
I had a follow up question how did you make the maps on pages 16 to 17 in your undergraduate portfolio? Could you please put up a tutorial or at the most least tell me which software to use?
Hello, Alex
let's say you want to add some human figures to your scene: would you add it before or after the frosted glass routine?
I was wondering if the frosted glass would affect the capacity to identify the human shape.
I hope I've made myself clear, english is not my native language.
Thank you
It was very interesting night effect in glasses on the facade of this building project. I'm still not at that level of drawing, but will get there.
Hi Alex!!
Very good tutorial! I wold be gratefull if you could tell me how have you done all the traffic on de road. I`ve been looking for a tutorial about it in your website and I haven´t found any. Thank you!!!
Hello Alex, i have no words to express my gratitude for your generosity. I am just loving your site and learning so much in a few minutes.
I have a question that is coming around since previous tutos in here. Are you rendering vray in sketchup? I use to do it in 3ds max but always had problems to blend my renders with the line work from sketchup, as there are not easy ways to match the cameras. Guess i will try to render through sketchup but would like to know about you.
And again, impressive but simple tutorials to make things easier through Photoshop. Having so much fun at your solutions, thank you!!