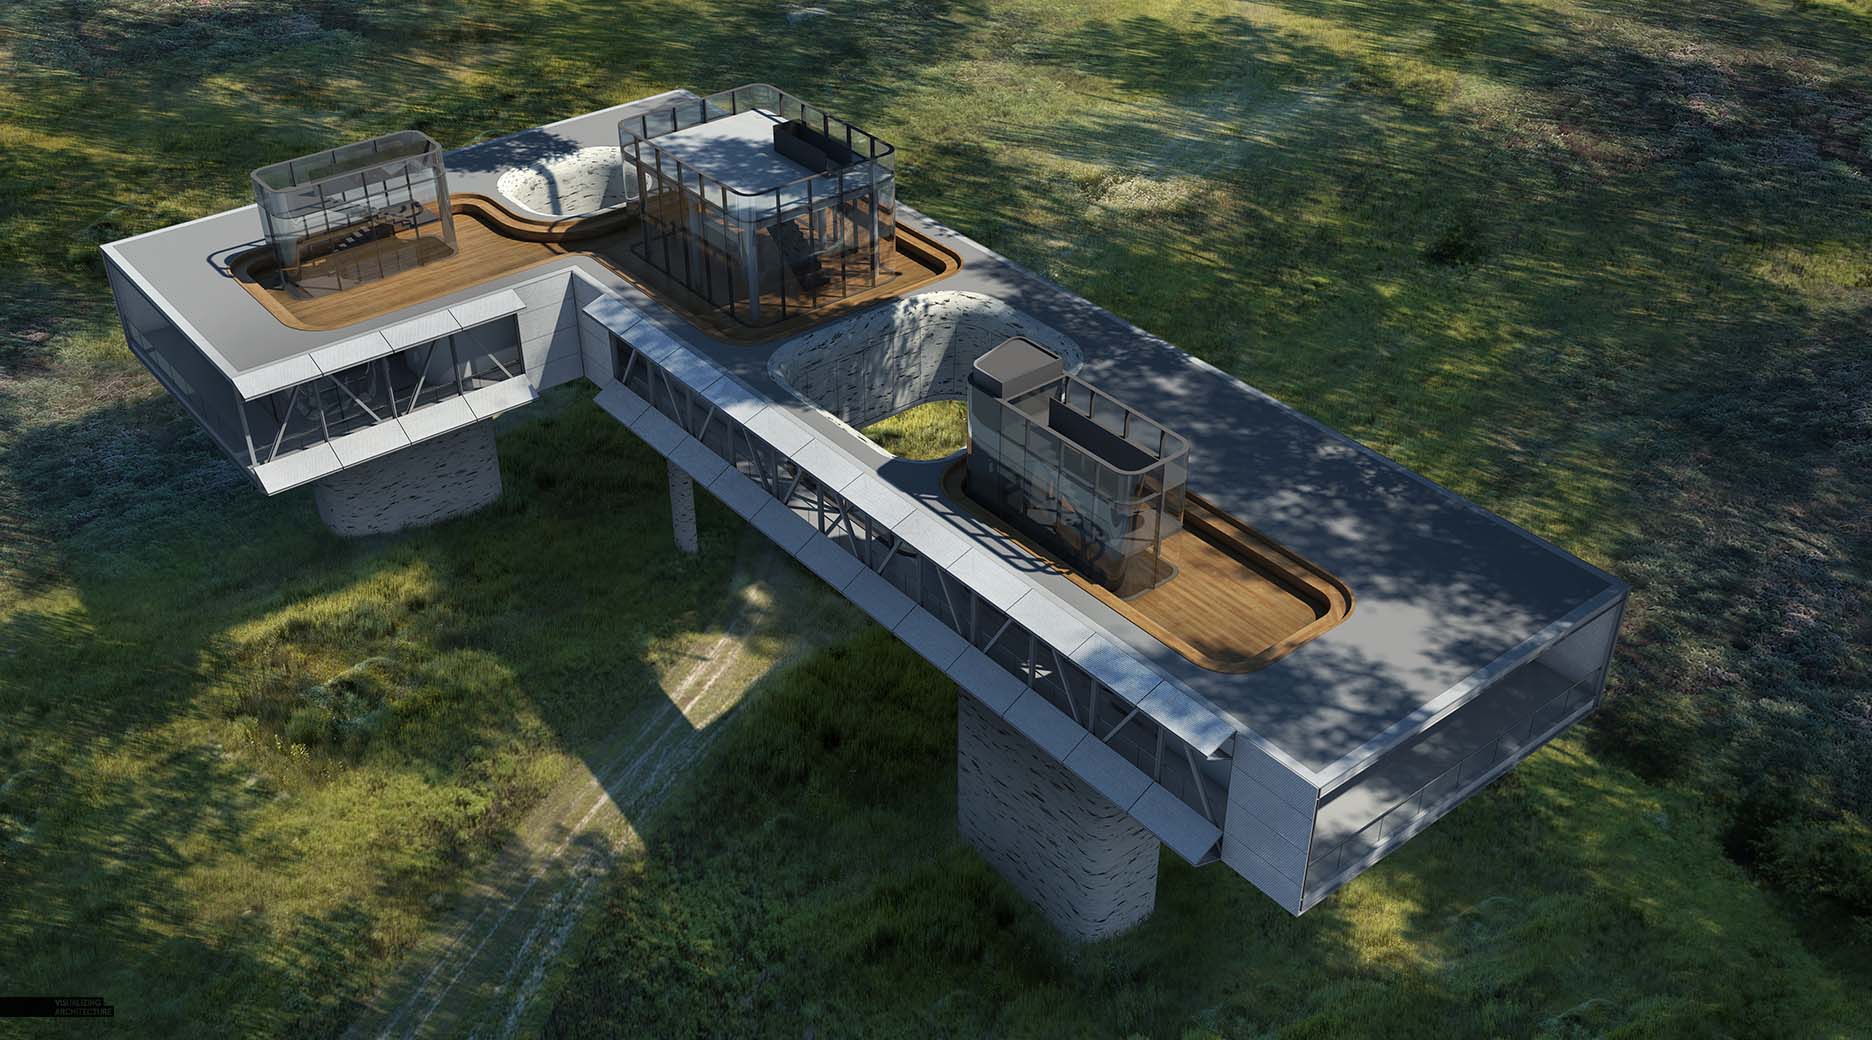
One of the new images I generated for my upcoming Portfolio Volume 05 was an aerial view of the Research Lab Project. Because I have many new images to generate in a short amount of time for the portfolio, I have been trying to minimize time spent on each image. In this case, this image was created in less than a day start to finish. With that said, aerial images with a lot of trees such as this can look complex and difficult to create, but in reality, it’s not that bad. For me, it is all about being systematic with the workflow and keeping the layers clean and organized in Photoshop.
Below is a quick break down of the illustration and the simple process I used to create the aerial forest.
1. Base Rendering
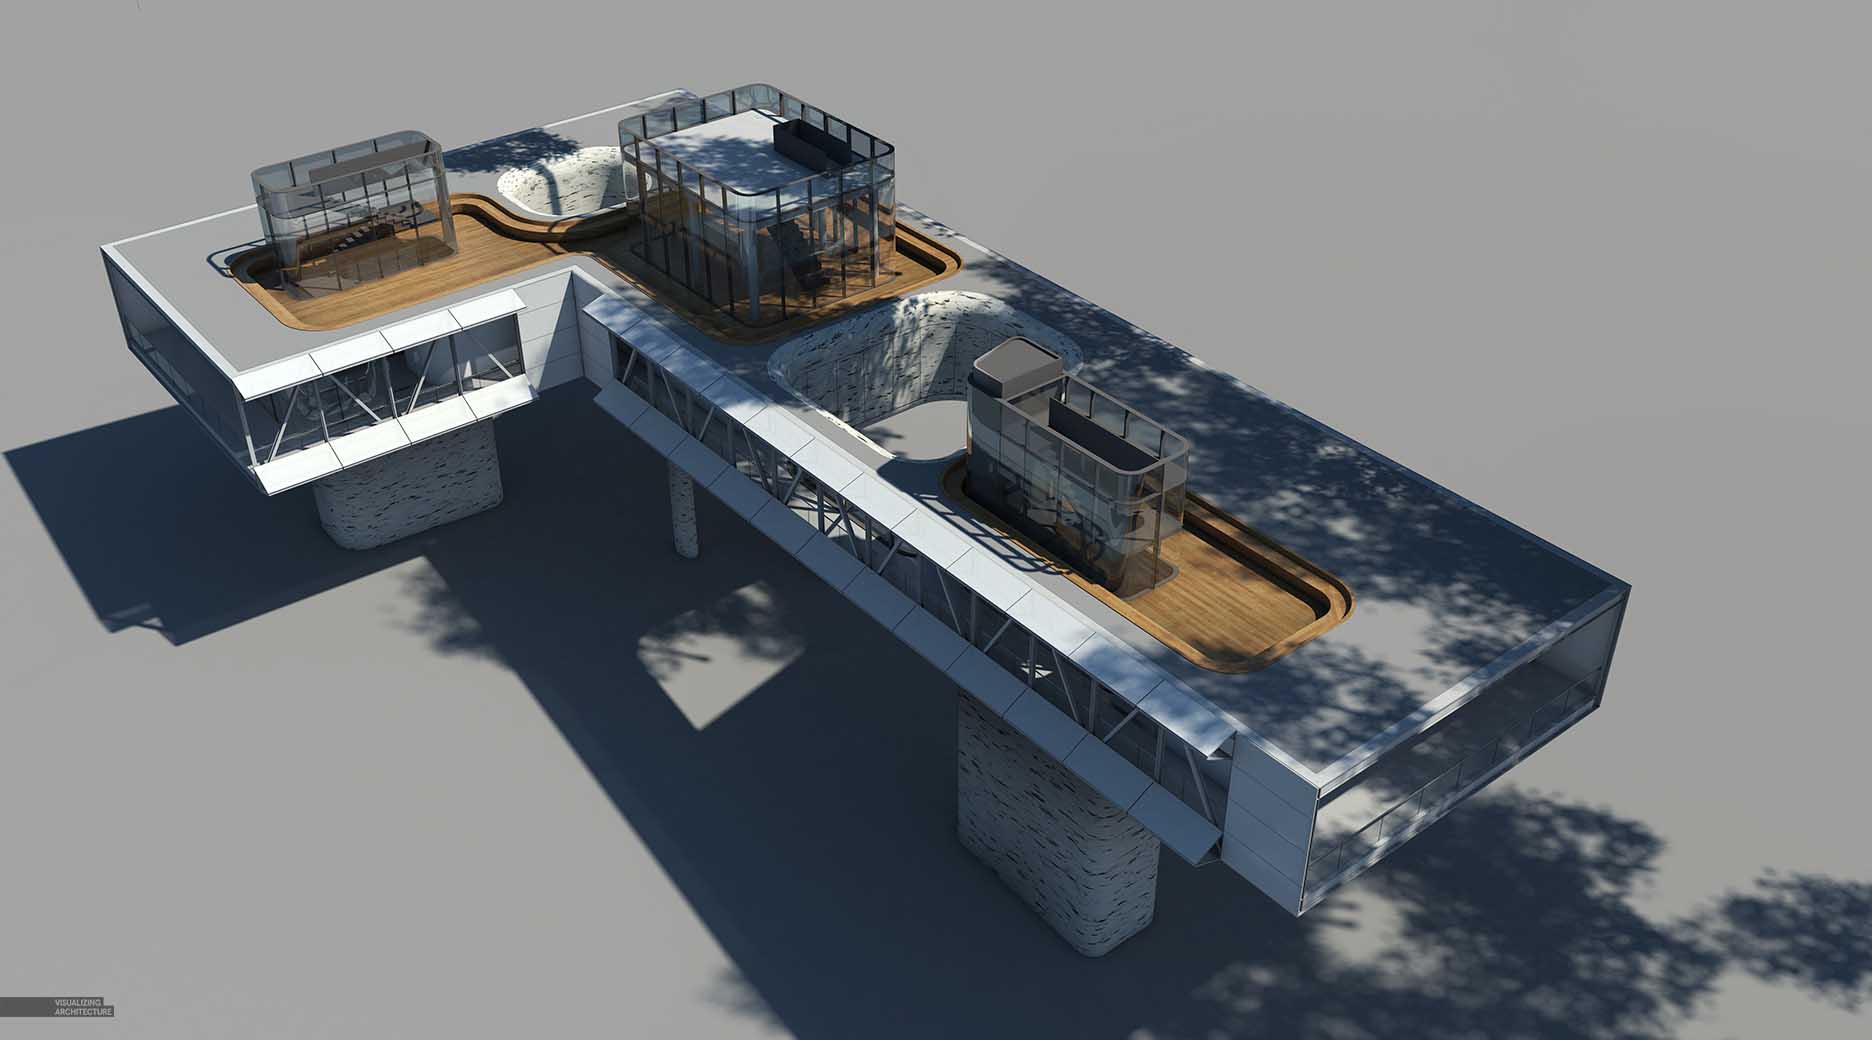
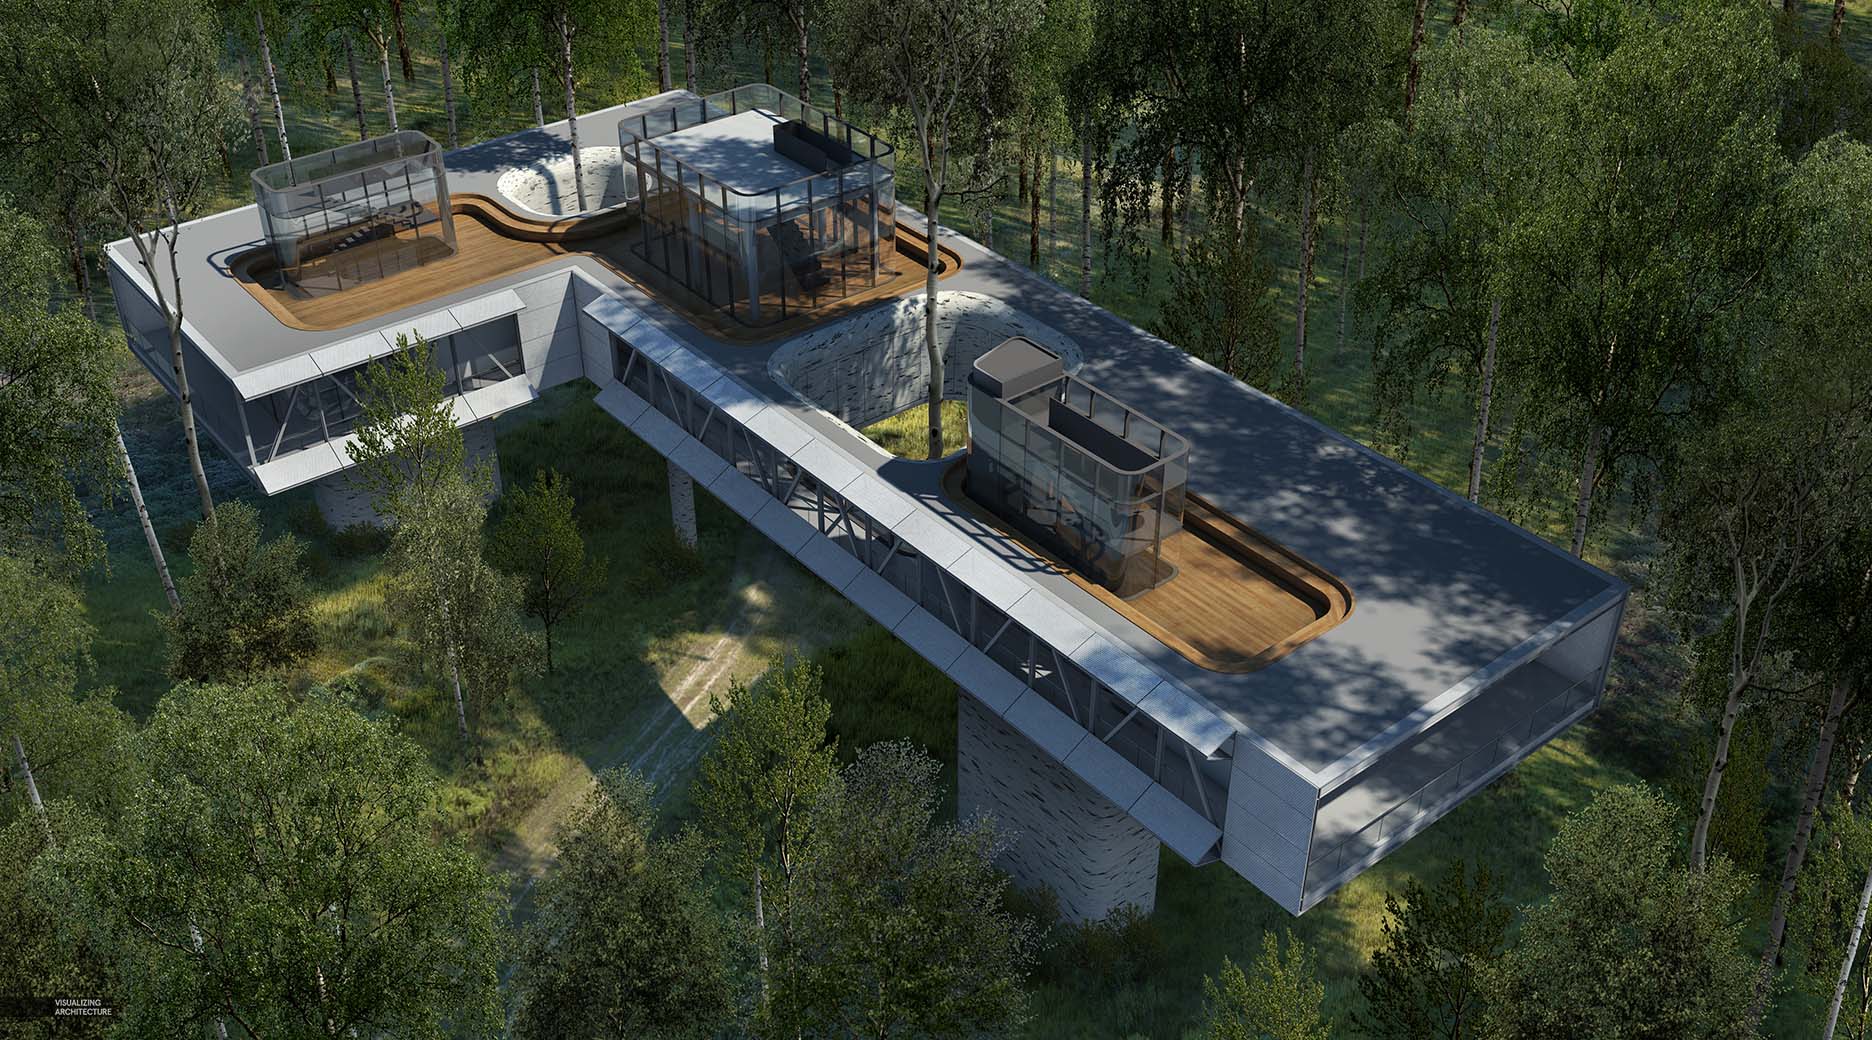
I first setup the view in Sketchup and rendered it out using V-Ray. I also dropped in some trees (hidden in this view) to cast some shadows on the roof. I could have Photoshopped in these shadows but decided to go the 3D route because of all of the geometry happening on the roof.
2. Ground Vegetation
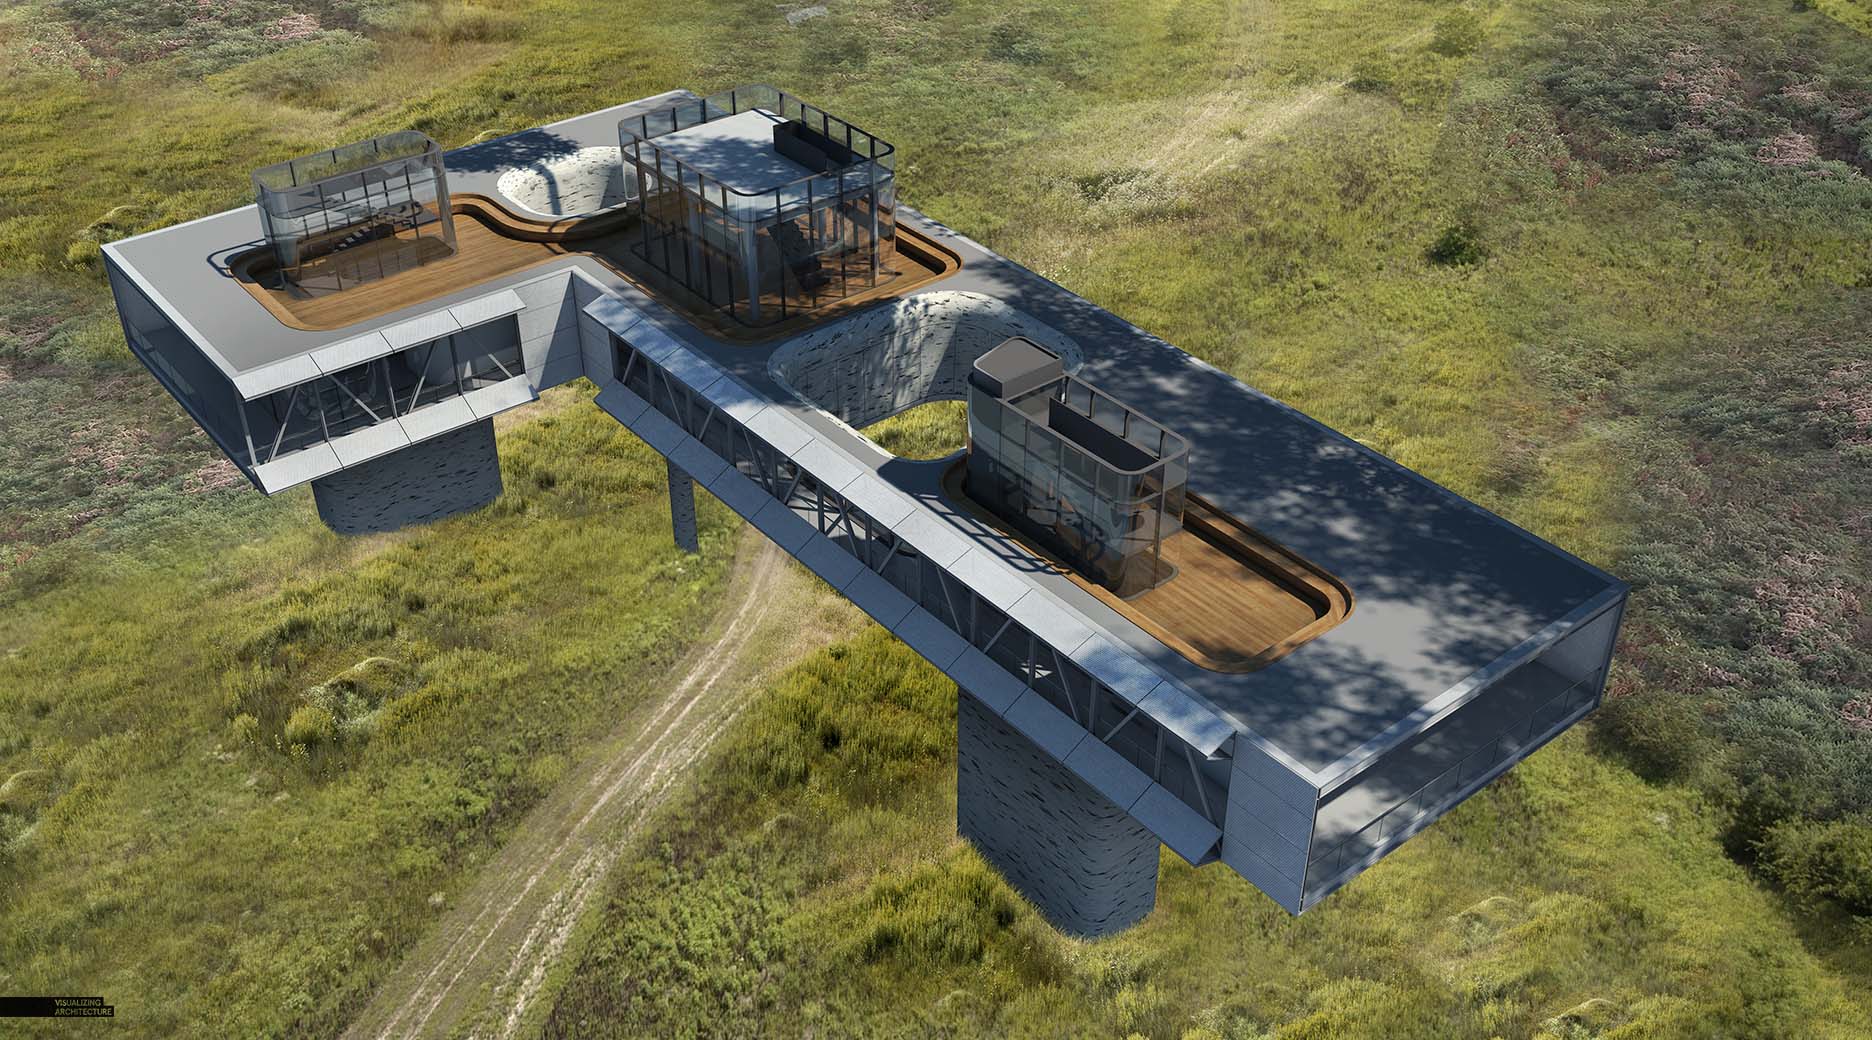
Next, I setup a new group in Photoshop and added in some ground vegetation. I wasn’t too concerned about how clean the Photoshop was on the vegetation because it was largely going to get covered up with trees. The texture is made up of about three images Cloned Stamped together.
3. Ground Shadows
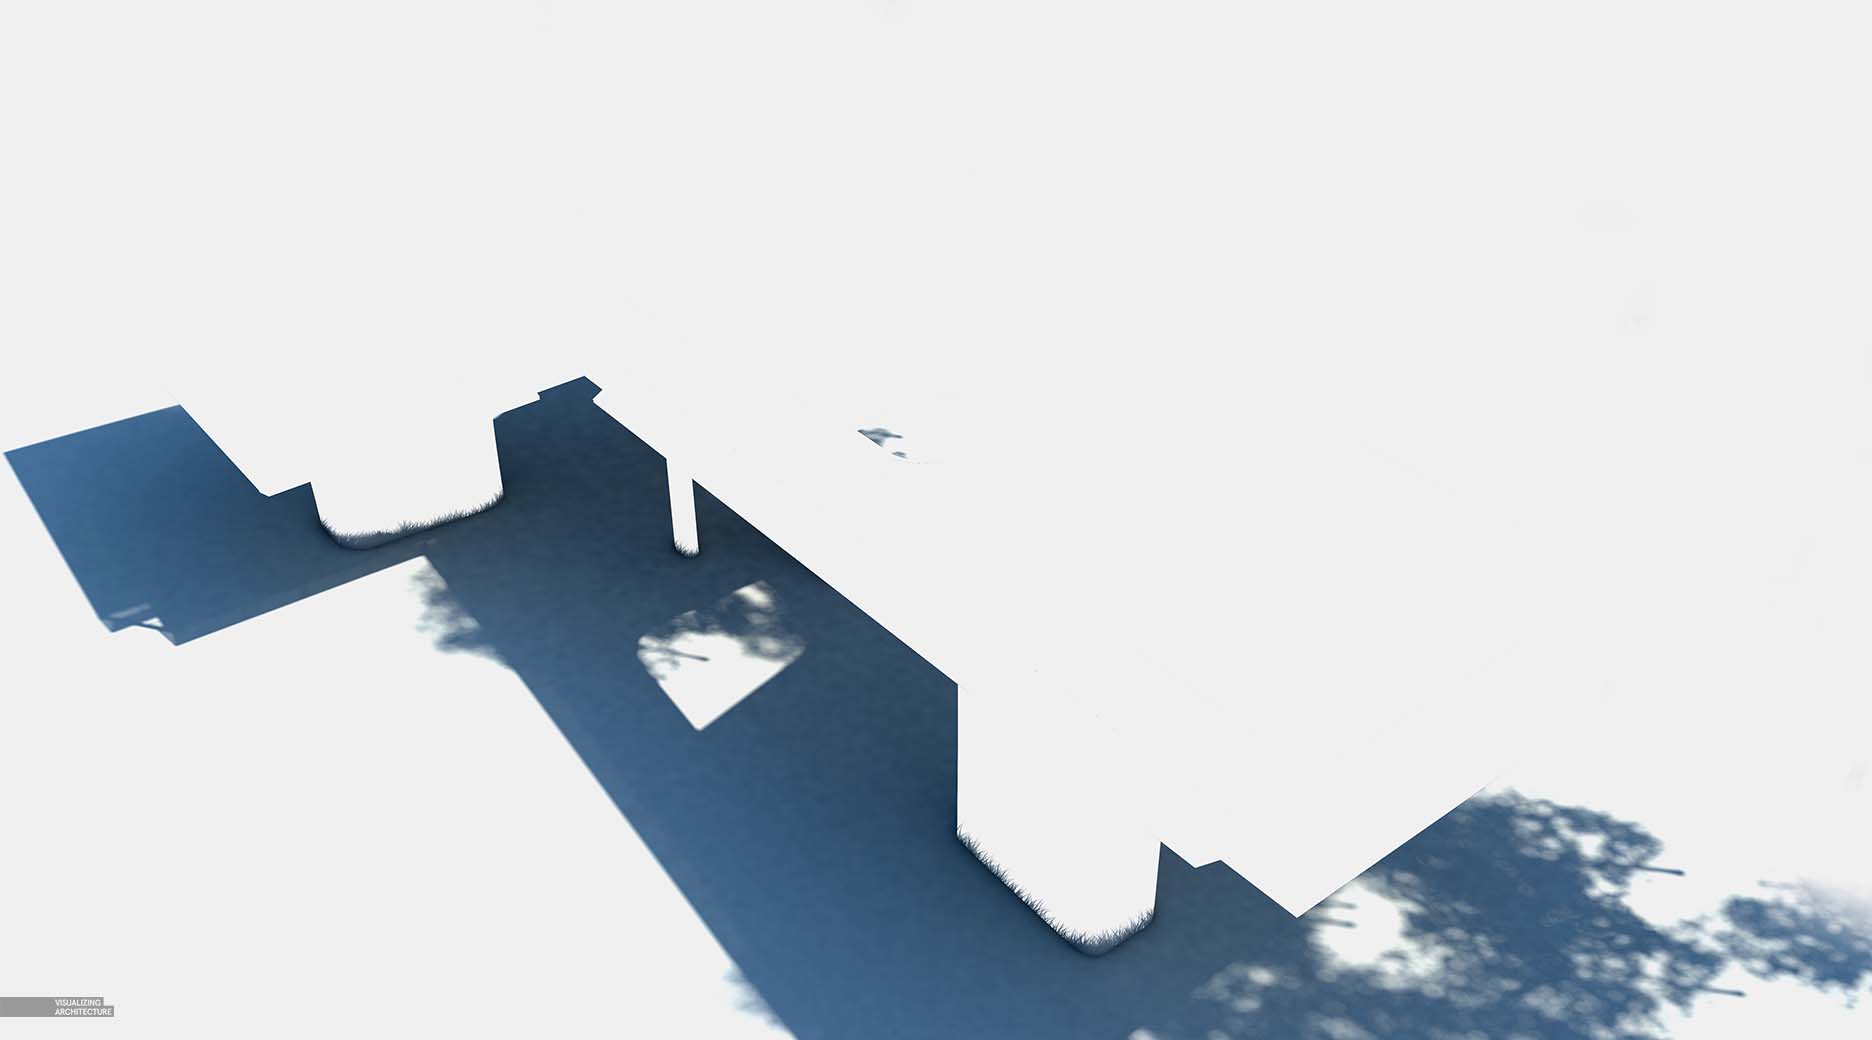
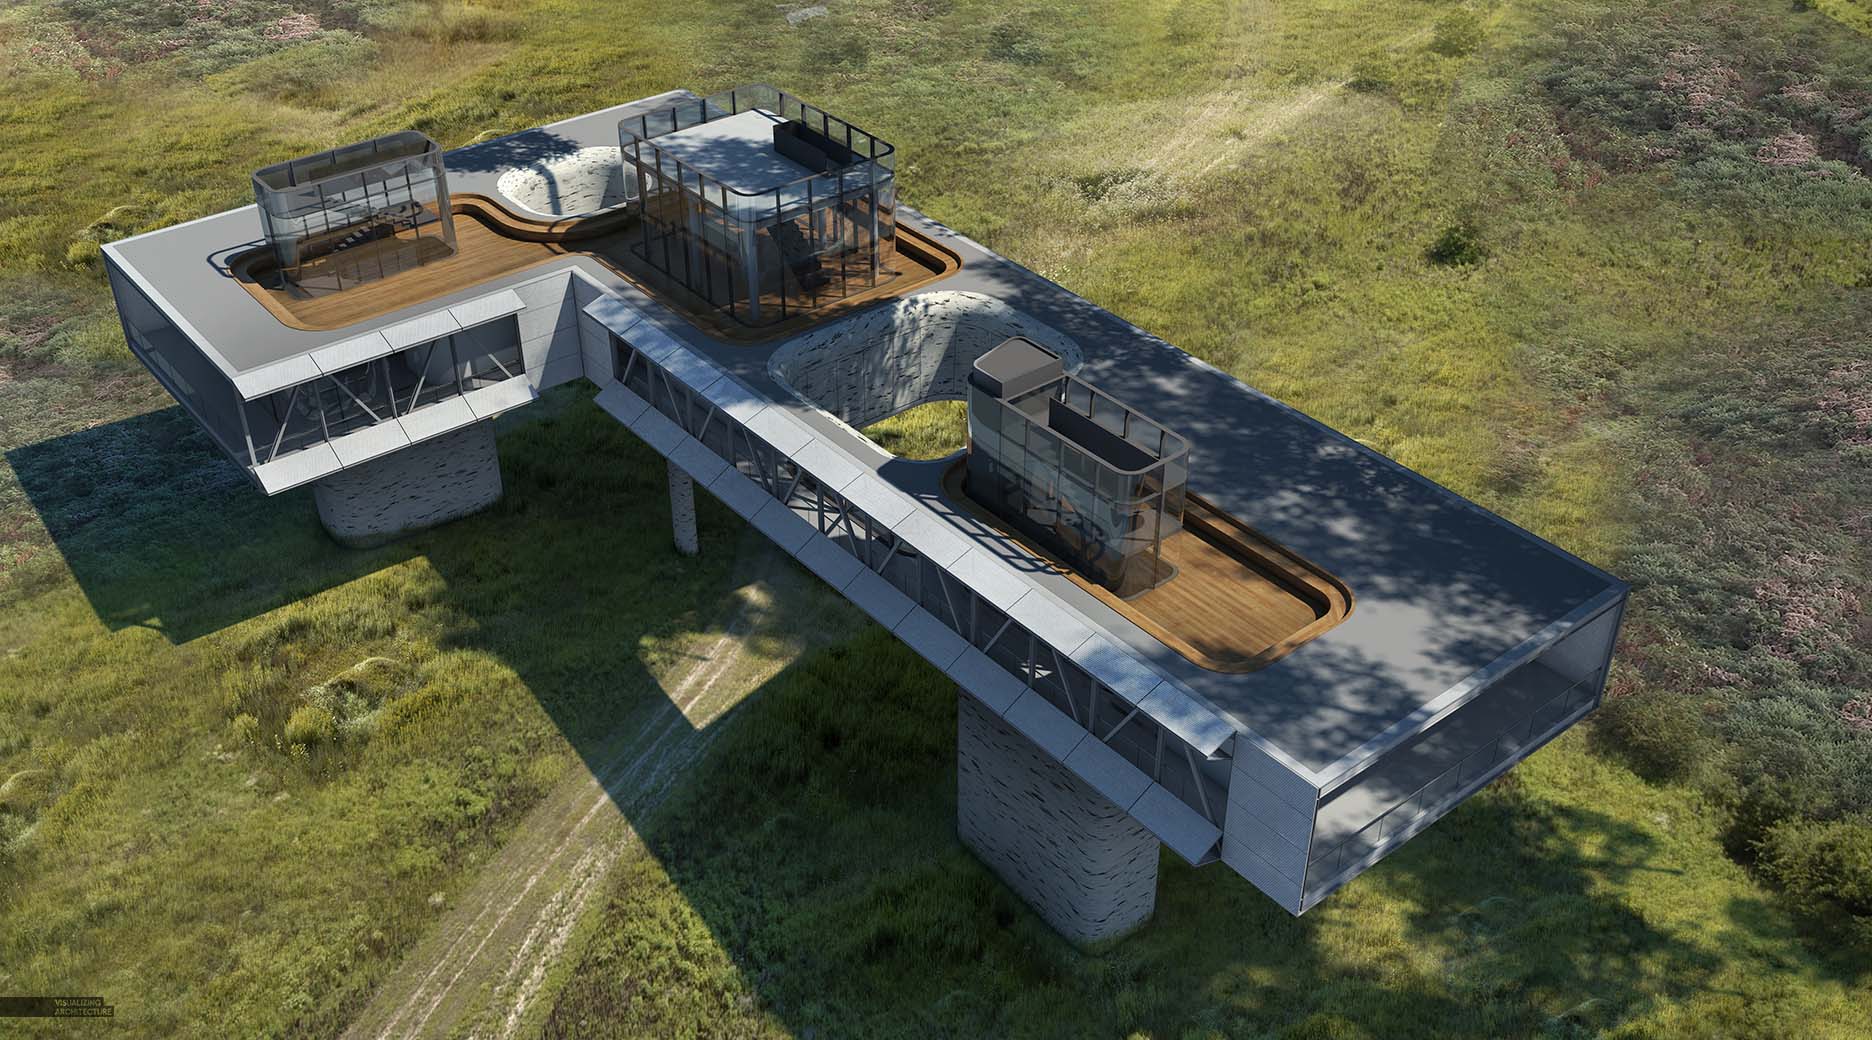
The first thing I typically do when setting up the ground shadows is to extract the shadows from the base rendering. In this case, I grabbed the shadow that the building was casting on the ground, brought it into my “Ground Vegetation” Group, and set the layer blend mode to “Multiply”.
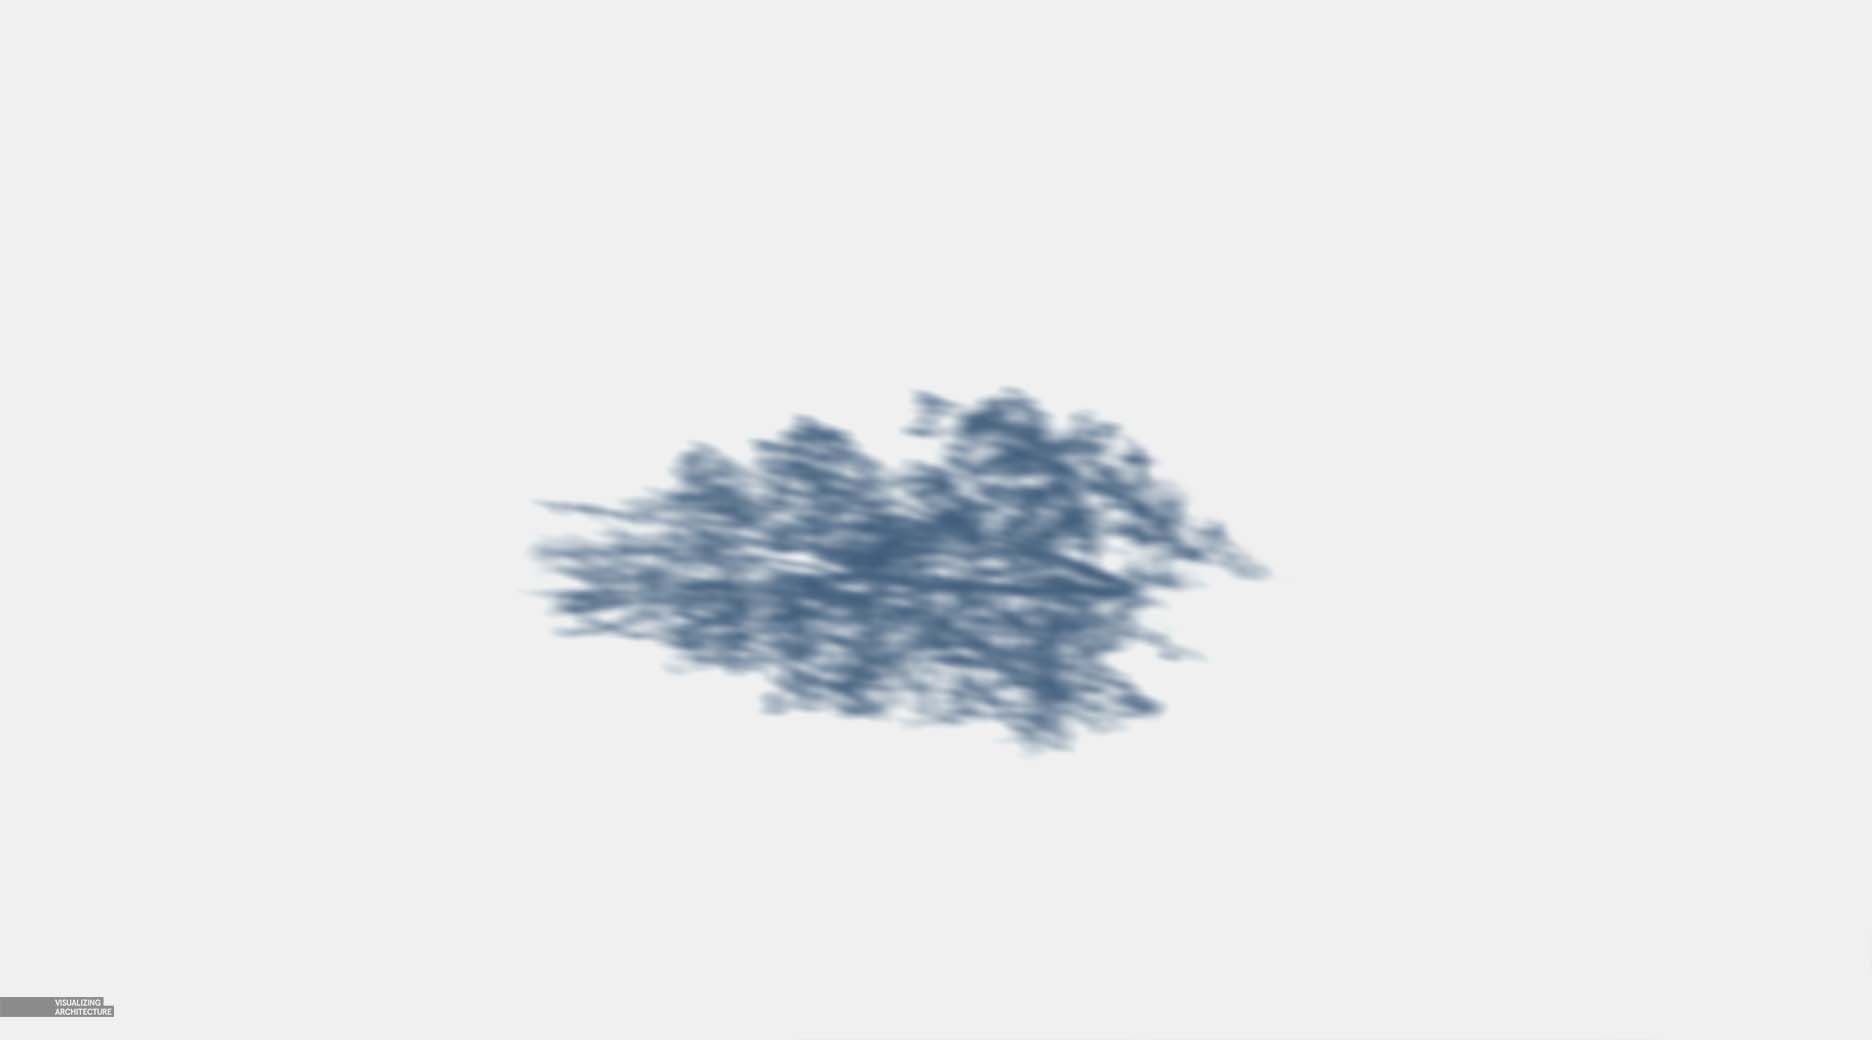
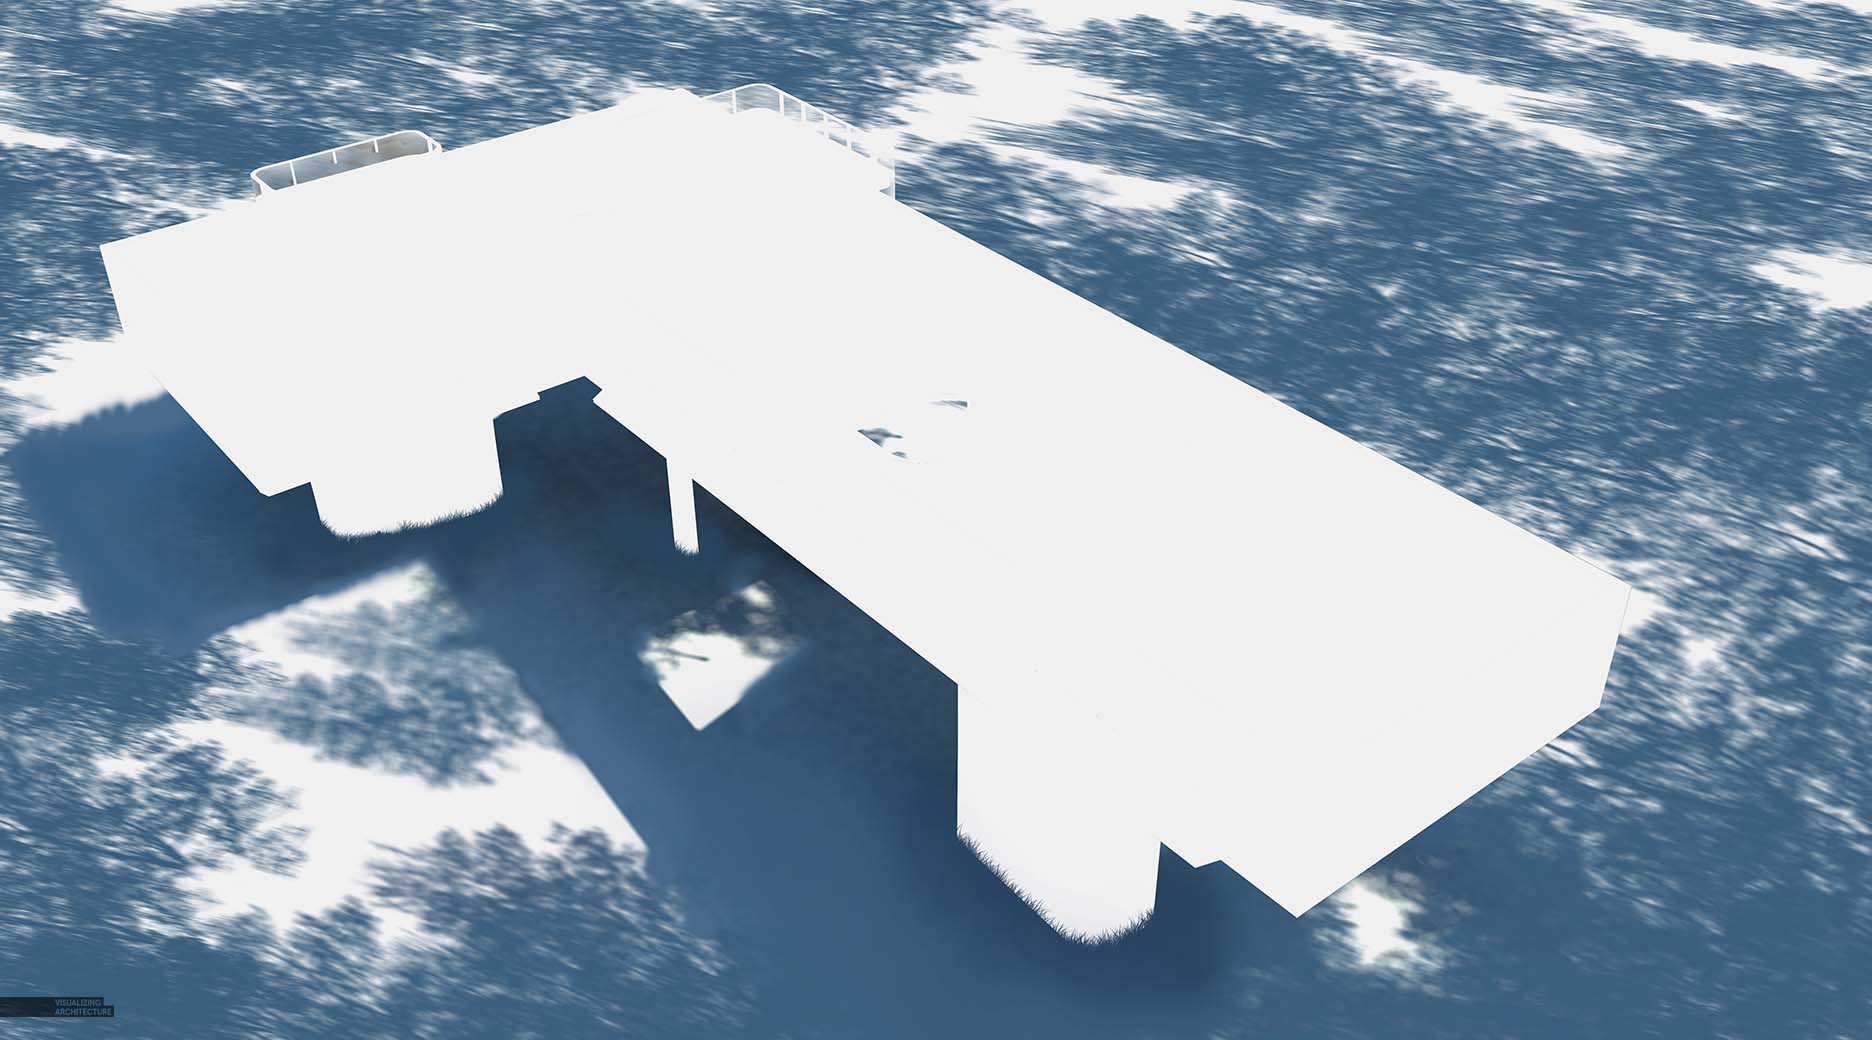
Since there will be a lot of trees covering the site, there will also be lots of tree shadows on the ground. Therefore, I created a tree shadow by taking one of my cutout trees, darkening it, giving it a blue tint to match the ground shadows of the base rendering, and finally added some motion blur. Once I had the tree shadow ready to go, I simply copied it untill the ground was mostly covered.
One quick tip, I setup a new group to contain all of the shadows including the ground shadows from the base rendering. All of the Layer Blend Modes of the individual shadow layers were set to “Normal” so that they did not multiply on top of themselves. I then set the group Layer Blend Mode to “Multiply” to get the final effect.
4. Adding Trees
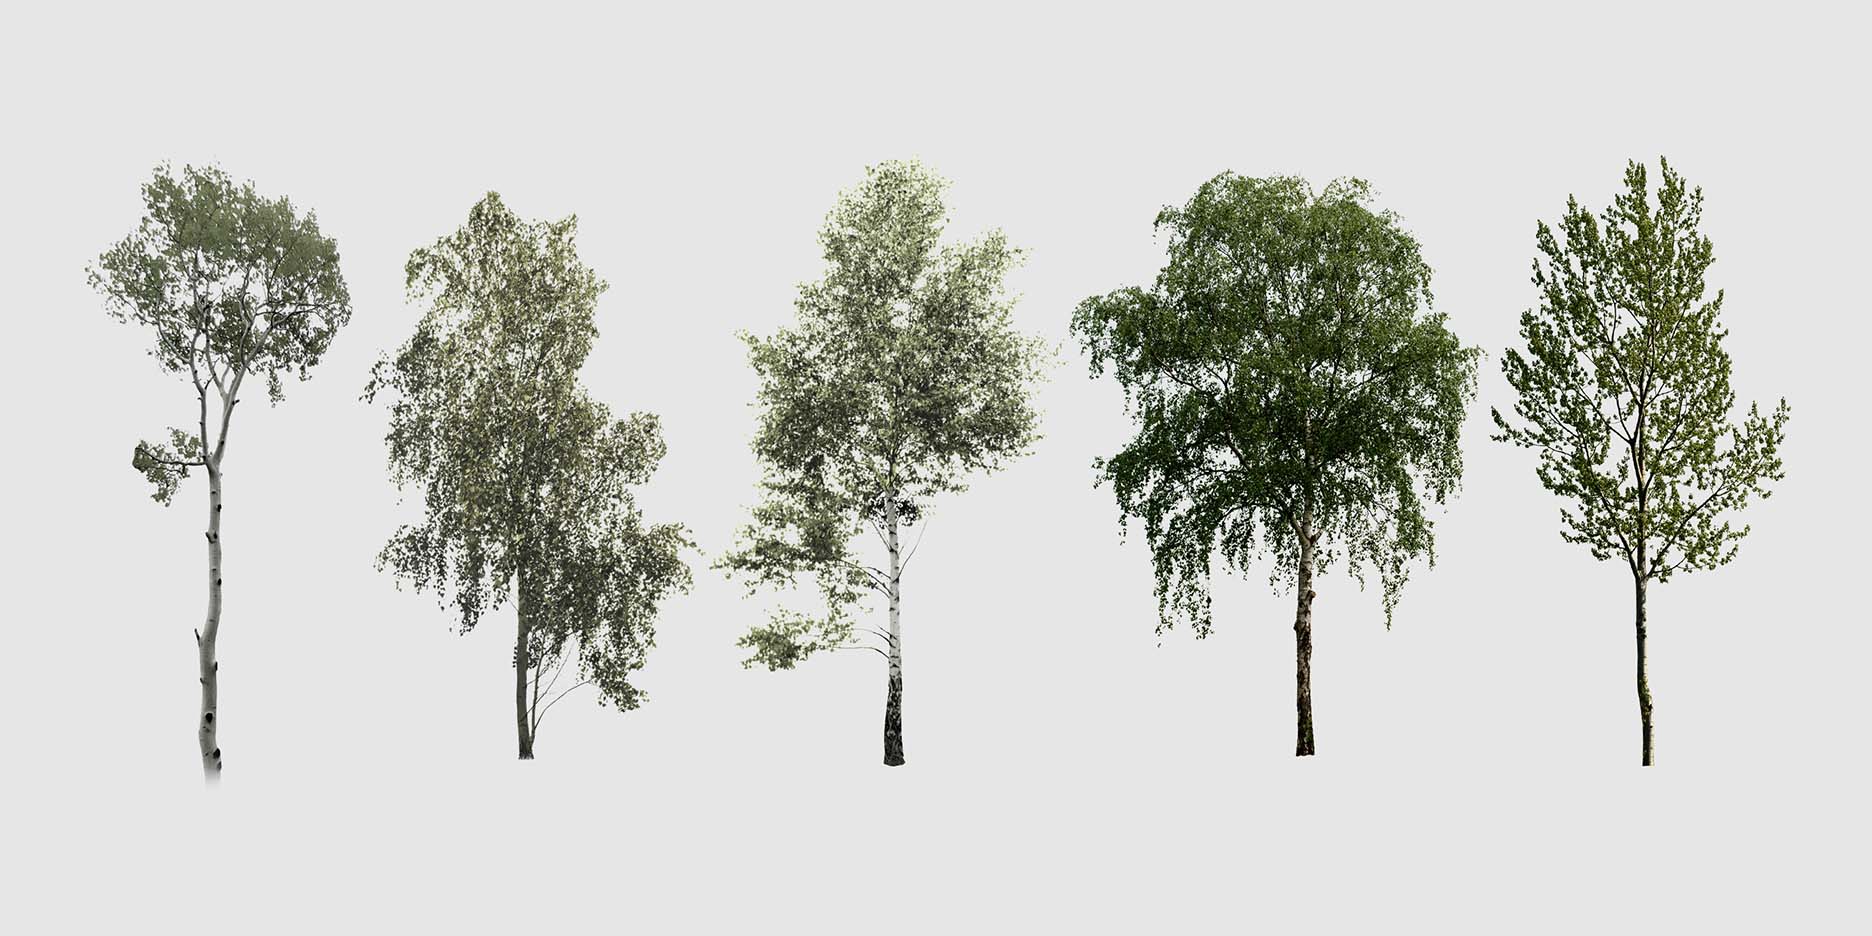
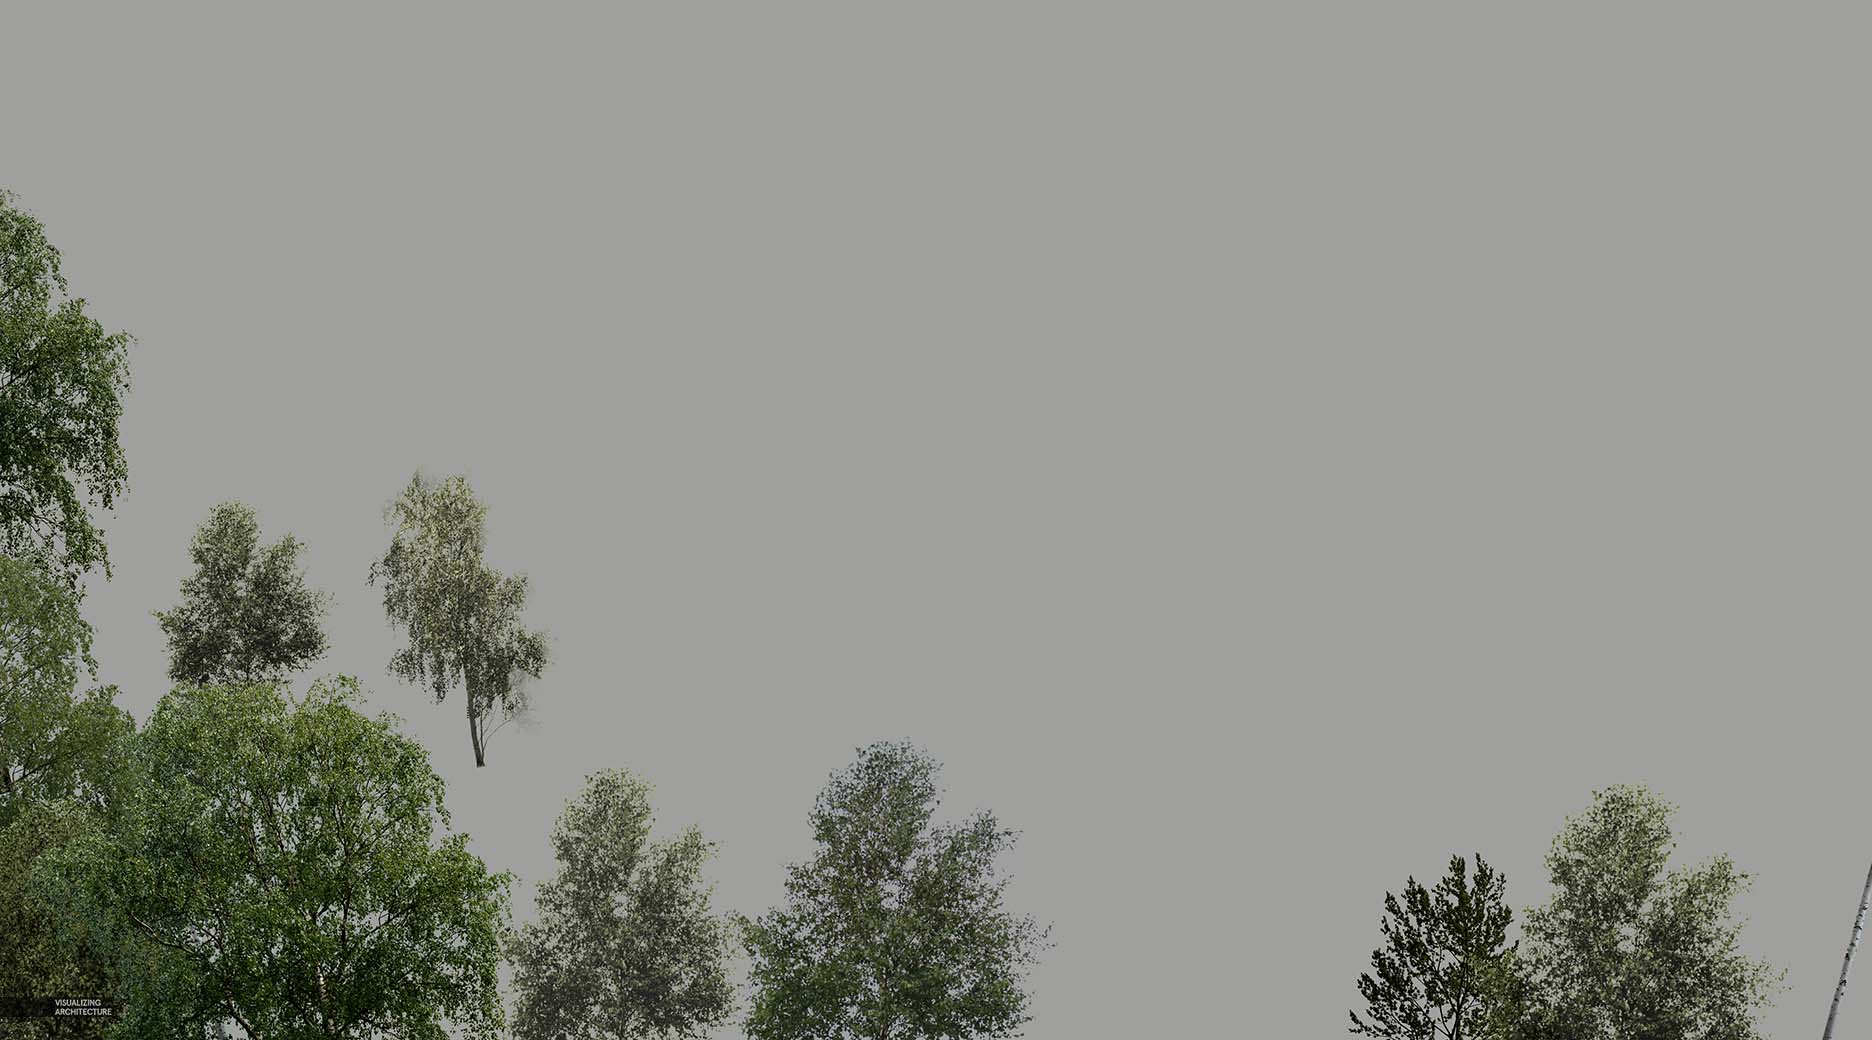
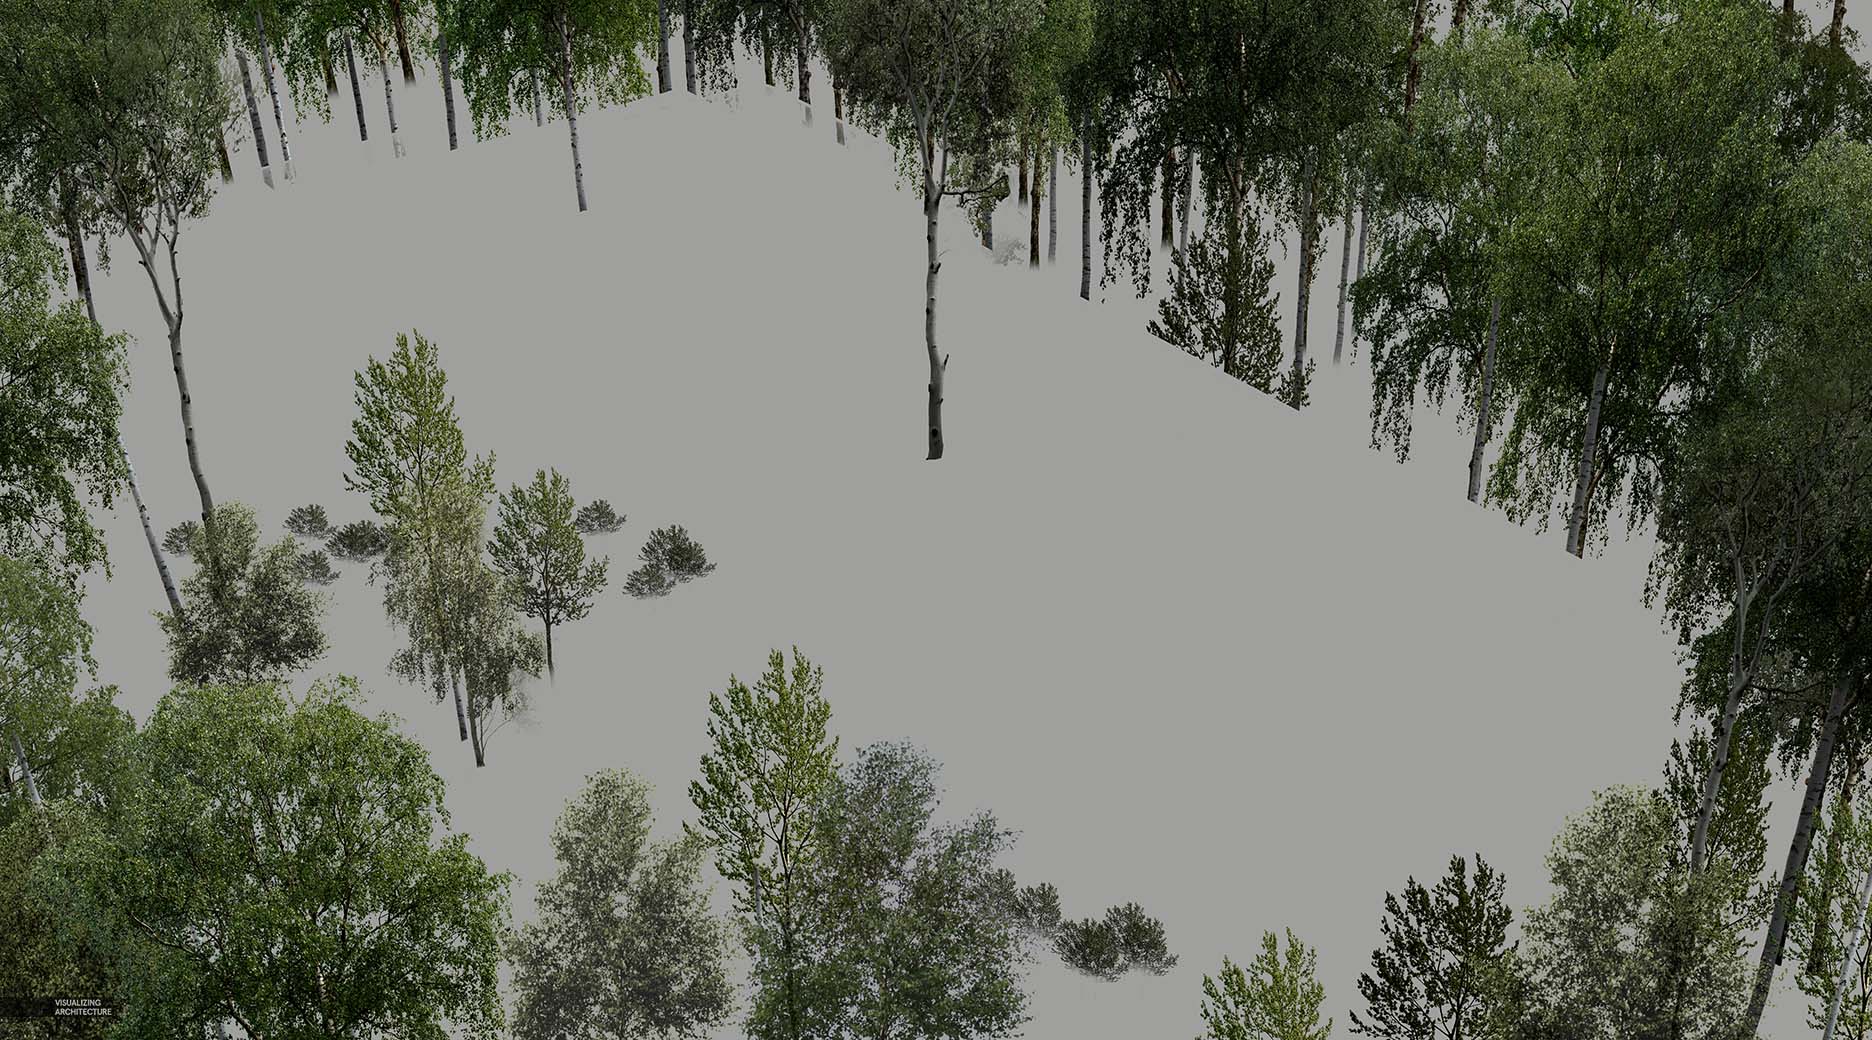
I compiled five cutout trees that were more or less the type that I need for the forest. Some were older and some were younger for some more diversity. I then copied them throughout the site making sure that I was angling the trunks to match the perspective of the image. Since I only had five different trees, I did a lot of flipping and toning to avoid the trees feeling too copied.
I created a tutorial a while ago going into more depth on this idea of avoiding that copied look Here.
5. Roof Gardens
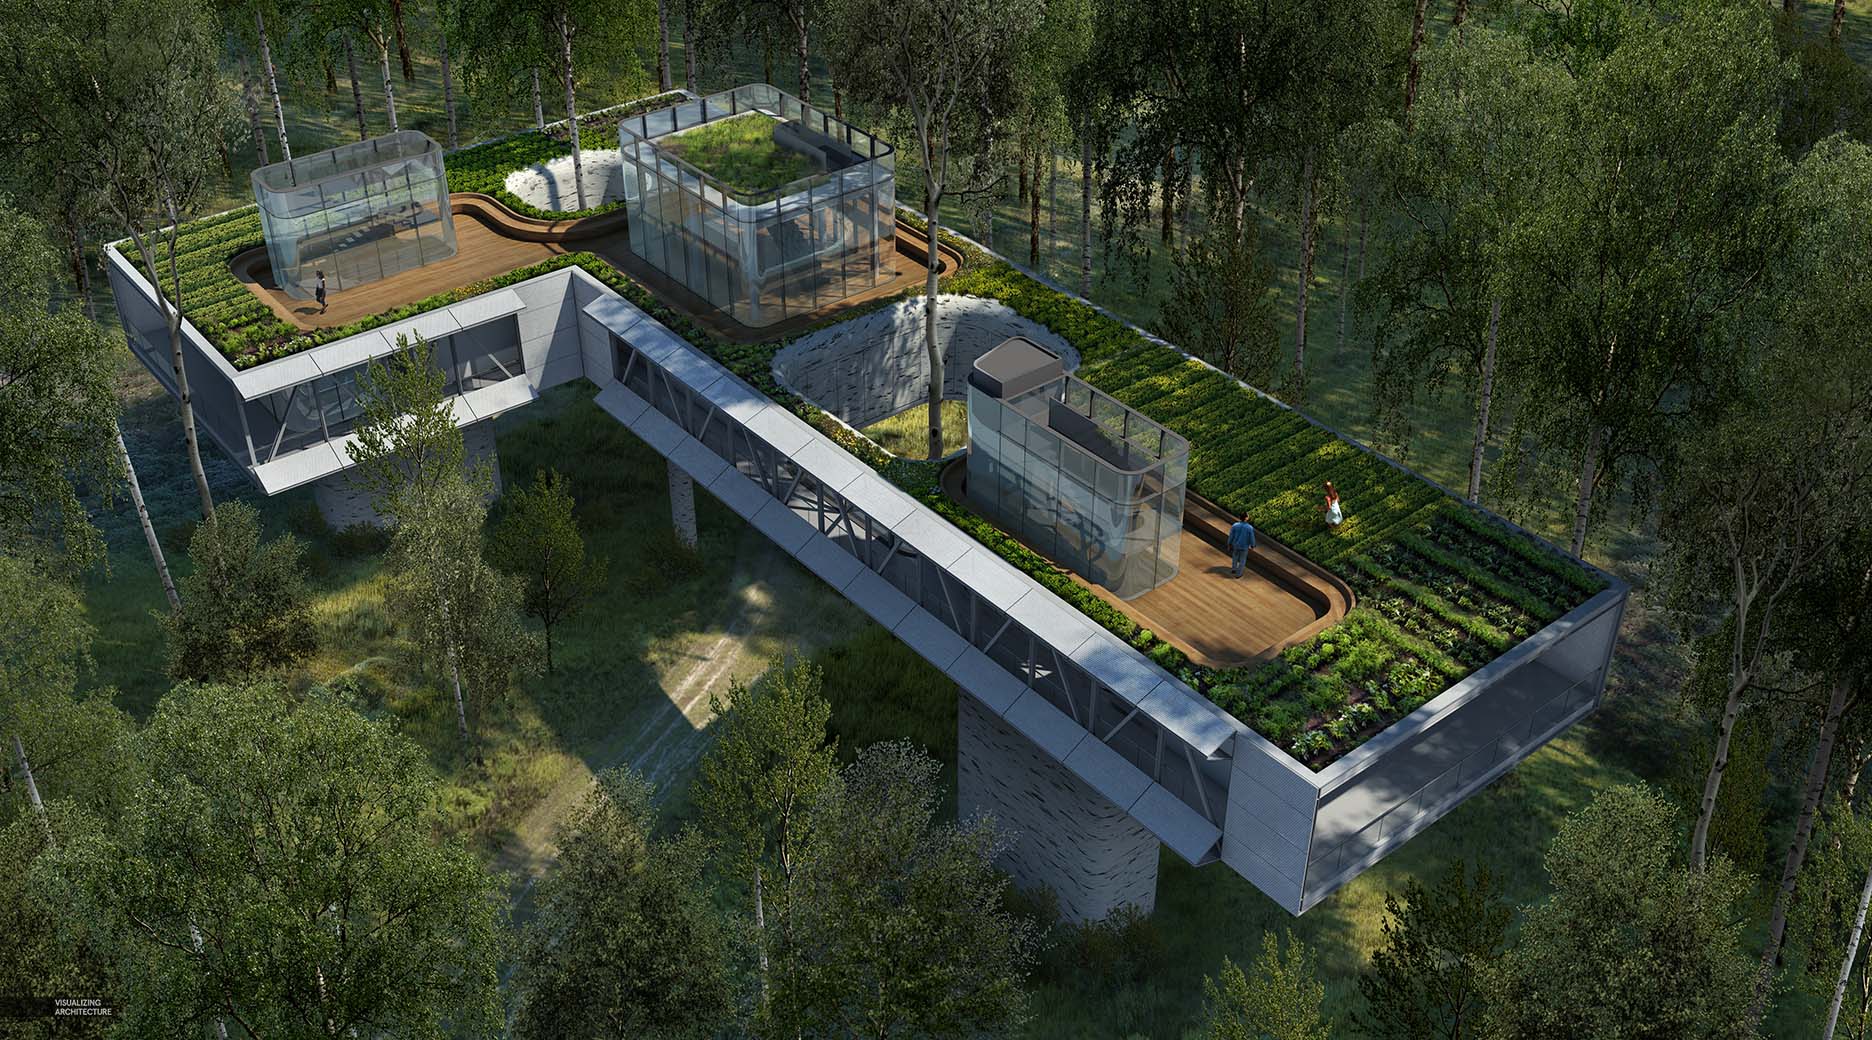
The steps used to add in the roof gardens were identical to those used to add the ground vegetation and shadow. I compiled a group of textures, stitched them into the illustration, and then multiplied the base render shadows on top. I also reworked some of the glass and brought in a few people.
6. Final Toning
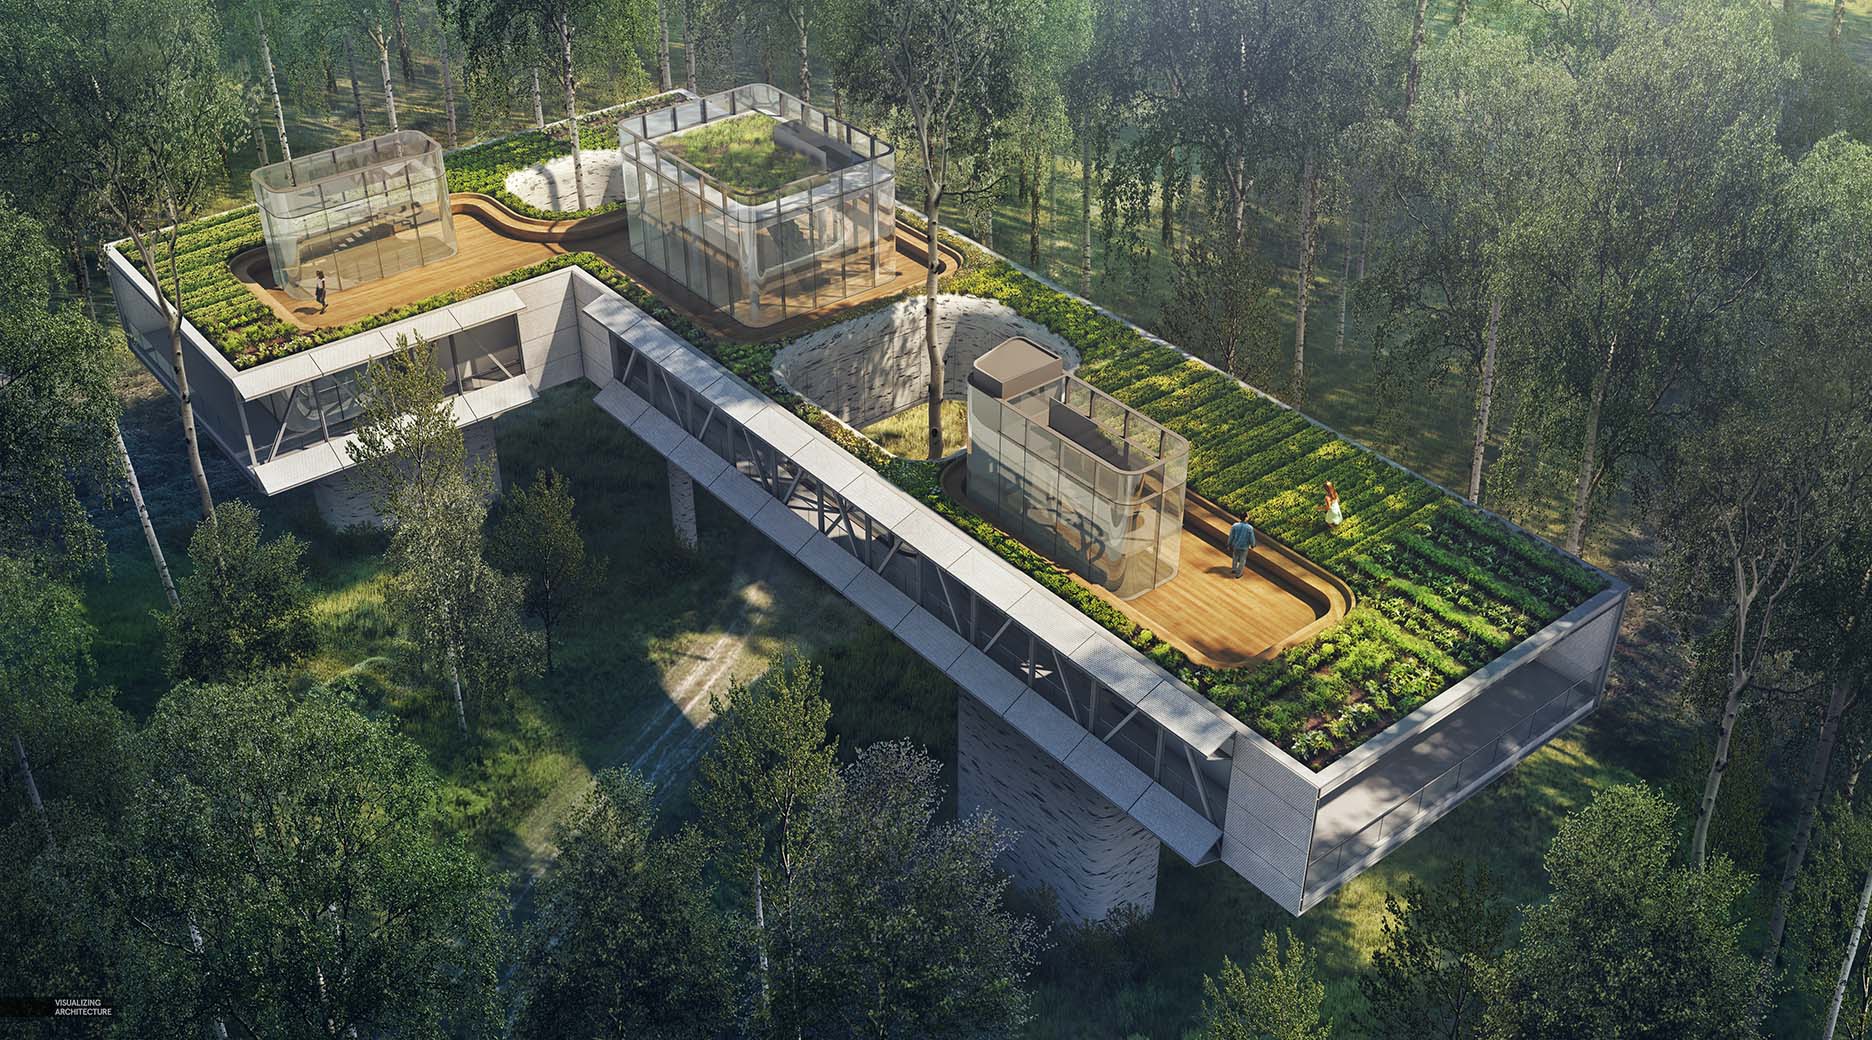
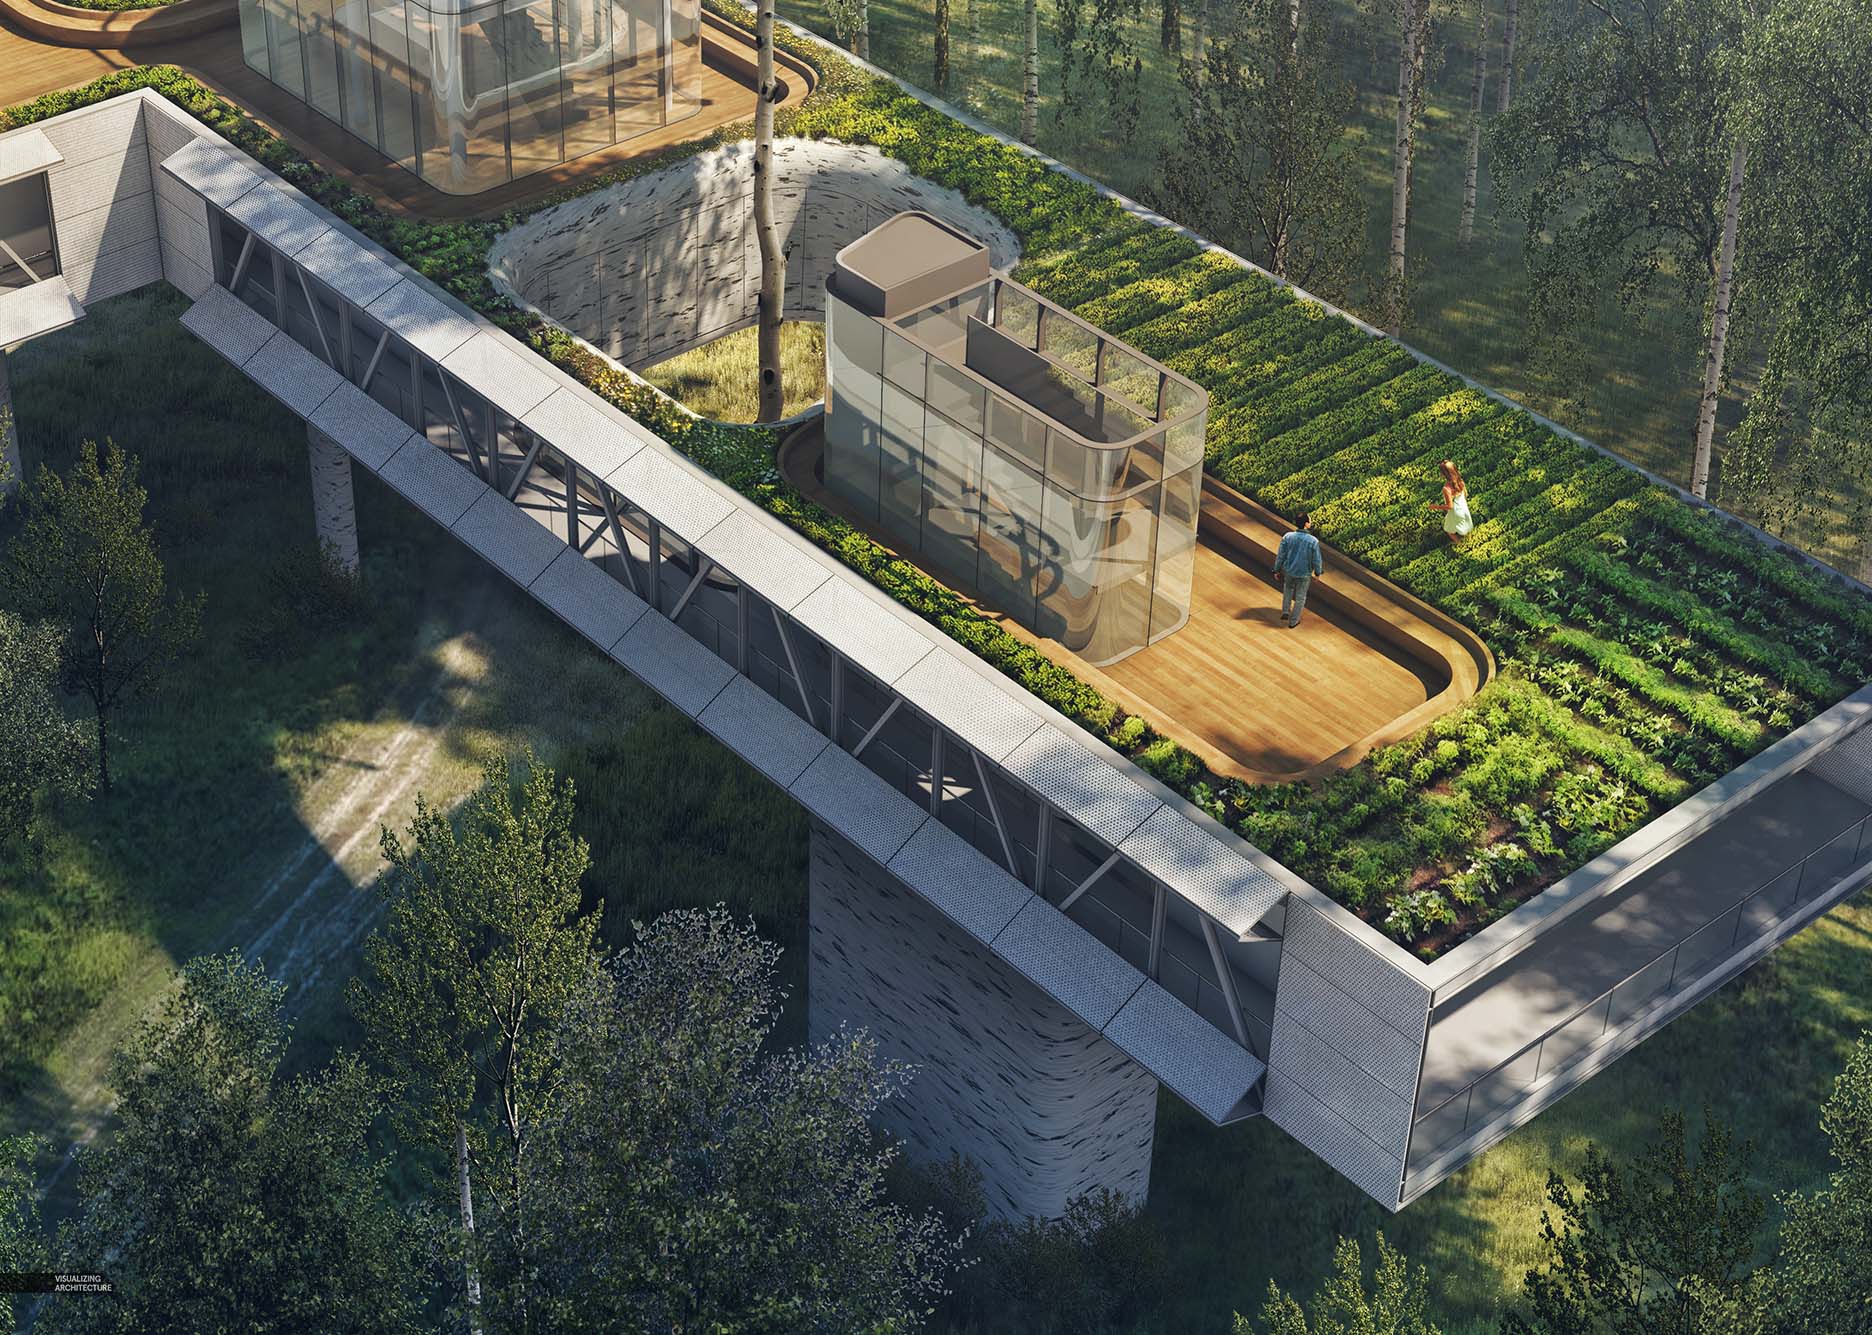
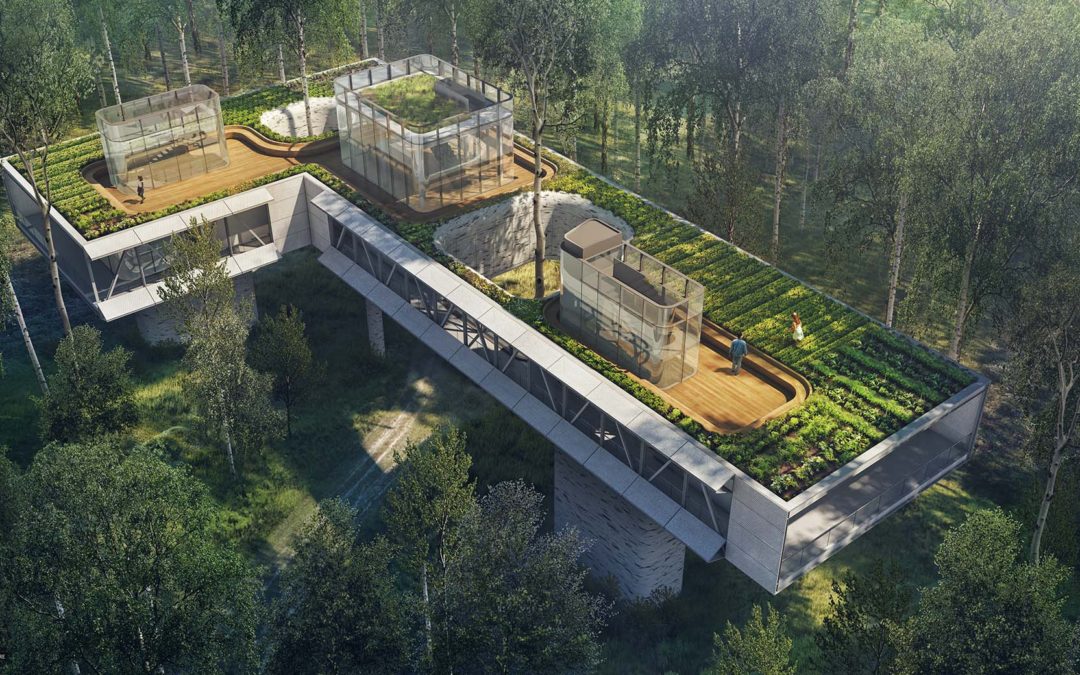
Finally, I adjusted the toning of the image. Not much was done here though. I adjusted the contrast, ran some Topaz filters to pull out some detail, and added a slight atmospheric haze over the entire image.


Hey Alex,
Great work as usual. I love the natural look of your shadows and have a question about where in your layers pallete your shadow group lives. In some instances they appear to be on top of everything, in others they appear to be nearly at the bottom. Thanks!
@Shannon, the shadow group is placed just above the “Ground/Grass” group, and just below the “Tree” group which is typical in my Photoshop files. All of these groups live above the Rendered Base Files group. Therefore, I have to mask out the architecture as needed in all 3 groups. Hope this helps!
I Will Create Realistic Visualizations For Your Architectural Design, producing images in 3DSMax and Corona Render.
For this Gig, you will need a 3D Model of your own, or for an extra fee I can create a 3D Model.
I just need:
Your drawing or sketch (JPG, PDF, etc.) with measurements
If you need a view from the exterior or interior
and I need to know how many views you need
https://www.fiverr.com/adiba_/3d-rendering-architecture-interior-and-exterior-design
Hey Alex, Great fan of your work. This looks amazing as always.
I am from india and currently about to finish my undergraduate degree in interior architecture from CEPT University. I have been greatly interested in architectural visualisation. Is there a possibility that I could do an internship with your firm. You are a great mentor.
Thanks & Regards,
Parv Pradhan
@Parv,
Please send your portfolio and resume through our studio website at Design Distill. Thanks!
Hi
Hey Alex, might be that you covered this already in your other posts, but how big are your files in terms of size and resolution?
@Odair,
My psd’s are usually about 2gb on average, and the size of the canvas for this image was 6400 pixels wide.
Hello Alex,
Have really admired your work for a long time.
What is the best way to just extract the shadows like the first image from “3. Ground Shadows”? Is it a Render Setting? or a separate output method? Thanks in advance!
@Sam,
When I render the image out in V-Ray, I select the “Raw Total Light” channel to render out as well. It essentially renders out a clay model version of the scene. From there, you can adjust the contrast to wash out the whites leaving you with the shadows. You could also simply do a material override and render the model with no materials which will give you a similar effect.
@Alex H
Thank you for sparing the time to respond! So helpful as always!
Utterly amazing. So many people transitioning to in-model veg…. esp with the likes of lumion making it so easy. Any thoughts on the matter?
(I still do PS veg, as my machine is only moderately capable of handling 3D veg)
@Joshua,
Lumion is looking better and better. In my viz studio, we use quite a bit 3d vegetation via proxies. However, I am still partial to Photoshoped vegetation. It builds in a bit of imperfection and has more flexibility. Depending on the complexity of the scene though, sometimes the 3d trees are the only option. All options have the positives and negatives.
What A Great Informative Post. Thank you for sharing this with us. Keep posting And Helping Us
Nice, Alex.
PS. I’m impressed with the resolution of your close-ups. Could you enlighten me with the resolution you use? If possible. print and web?
Hey Alex, Great fan of your work. This looks amazing as always.
Amazing. I love you style, you work and i hope you continue teaching us. Thanks, many many thnaks to you.
Thanks for sharing your valuable post for us i enjoy this website – its so useful and helpful.
Best Architects in Sri Lanka
Who we are?
We are an architectural consultancy firm with principal architect having experience more than 20 years
in the architectural industry designing various types of buildings ranging from personalized houses, multi-story apartments, commercial buildings, institutional buildings, star class hotels etc…
What we are
LS Architects in Sri Lanka are specialized in providing tailor-made architectural consultancy services for architectural
designs, interior designs and landscape designs including conceptual plans, detailed plans and
construction administration from personalizing clients to cooperate set up. We are multi-faceted
architectural practice with fine design skills blended with modern design and visualizing software
producing best designs and drawings meeting client’s timeline and cost limits while fitting into the
physical context and built fabric.
Where we are?
Even though LS Architects in Sri Lanka are based on Colombo producing designs for urban context focusing urban
living our skills and services are not limited and we are operating across the country without any border
line.
What we offer?
We offer our client’s economically viable but technical sound and feasible unique design solutions which
is sustainable and practical, in a creative manner explaining the designs and plans through 3d animations
and walkthroughs using latest 3D software enabling design finalization easy and fast-
We are an architectural consultancy firm with principal architect having experience more than 20 years in the architectural industry.
Contact : 0777447698
Link : https://www.lsarchitects.lk/
Hi Alex thank you for sharing. i have a question when you doing post production do you use the EXR file ? if yes is it 16bt or 8 bt ?
Thanks again.
good!!!!!extremely helpful
Thank you!!
Good article. Thank you for sharing
Amazing work!
Question regarding the content of the trees/vegetation. What source did you use for the trees in the image? Also, what resources would you suggest for high quality vegetation for Photoshop/3d models.
Thanks!
Hey, do you know/use the three rendering tool in photoshop? I think they look very beautiful but can also be hard on your computer?
Thanks!
A beautiful and impressive design. Thank you for accurate, step by step presentation of the implementation. There is something to be modeled on. Congratulations!
A beautiful and impressive design. Thank you for accurate, step by step presentation of the implementation. There is something to be modeled on. Congratulations!!!!!
Thanks for sharing article
such a nice place would like to live there
woow look at you god of architecture post production 😀
you are amazing
Such a great informative post. Really nice, Thank you for sharing this post with us. Keep posting!
Thanks for sharing this interesting post.
Hi Alex,
I’m curious why you prefer Sketchup over Rhino? My new firm uses Sketchup so I’m trying to learn and also figure out the best work flow for modeling, rendering, and photoshopping.
HP provides many high-quality printers with extreme advance features to the customer. But like other electronic components, a user may face many issues with this device also; you can directly Call HP Printer Support. This number will directly connect you to our technical assistant. We have an experienced HP Support Team which provides an adequate solution to all our customers. HP Printer Telephone support team provides round the clock services; you can dial our toll-free HP Printer support Number and get the most reliable working solutions.