While these videos aren’t full on tutorials, they still walk through the my work flow of creating this illustration. As you will see, 90% of my time was spent in Photoshop.
Part 1 looks at applying textures. I used the Sketchup model rendered with Kerkythea as a base image. The Kerkythea rendering probably took about an hour to set up and 20 minutes to rendering. The entire rendering from beginning to end including Photoshop post processing took about 6 hours to create.
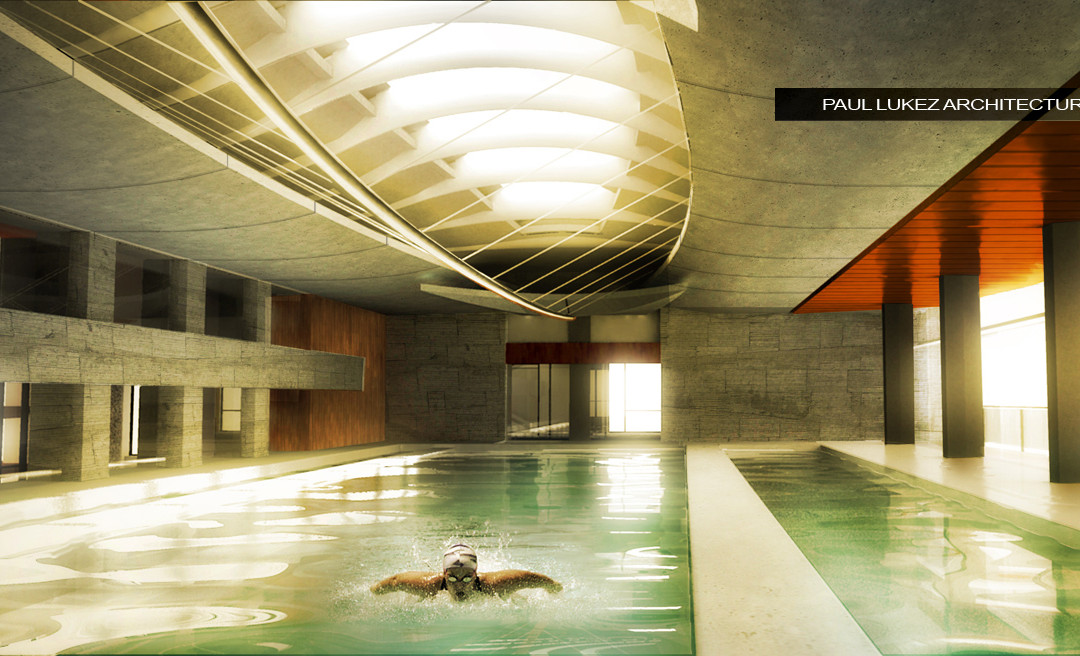
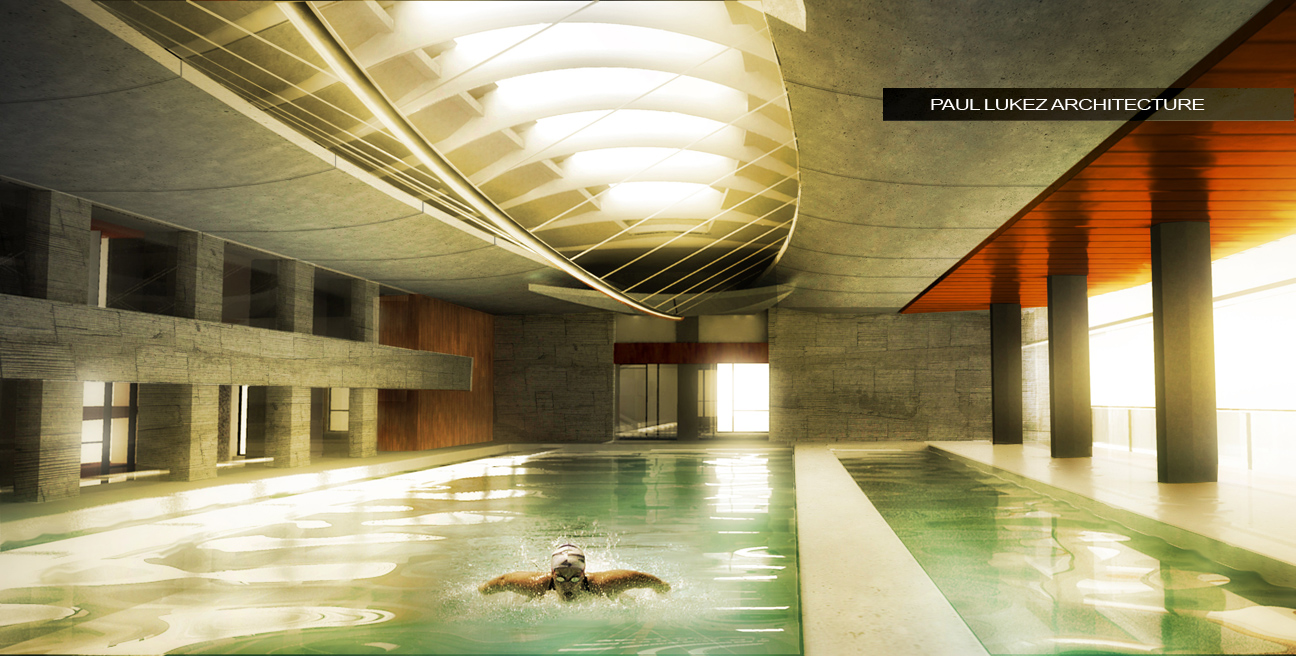
The illustration was created for Paul Lukez Architecture and represents an interior view of the Jindu Pavilion.
Part II looks at the pool waves and reflections, as well the full creation of a reflective surface such as the copper ceiling with only Photoshop.
Finally, part III uses some techniques to add warmth and drama to the image. Like the other videos, these last few steps give the digital illustration a “painterly” look. The extent to which each step is used is subject to personal preference and can be controlled simply by adjusting the opacity of each layer.
The final rendering


Hi Alex!
Thank you so much for uploading the video. It will be very heplful.
Would it be too much asking for a better quality version?
The video is a bit blury, and without sound it becomes a little… you know.
A 720p version would be nice. 1080p would be of the charts. lol
Again, thank you so much for such an incredible job & congrats.
Jay
Hey Jay,
Thanks for the comments. I will try to create higher res videos in the future. I'm still figuring out the best settings of the screen capture software and codecs that allows for higher res videos. I hope to develop support information in the post explaining what was done if its hard to see in the video.
One can still figure it out, but such great work deserves a higher quality video and on YouTube 720p is becoming pretty standard this days.
Jay
EXELENTE APORTACION ALEX HE SEGUIDO TU TRABAJO DESDE QUE ME ENCONTRE CON TU BLOG Y LA VERDAD ES QUE GRACIAS A TUS TUTORIALES HE INCREMENTADO LA CALIDAD DE MIS RENDERS GRACIAS POR TOMARTE EL TIEMPO PARA COMPARTIR TUS CONOCIMIENTOS
ATTE ARQ.ROBERTO CANTU DESDE MONTERREY N,L. MEXICO
Alex! My "the same – name – friend" You are the best!
Yours tutorials are veeeeeeeeeeeeeeeeery halpful for me! You showed, it is not true: "only 3ds or cinema is unrepeatable"
sketchup and photoshop rules!
🙂
HI Alex
Super professional work! and thank you very much that you share your knowledge.
Saludos!!!
hi alex love thius tutorial, very inspriational!! how do u produce the water in kerkythea??? my b asic pack doesnt have any water material!!! i am currently trying to do a swimming pool visual for my final year project!! if u could help me with this question i would be very grateful,, many thanks
@Steve,
If you go to the Kerkythea website, there are some free material packs that you can download. One of them is a water pack which is what I used in the above rendering.
Hey Alex-
What settings did you use in Kerkythea to make the water?
greatttt , just one question , is the Sketchup model rendered with Kerkythea exported az a clay model and then you desaturated it or you just exported it normally without any material .
nice work!! thank you very much! you´re amazing! 😀
Superb Alex, as always
I wanna give you a ‘谢谢’ from China, thank you for your selflessness!
Incredible post, you have pointed out some fabulous focuses