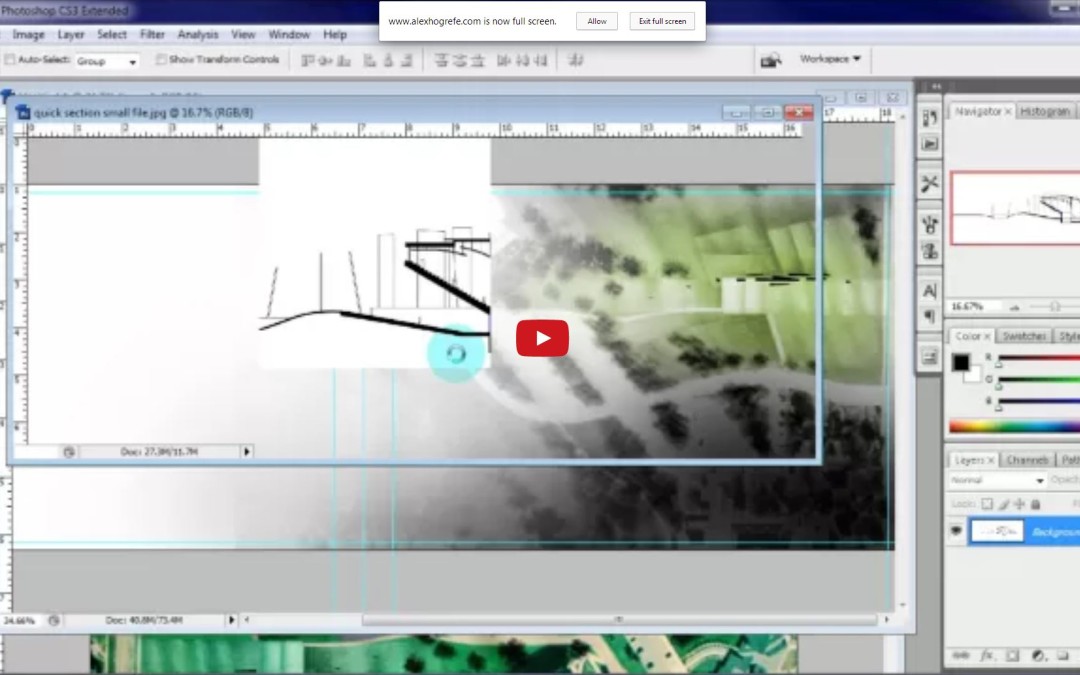
After preparing the study model for the portfolio page, this next video discusses the initial setup of the Photoshop document, as well as some basic techniques used to add illustrations. It is important to note that the image size and dpi used for this portfolio is based on personal preference. I provided this information as a reference. My hope is that others will use this information as a jumping off point to explore sizes that fit their style and expression.


Great job, and thank you for easy explain.
Hey Alex could you explain me how did wood box exercise? box is a render image or physical model.
Anyway thank you for your sharing tuto.
The Boxes were hand made in a wood shop. No CNC routers were used. I actually worked in the architectural wood shop for 2 years, so I had a lot of free time in there. I used the grasshopper script to generate ideas.
Hi Alex! Absolutely love your work and appreciate the time you’ve taken out to make these tutorials. I am just about to start on my portfolio. And had a question about something you said with regard to bleed. Adding the margin and bleed on the center of your portfolio book, and suppose you’ve spread an image onto one page that extends onto the other one..then while printing doesn’t the image get affected in the center of the book since you have added bleed? I hope my question is clear to you.
I am a third year Architecture student in Ghana. I admire your work a lot. Please, where will i get photoshop materials for my post-rendering processing?
I majored in architecture as well but I know nothing about PS.
I’m struggling with rendering and I have to submit my work in 2 days, so I feel lucky to encounter with this website.
I just want to thank you for your work. You are really amazing!
I used this technique to showcase my information and services on my portfolio. This is an effective way of getting visitors for your web page.