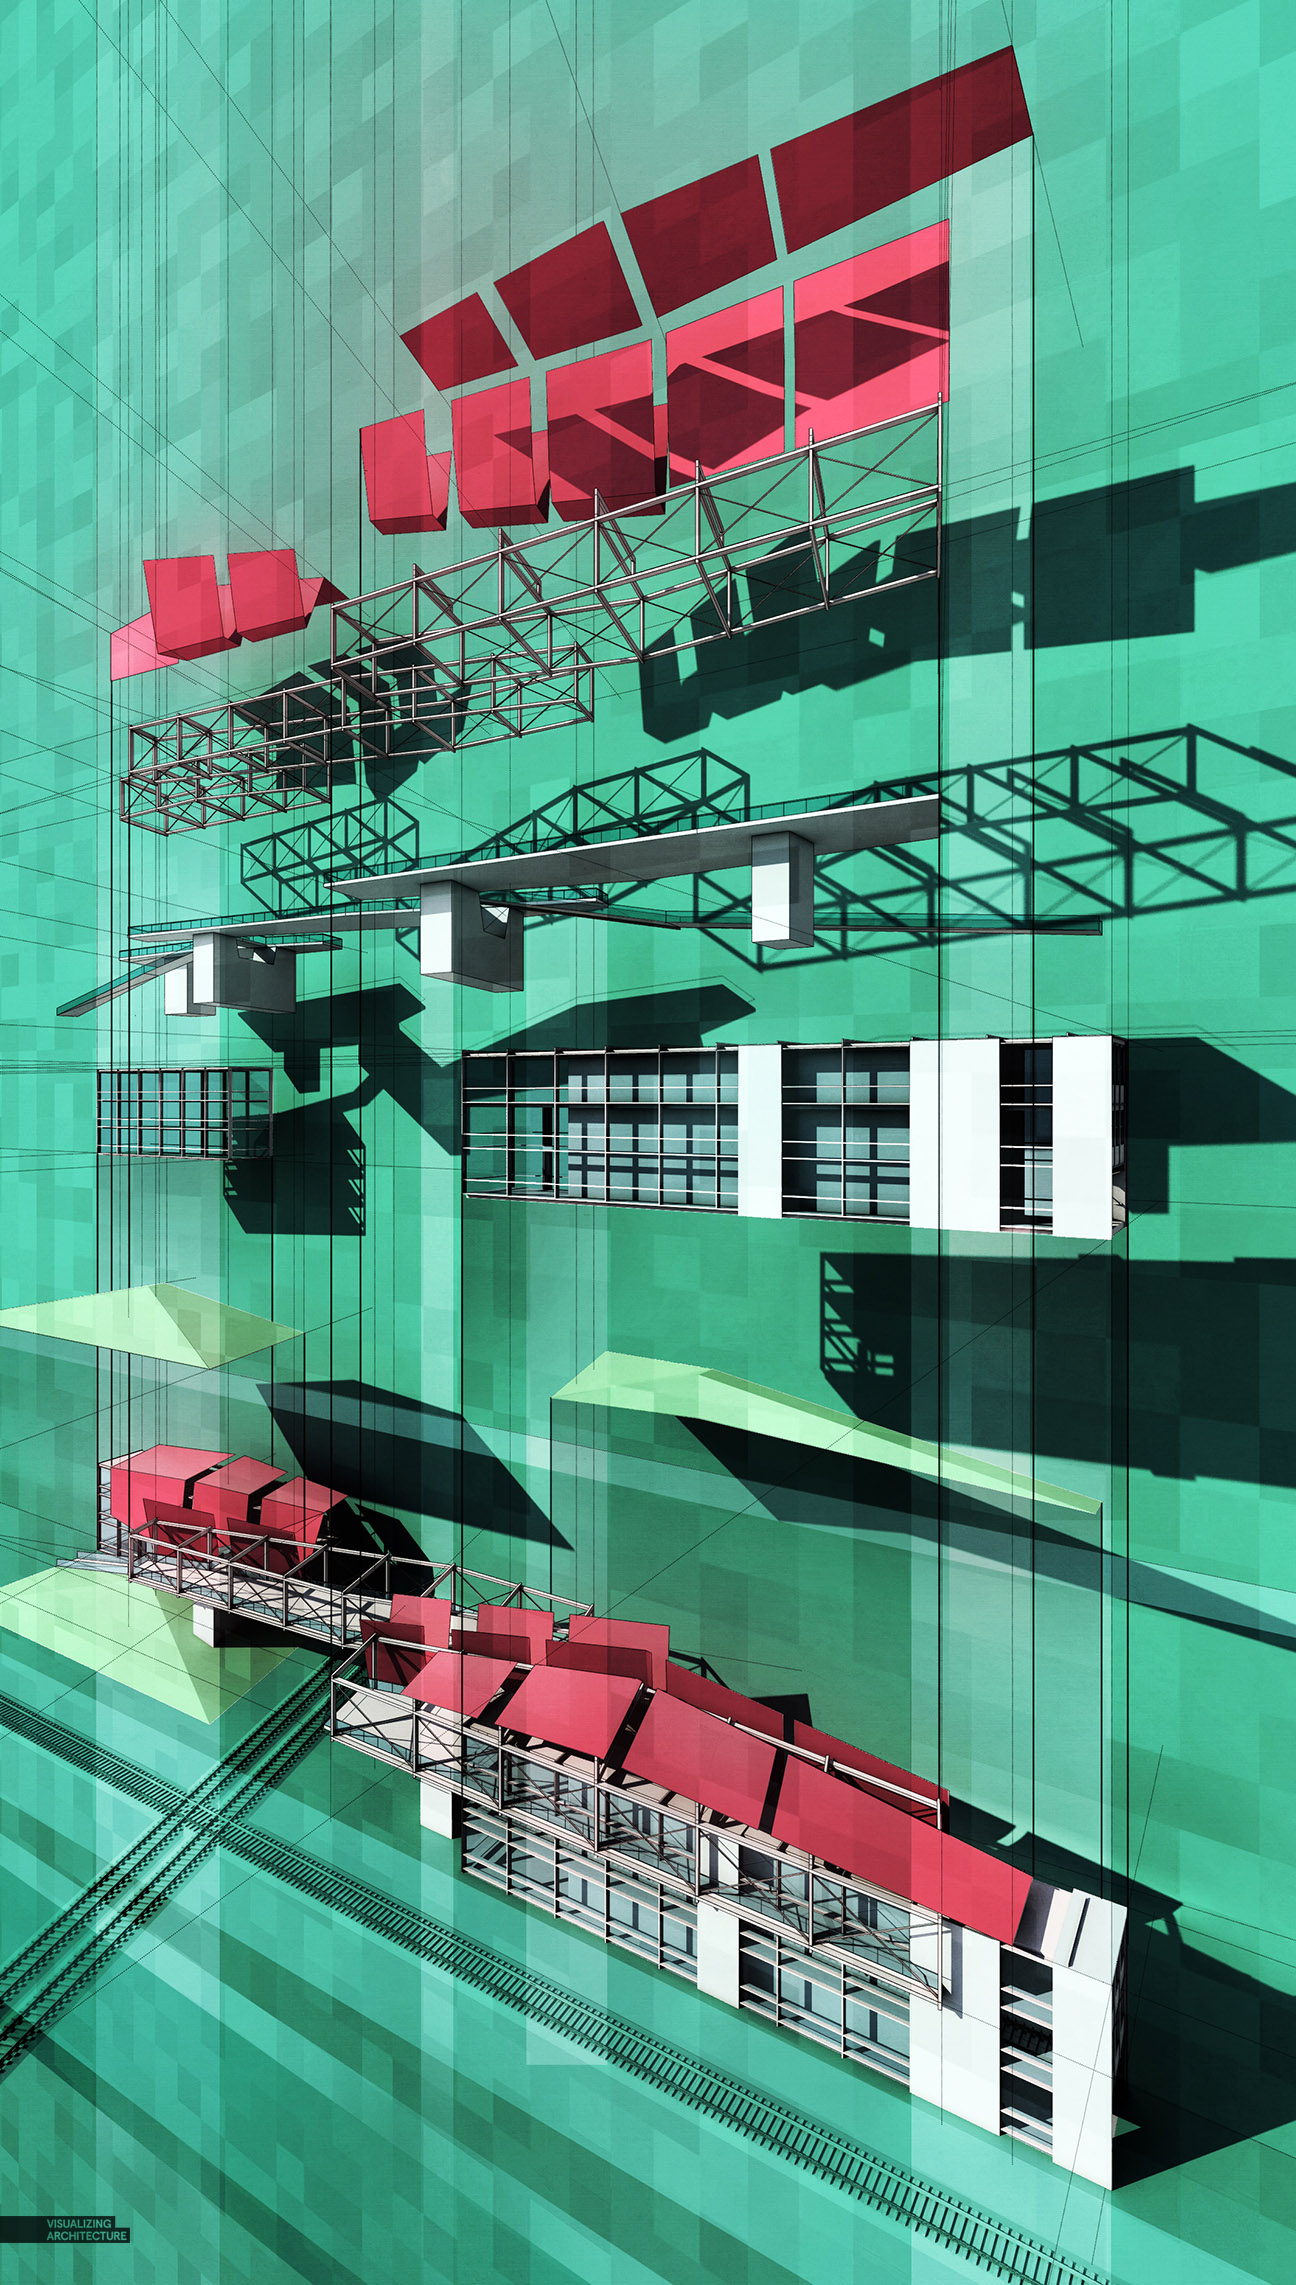
As you have probably noticed, I have not been posting as often as I normally do. Things have been very busy lately, in a good way. Unfortunately, this means that I have not been able to invest as much time as I would have liked to this website. Instead of not posting anything, I have been putting my workflows to the test generating images from start to finish in 3 to 5 hours. Last post was a collage and this week I went with an exploded axon. This is similar in style and workflow to this exploded axon that I did a few years back. Creating images in such a short time frame requires fast decision making that I think leads to interesting results. Sure there are some things I would change if I had more time but this is also an exercise in knowing when to stop which is also an important part of visualization that I don’t always get right. Things should be calming down in a few weeks in which I hope to get back into my normal routine of posting more often and consistently.
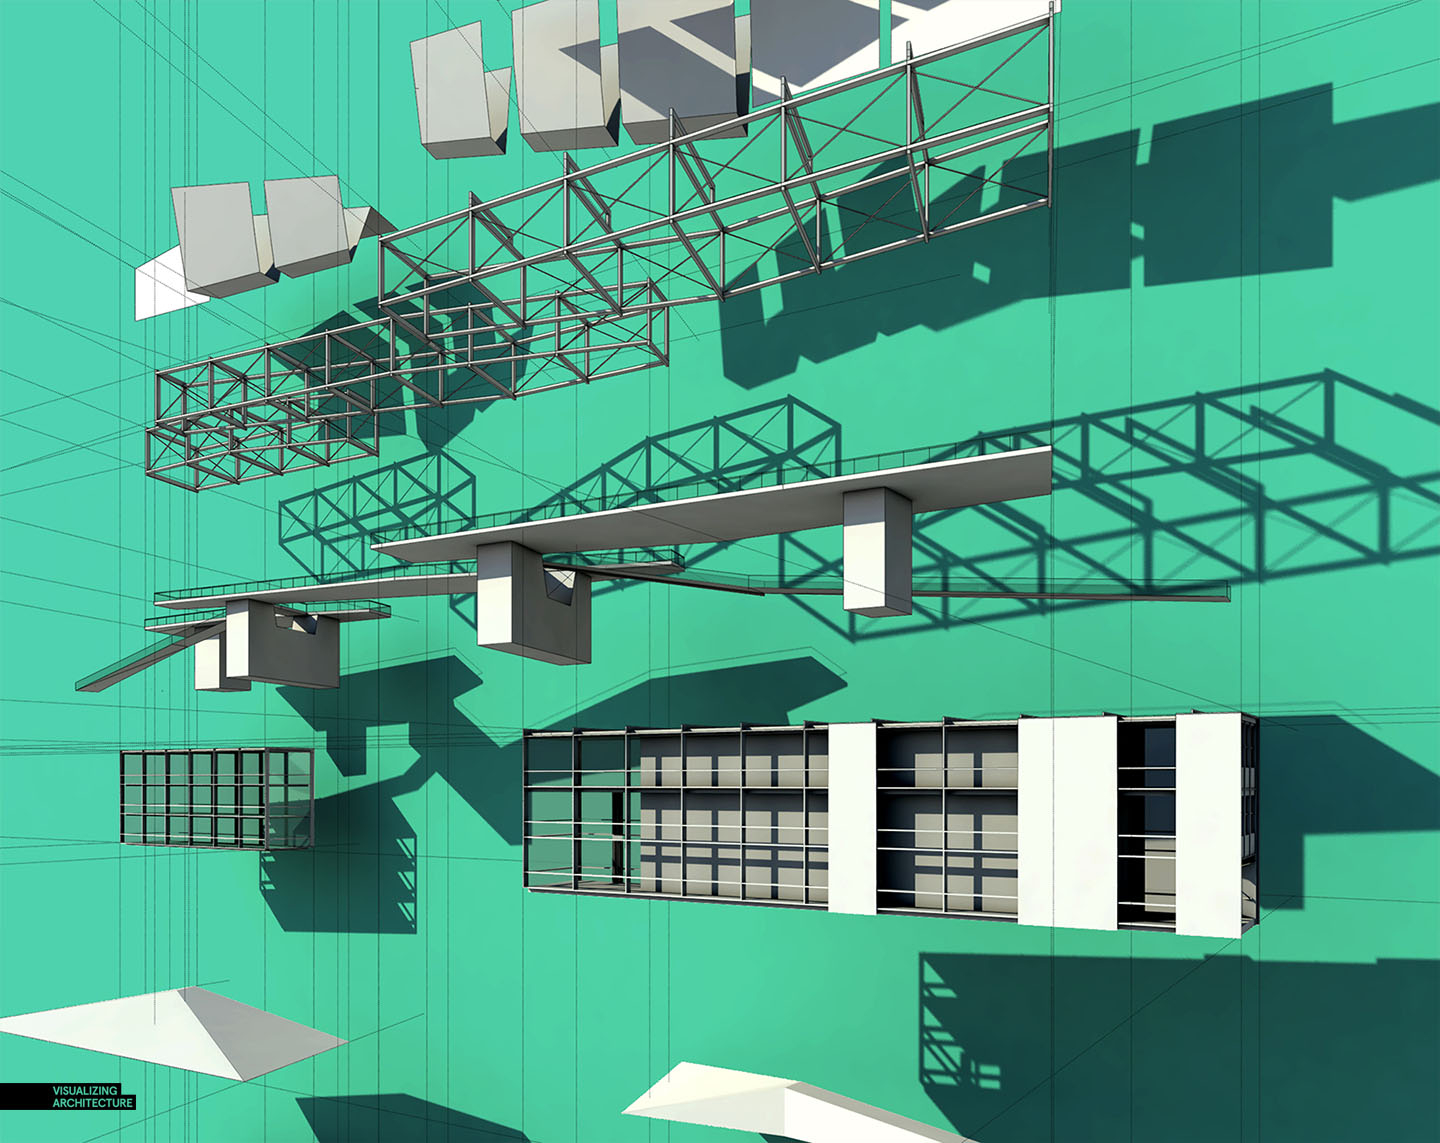
Below is a very quick breakdown of the exploded axon.
1. Clay Model Rendering
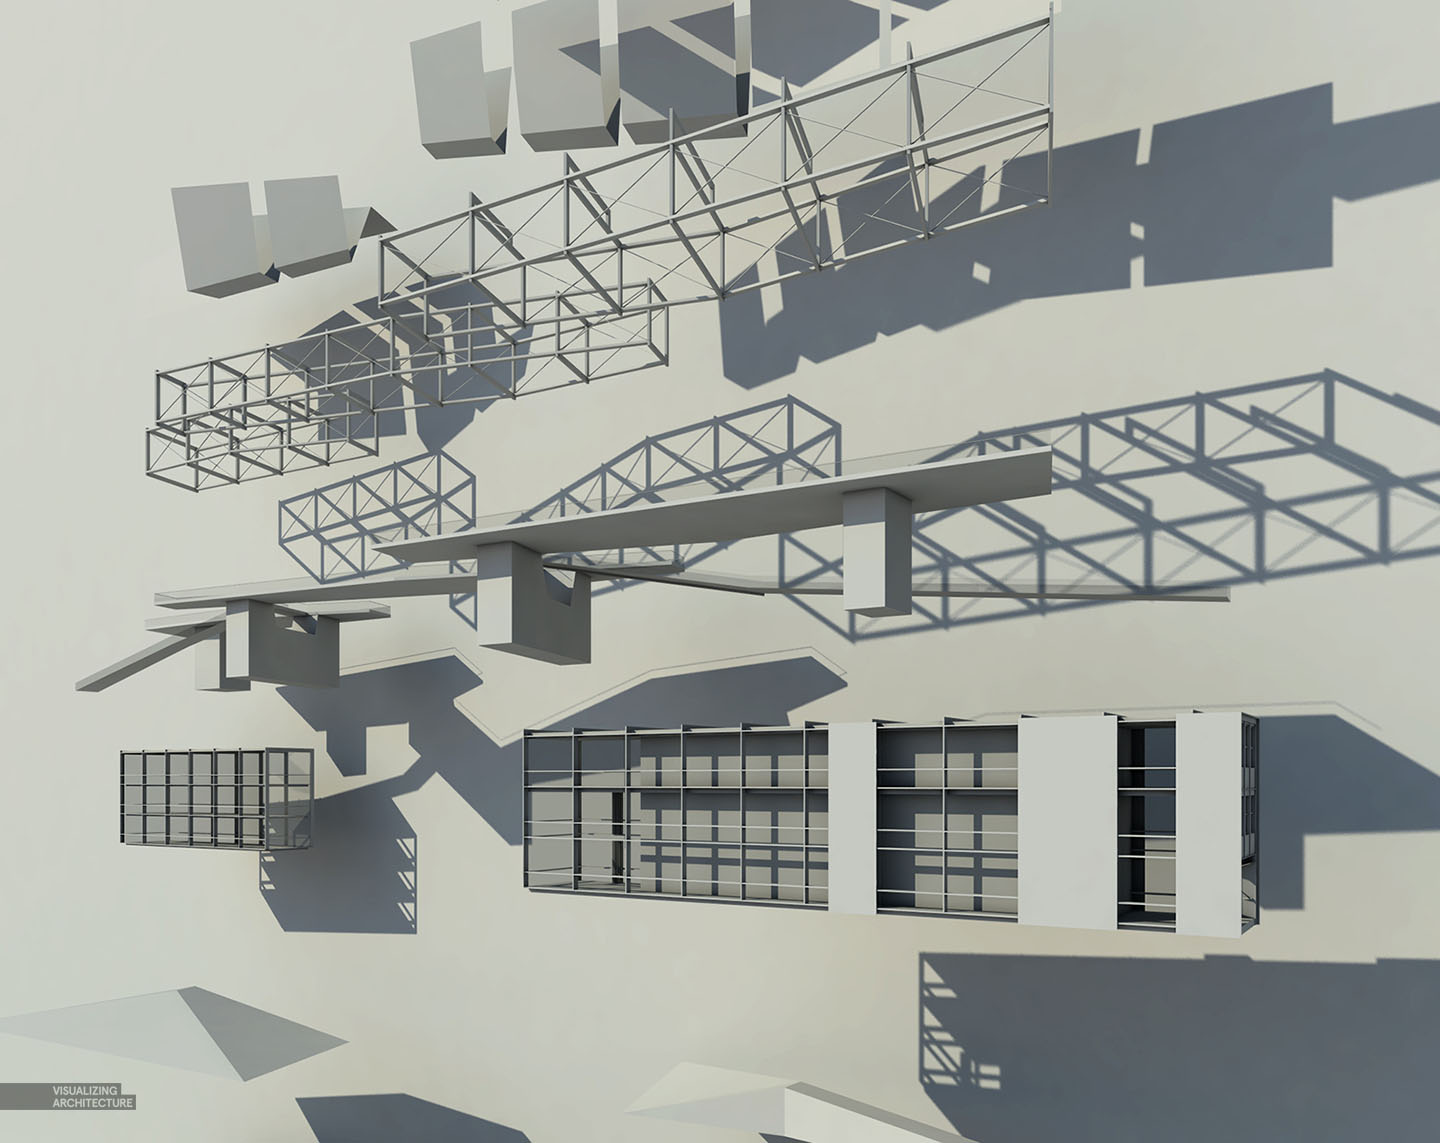
I started things off as I normally do with a quick clay model rendering out of V-Ray. Because there are no materials, rendering only takes about 20 minutes even at a high resolution.
2. Overlay Line Work
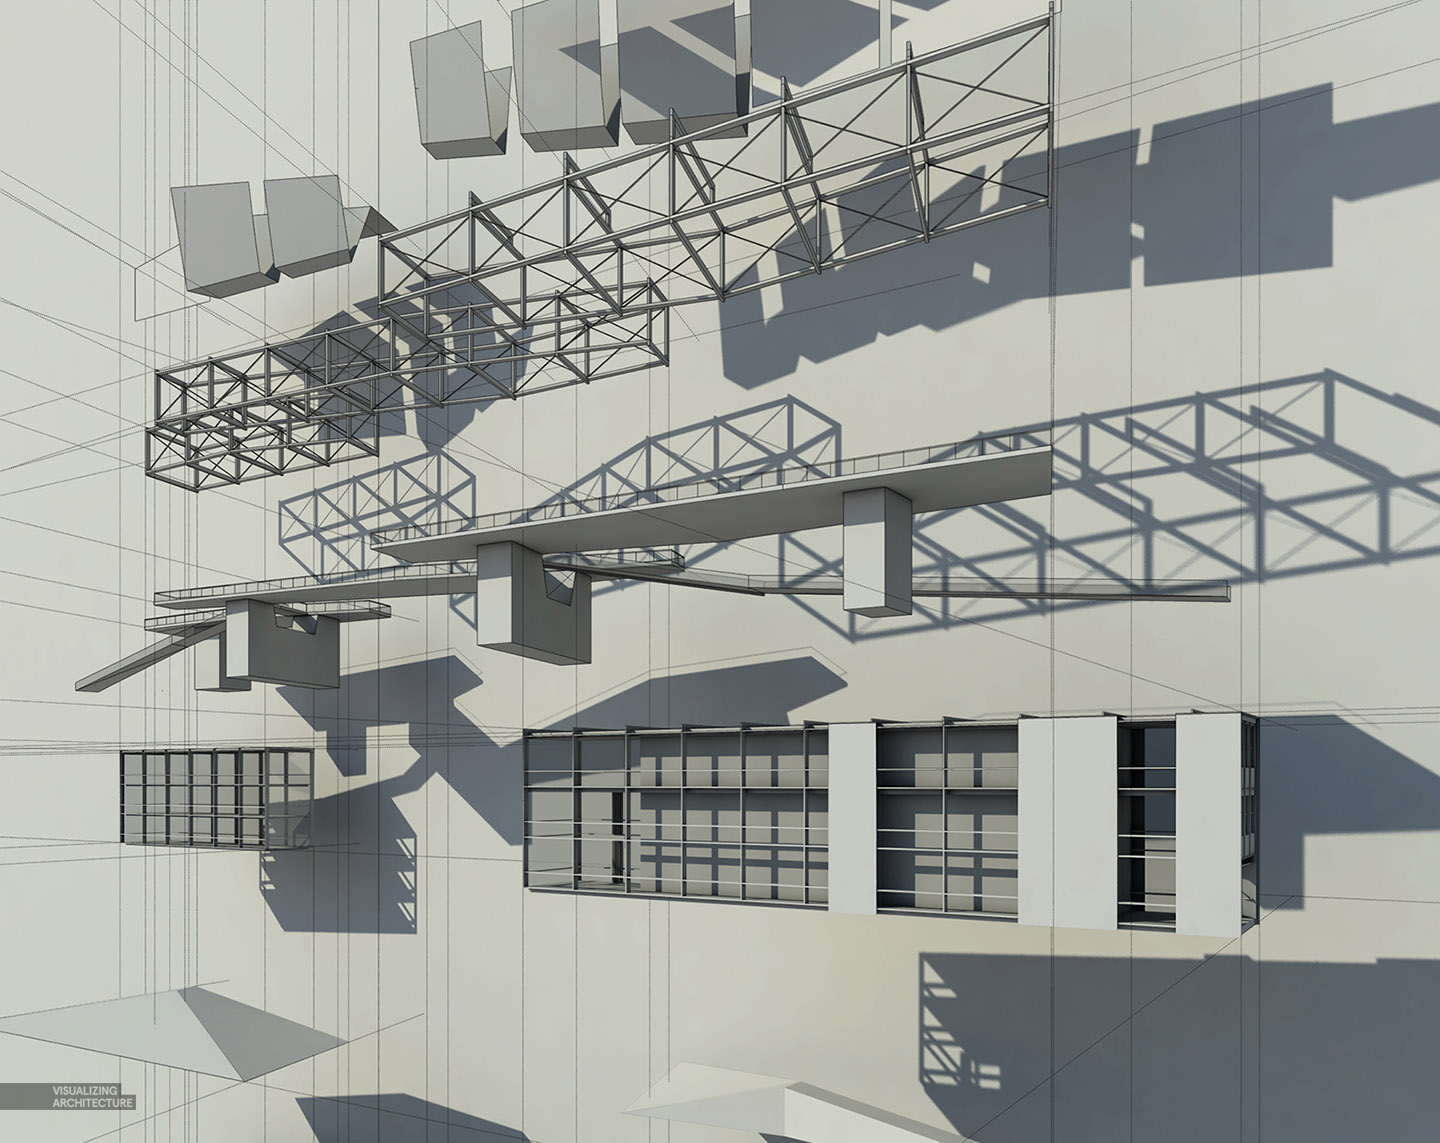
An easy way to add more interest to images is to introduce line work and guidelines from Sketchup. This helps to clarify the geometry and shows the relationships between the moving parts.
3. Background Color
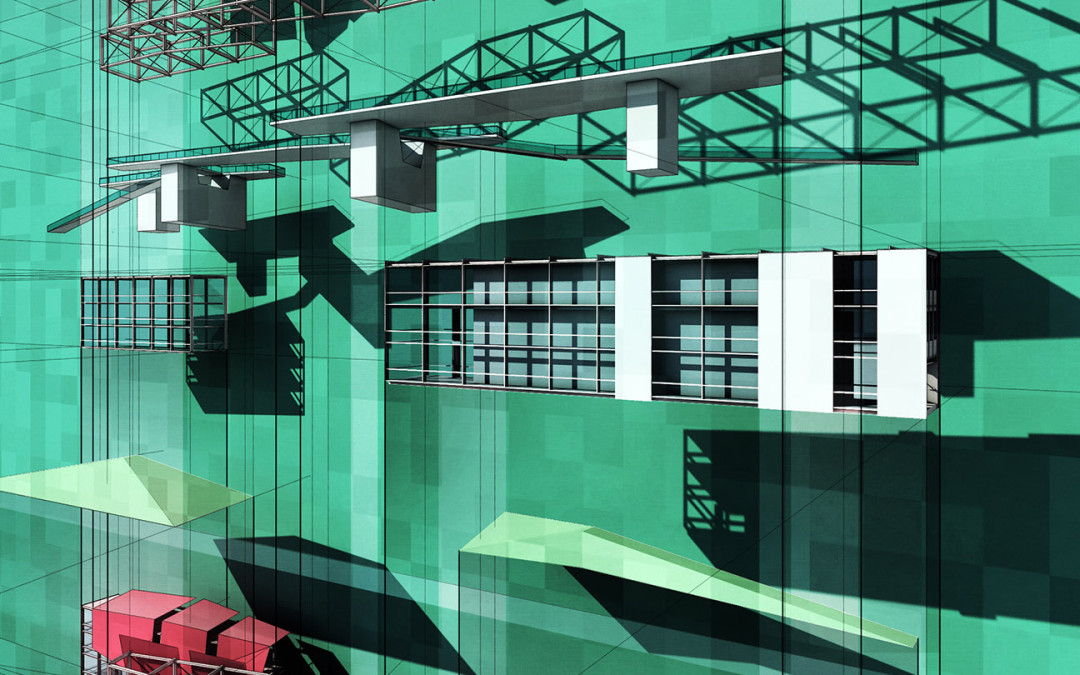
I’m going through a green phase right now hence this color reappearing in many of my recent images. I am actually doing this to help visually separate the architecture from the background. I also added a surface behind the architecture in Sketchup so that shadows would be generated and also add some interest to the background.
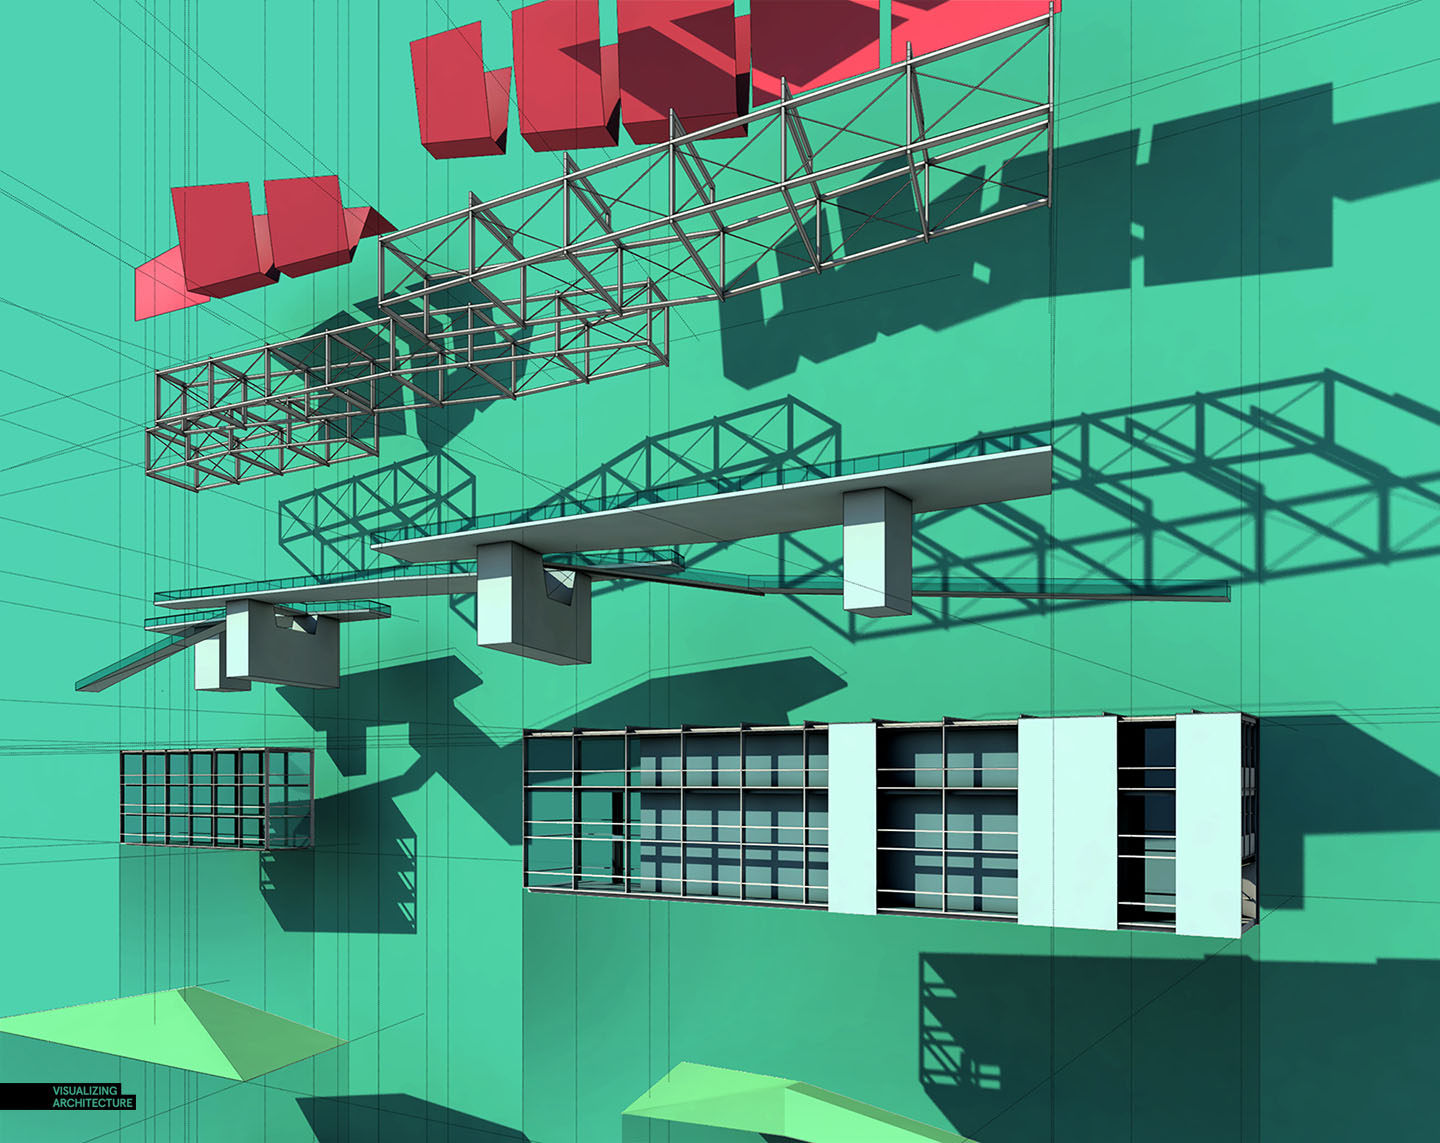
4. Accent Color
There are some architectural elements that I wanted to highlight so I introduced a few accent colors. These colors move the eye around the image and also add layers of hierarchy to the graphics.
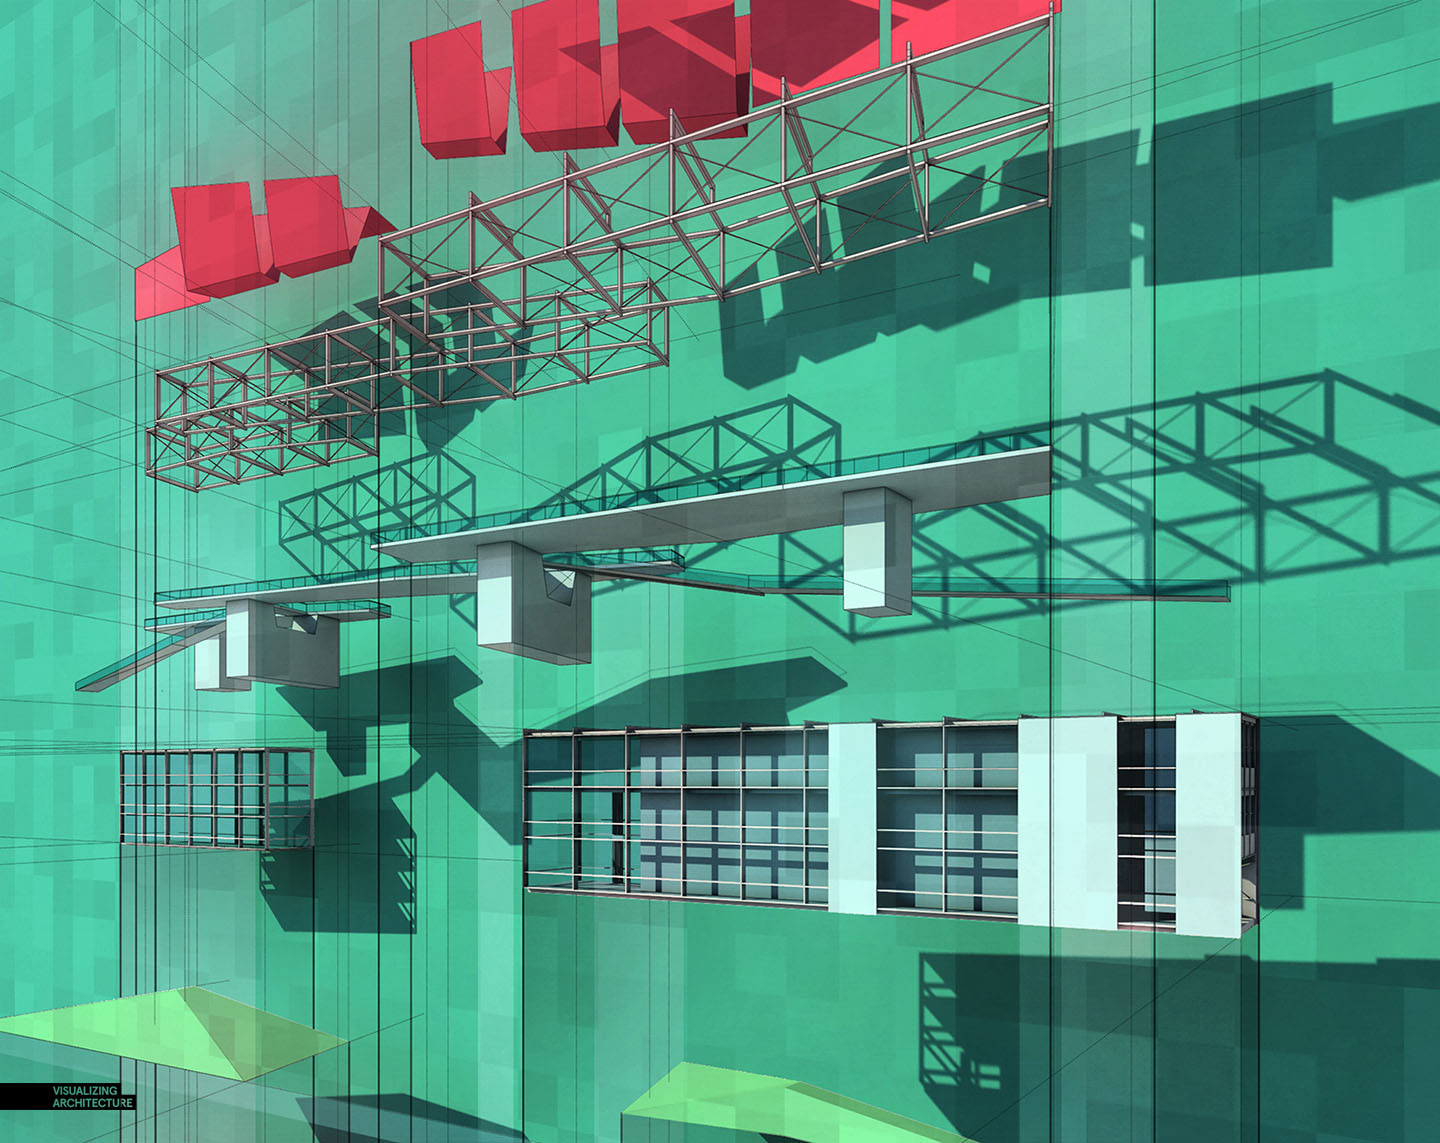
5. Texture
Some textures were overlaid in the background to give complexity to the graphics and better highlight the movements of the exploded elements.
6. Increased Contrast
At the end, I punched up the contrast to make the shadows darker. This image took me about 4 hours to create which includes the rendering time. Often, when an image is rendering, I can still begin Photoshop work using Sketchup line work and shadows. I use this time to explore coloring, texture, and composition.


sofa
lol funny
Hi, I was just wondering what kind of computer setup you use and why? Thanks.
I second that question. I was about to ask and spotted this comment. What kind of computer specs are important to quick workflow?
@ Adam and Charlie,
I am working off of a Macbook Pro Retina. To be honest, this workflow does not require a powerful computer. A Macbook Pro Retina is more than enough to handle these types of renderings and photoshop files.
Is that what you use at work? Or just personal projects? Thnx
Hey Alex, This looks good but i think the background shadows are a bit distracting and take away from the general composition. In my opinion, if they MUST be there, they should be much lighter/softer. Appreciate the work as always
Great work Alex!
I have to say its a big improvement over the last post regarding Axon. , the contrast here is really nice , I think a different shade should be used to highlight the railway , in order to guide the eye to link it horizontally with the building’s base.
looking forward to your next post , cheers
how do you do overlays line works? do you draw every one of them?
in sketchup you can just 2D export .PNG files and just overlay in photoshop. Just make sure in SketchUp you set the appropriate style, Hidden Lines – if you’re just looking for just the lines.
Thanks Izzat! But how he does the “construction lines” or “infinites lines”, I don’t khow how to call them. I’m trying to refer that lines who are parallel to draw lines.
They are called “Guides” in sketchup and can be added using the protractor tool. You should also make sure that they are turned on by going to “View>Guides”
ah ok, i understand. i don’t use protractor tool, and i din’t know it’s possible add guide lines after the drawing. thanks a lot.
o paneleirote quer fazer desenhos de pirocas kkkkkkkkkkkkkkk
Hey Alex I made this image for my thesis visual using your exploded axon pt. 2 tutorial. It was really great. Thanks for inspiring us all!
Hi alex, im an arch student, i have been following your blog for like, 3 years now. I’ve got a quick question: When you used kerkythea to clay render the model, it exports the scene and renders it as it is set in sketchup, so lineworx exports would overlay perfectly in photoshop. But now that you use v-ray, how do you do it? Because v-ray always renders the scene with a different camera angle than the sketchup exports. Thank you so much!
dont click on the physical camera
Well, friend, I’m not anything like an expert, but I would like to give my advice about the little I know. With v-ray for Sketchup you are able to render exactly what you see in the display by using the “get view aspect” button on the Output menu. It will let you overlap the linework over the render. I do it on Rhino that way, and it works like a charm. Cheers!
Hi Alex. As always, amazing work. I have a quick question: How do you increase the DPI in Vray settings? I know the in the output you increase its pixels but I feel like it is still somewhat pixelated. I ask because your images are always Hi-Res. Please let me know. Thank you.
Do you add these colors in photshop? and if so can you share the method ?
great work
Some questions. How are the guide lines you added thin and straight lines, as in sketchup guide lines are dotted and, how did you manage to have same size on rendering, what style did you export the guide line image with ?
Hi Alex! Thanks for your tips , this is a great web (the best) to help us work! I am doing my thesis in Interior Architecture, my proyect is inflatable and it’s been imposible to build a 3D in Rhino or Cad, do you know any way to build it up ? It’s made by inflated bubble paper ! 2meters high and the surface in plant is 8 meters by 70 meters ! Any way or any tip please? Thank you