I never really used Indesign much in school. However, we use it on a daily basis in the office. Knowing what I know now, I wish I would have implemented it more back in school. Indesign is another Adobe product that serves as a powerful layout tool. The program allows you to link other native Adobe documents such as Photoshop and Illustrator files to it. I’m not going to try to explain the entire program, but I will touch on some of the key points that I think really make the software a powerful tool for architects.
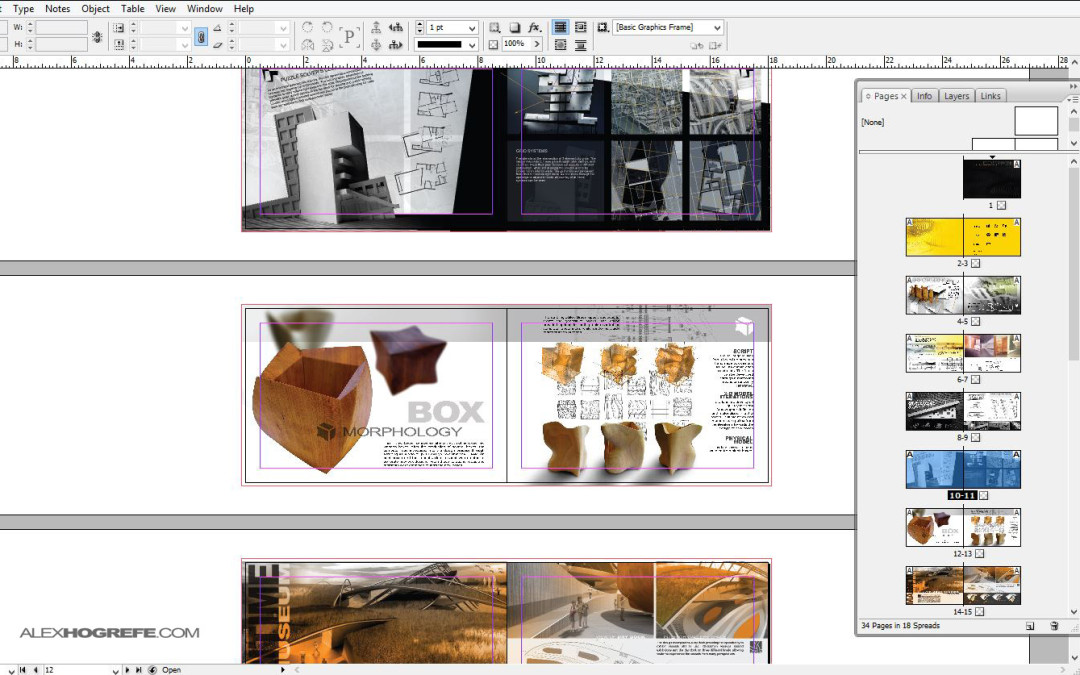
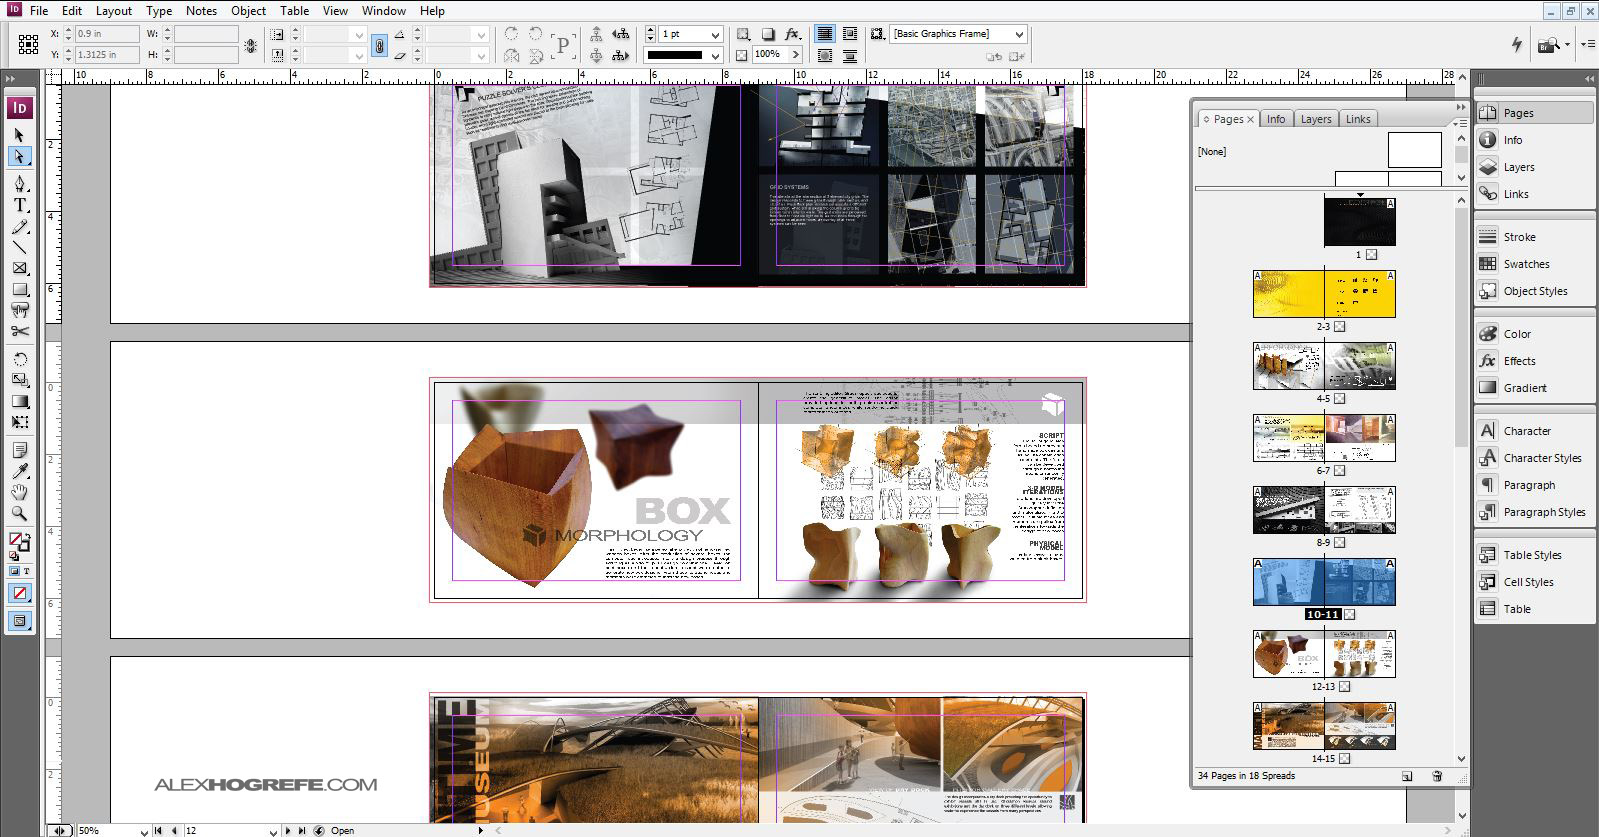
While many people actually layout images and text in Indesign, I prefer to create my layouts in Photoshop but then use Indesign as a way to manage all of the pages, such as for architectural portfolios. You can set up the initial document to be formatted however you want, i.e. portfolio, presentation board, etc. For the example below, I set up the Indesign document to match my 6”x9” portfolio size. I also added an 1/8” bleed as was originally setup in my Photoshop files. Finally, the document is setup for double sided printing and therefore displays the facing pages exactly as they would be printed. The pages pallet (shown on the right) allows you to view thumbnails of all of the pages in the document, rearrange them, delete them, duplicate them, etc. At the top of the pages pallet are the Master Pages which allows for certain items such as page numbers, project names, background graphics and templates to be applied to all of the pages of the document.
PORTFOLIOS
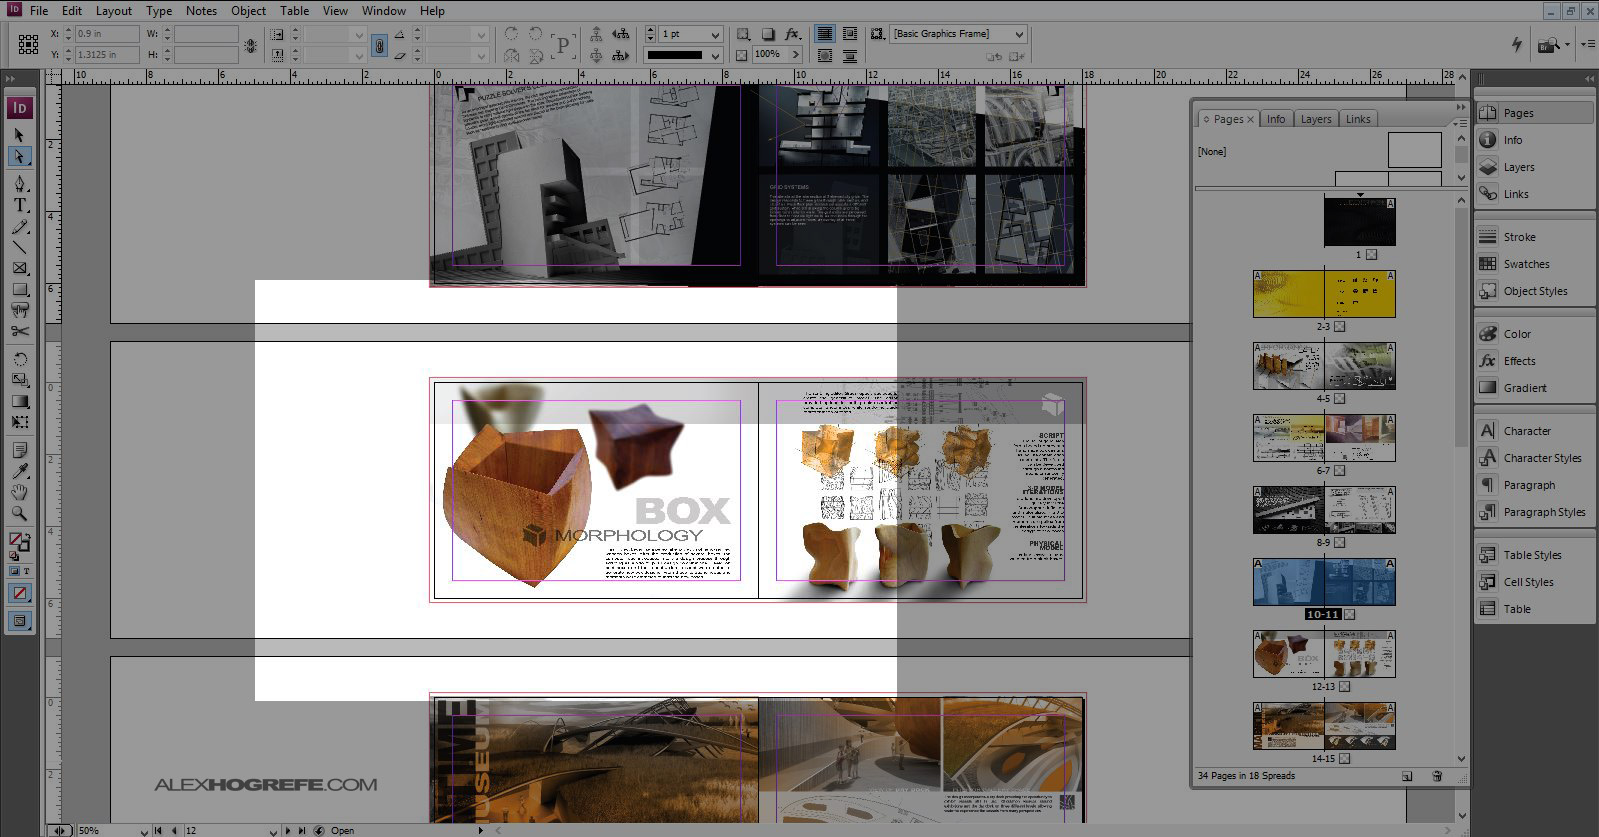
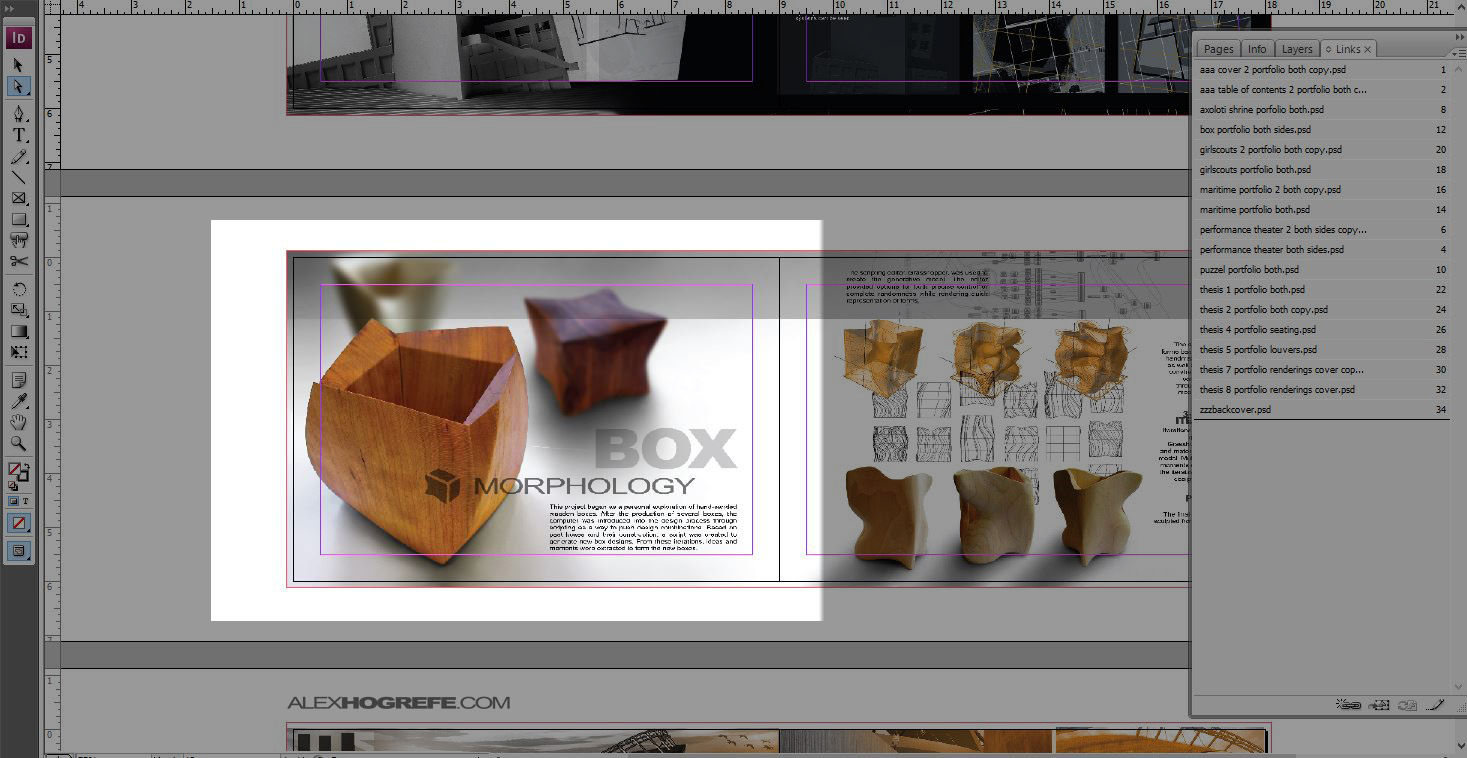
For portfolios, Indesign is indispensable. I had originally created my graduate portfolio in Photoshop. I still prefer to develop all of the graphics inside of Photoshop (others may prefer Illustrator). With Indesign, I can take those Photoshop files or Illustrator files and directly place them into the Indesign document. By placing the files, I am “linking” the Photoshop file to the Indesign file. If I make a change to the Photoshop file and save it, the change will automatically get updated in Indesign. For example, say I have my Photoshop files imported into Indesign and I want to add some shadows to the “Box Morphology” page shown below.
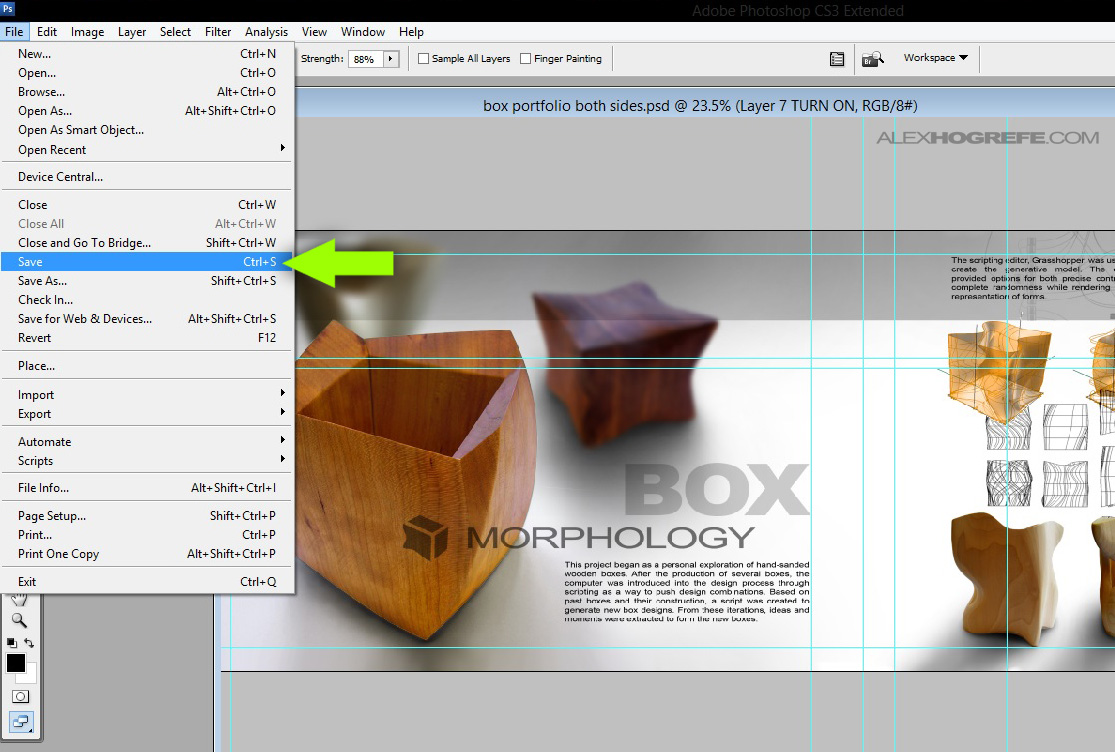
To make the change, I first open the linked Photoshop file that the image was created in, add the shadows, and then save the changes.
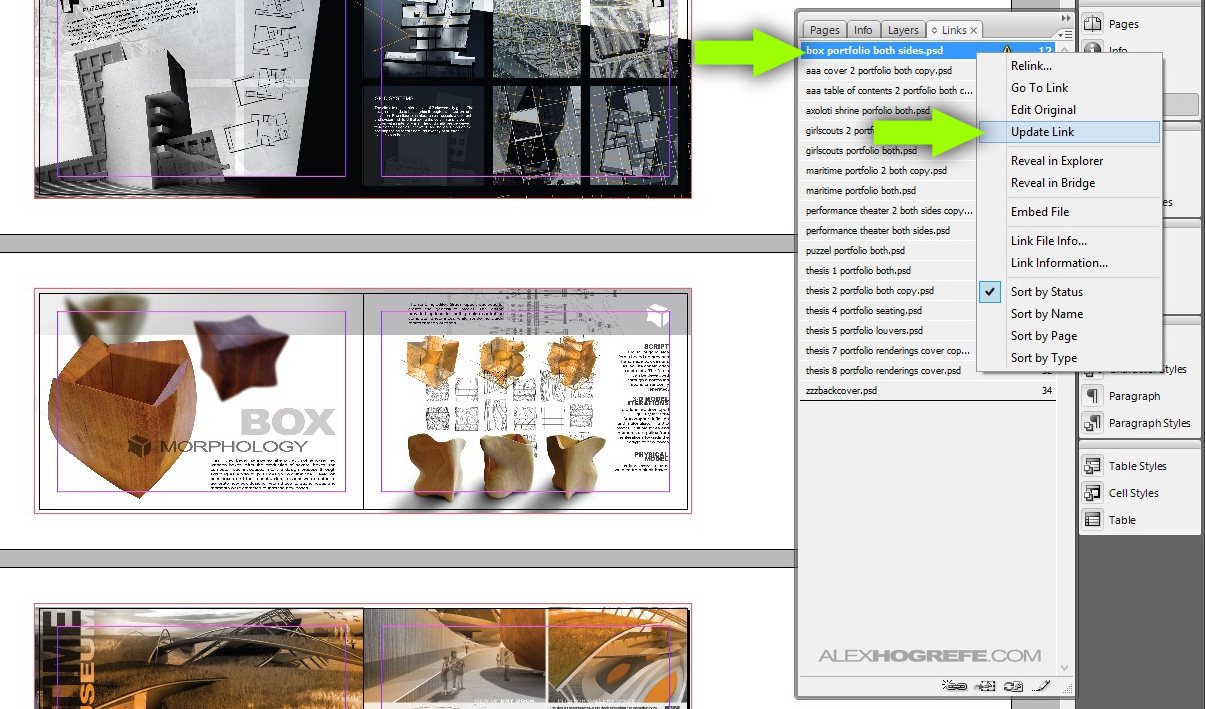
Once the Photoshop file is saved, I then go back into Indesign. In the links tab, I find the changed file (delineated with a yellow “!” next to the name), right-click, and choose “Update”.
The file will then update to the latest saved version of the file and the shadows appear in the Indesign file.
With the above example, you can see that the portfolio can continue to be developed in Photoshop or, if you prefer, Illustrator, but still be completely managed in Indesign. You are probably asking, “So what?” It wasn’t until I started working in our office that I finally realized the value of this program. Architecture projects are constantly evolving, and therefore they are constantly changing and being updated. There comes a point when documents start to become very large, as in the case of portfolios, while changes are still being made at a rapid pace. Indesign offers a simple way to manage all of the graphics and text in one place, review the document in its entirety, as well as the ability to export and print the final document with ease.
PRESENTATION BOARDS.
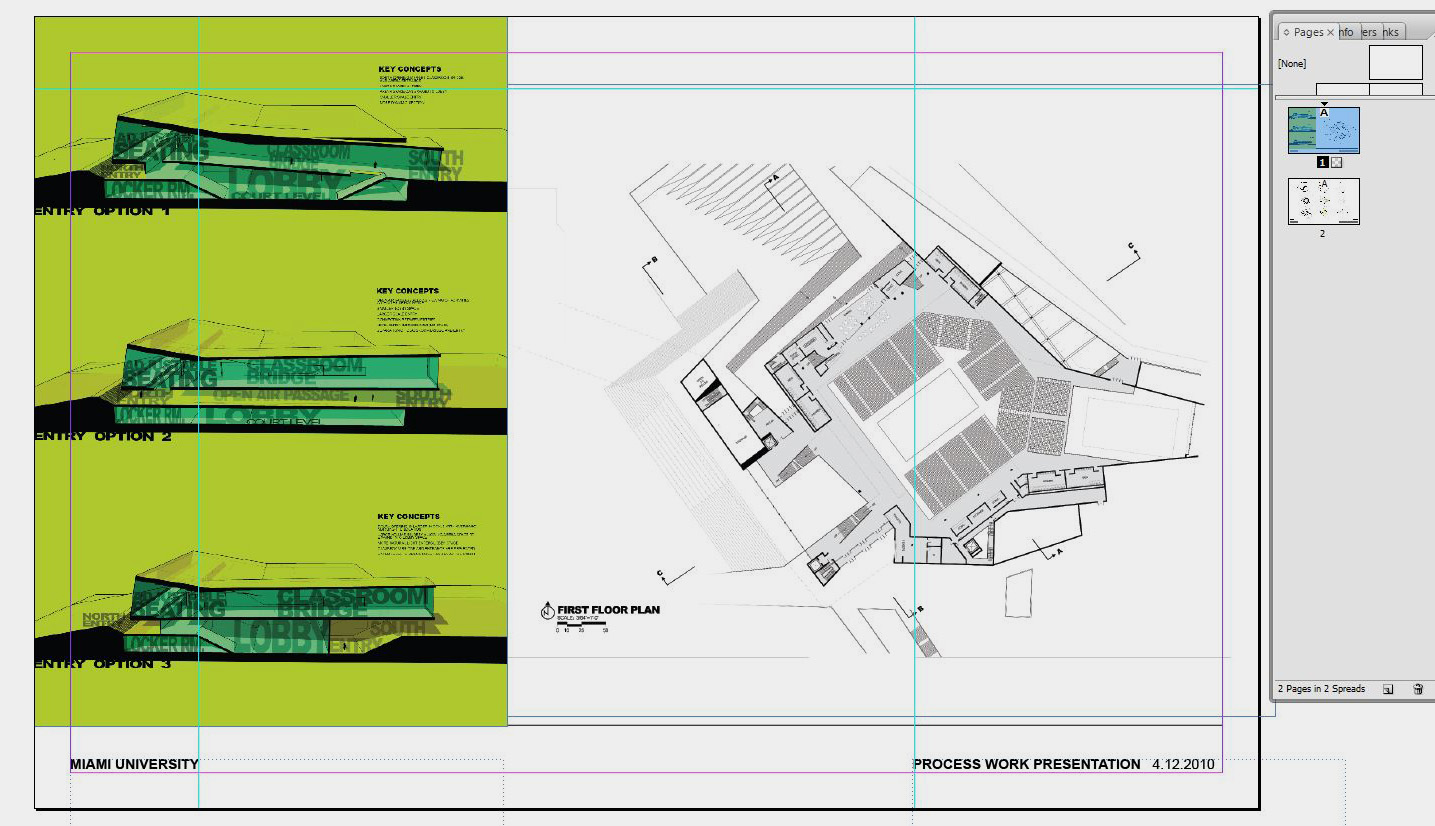
Often in our office, we are producing large presentation boards for clients. Every week, we will put together a series of updated floor plans and corresponding images based on previous meetings. Because the floor plan files and images are linked in Indesign, once the changes to the floor plans and images are saved, the Indesign boards are automatically updated. Even better, we make use of “Master Pages” that allow us to quickly update the page numbers, dates, etc. Below, I put together a basic presentation board similar in complexity to what our office may present on a weekly basis to clients.
The board is made up of a PDF or Illustrator floor plan, and some Photoshop graphic files. I also have a basic project name and date. In many cases, we will be presenting 5 to 10 boards at a time. With Indesign, we are able to keep an updated set of boards similar to the one above simply by updating the linked Photoshop, PDF, and Illustrator files as the changes are made throughout the week.
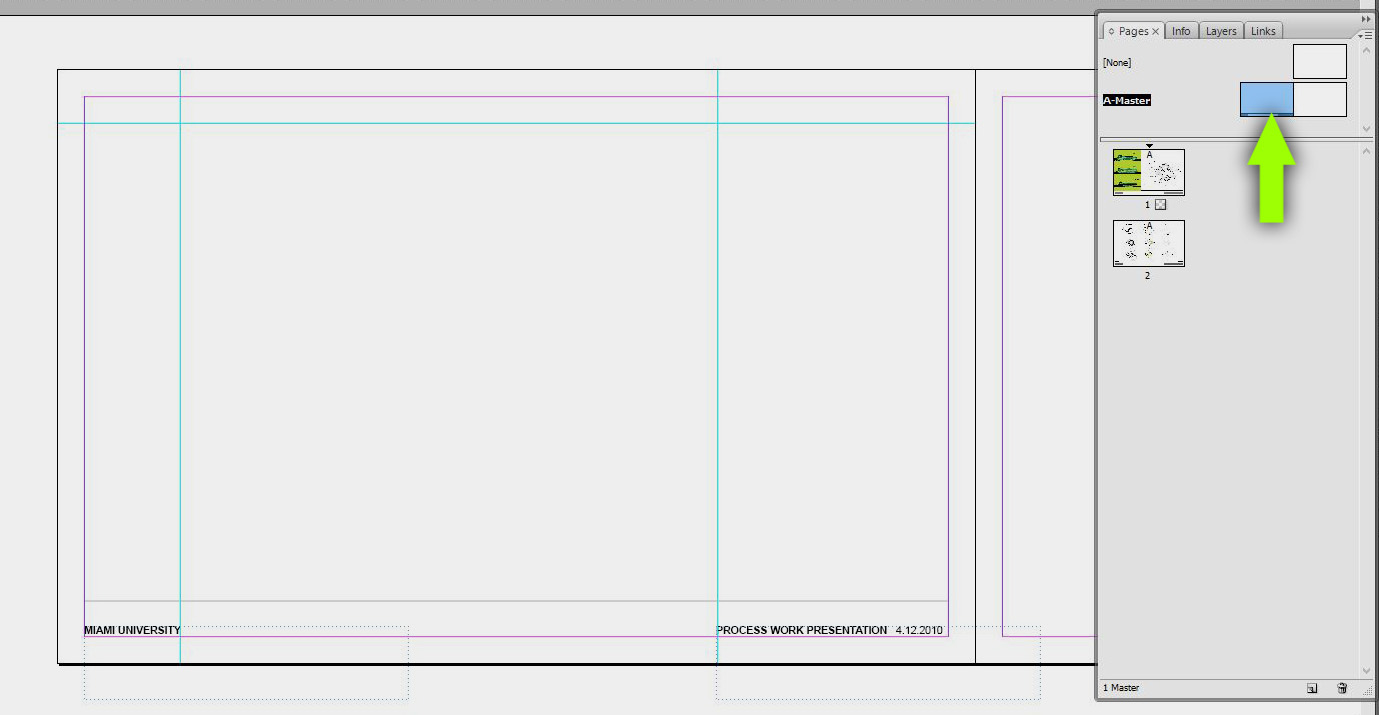
When it’s time to print, we open the master page and correct the date, in which case all of the boards get updated. We can then either save the entire set of boards as a PDF document for emailing or send everything to the printer. The process is simple and limits coordination mistakes from juggling multiple PSD and Illustrator files separately.
TEXT
Consistency is crucial to a good presentation. For my portfolio above, I added all of my text in Photoshop, but this was back in school before I knew or cared about Indesign. Because text was added in Photoshop, making text style changes across all of the pages would be difficult and time consuming. The better way of doing things would be to build the graphics in Photoshop, but add the text via Indesign. This would ensure consistent text sizes, styles, and formatting as well as simplifying the process of making size and style changes across all of the pages if need be. Plus, Indesign is known for its powerful typographic tools allowing for a wide array of customization and manipulation.
I’m not saying that Indesign will change your architectural life, but if you’re looking for a way to add a little more efficiency into your presentation workflow, you may want to look into InDesign if you haven’t already.


If PS could cover the layout, then why Adobe output the ID? Anyway, ID is the best layout software~
Archicad / SketchUp / Artlantis / Photoshop / InDesign / Keynote : That's me 🙂
Wait, could you clarify one more time? Did you use Photoshop in graduate school? I'm not sure I quite got that…
InDesign is an amazing piece of software, but I would highly recommend a peek at Xara Designer. It is not as powerful as most of the Adobe products, but it does many, many things faster and more intuitively. Worth a look!
Would love to know your thoughts on google layout – do you use it, how, for what, etc.
Alex u r really great tutor …. I'm working on my new portfolio and I was very glad about ur portfolio creation tutorials .. It's really helped me a lot ..
I will be very thankful if u just give us small key videos on how we can import PSD's into ID .. because I'm creating my portfolio on PS as u did .. and I really like what u posted here about ID and I'd like to use it in managing the portfolio ….
THX a lot 🙂
This is a very interesting post Alex!
Do you think that a portfolio is more easy to create in Indesign than in Illustrator? Because such a file may reach up to 200mb in Illustrator although all the pictures are linked to other files like in Indesign!
Hey, I've found that the people I work with link their id file to jpgs made from their psd files and not directly to psd files. Is there a reason why you link it to the psd file and not from a jpg made from the psd?
hey alex.. ive been following your blog for a long time.. and i really like the way you make things fun n easier to do..
i am doin soccer stadium as my thesis.. 2 weeks later is my jury!
im just so confused to how to present plans n all.. can you plz suggest something and help me.. i use revit n photoshop..
plz help it would be of great use..
Hi Alex,
Ive never posted on your blog before, but I graduated from architecture 6 months ago (Enlgand) and have been super busy. I just wanted to take the time say thanks for all the work you put in to your tutorials and this blog. I owe my 1st in design to you and all your effort with the site. The styles you use are absolutley perfect for both studying and practising architects. I am now in practice and still refer to your blog every week. I was shown your site by a friend, also practising architecture, we both still talk about every new post.
Please keep up all the fantastic work you do here, thanks much again.
Matt
@Matt,
Thanks for taking the time to post. I really appreciate the kind words. Good luck with your future work
Hi, alex
how do you merge 2 pages into one wider page in ID ? thank you =)
have you considered the DTP software Pagestream? IMHO better than indesign: more precise, multi-platform (Windows, Linux, Mac, ever Amiga too), programmed by a printer, less expensive (90,00$)…
@Paolo,
Im not familiar with that software. I will have to look into it. Thanks for bringing it to my attention
Hi there,
as first I'd like to thank you for the great job you're doing with this blog. Please don't stop!
As second: Why you're not giving a change to more "open source"/"free" software?
You actually use Kerkhy + SU ( I believe you have the free one, or you'd export dxf files and work them with Illustrator…), why don't you give a chance to Scribus or Gimp?
Your renderings are amazing,
Good job
Hi,Alex
very interesting
I am an architecture student first year….can I ask please for more details specially for presentation board workflow in both Photoshop & Indesign…
thanx
I just discovered this Blog, and after browsing through all your content, and reviewing a tutorial, all I can say is FAVORITE. I plan on spending A LOT of time on here.
Awesome tips
I’ve been using photoshop untill someone told me I’d find it difficult to print
It’s just about allowing time now to crack this with indesign, as I’m so use to photoshop
But thanks
Huum thank you for reviewing indesign, but honestly i prefere more Photoshop, because of the ease of use, also you will have all in one,
Indesign not giving possiblity for image editing.
Thank you again,
Looking forward to hear another great poste from you,