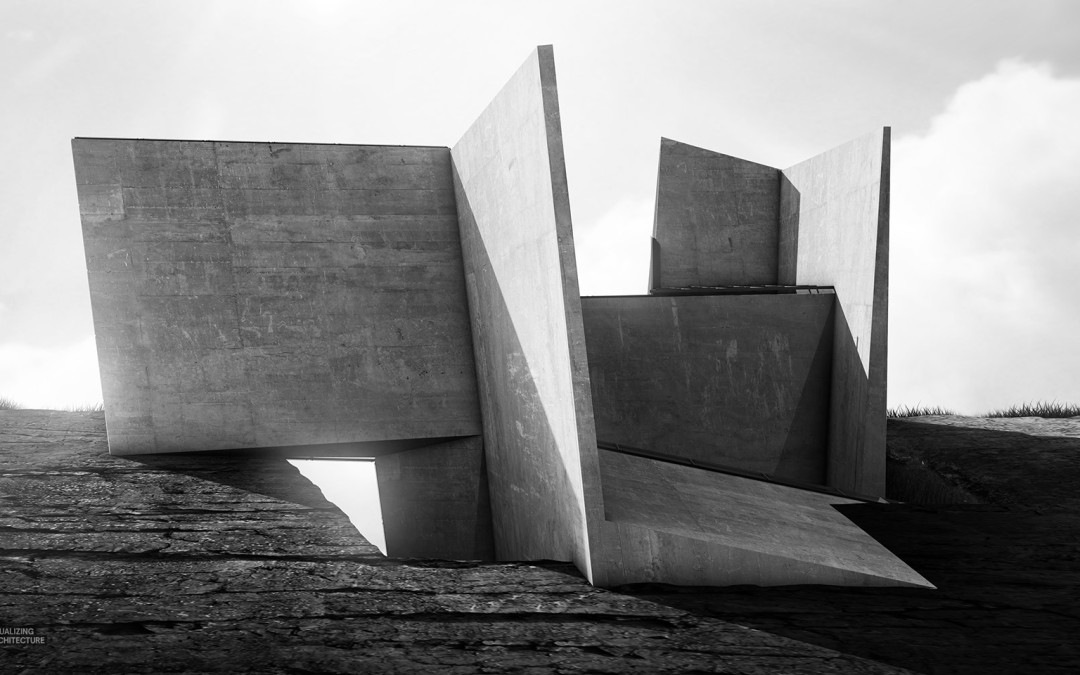
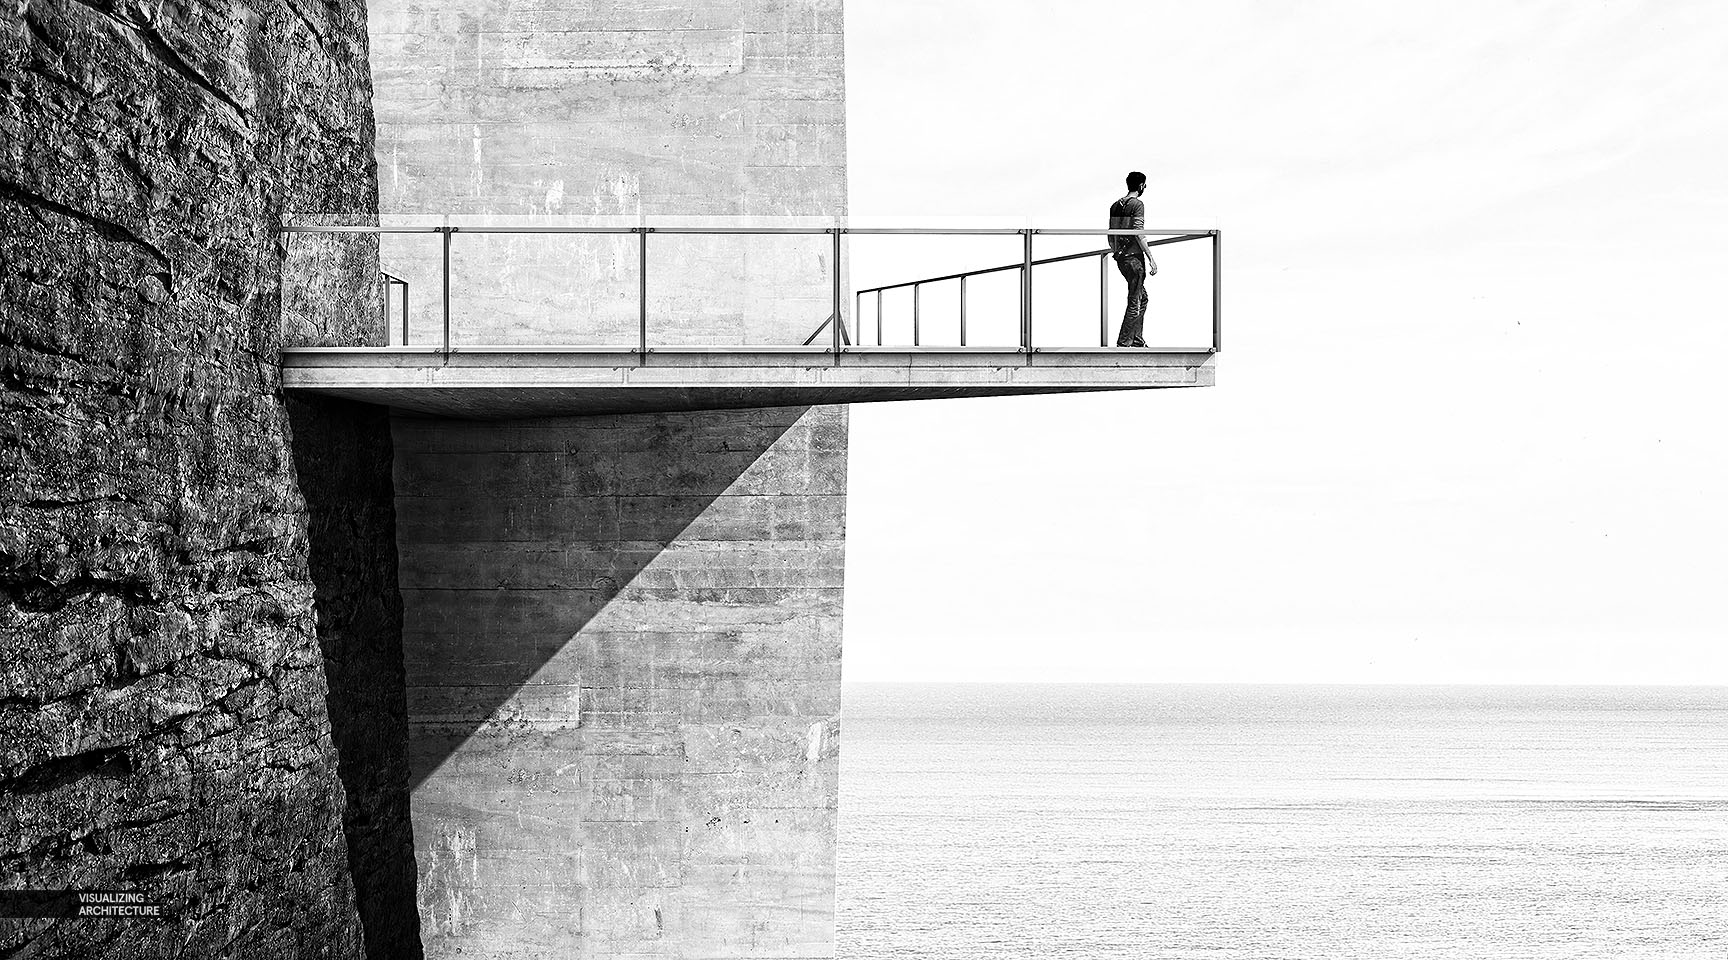
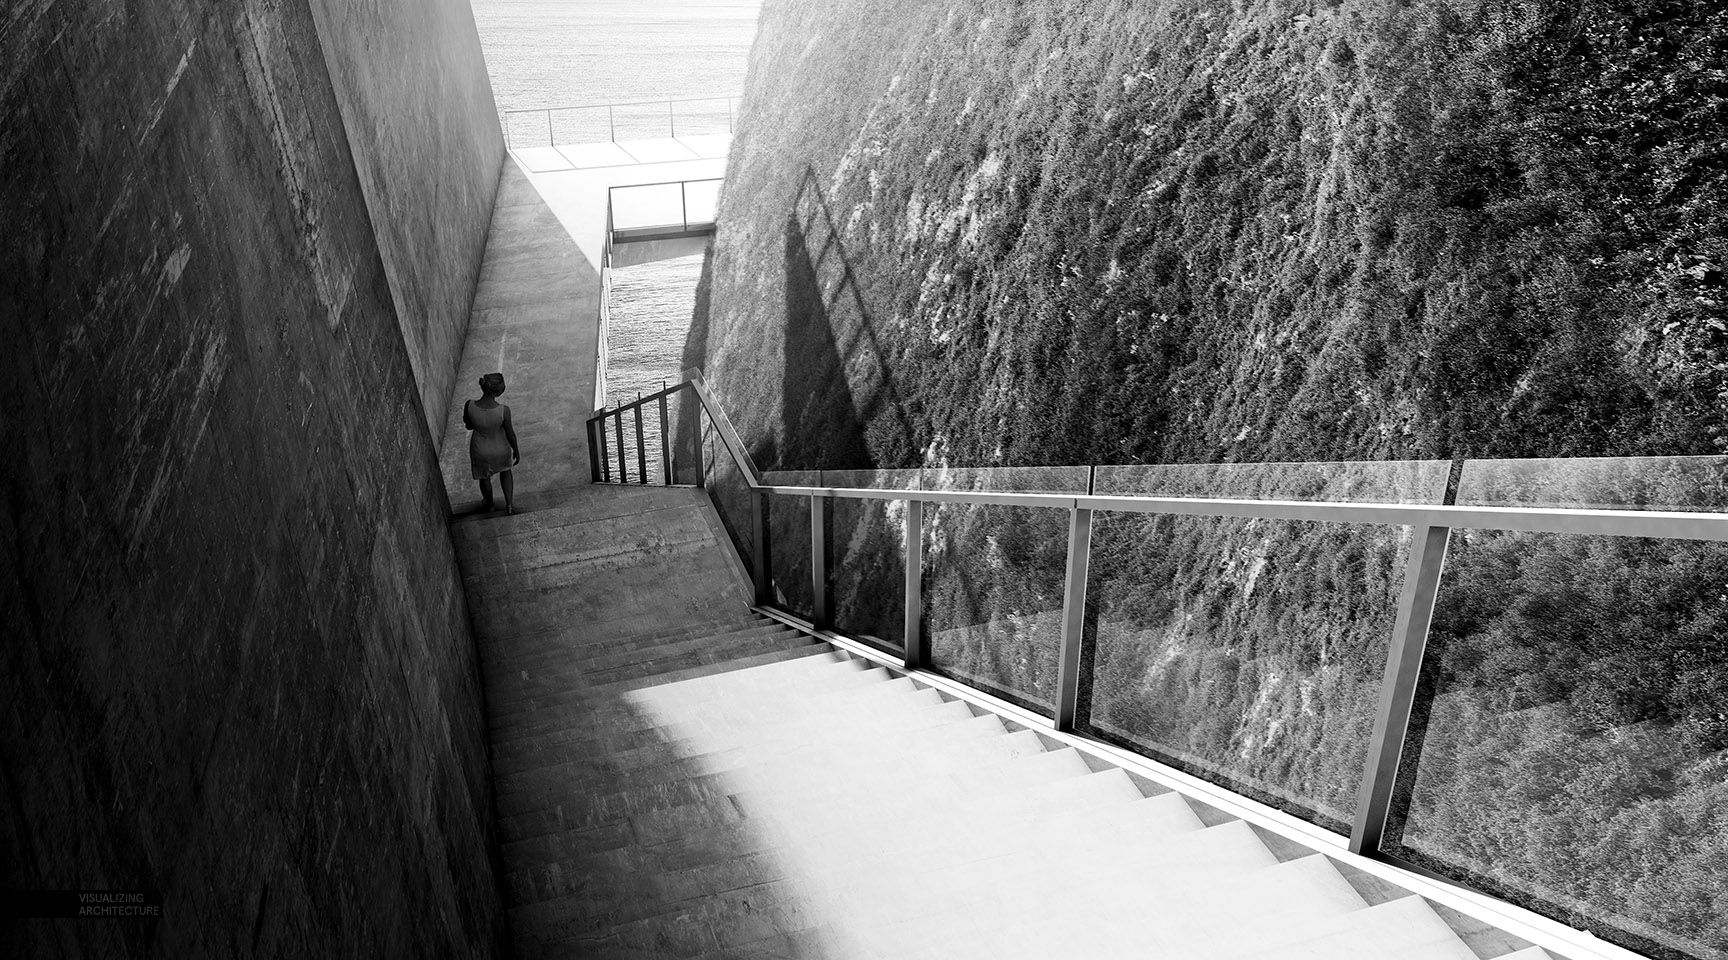
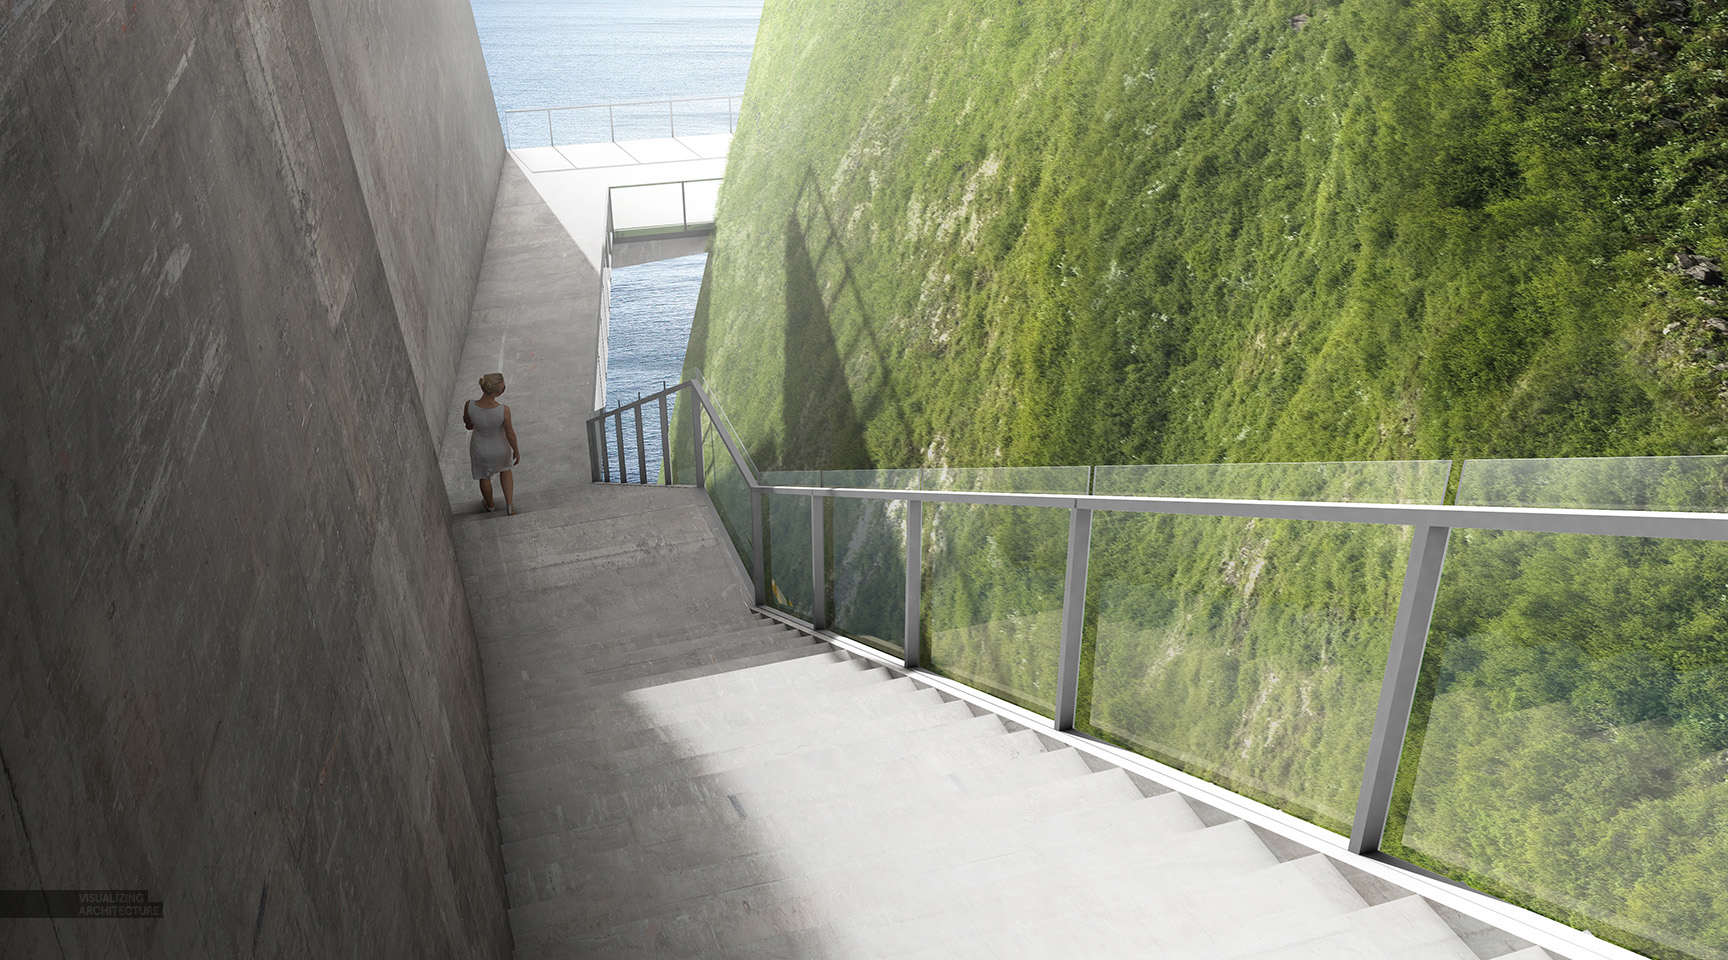
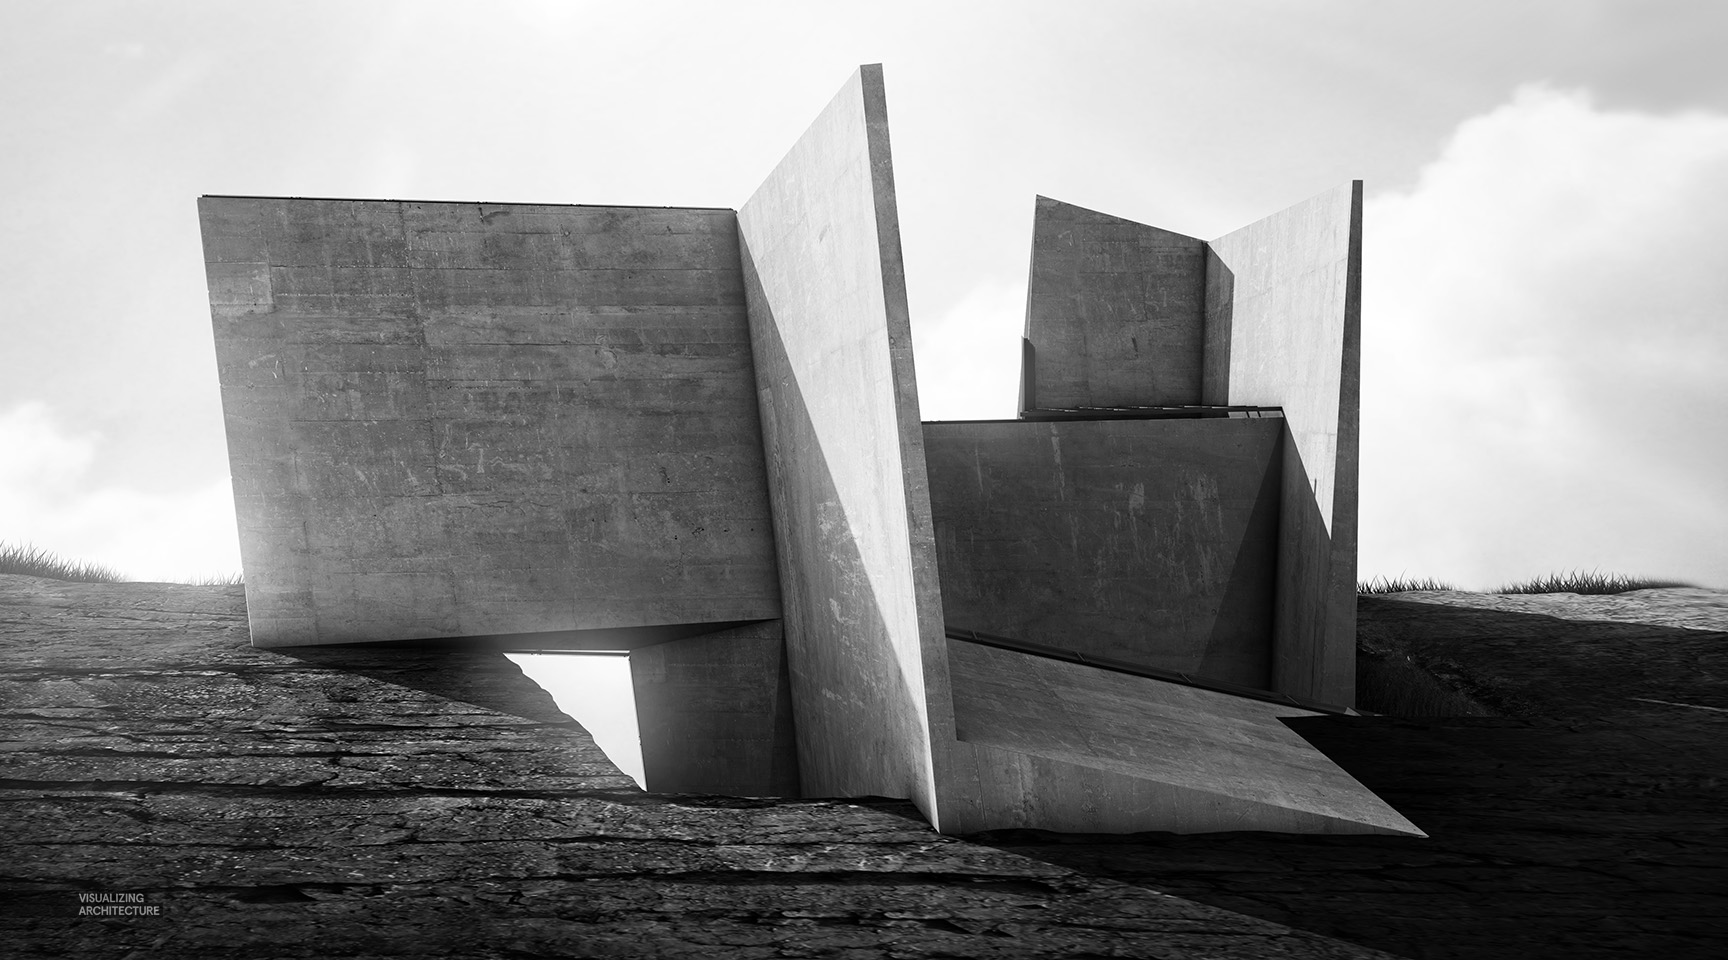
The cliff retreat has been a fun project to design and I find myself constantly jumping back and forth between the macro and micro scales of the design. For the micro scale, the lack of detail in the model can make it difficult to visualize some of the design ideas. Therefore, I looked to Photoshop to quickly add some missing information and to help me study these different moments by exploring textures, scale and light. Below is a quick break down of one of the images.
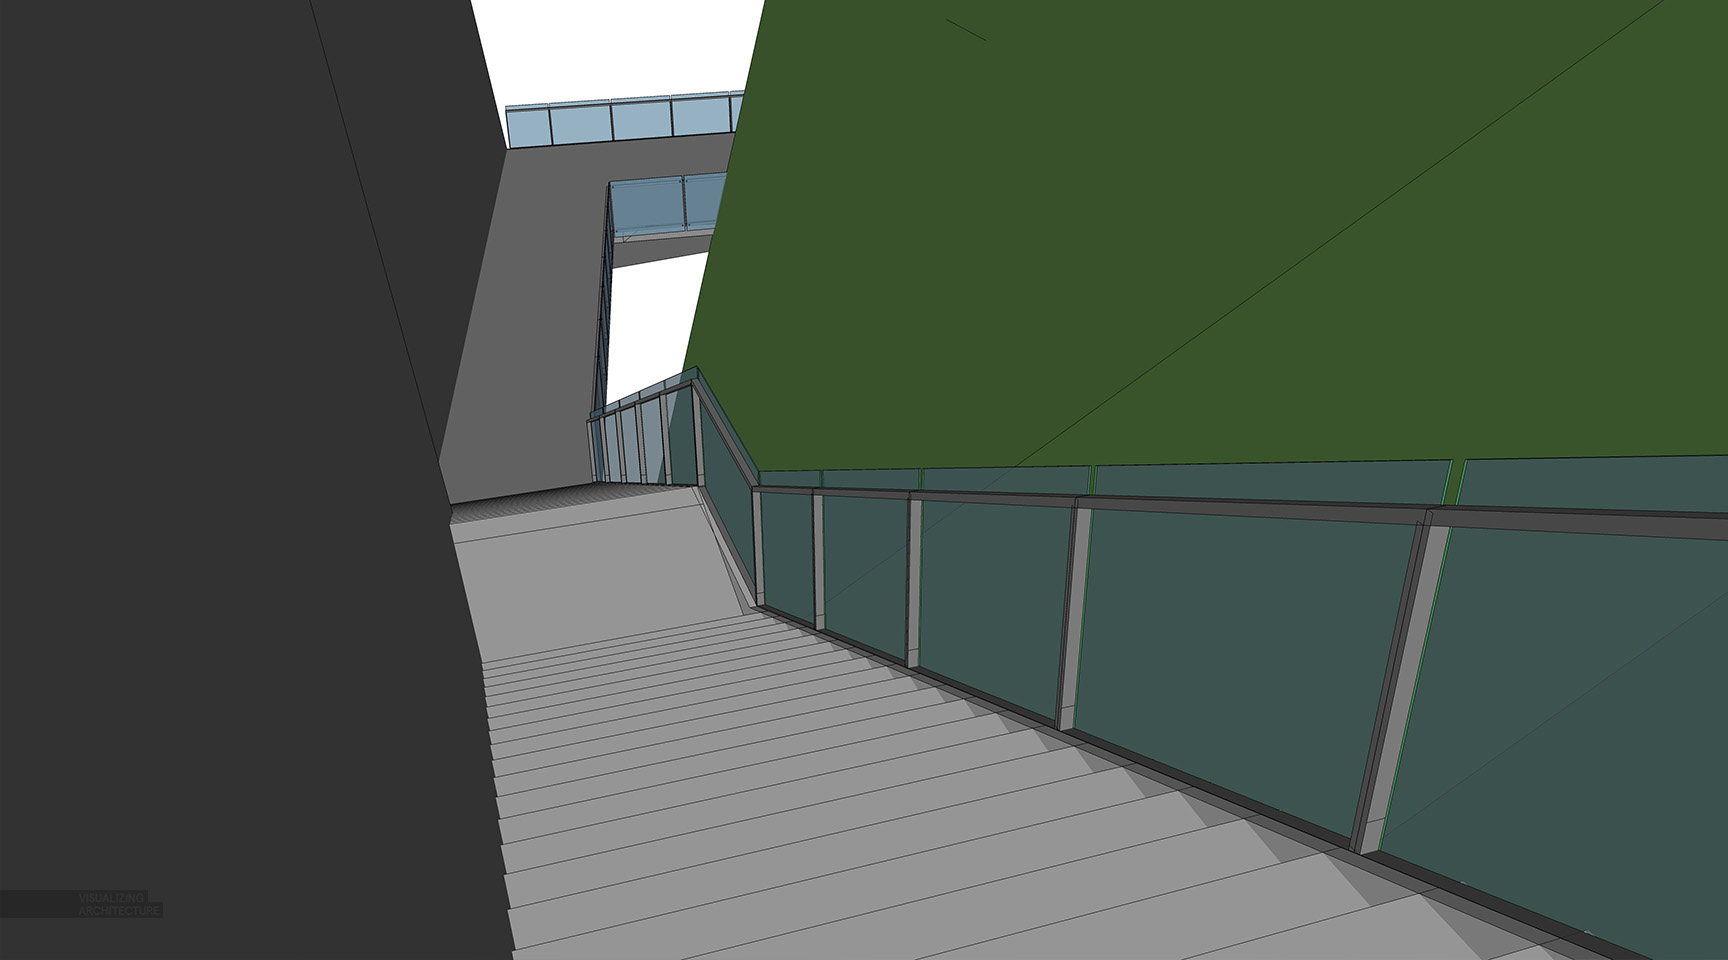
View of Sketchup Model
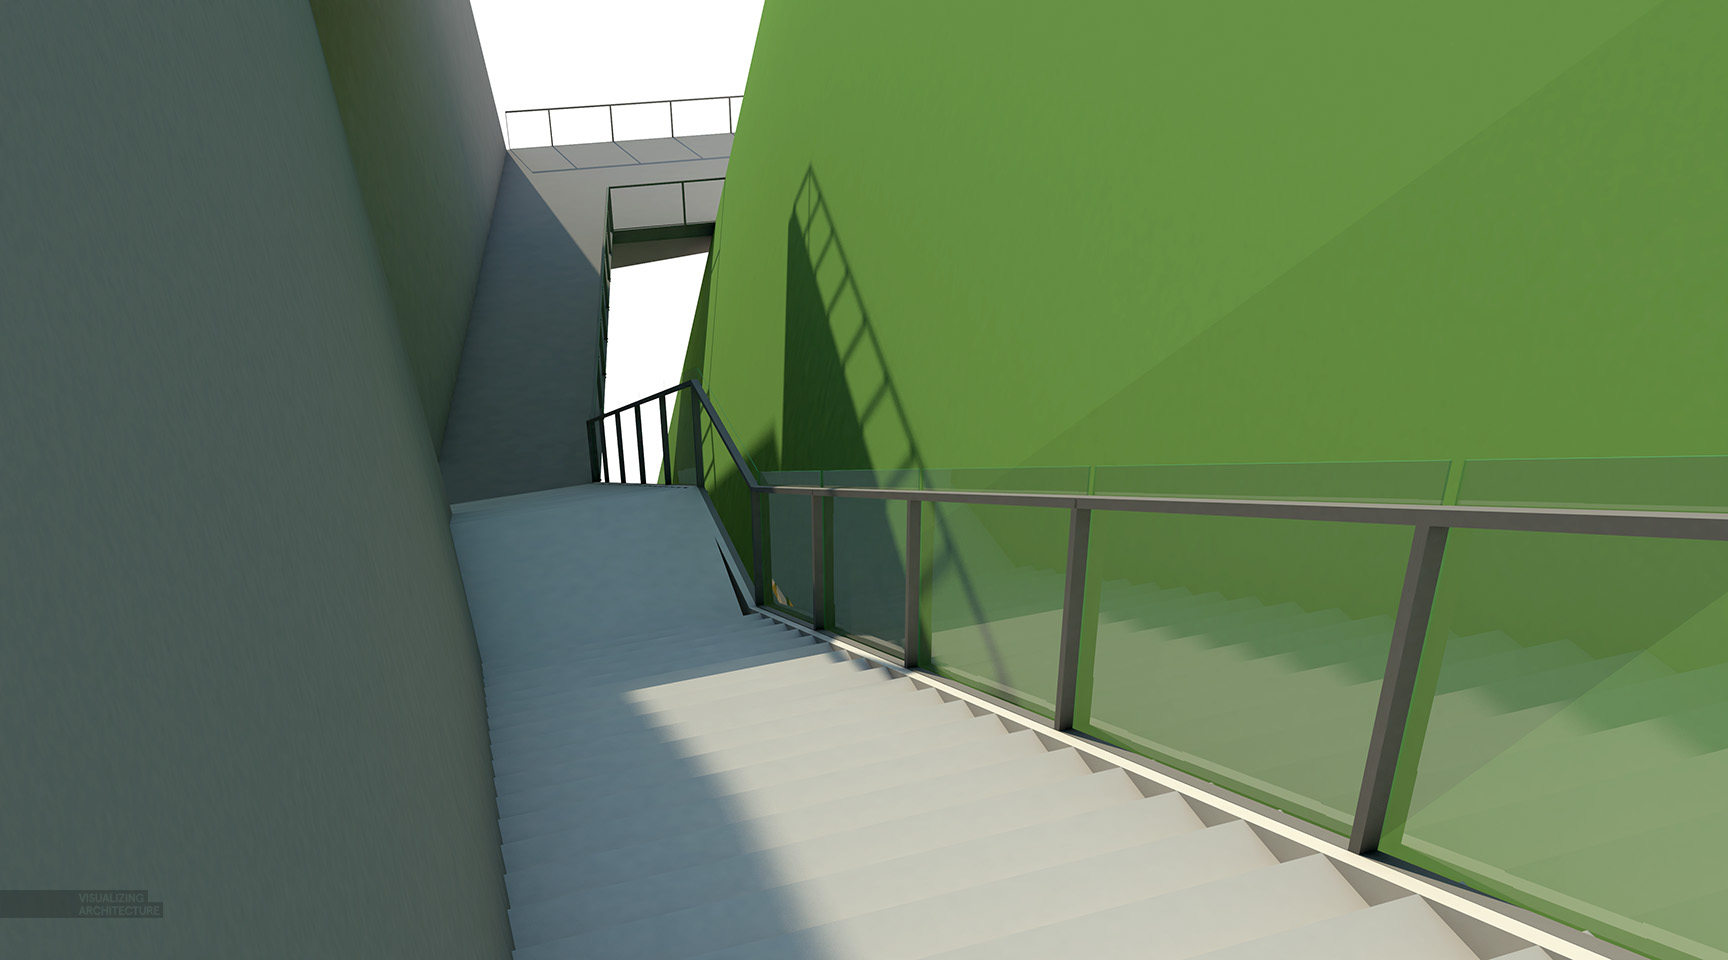
V-Ray Base Rendering
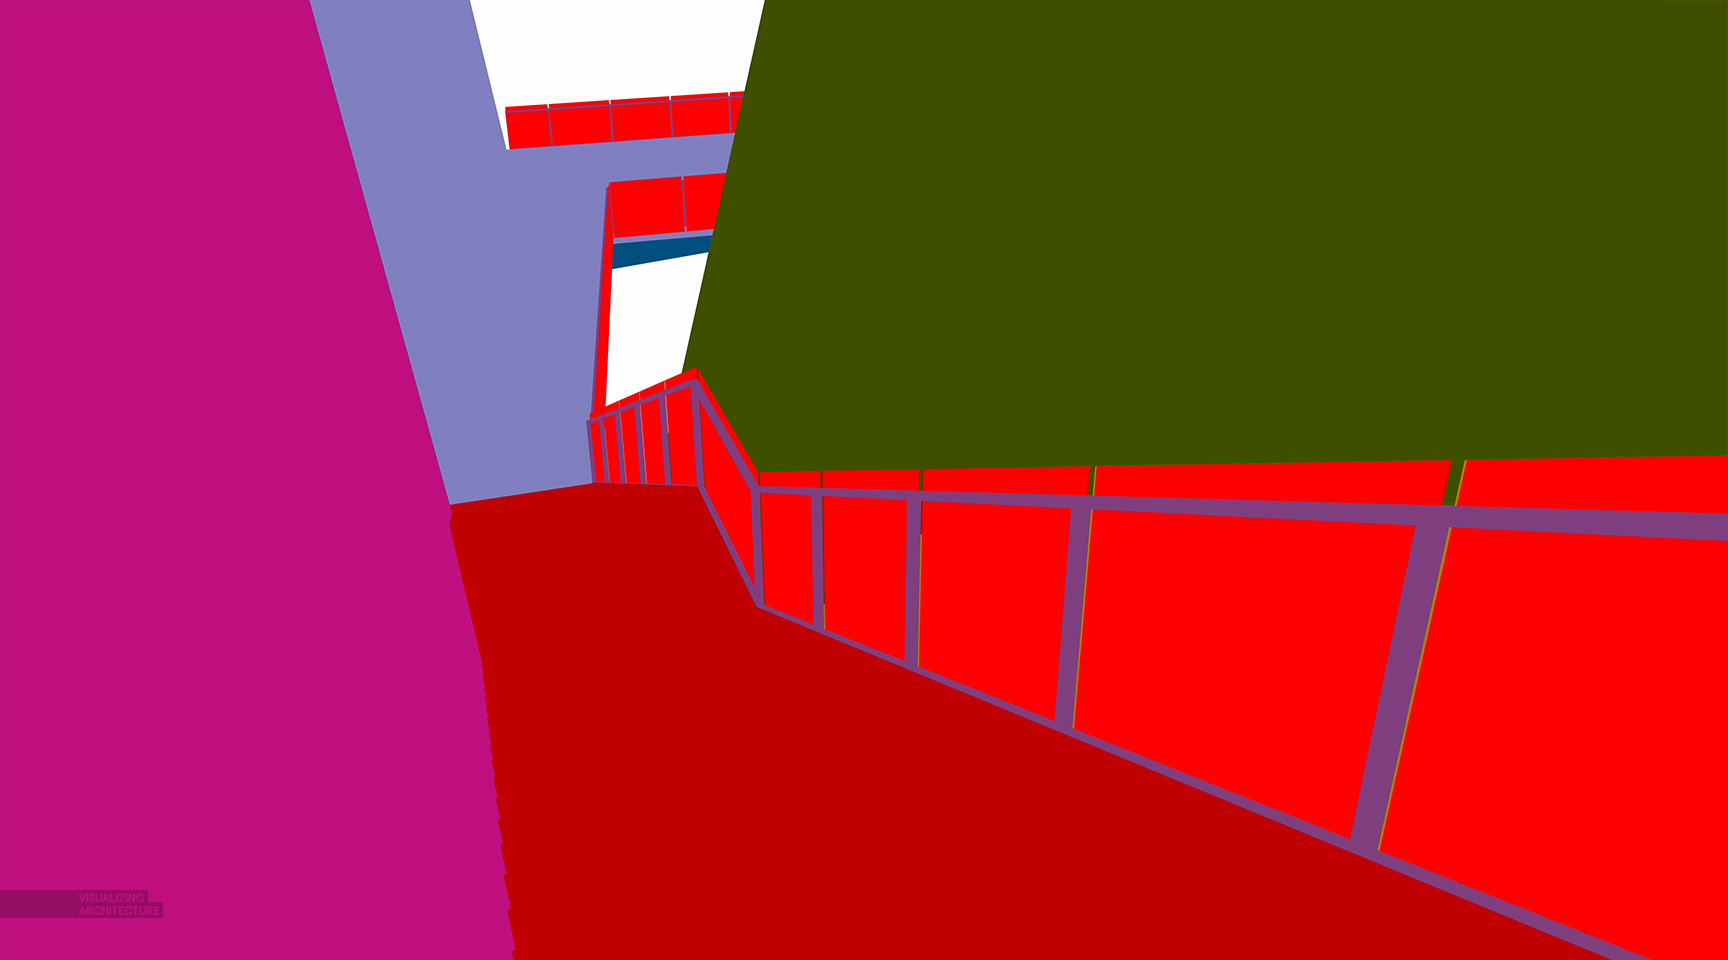
V-Ray Material ID Channel
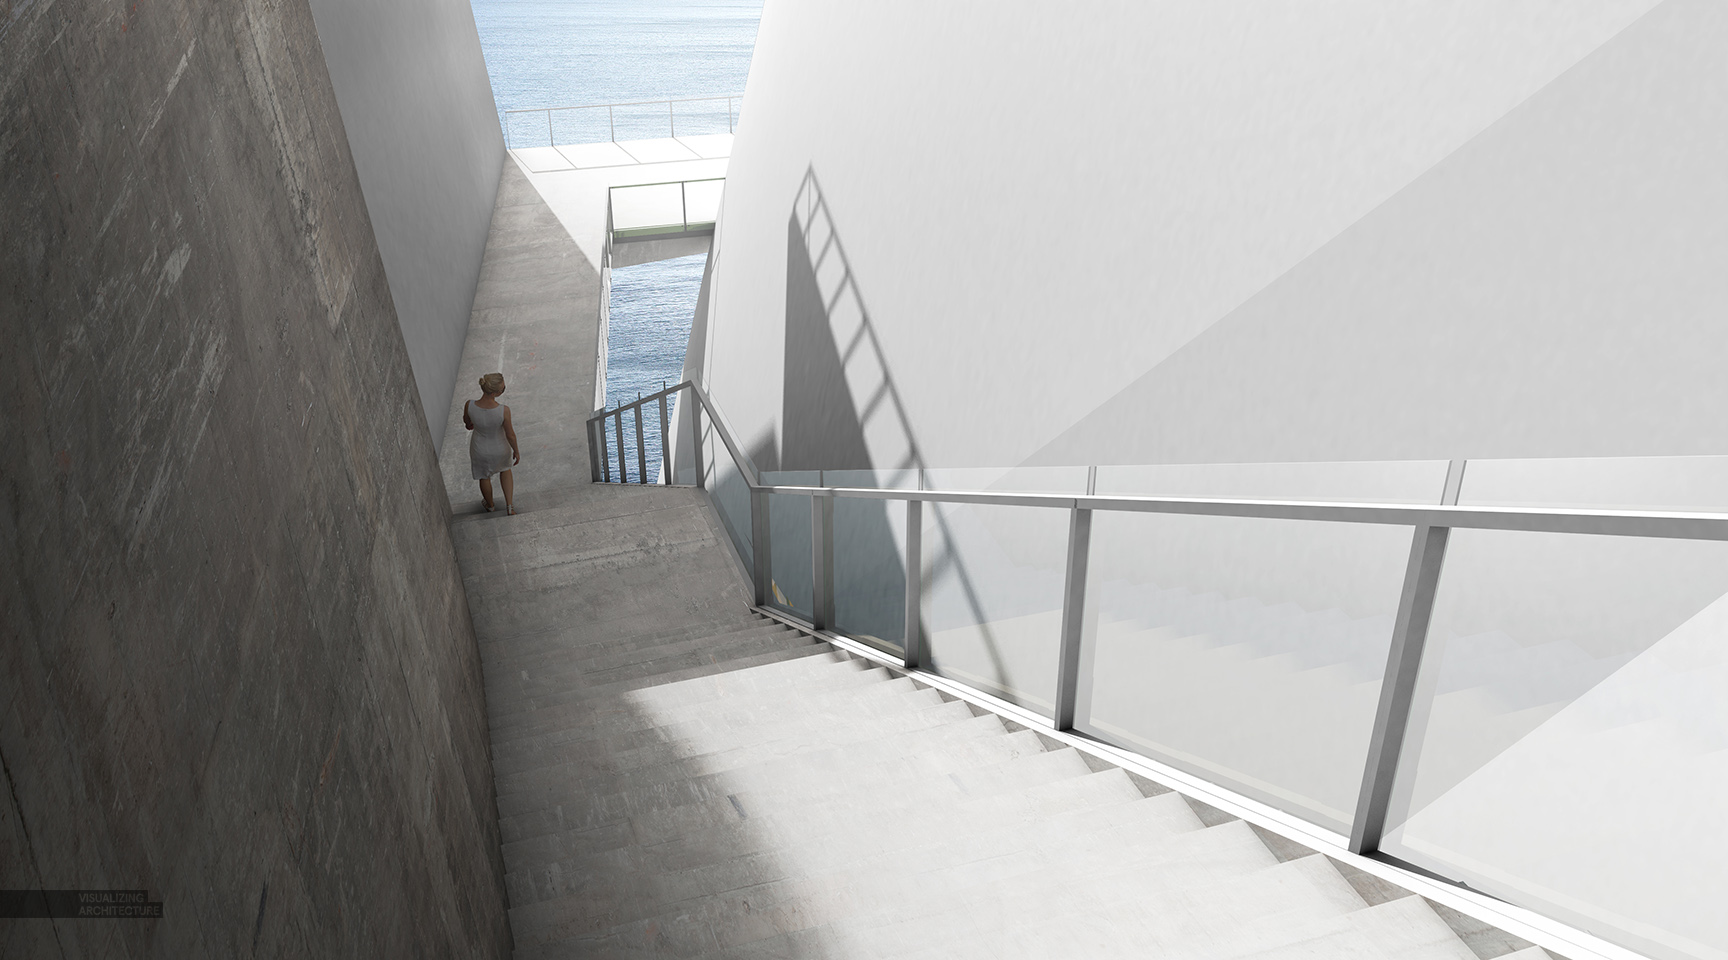
The 3D model is still lacking materials and detail, so I had to do my due diligence to find good textures to overlay on top of the clay model. The geometry itself is simple in many of the views, so the Photoshop post processing took little time compared to other images. I probably averaged two hours of post processing per image. The secret was having a good Material ID channel to help me make selections. Material ID is something that I haven’t talked about much on this site, but is crucial for fast and clean Photoshop post processing. I will follow up this post with a part 2 tutorial describing how I create and integrate the Material ID channel into my workflow.
I grouped the layers in Photoshop by texture and then masked off the groups instead of each individual texture. This made for clean photoshop files and will allow for simple edits if the design changes later. This concept will also be covered more in depth in part 2 of this post.
For the final image, I converted to black and white to downplay the strong green vegetation and shift focus back to the textures and light. There was a little more to the black and white conversion than just desaturating the image. I increased the contrast by duplicating the image and setting the layer blend mode to “Overlay”. I also ran some Topaz filters to sharpen the image and enhance the details.
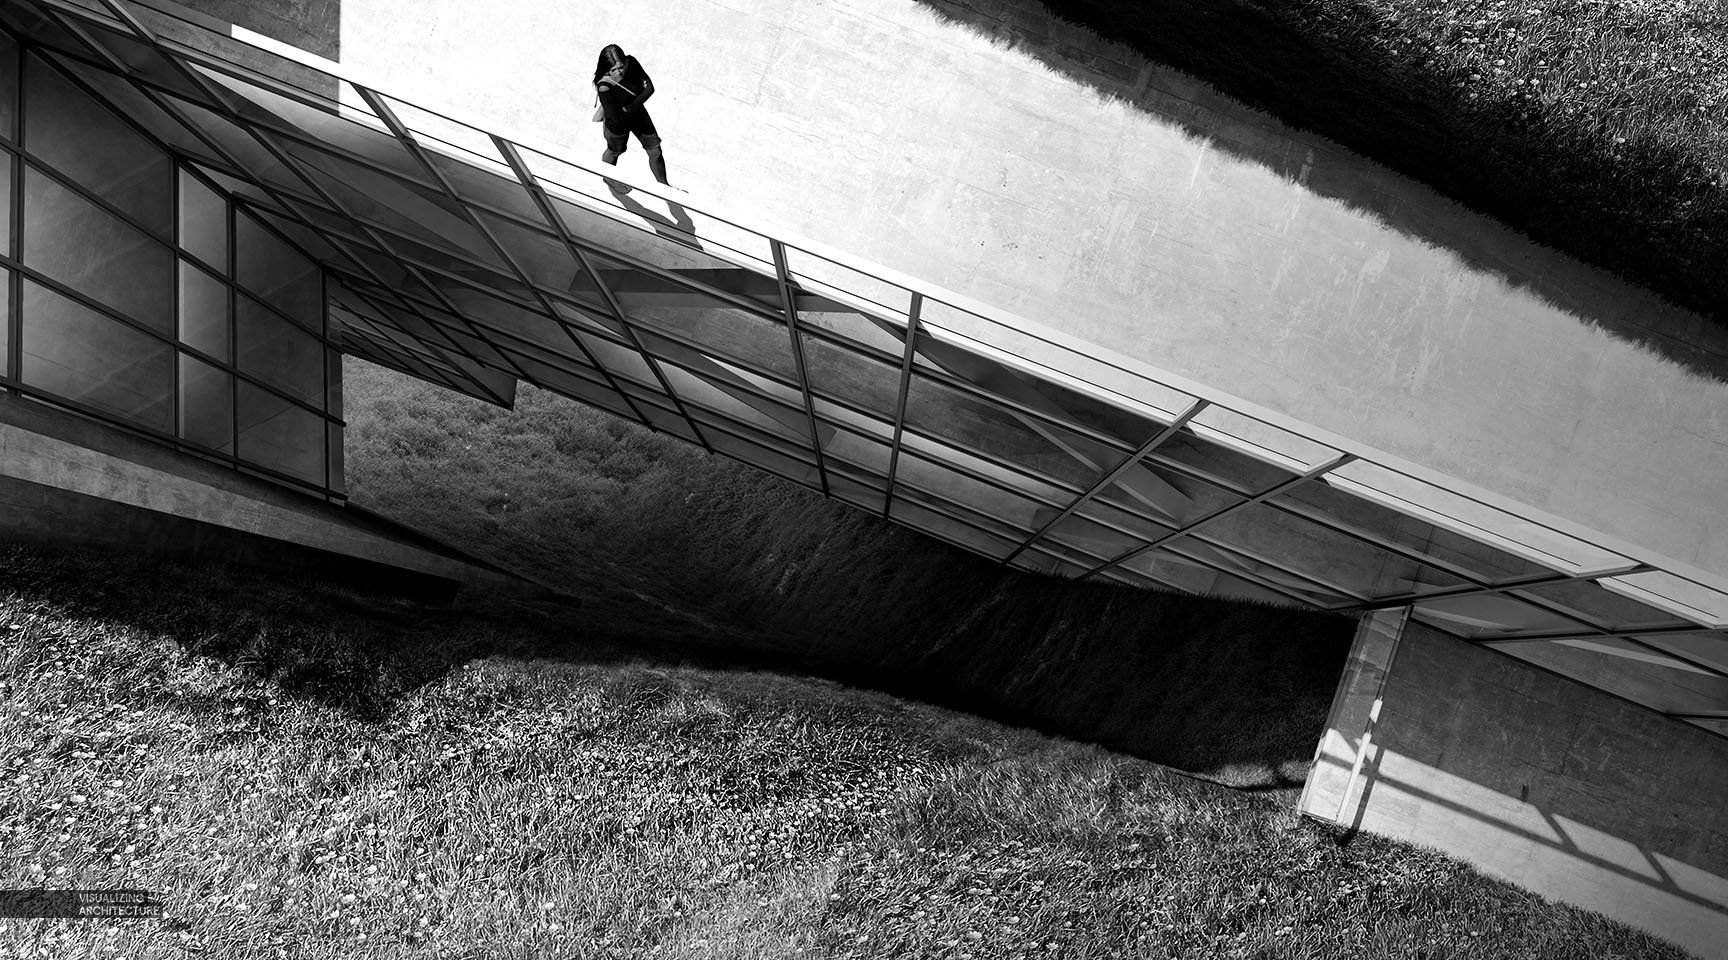


Really like the depth of the vegetation on the fourth image Alex. I think you are due for a new tutorial on your photoshoping of vegitation as it’s amazing and extremely difficult to do (at least for me).
Always amazing Alex. Can’t wait for part 2 of this tutorial. Hopefully you can talk about the “design intent” in that part? Always keen to know that perspective from talented people.
Cheers from New Zealand!
Thank you Alex…
I can’t wait for the new tutorial to be honest.
I have a pretty hard time to texturize my modells… Well, I just found your site last week, so hopefully this will change.
Thanks for sharing, it really means a lot.
Great work as usual.
I have a simple and stupid question: How can you render the exact same view point in v-ray as it is in the sketch up? I saved an view in SU and try to render but it end up with a view in a different angle.
Thanks
you can render the same view as in SU by selecting the get view aspect in vRay options box , to do that
go to vray options->output->get view aspect .
this is checkbox will be below the number boxes where you fix your quality of render
You can use a plugin by ThomThom called “TT V-Ray Tools” you will set the Aspect Ratio or/and the Safeframe (NOTE: as of now I think there’s a limitation to the Safeframe up to 9000 px or so)
Very inspirational to keep re-inventing yourself. Like your images a lot.
Hi Alex, I’m really curious how you were able to preserve the look of the glass over the green wall texture. This is something I’ve found to be really challenging to do in Photoshop.
哇!你很漂亮~
Hi Alex. Could you do a tutorial on which Topaz Labs filters you find work best?
Great! Alex good work waiting for part 2
逆向直销,震撼来袭,什么不干,坐等收钱
系统优势:
优势1:静态分红,免费签到,就有钱赚,多劳多赚,每日百元
优势2:十级提成,逆向网赚,五五倍增,自动下滑,坐享提成
优势3:百万资源,网赚项目,名师讲座,永久更新,一键转存
优势4:千万流量,你去发布,我来推广,全站流量,免费共享
优势5:无限广告,独立域名,八个栏目,不限数量,任你发布
免费注册网址:
http://www.362913.35aa.cc/
看看!
Just an inspiring work!!
Where do you get your concrete textures from? Anyway, Im a huge fan and am always inspired by your work!
This is a beautiful thing, Alex. Poetry.
Beautiful and amazing thing alex! I always waiting for your rendering. Architecture student from south korea.
おはようございます
Hi Alex, where do you find these high quality textures?
Great design, the details are so real. Thanks for sharing!