Illustrating glass is something I am constantly working on and studying. Glass is such a complex material in the sense that it can be highly reflective in some lighting situations and then completely transparent in other light situations. Finding the right balance of reflectivity and transparency is crucial for a cohesive and balanced image.
I have used many methods for illustrating glass in my images depending on the type of illustration I am creating: interior, exterior, daytime, night, overcast, bright, etc. However, in situations where the glass is prominent in the images, and I intend to extensively edit what is going on behind it, I like to rebuild the glass completely in Photoshop. What I mean by rebuild is that I do not work over rendered glass baked into the base files, but instead render the scene without glass and then bring it in as a layer or multiple layers in Photoshop. This gives me complete control over editing behind the glass, making selections, and the reflection on the glass itself. This also means that you need to have a good grasp of how glass will act in certain situations and adjust the reflection/transparency balance accordingly.
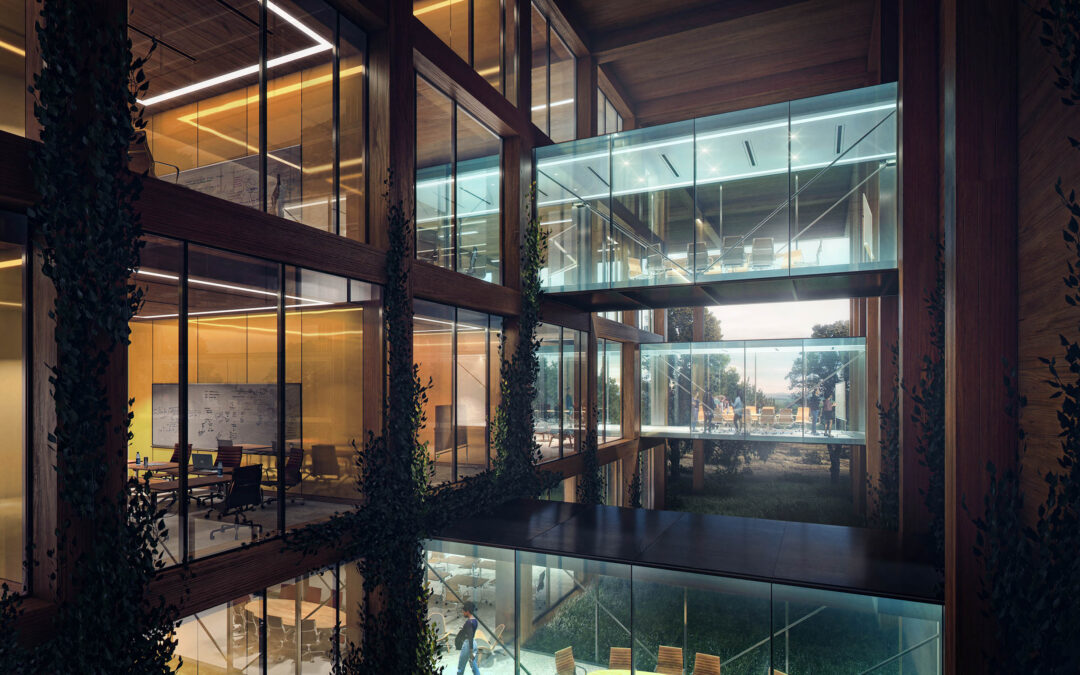
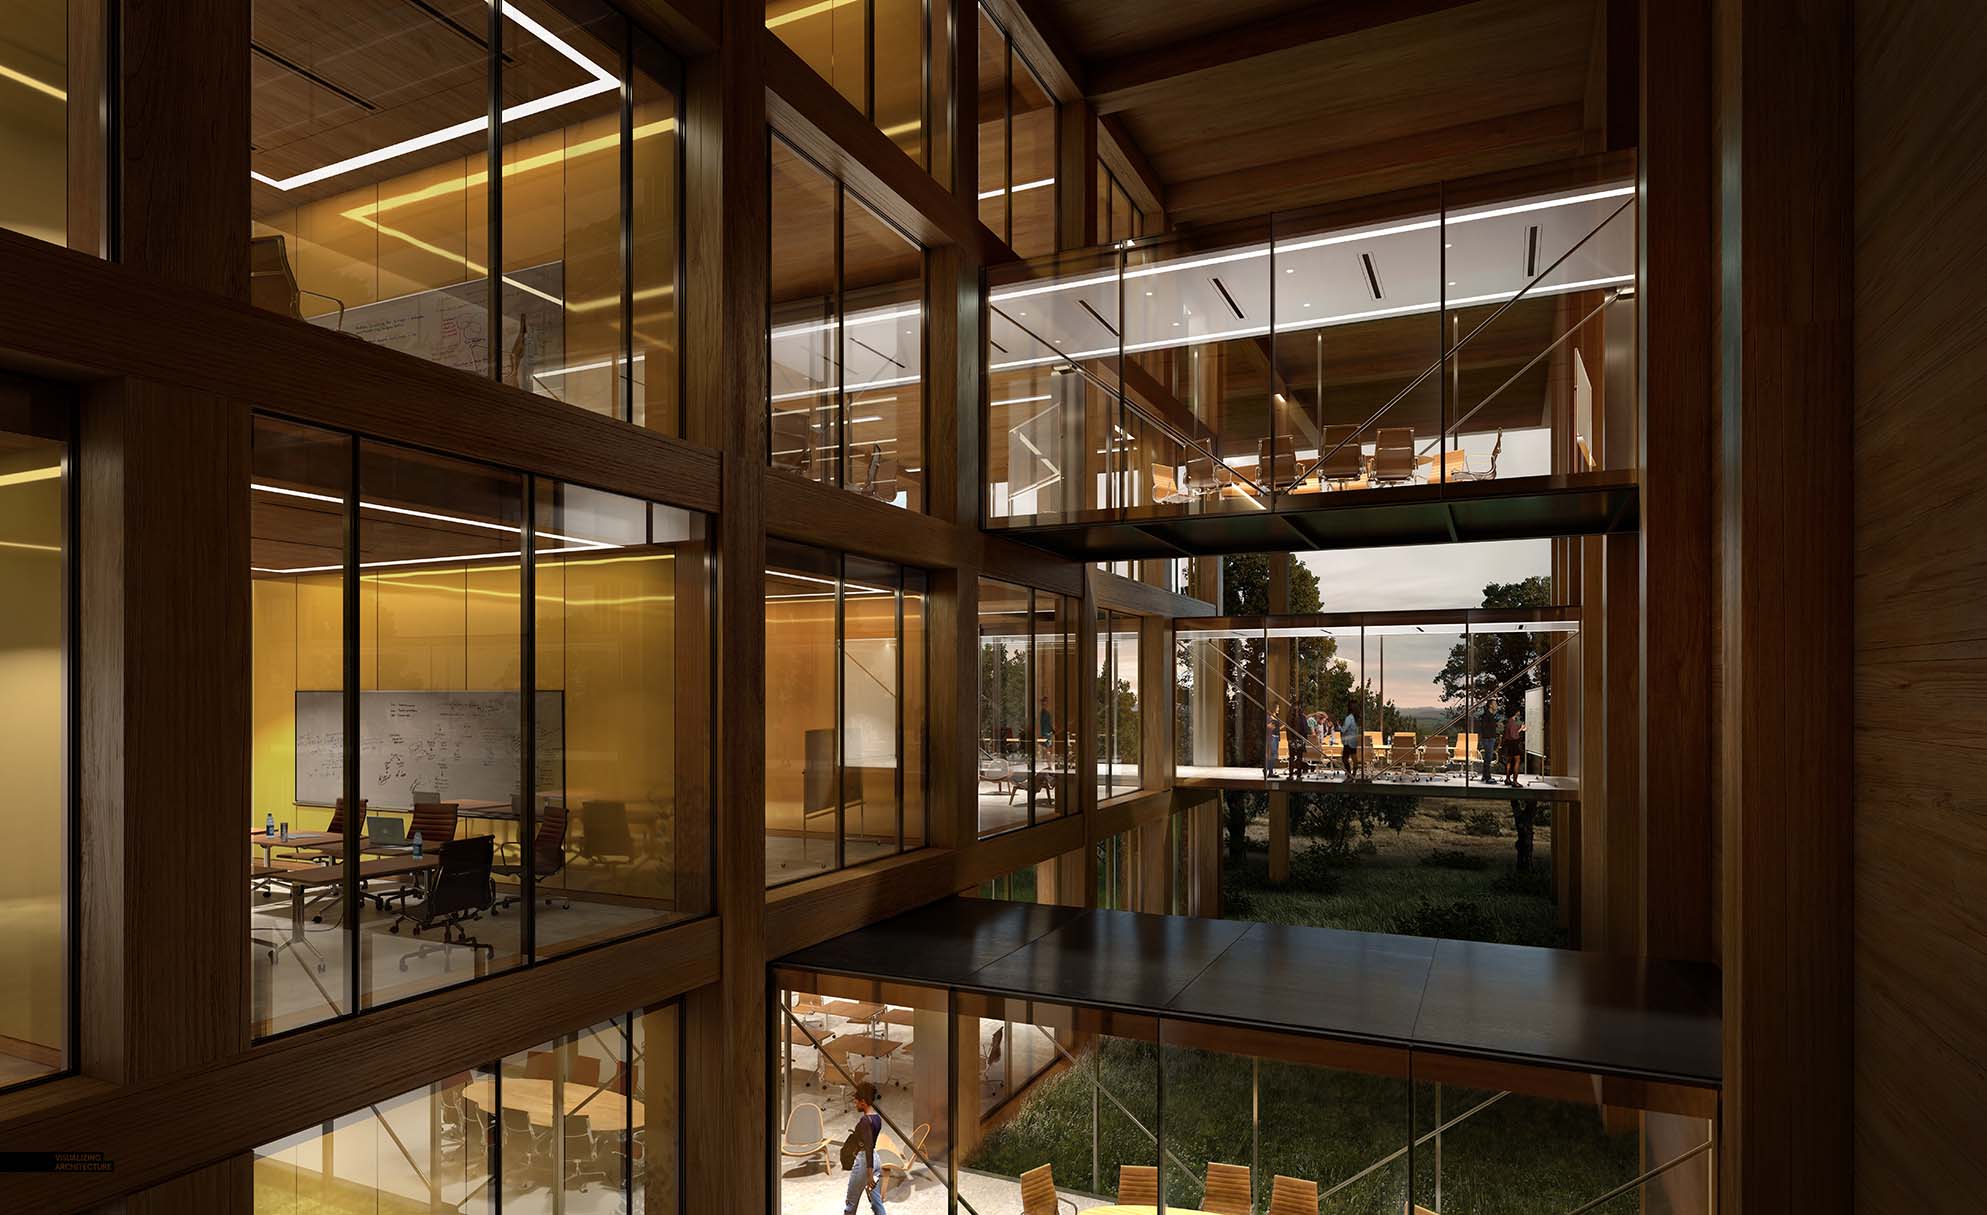
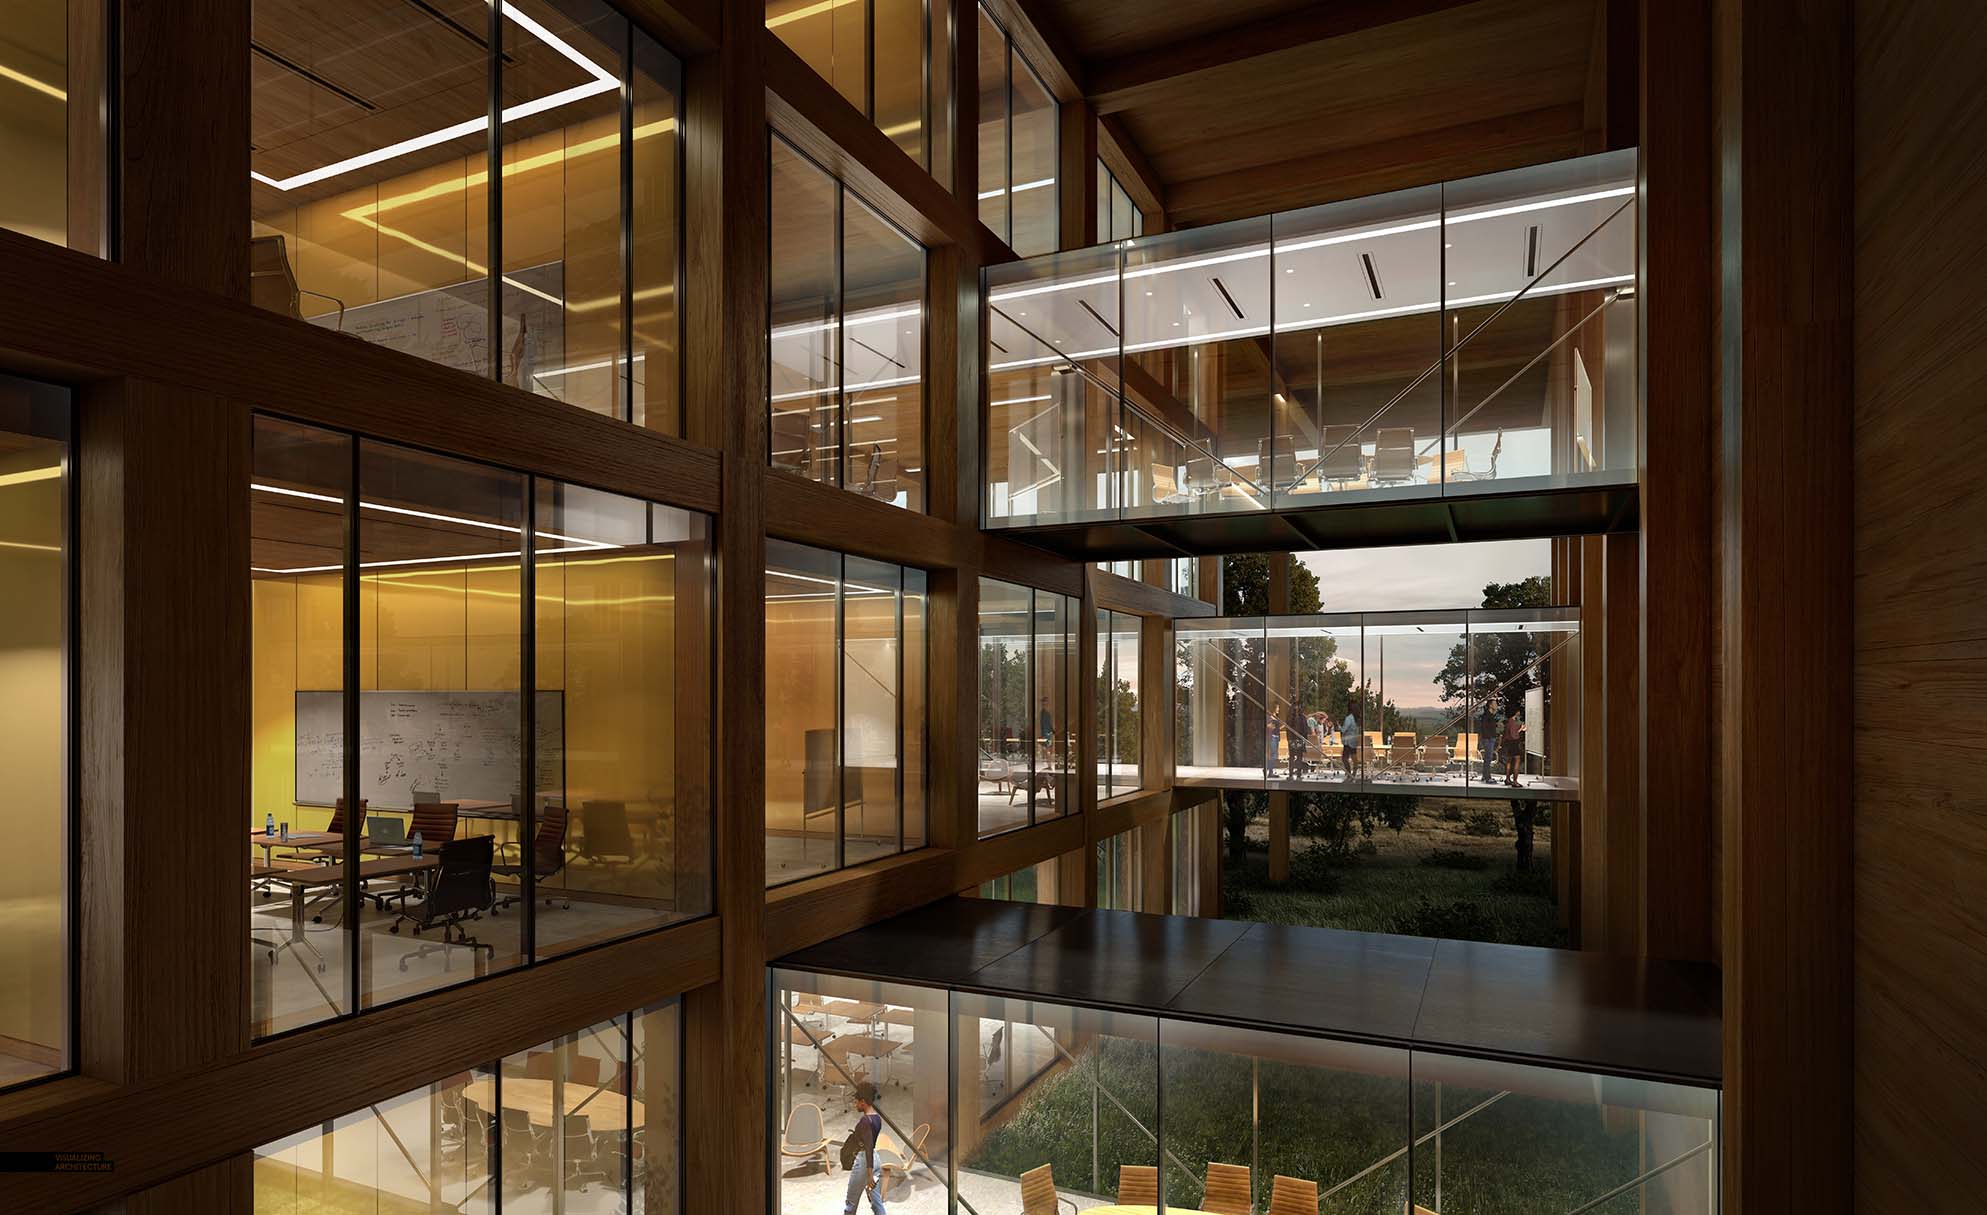
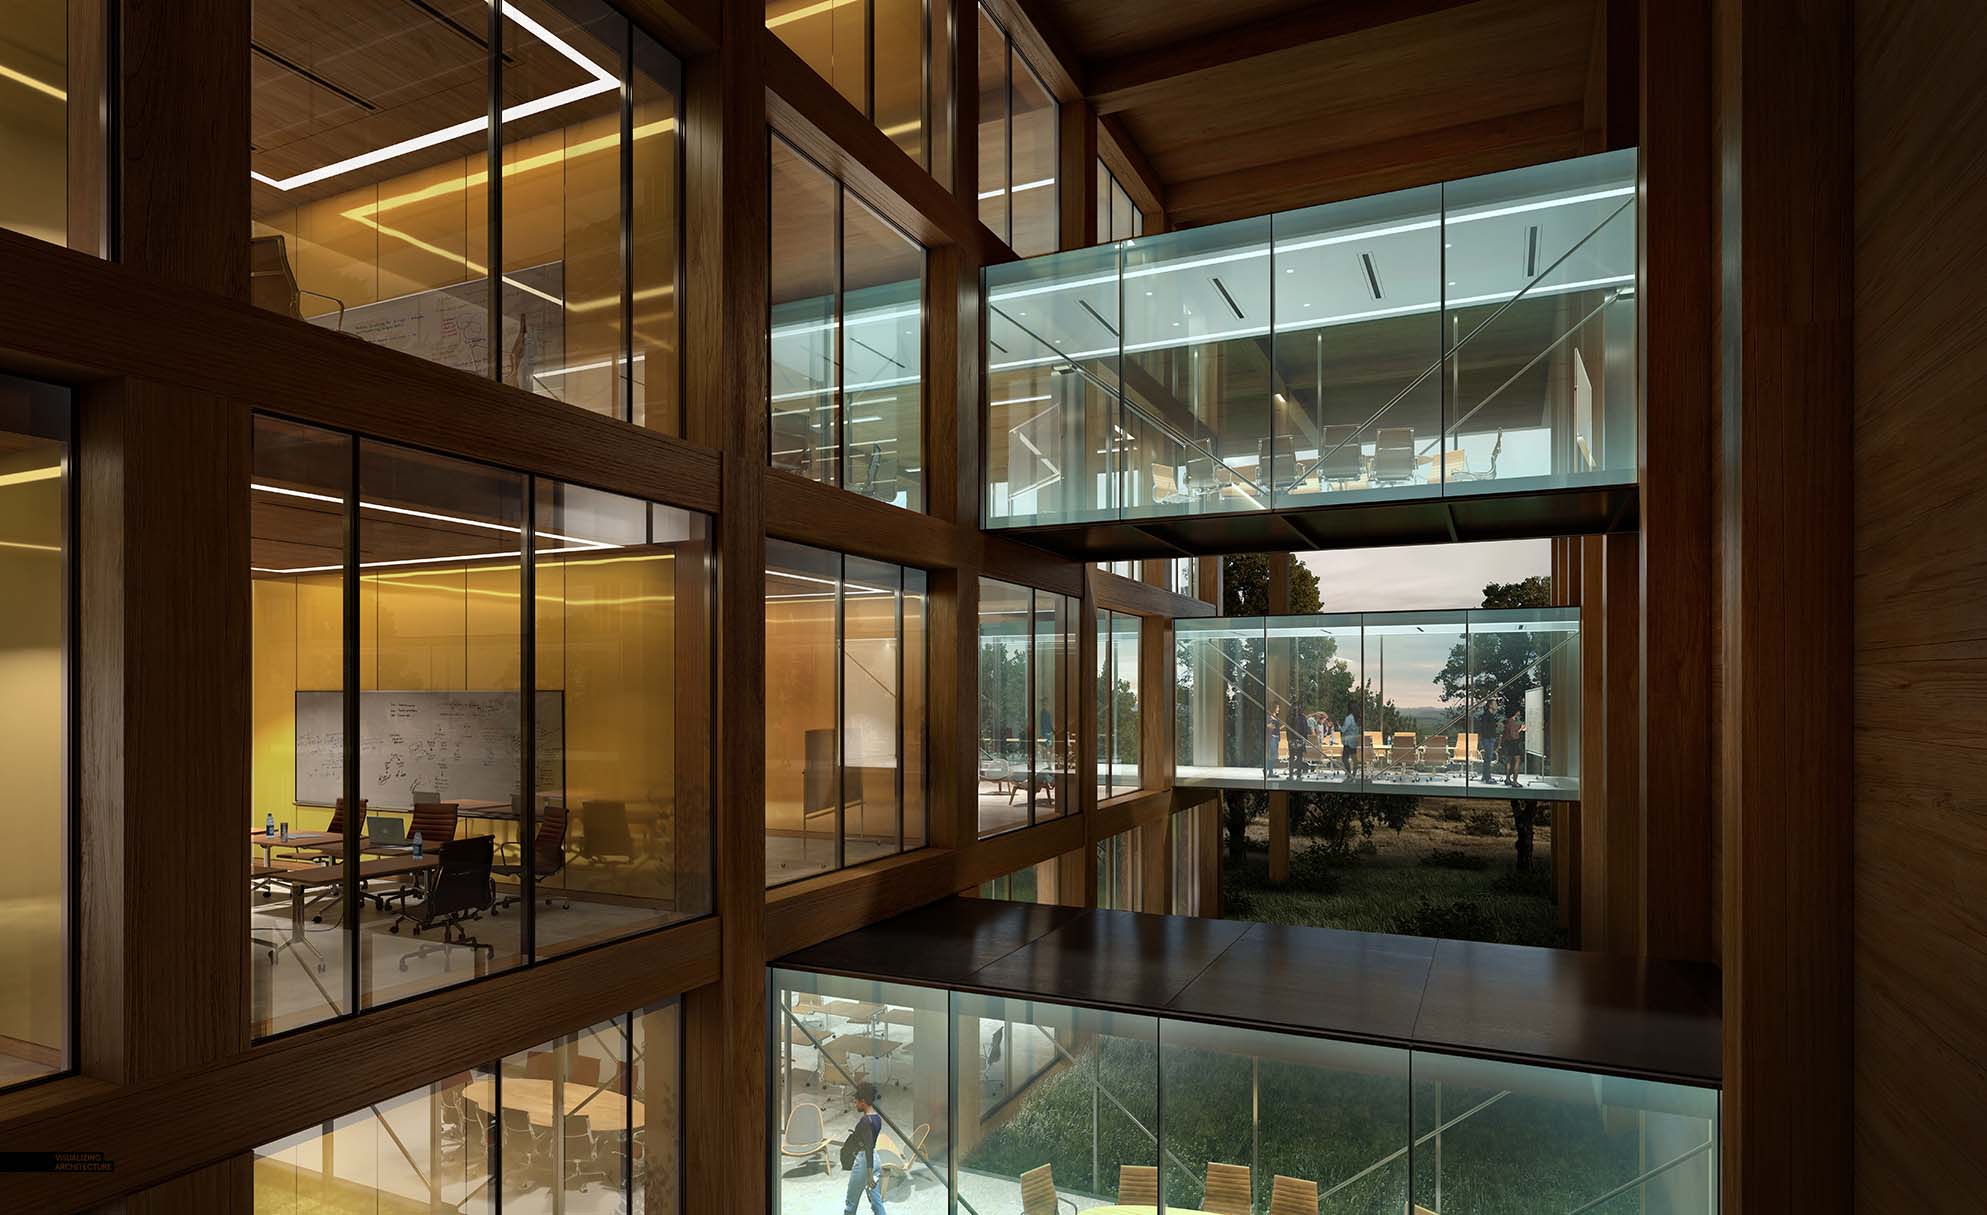
For the Texas Prairie Bridge illustration below, there was a lot of editing happening behind the glass, so I rebuilt it by rendering passes with the glass turned both on and off. I used the rendering passes with the glass turned off for my base images. I only used the reflection render element from the “Glass TURNED ON” rendering passes so that I could bring in that reflection as a layer.
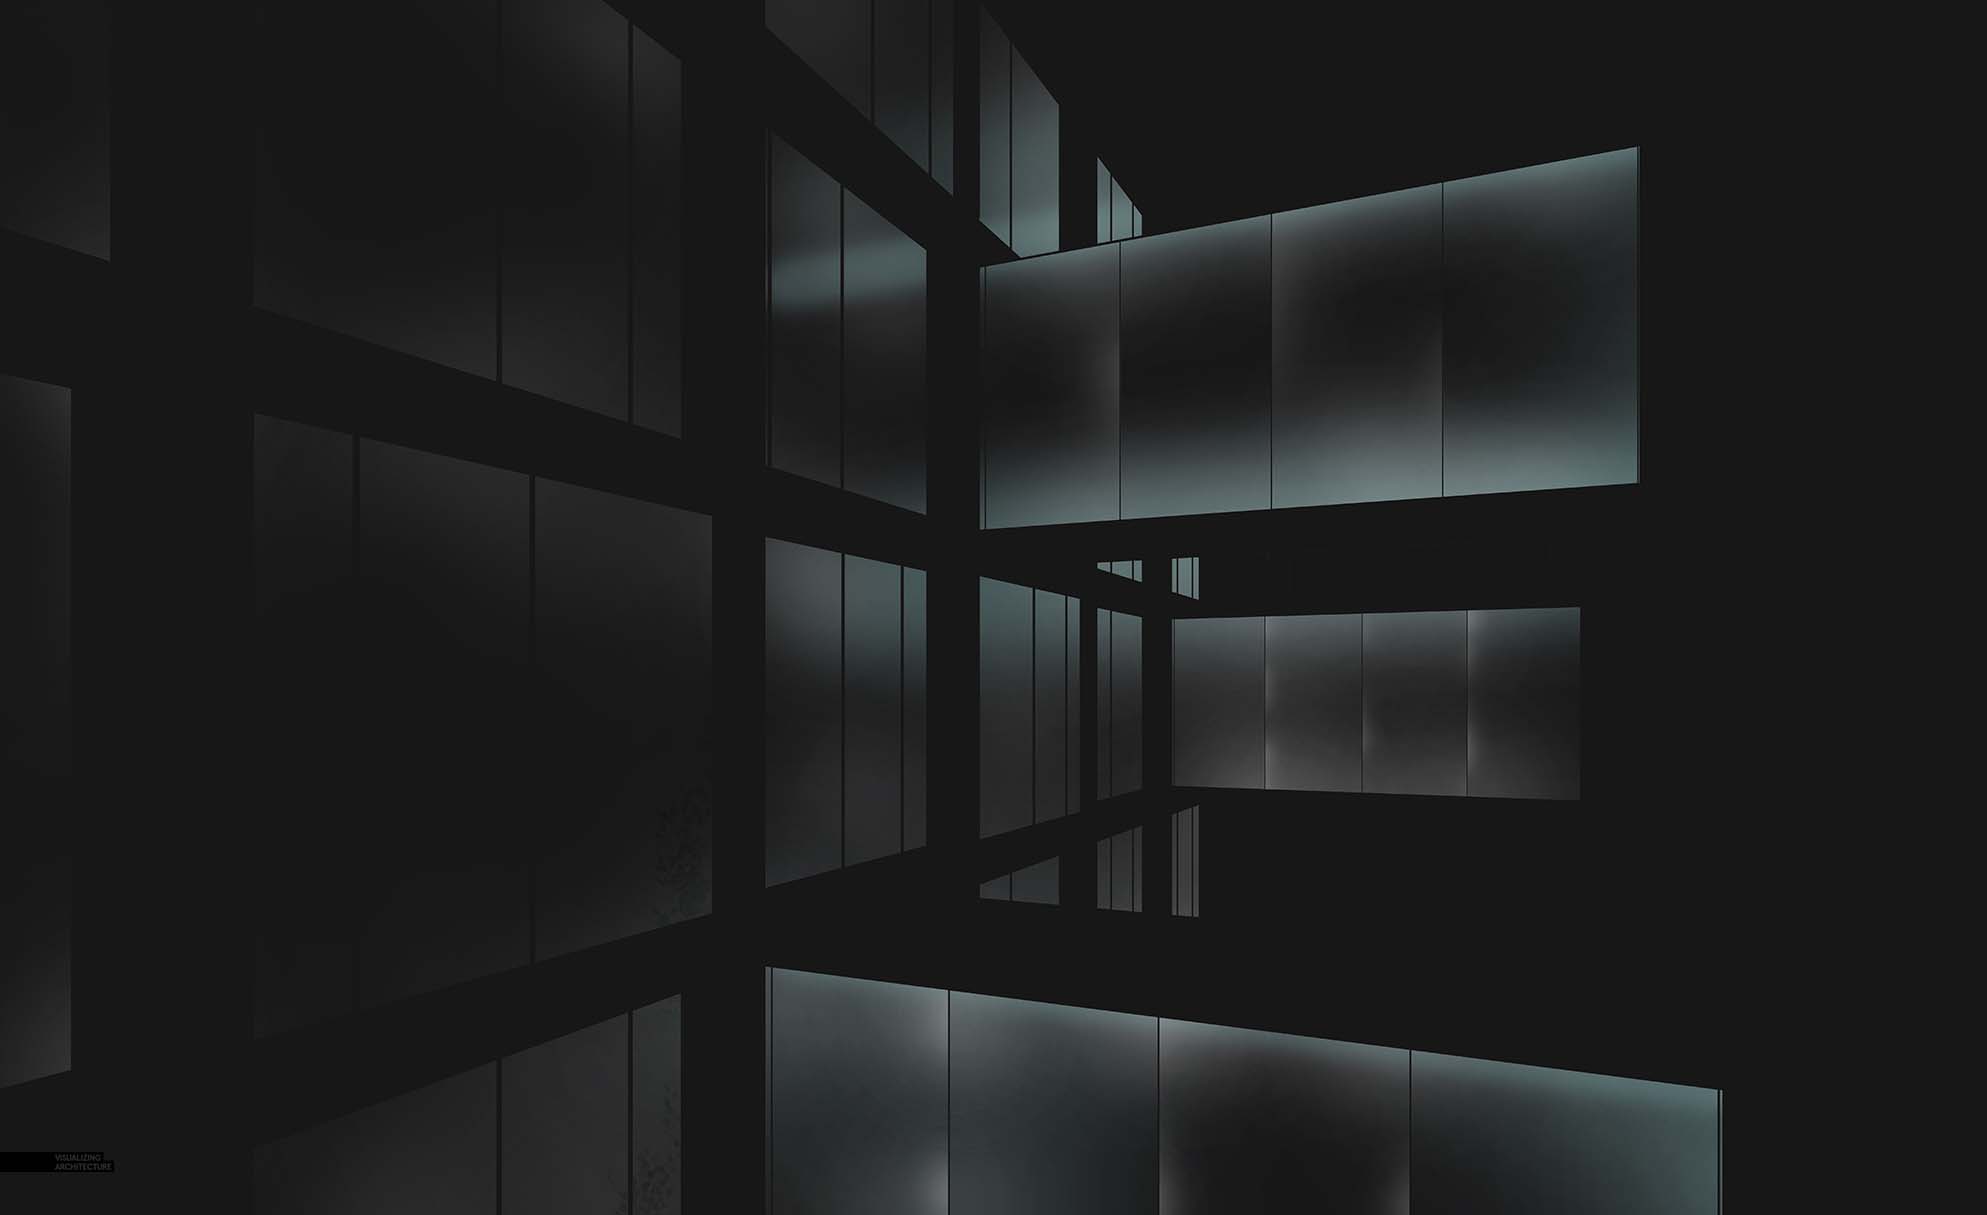
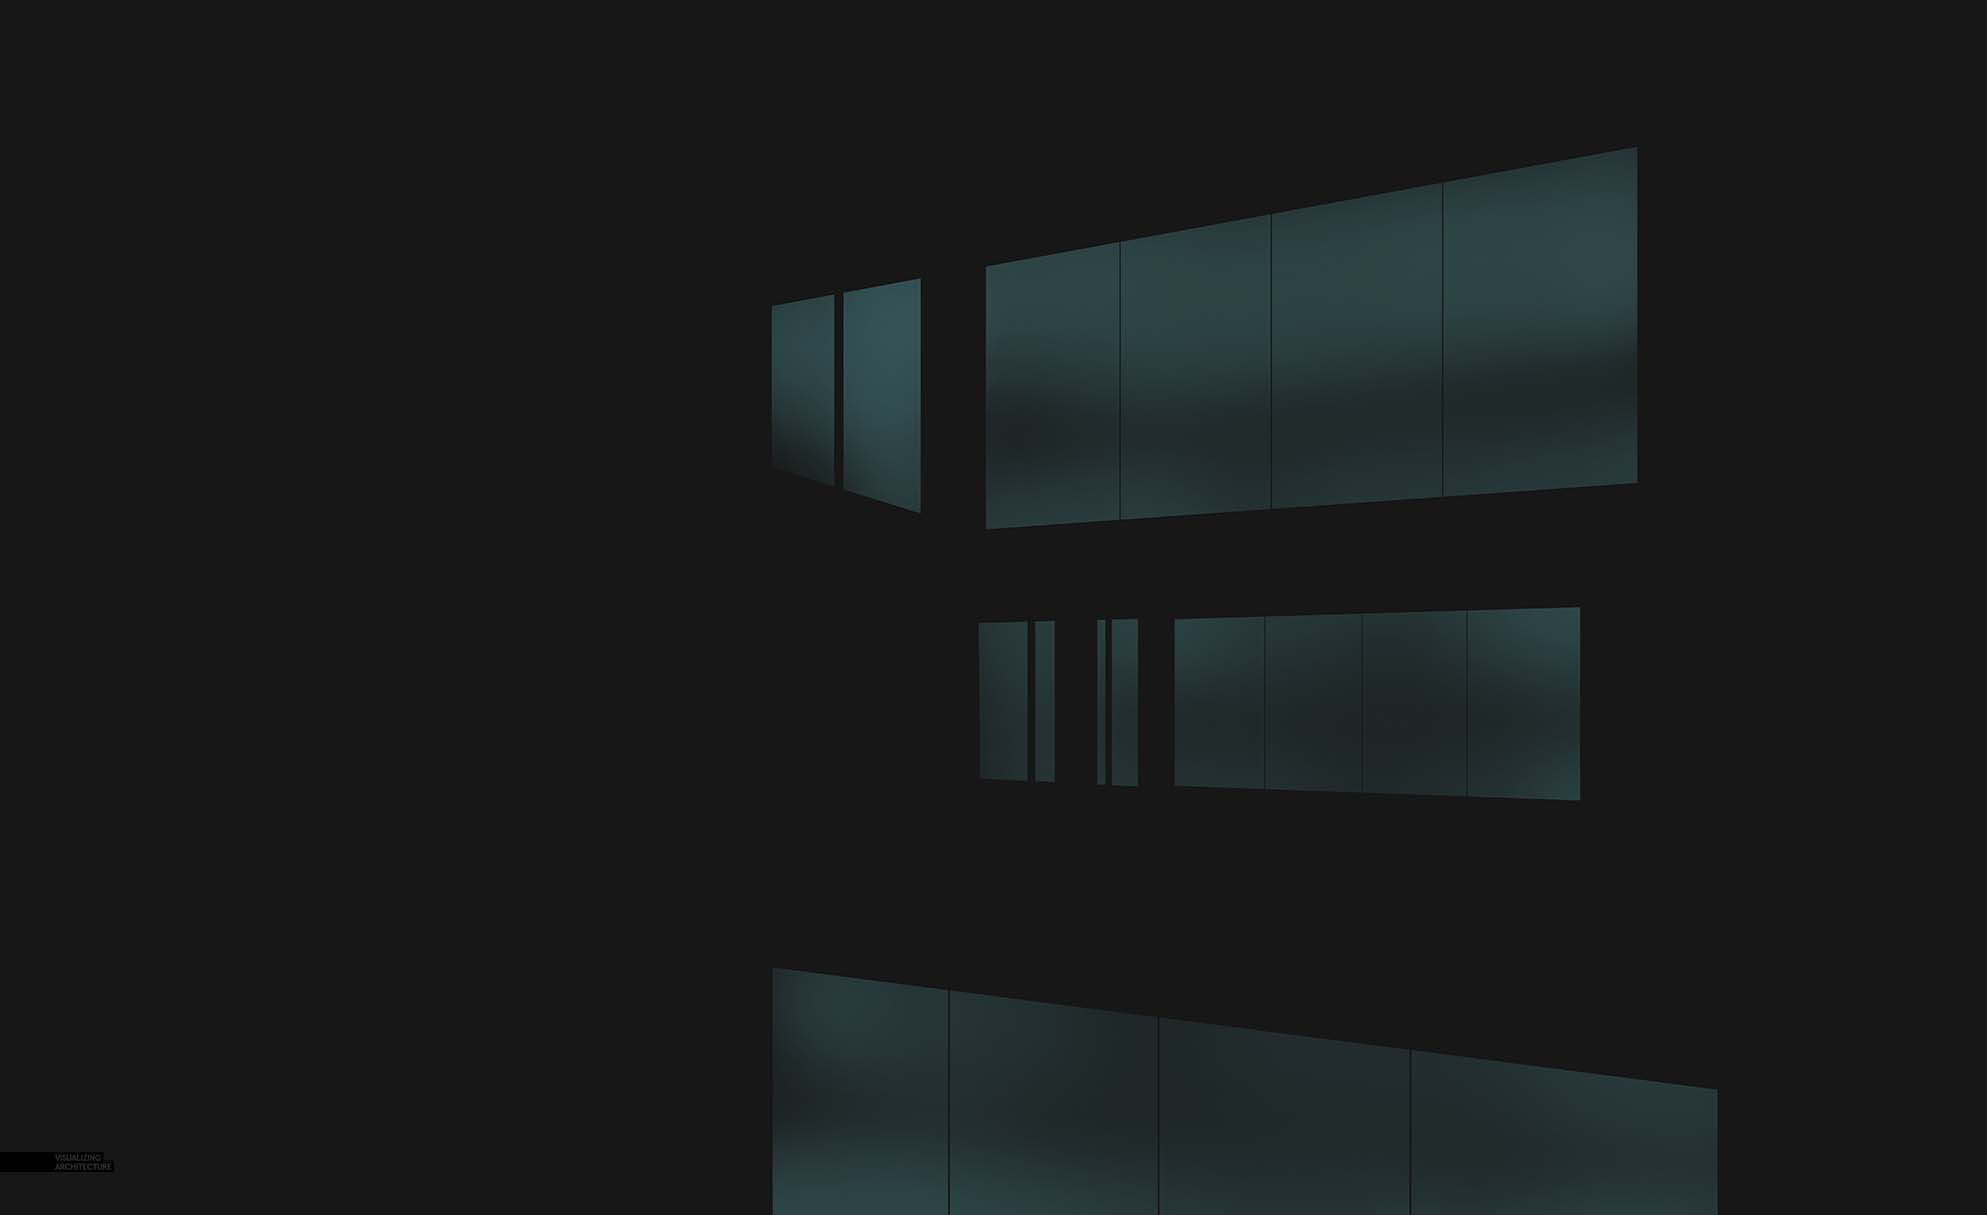
1. Setup the Model to Render With and Without Glass

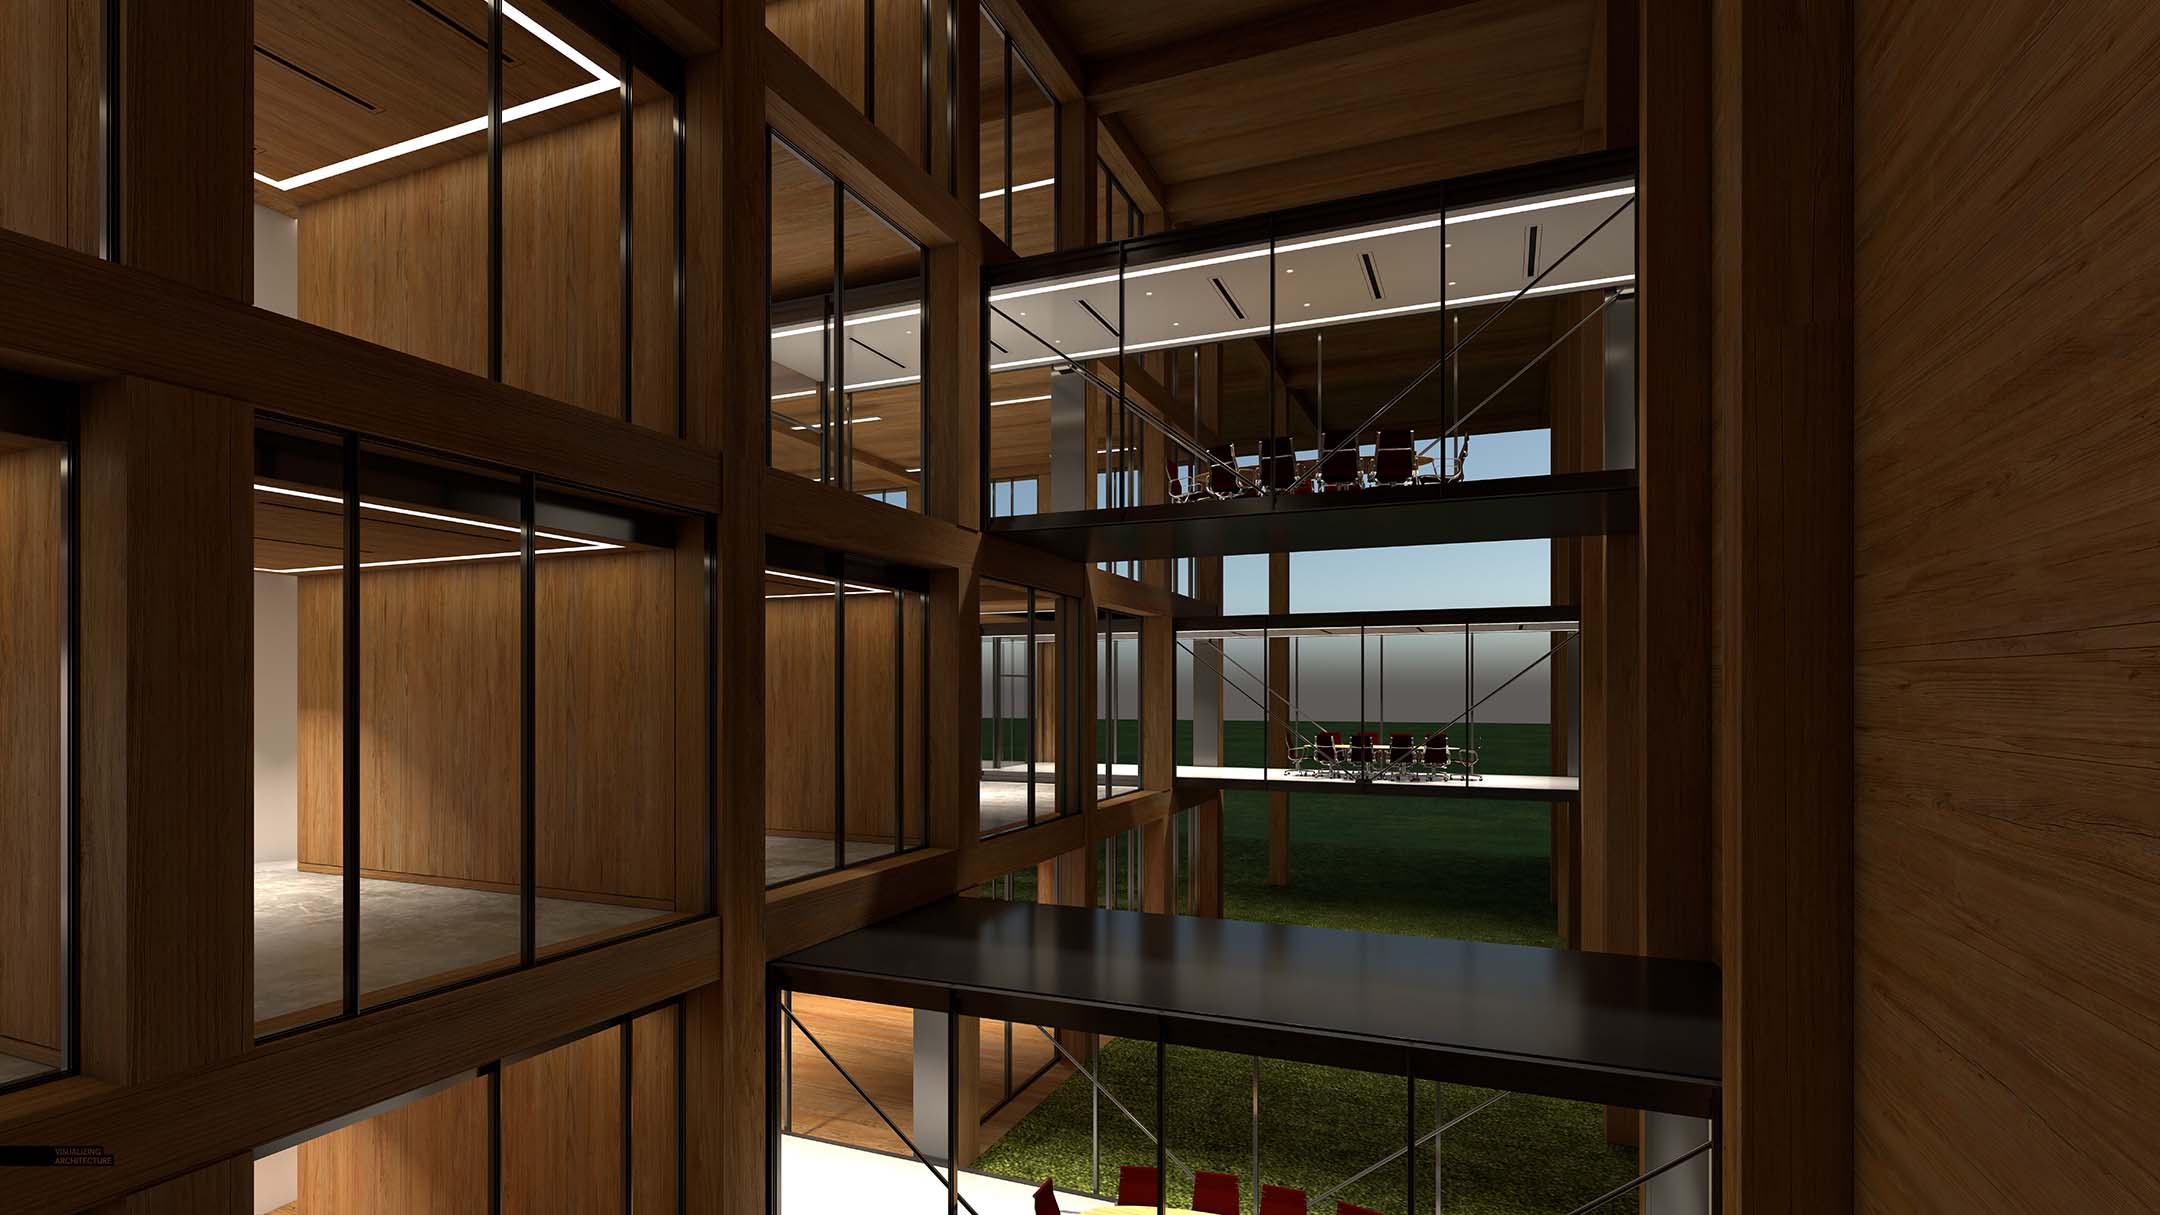
As mentioned aboved, I rendered two sets of base files with the glass turned both on and off. I then used the render passes with the glass turned “off” as the base images in Photoshop. The idea is that I will be editing the interiors behind the glass and I do not want to edit over the glass reflections.
2. Edit Image Behind the Glass
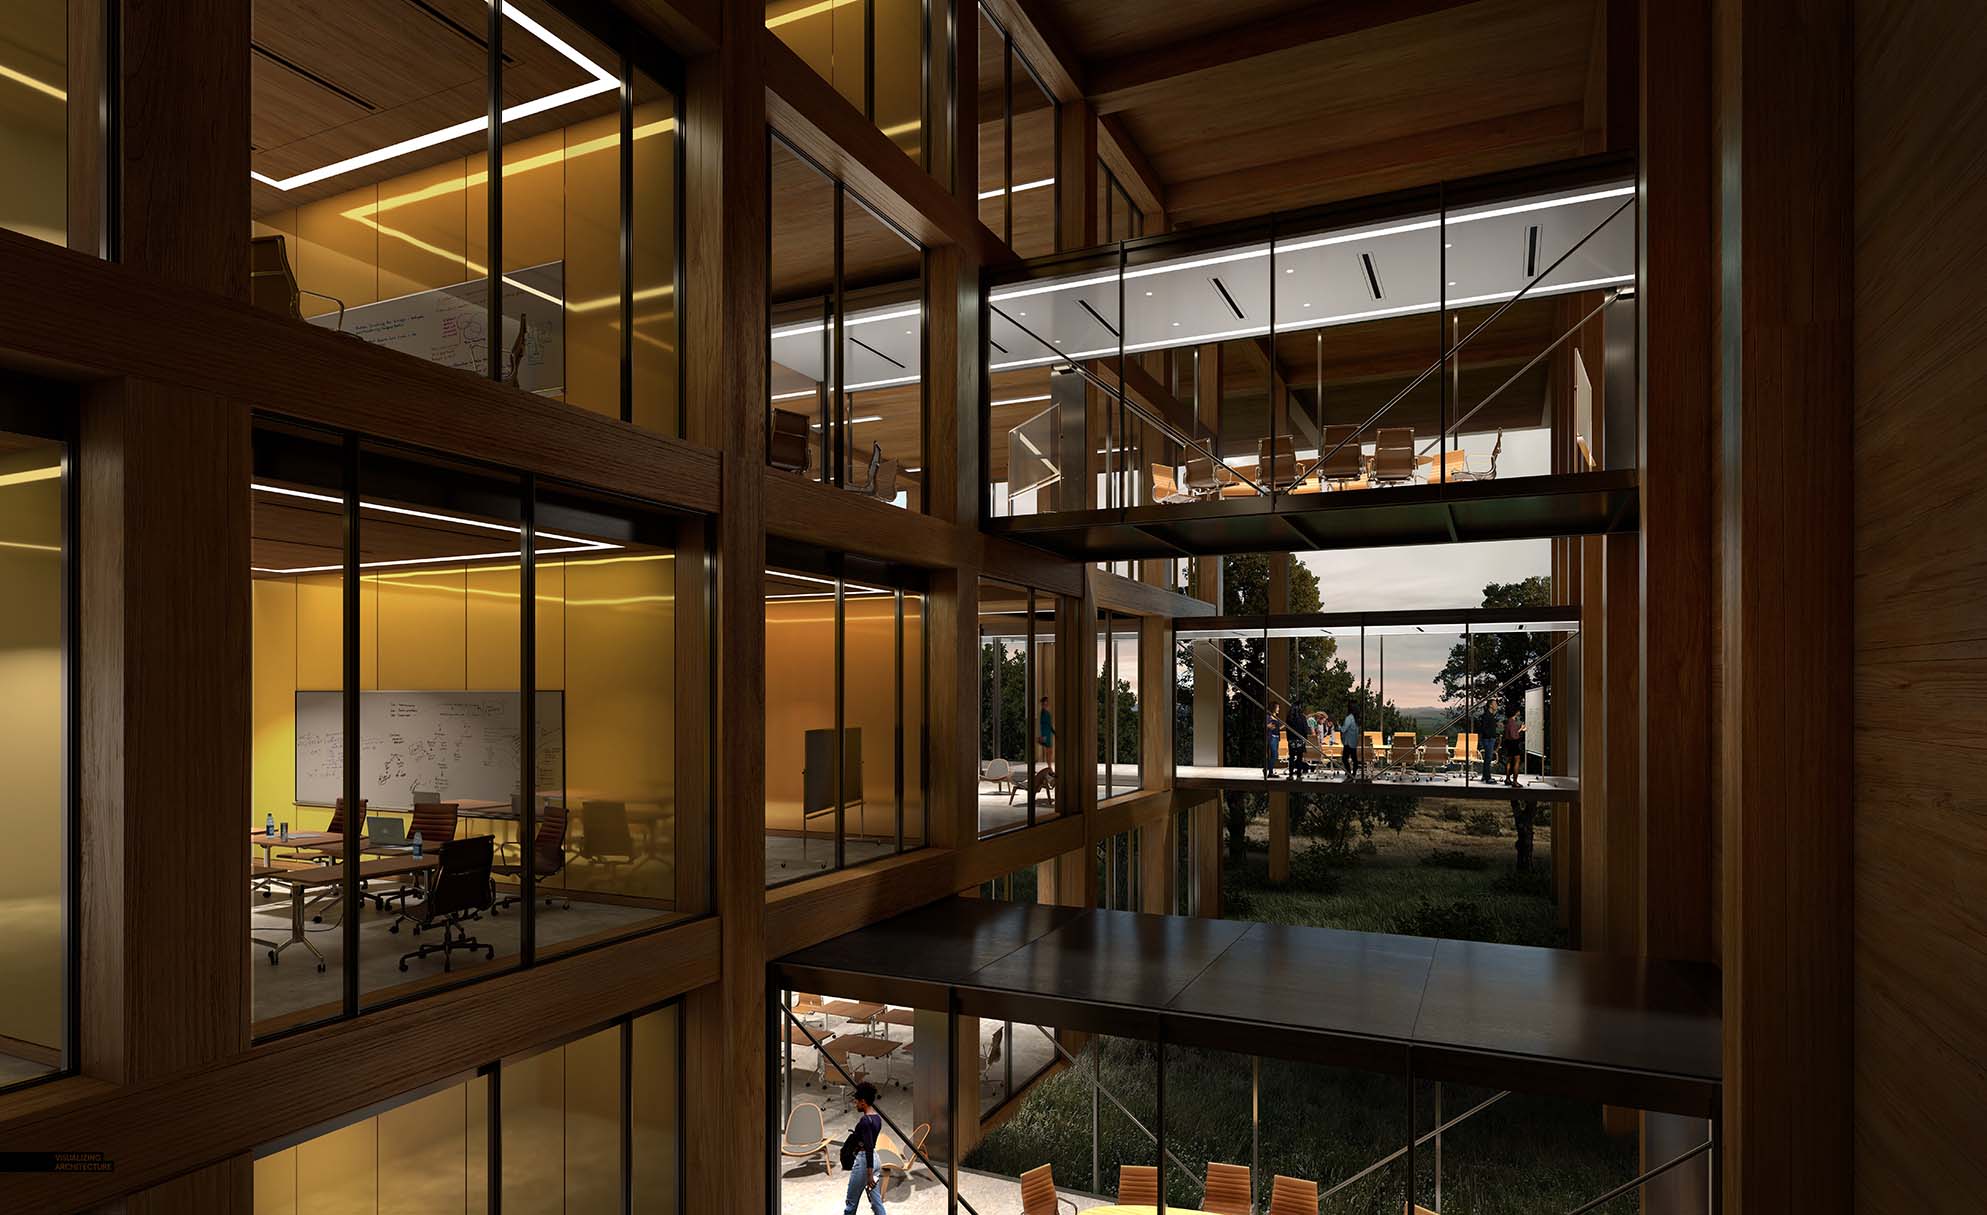
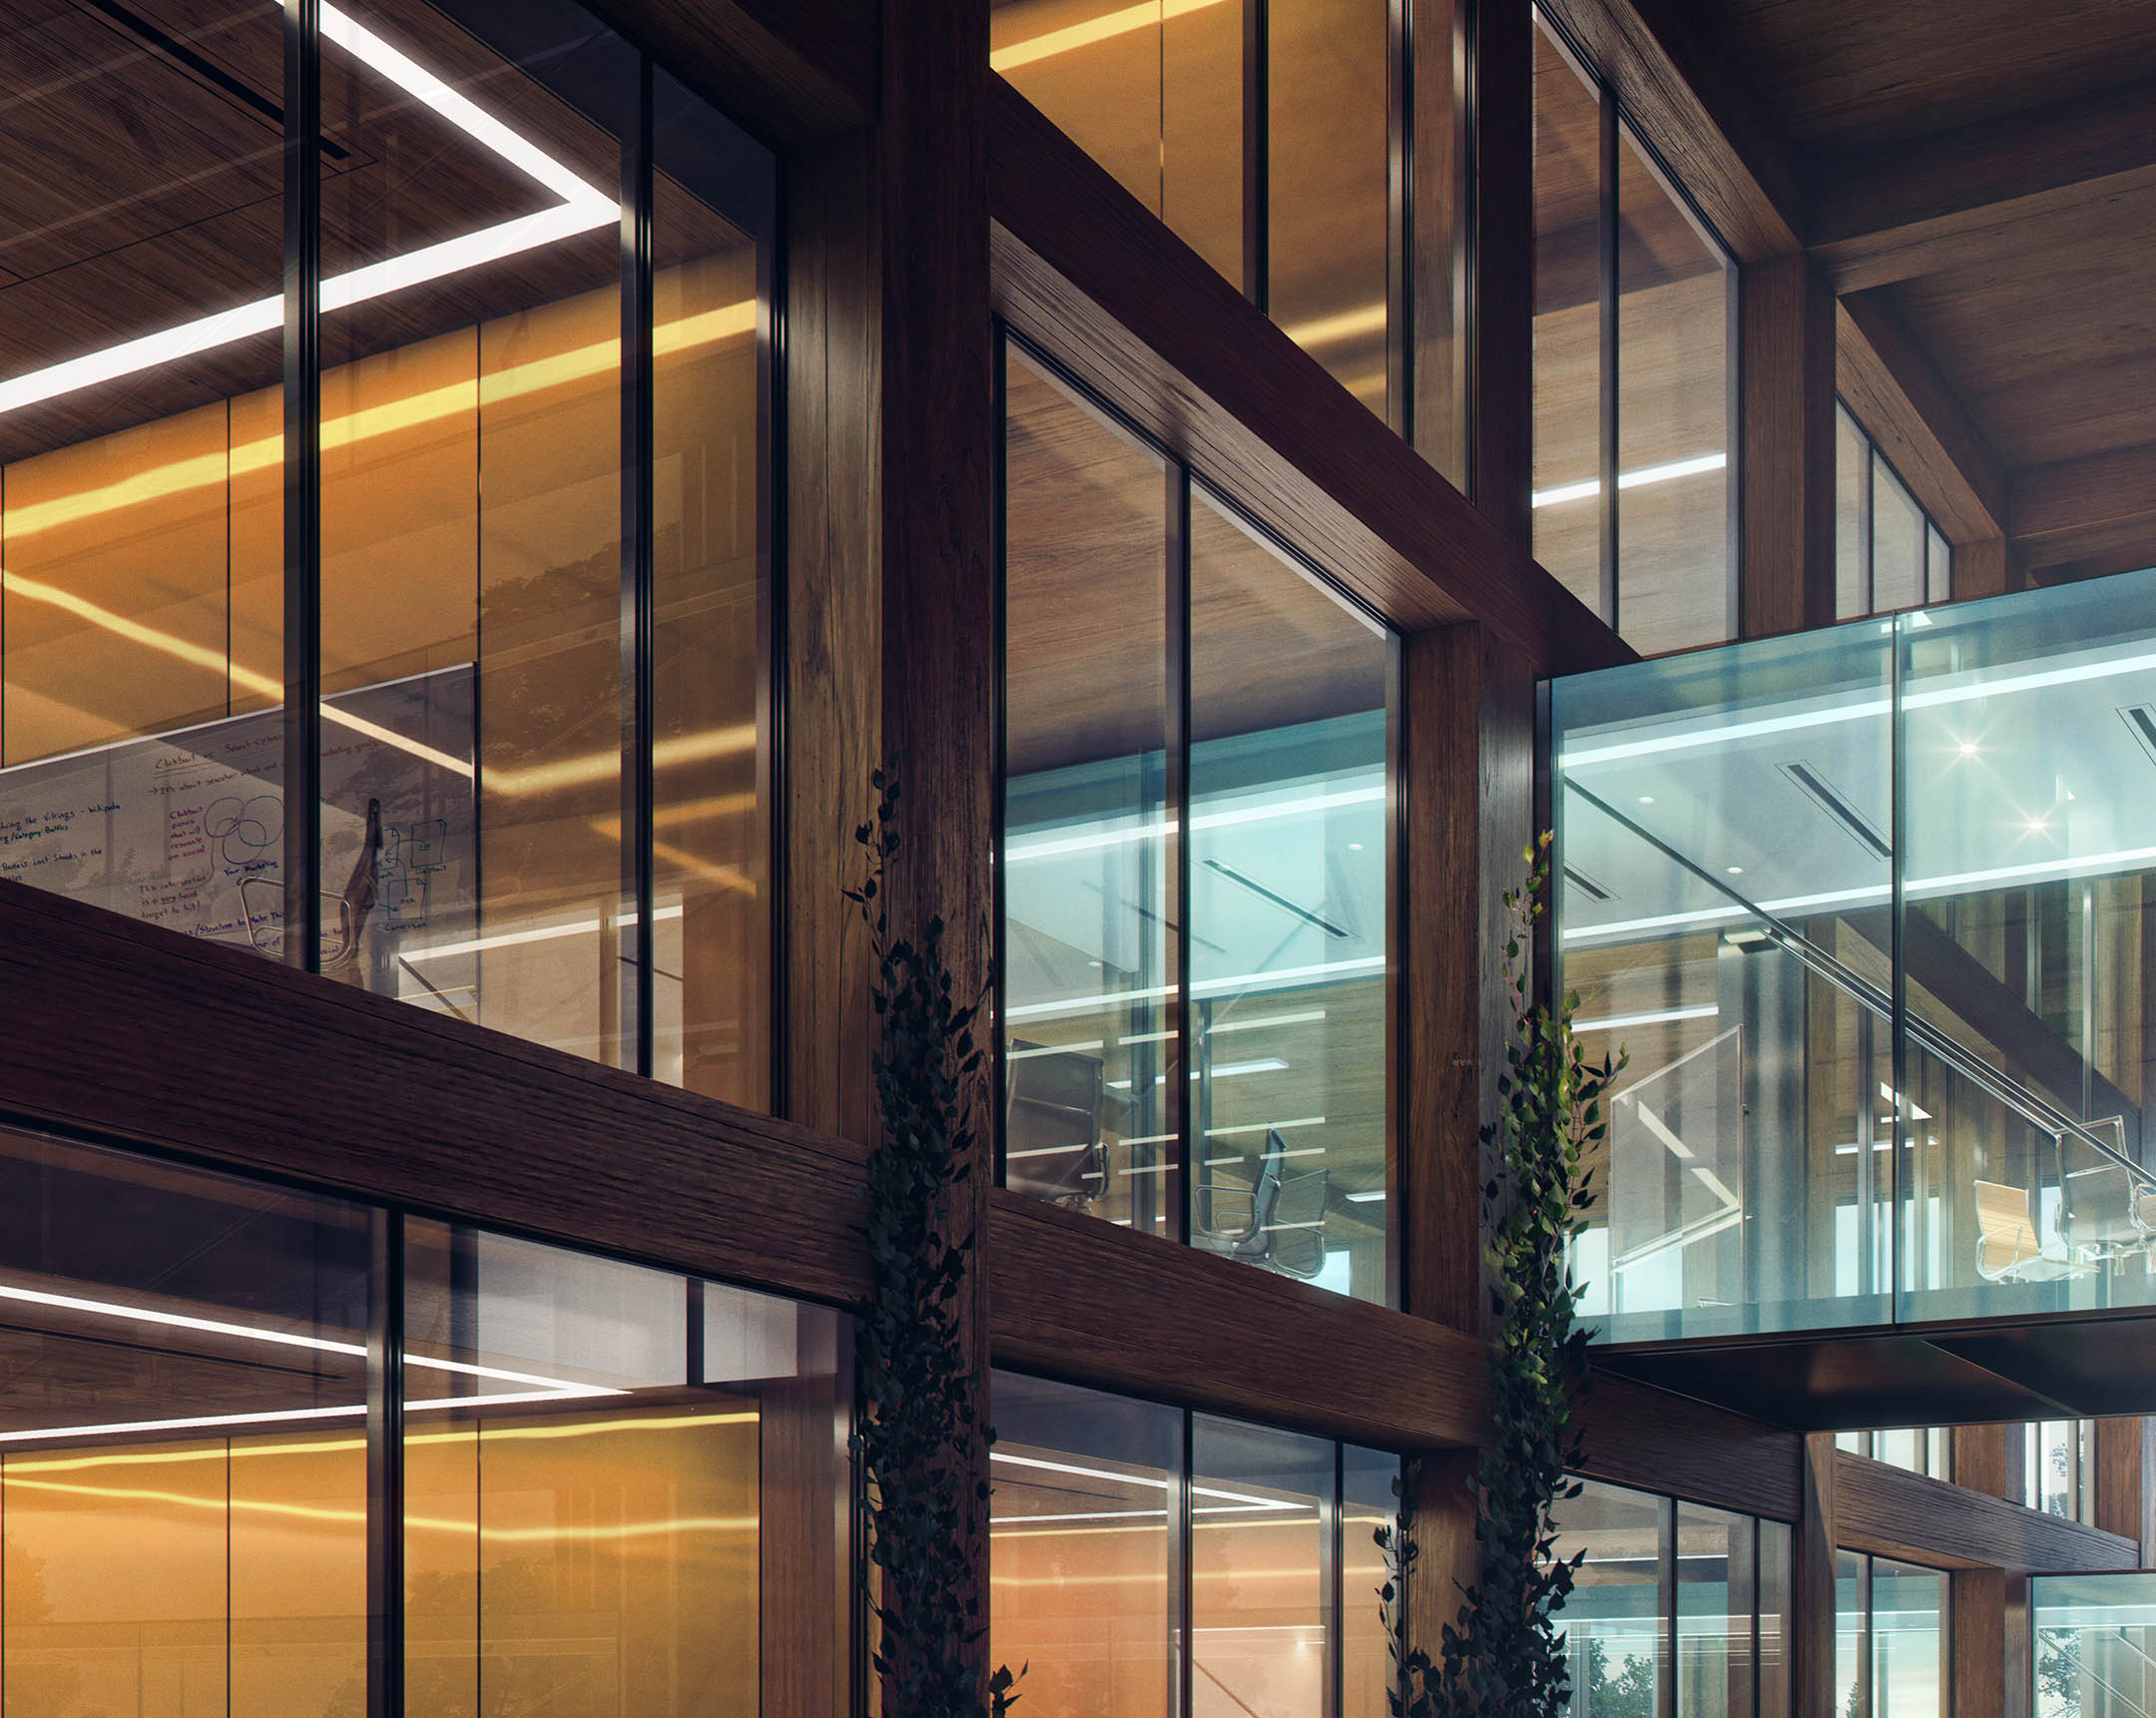
Not rendering the glass means I can get nice crisp material ID’s to make precise selections so that I can drop in the background vegetation, insert people, and tone the interior spaces.
3. Bring in the Reflections
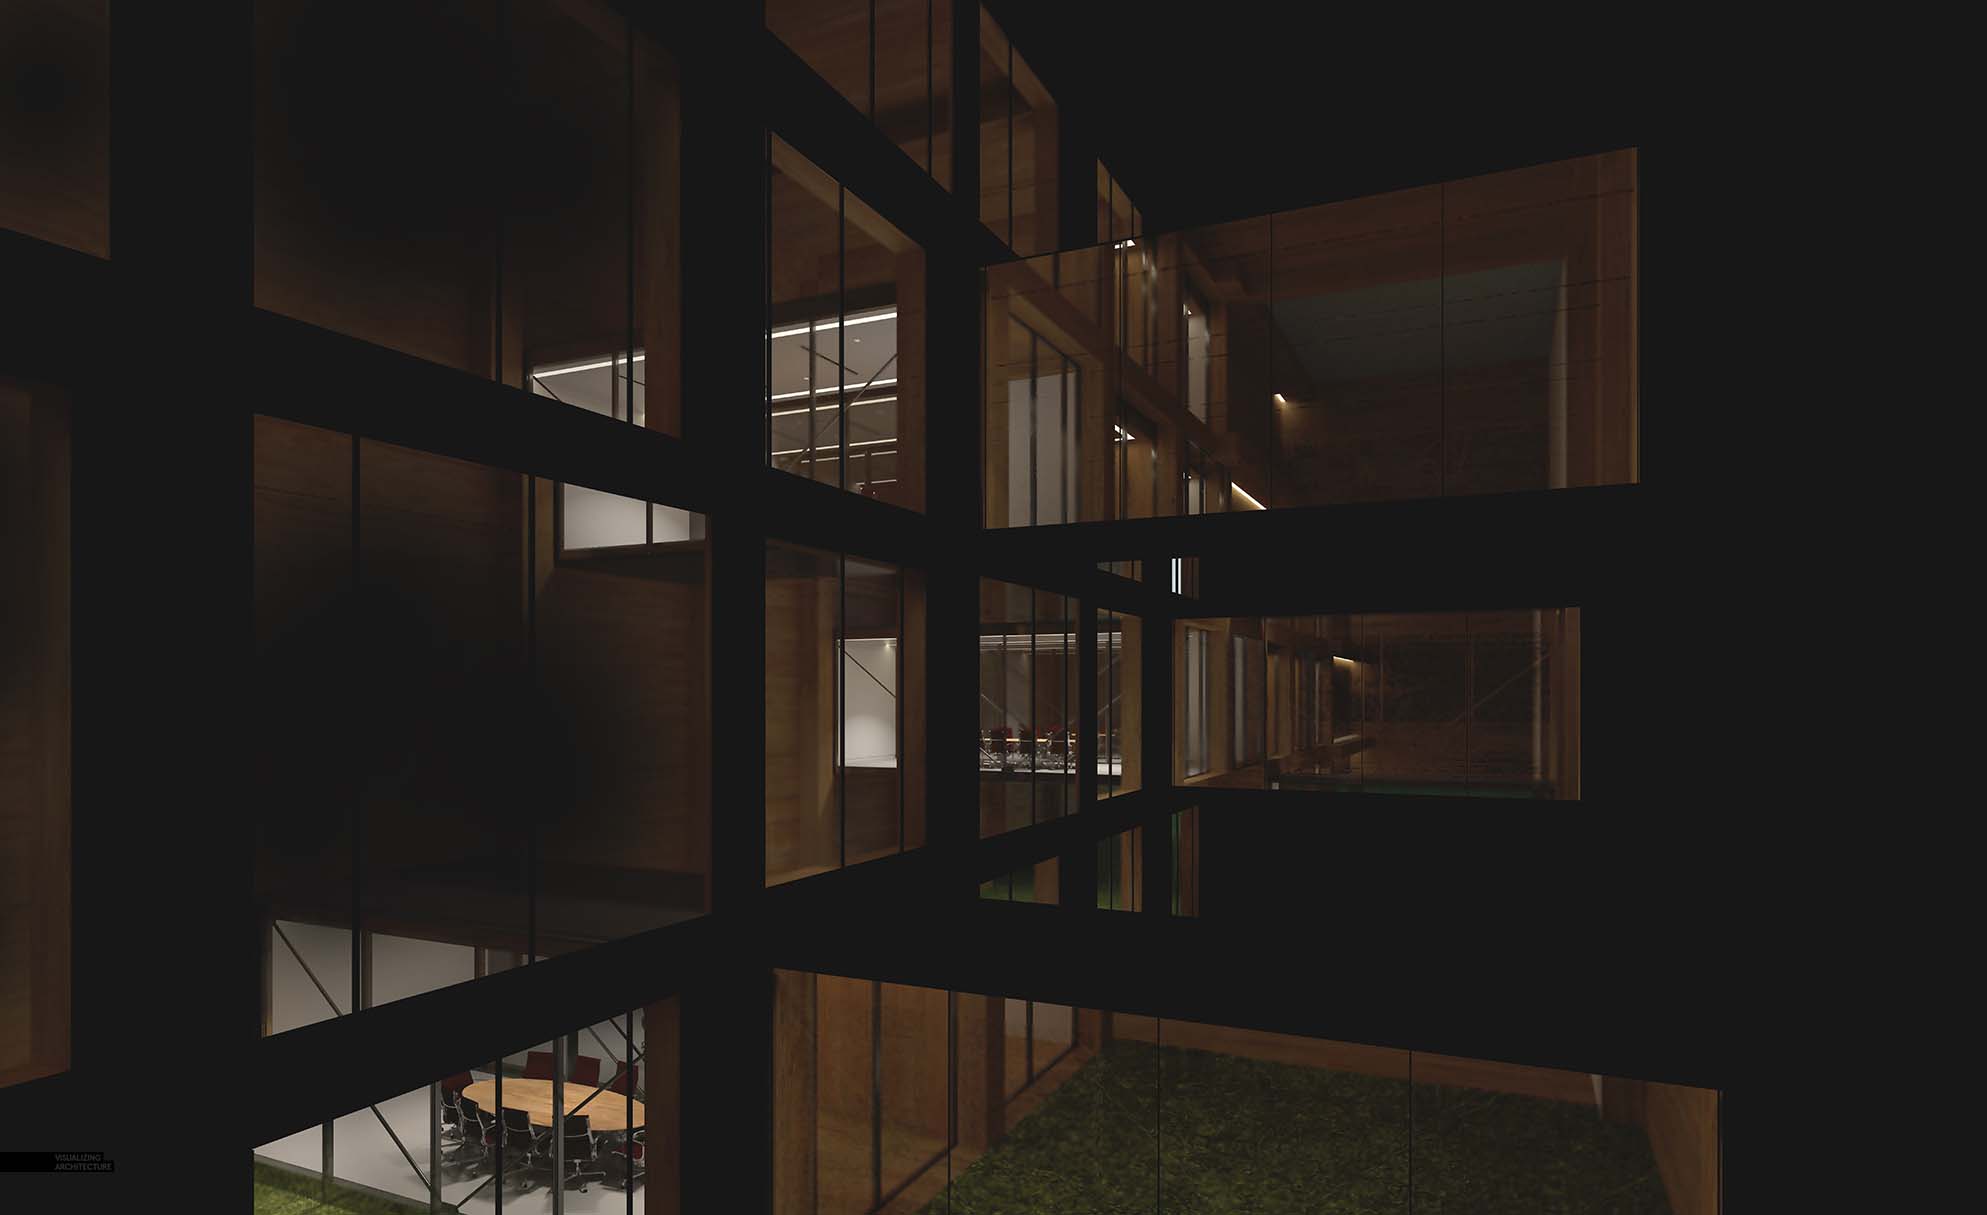
Once the elements behind the glass were in place, I began bringing in the glass reflections. I first opened the “Material ID” render element from the “Glass On” rendering pass so that I could select the glass in the scene and setup a mask over a group in Photoshop to hold the glass edits. Once the group was in place, I first brought in the “Reflection” render element and set the Layer Blend Mode to “Screen”. This instantly gives the images that glassy effect. You can duplicate the layer or adjust the opacity to refine how strong the reflection is.
5. Glass Haze
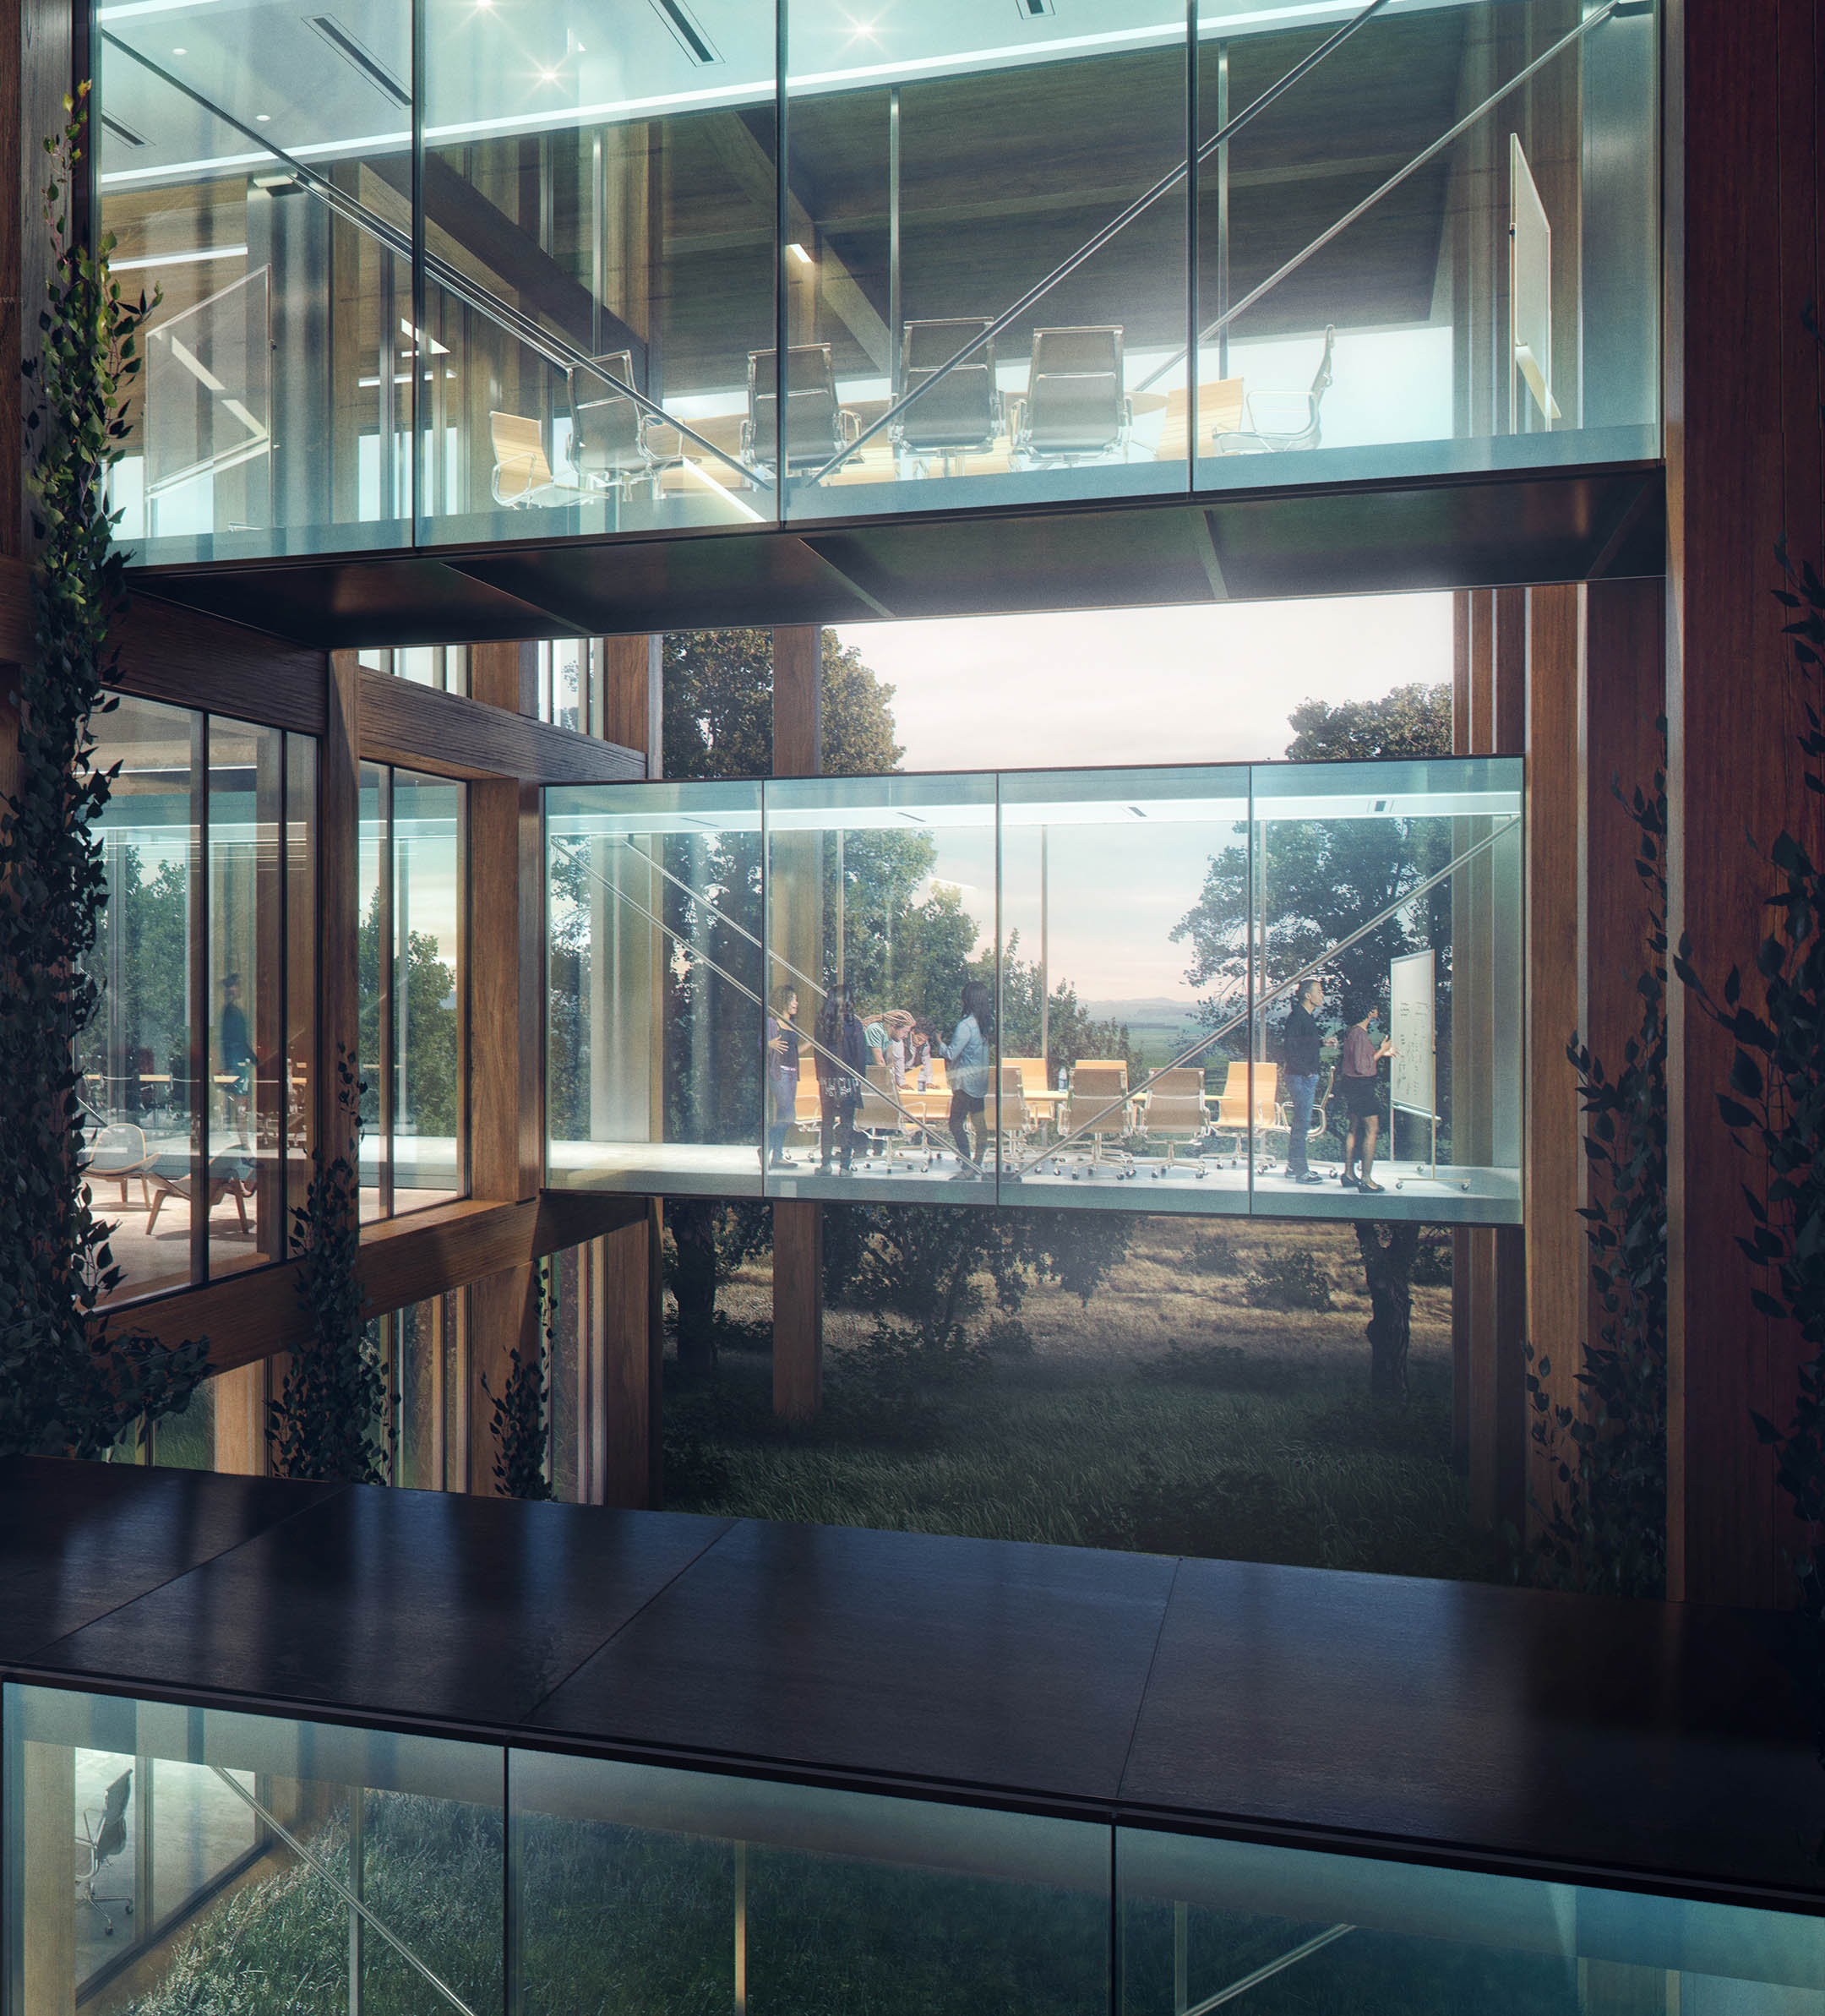
One of the things I wanted to do in this illustration is amp up the conference room “Bridges” by giving them a blue tint. To do this though, I need to paint in some haze to give the blue color something to stick too. The haze also gives the glass more of a presence in the images which I do sometimes if the glass is feeling too transparent and clean. To create the haze, I just used a soft paint brush with very low opacity and slowing added white paint to the glass.
6. Add the Blue
Finally, I used the soft paint brush and slowly layered on some blue paint to the bridges. I set the Layer Blend Mode to “Overlay” which gave the glass a blue tint.
7. Final Image

I don’t always render a glass and no-glass pass for all of my images. However, in situations like this where I want to have full control of the glass and what is happening behind the glass, this method works best for me. For exterior images where there is lots of light and geometry going on behind the camera, I will actually edit the reflections to add trees, people, and sky textures. There are some tips to doing this successfully and perhaps I will revisit this in later posts.


incredible – this will change my renderings. Thank you so much for this!
Amazing illustration and really well explained can u also create some illustration similar to your train floor plan spread I really liked it
For the furniture and reflections is that all just photoshop or are those rendered in another pass? How much of the objects added simply photoshopped images and how much are rendered in another pass?
have been wondering this exact same thing, would love to know
Hi, Alex! I am your fan from China. Thanks again to post these things for learning. I just wondering how you deal with the glass in a kind of big-scale building (skyscraper), and how you add the detail behind the glass?