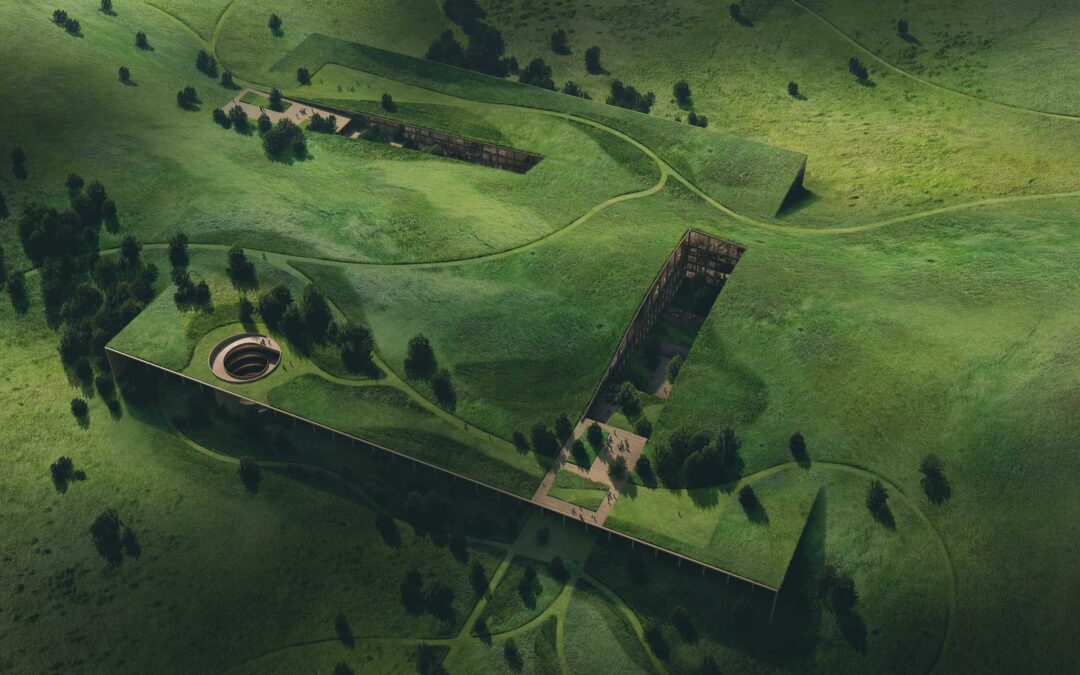
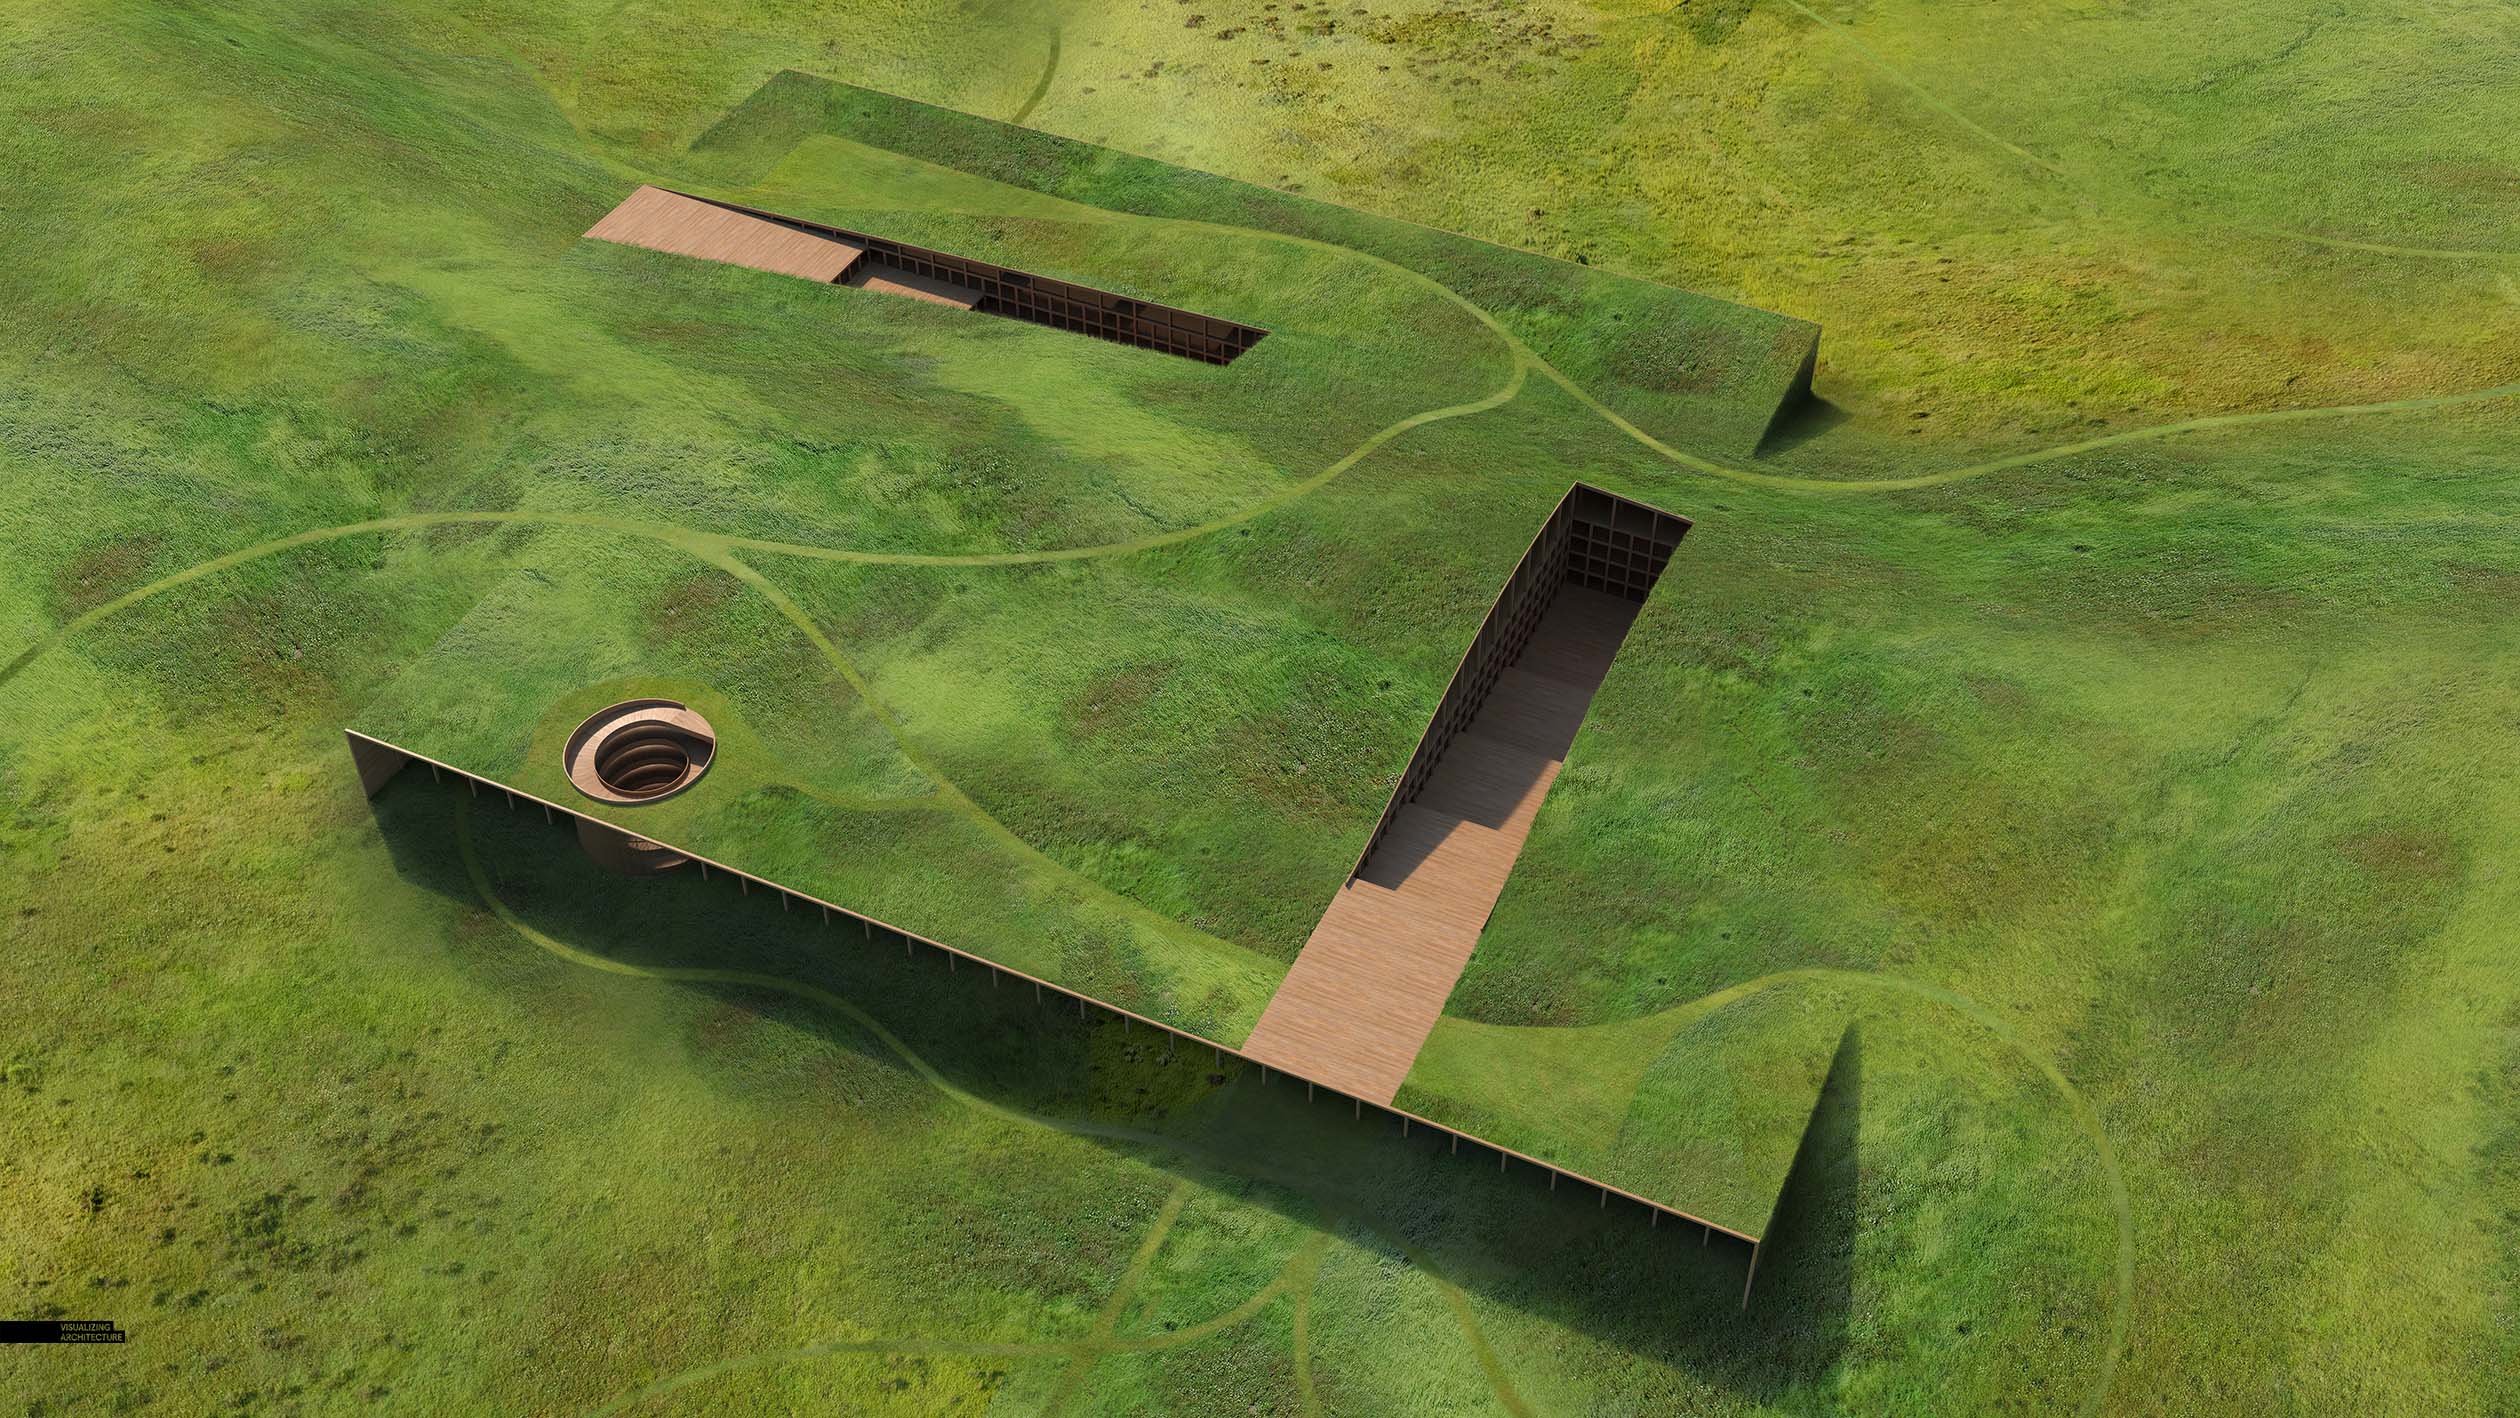
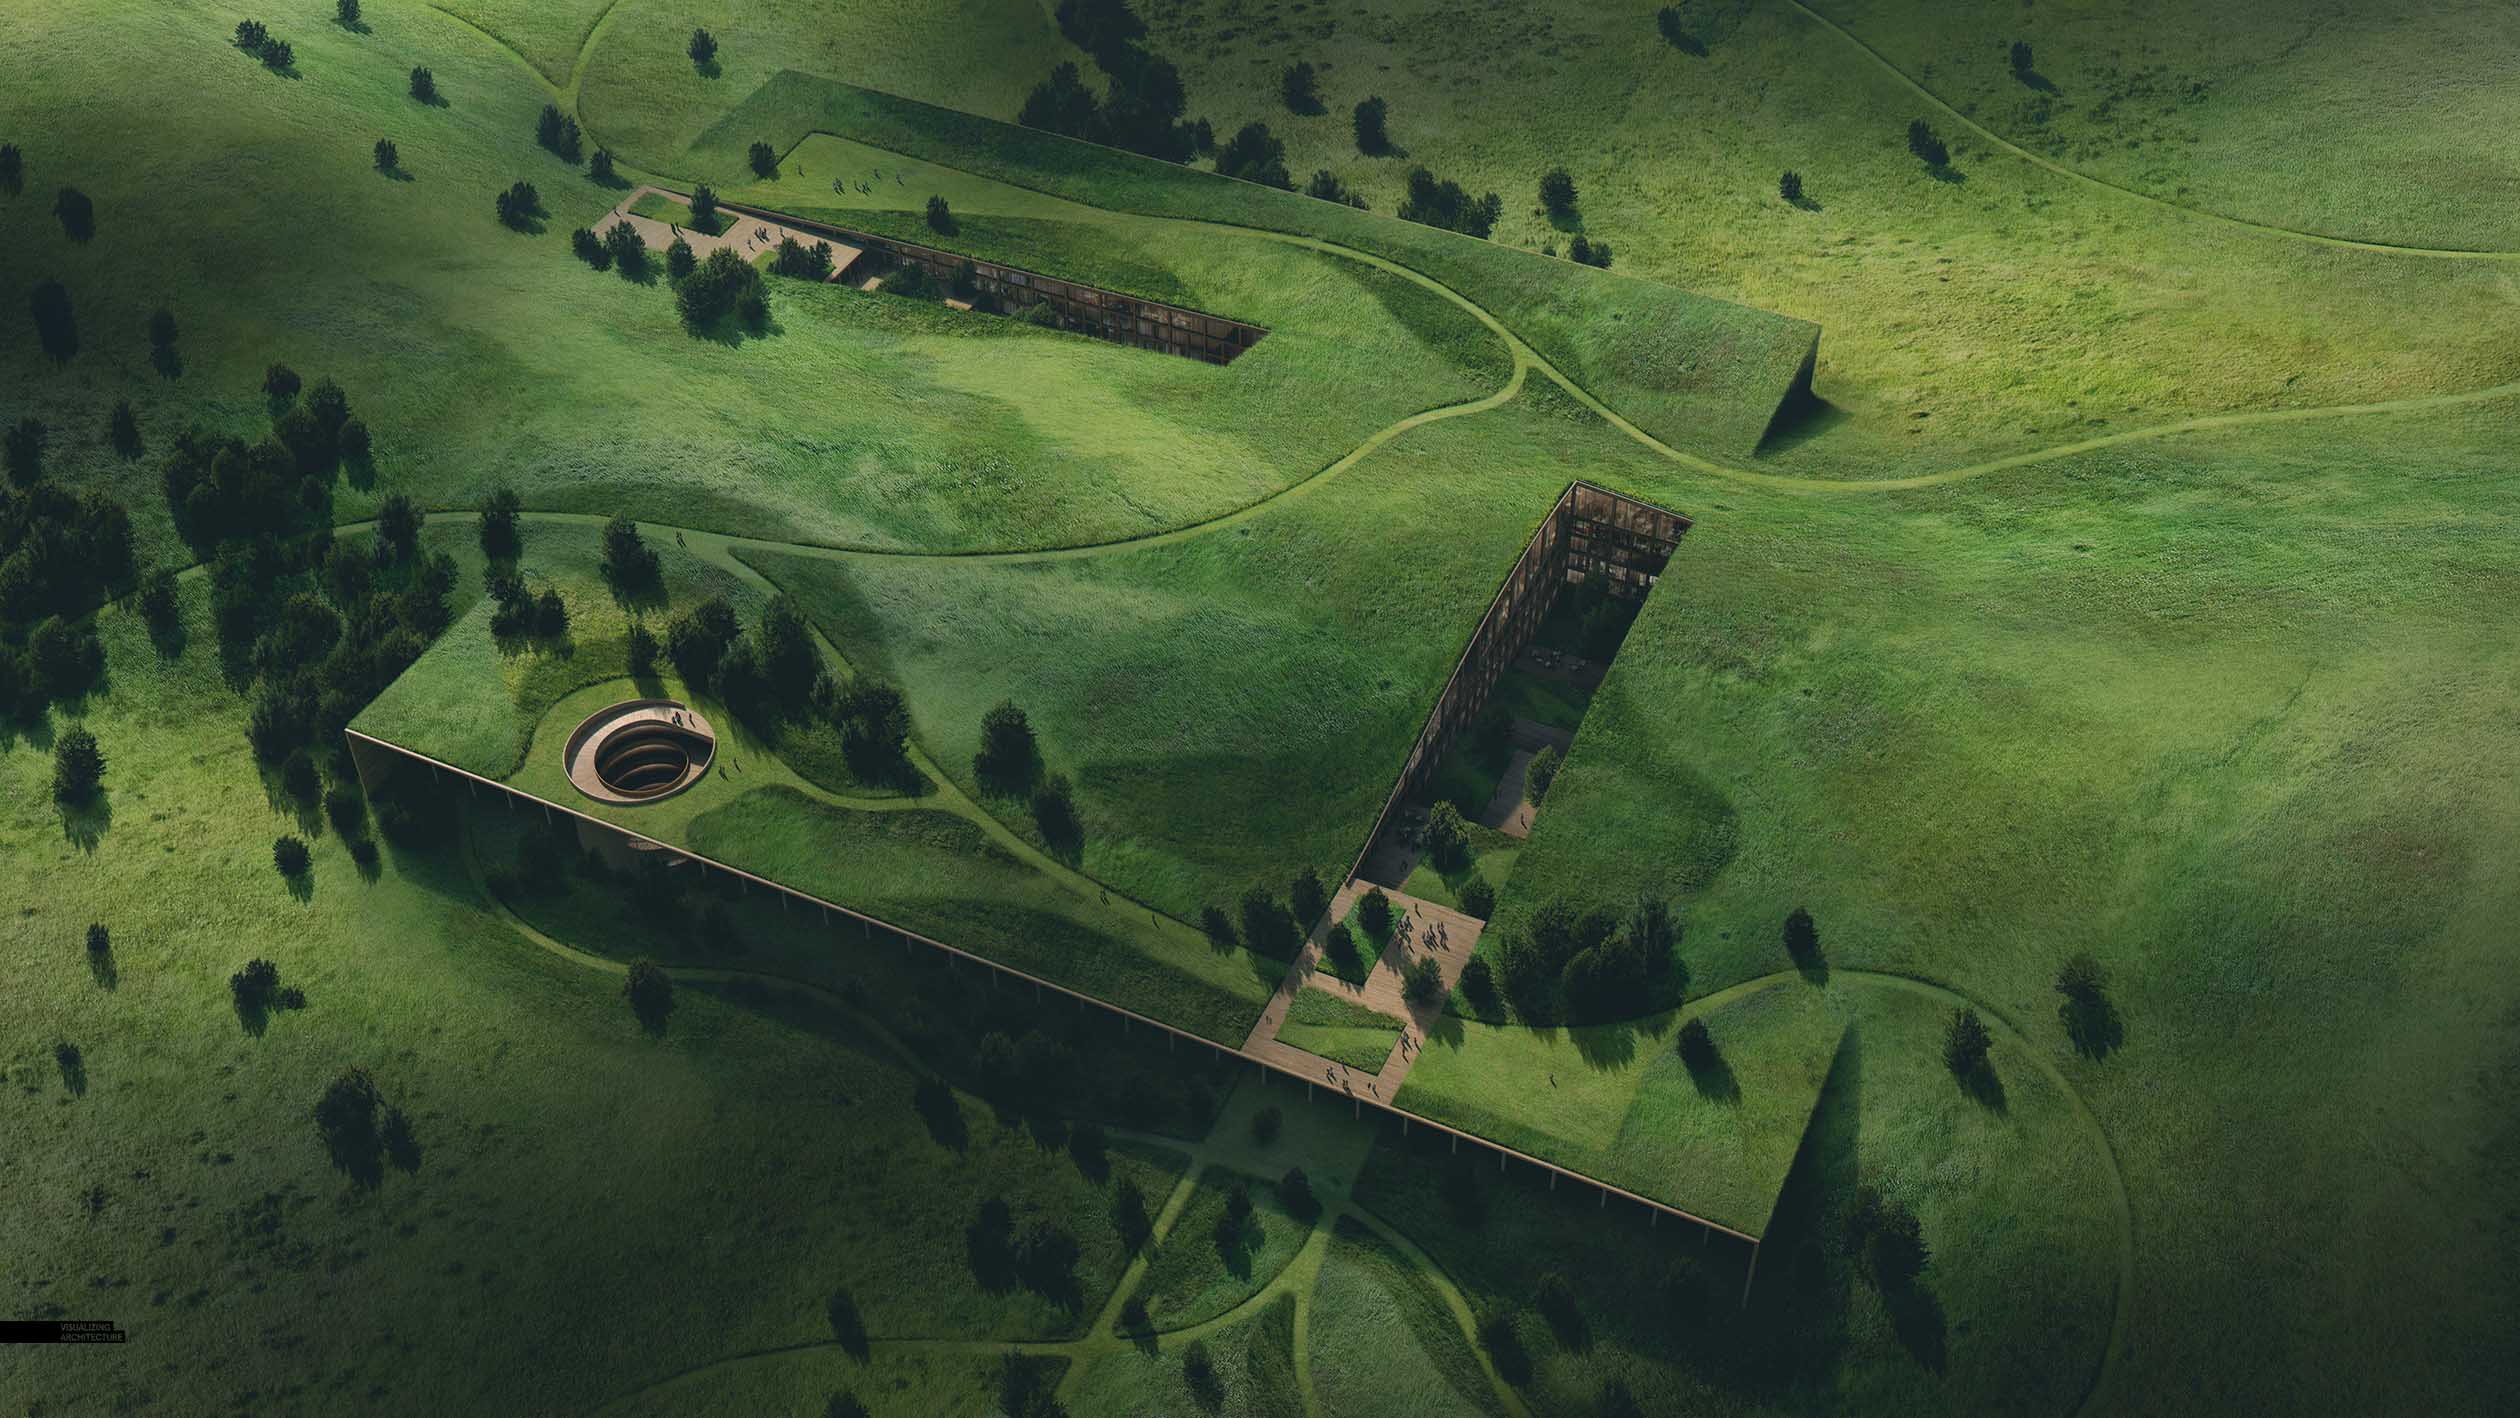
This was one of my more ambitious undertakings and an image I almost didn’t do. I had a lot of things going against me that made me second guess taking on this type of image. It was going to require a ton of Photoshop, the view is at an angle that tends to feel flat and boring, and there was going to be a lot of pain staking detail. However, I felt that if I could dial in the textures just right, it could tell an interesting story. The main focus of the project design was this idea of a complex and lush landscape that flowed over the project and I needed a view like this, closeup, to drive that idea home. This view angle lands somewhere in between a site plan and full on aerial perspective. It needed to have some perspective to it, but cut out much of the context so that focus remained on the project itself.
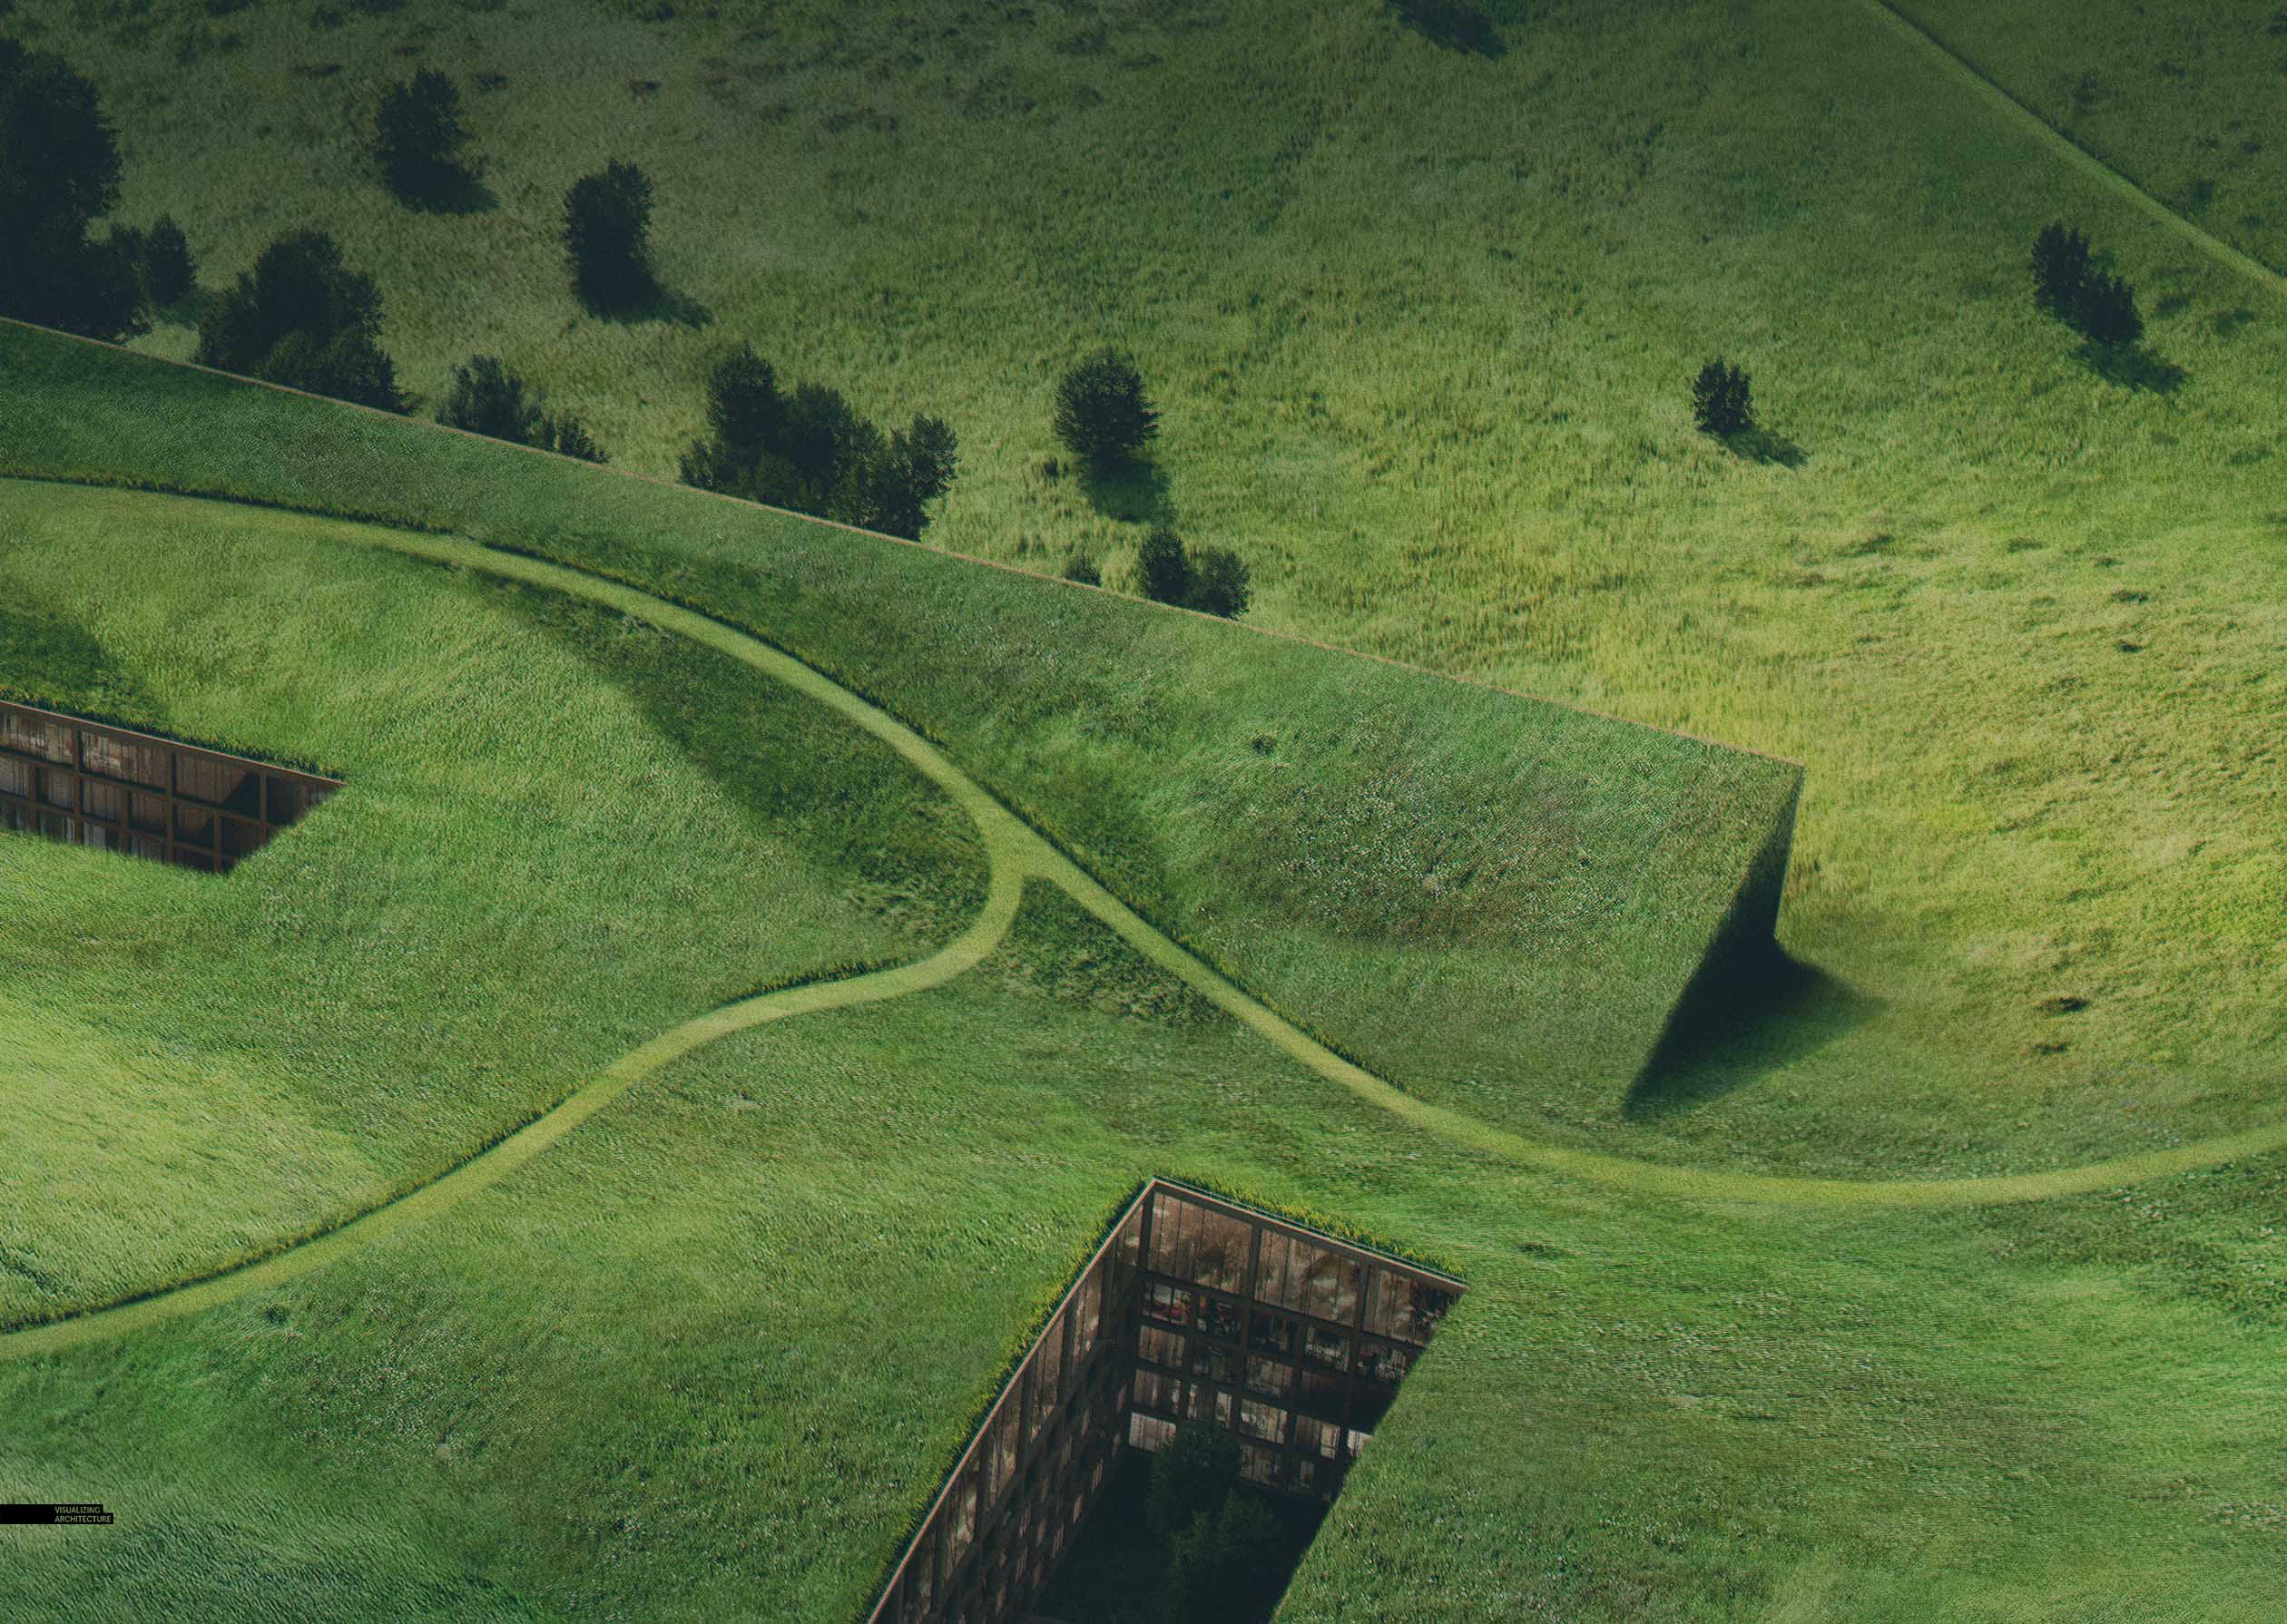
The problem with a view angle like this is that it doesn’t show the horizon, so I cannot lean on a dramatic sky or atmospheric depth to make the image more interesting. Instead it is all about the prairie grass and vegetation textures. This view also makes reading the topography somewhat problematic because the camera is looking extremely downward onto the site. This meant that I had to create a sense of topography by carefully rotating and positioning the grass textures so that they felt like they were going up and down hills.
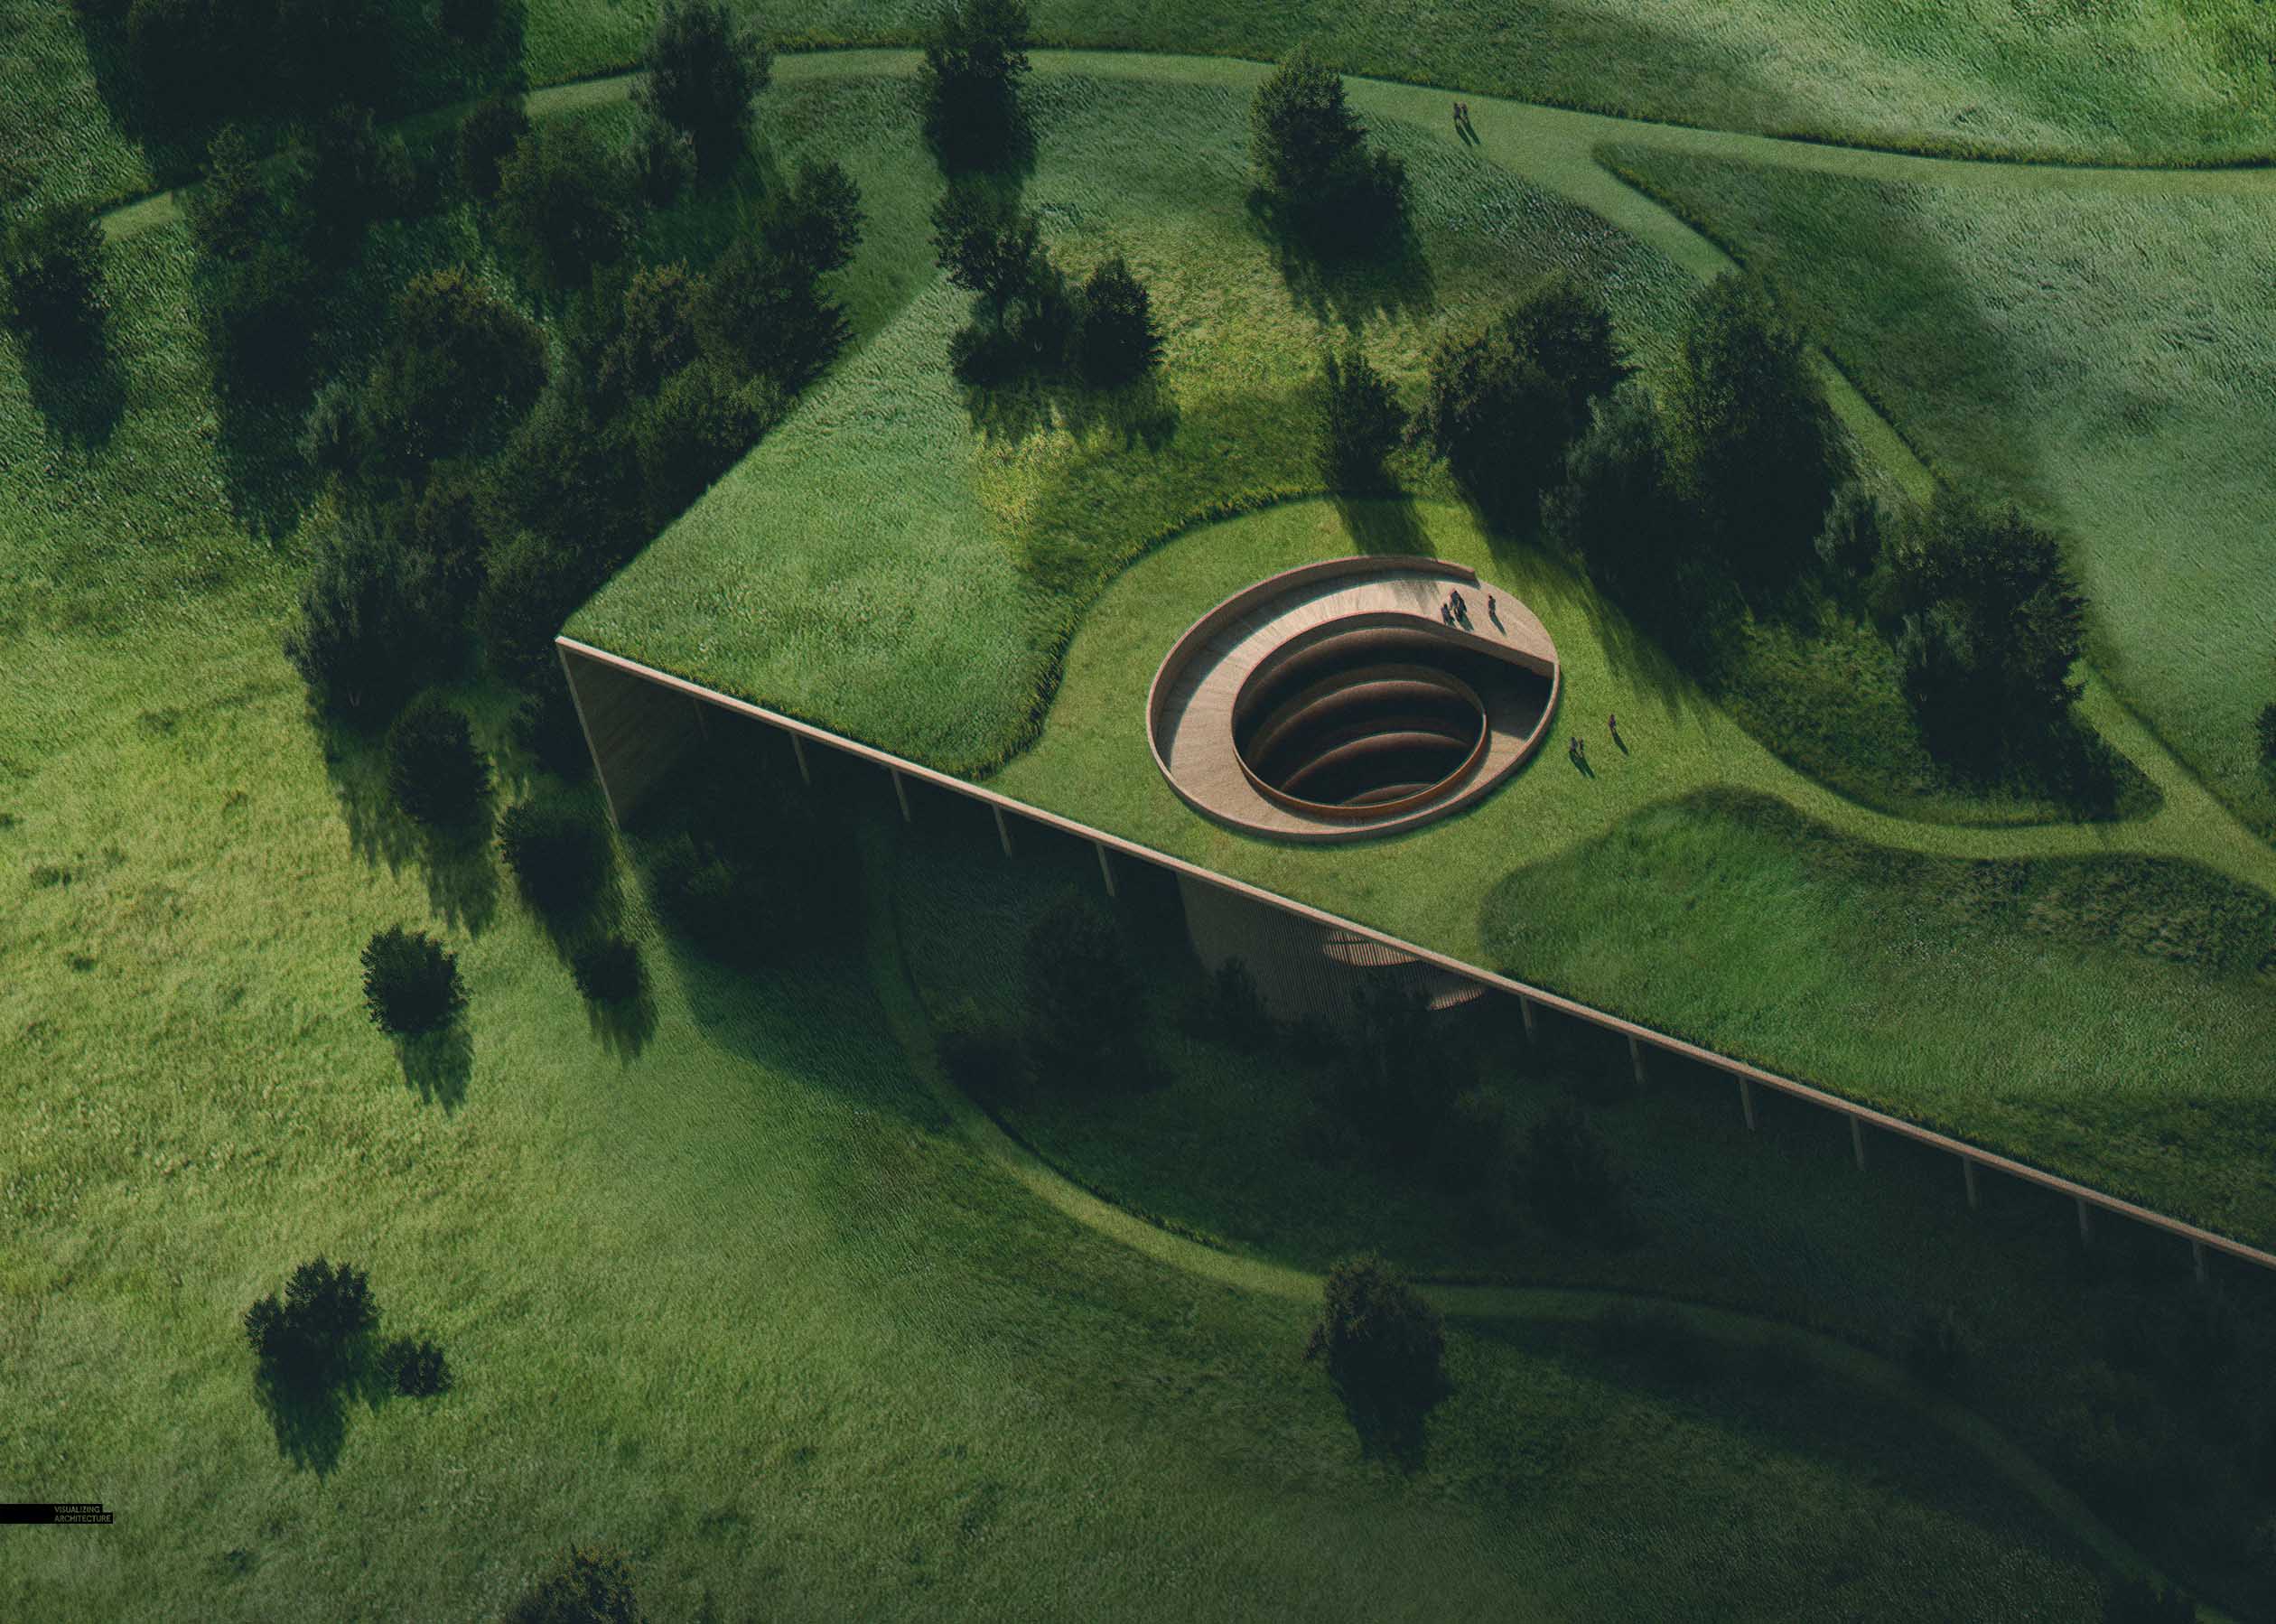
However, the most challenging aspect of an image like this is getting the prairie grass to read properly at different scales. I was struggling to find textures that looked good from both a distance and up close when zoomed in. To overcome this, I layered many different field textures together so that there was a diversity to the grass at the different scales while remaining crisp when close up.
Below is a quick break down with a focus on the prairie grass build up. I rendered the image out at 10,000 pixels wide so that I could get the sharpness in grass textures that I was looking for. My Photoshop file ended up with over 1,300 layers. An image like this is never done, and there are many other things I would like to refine or add detail too, but I need to call it quits and move on to some other perspectives that I have in mind.
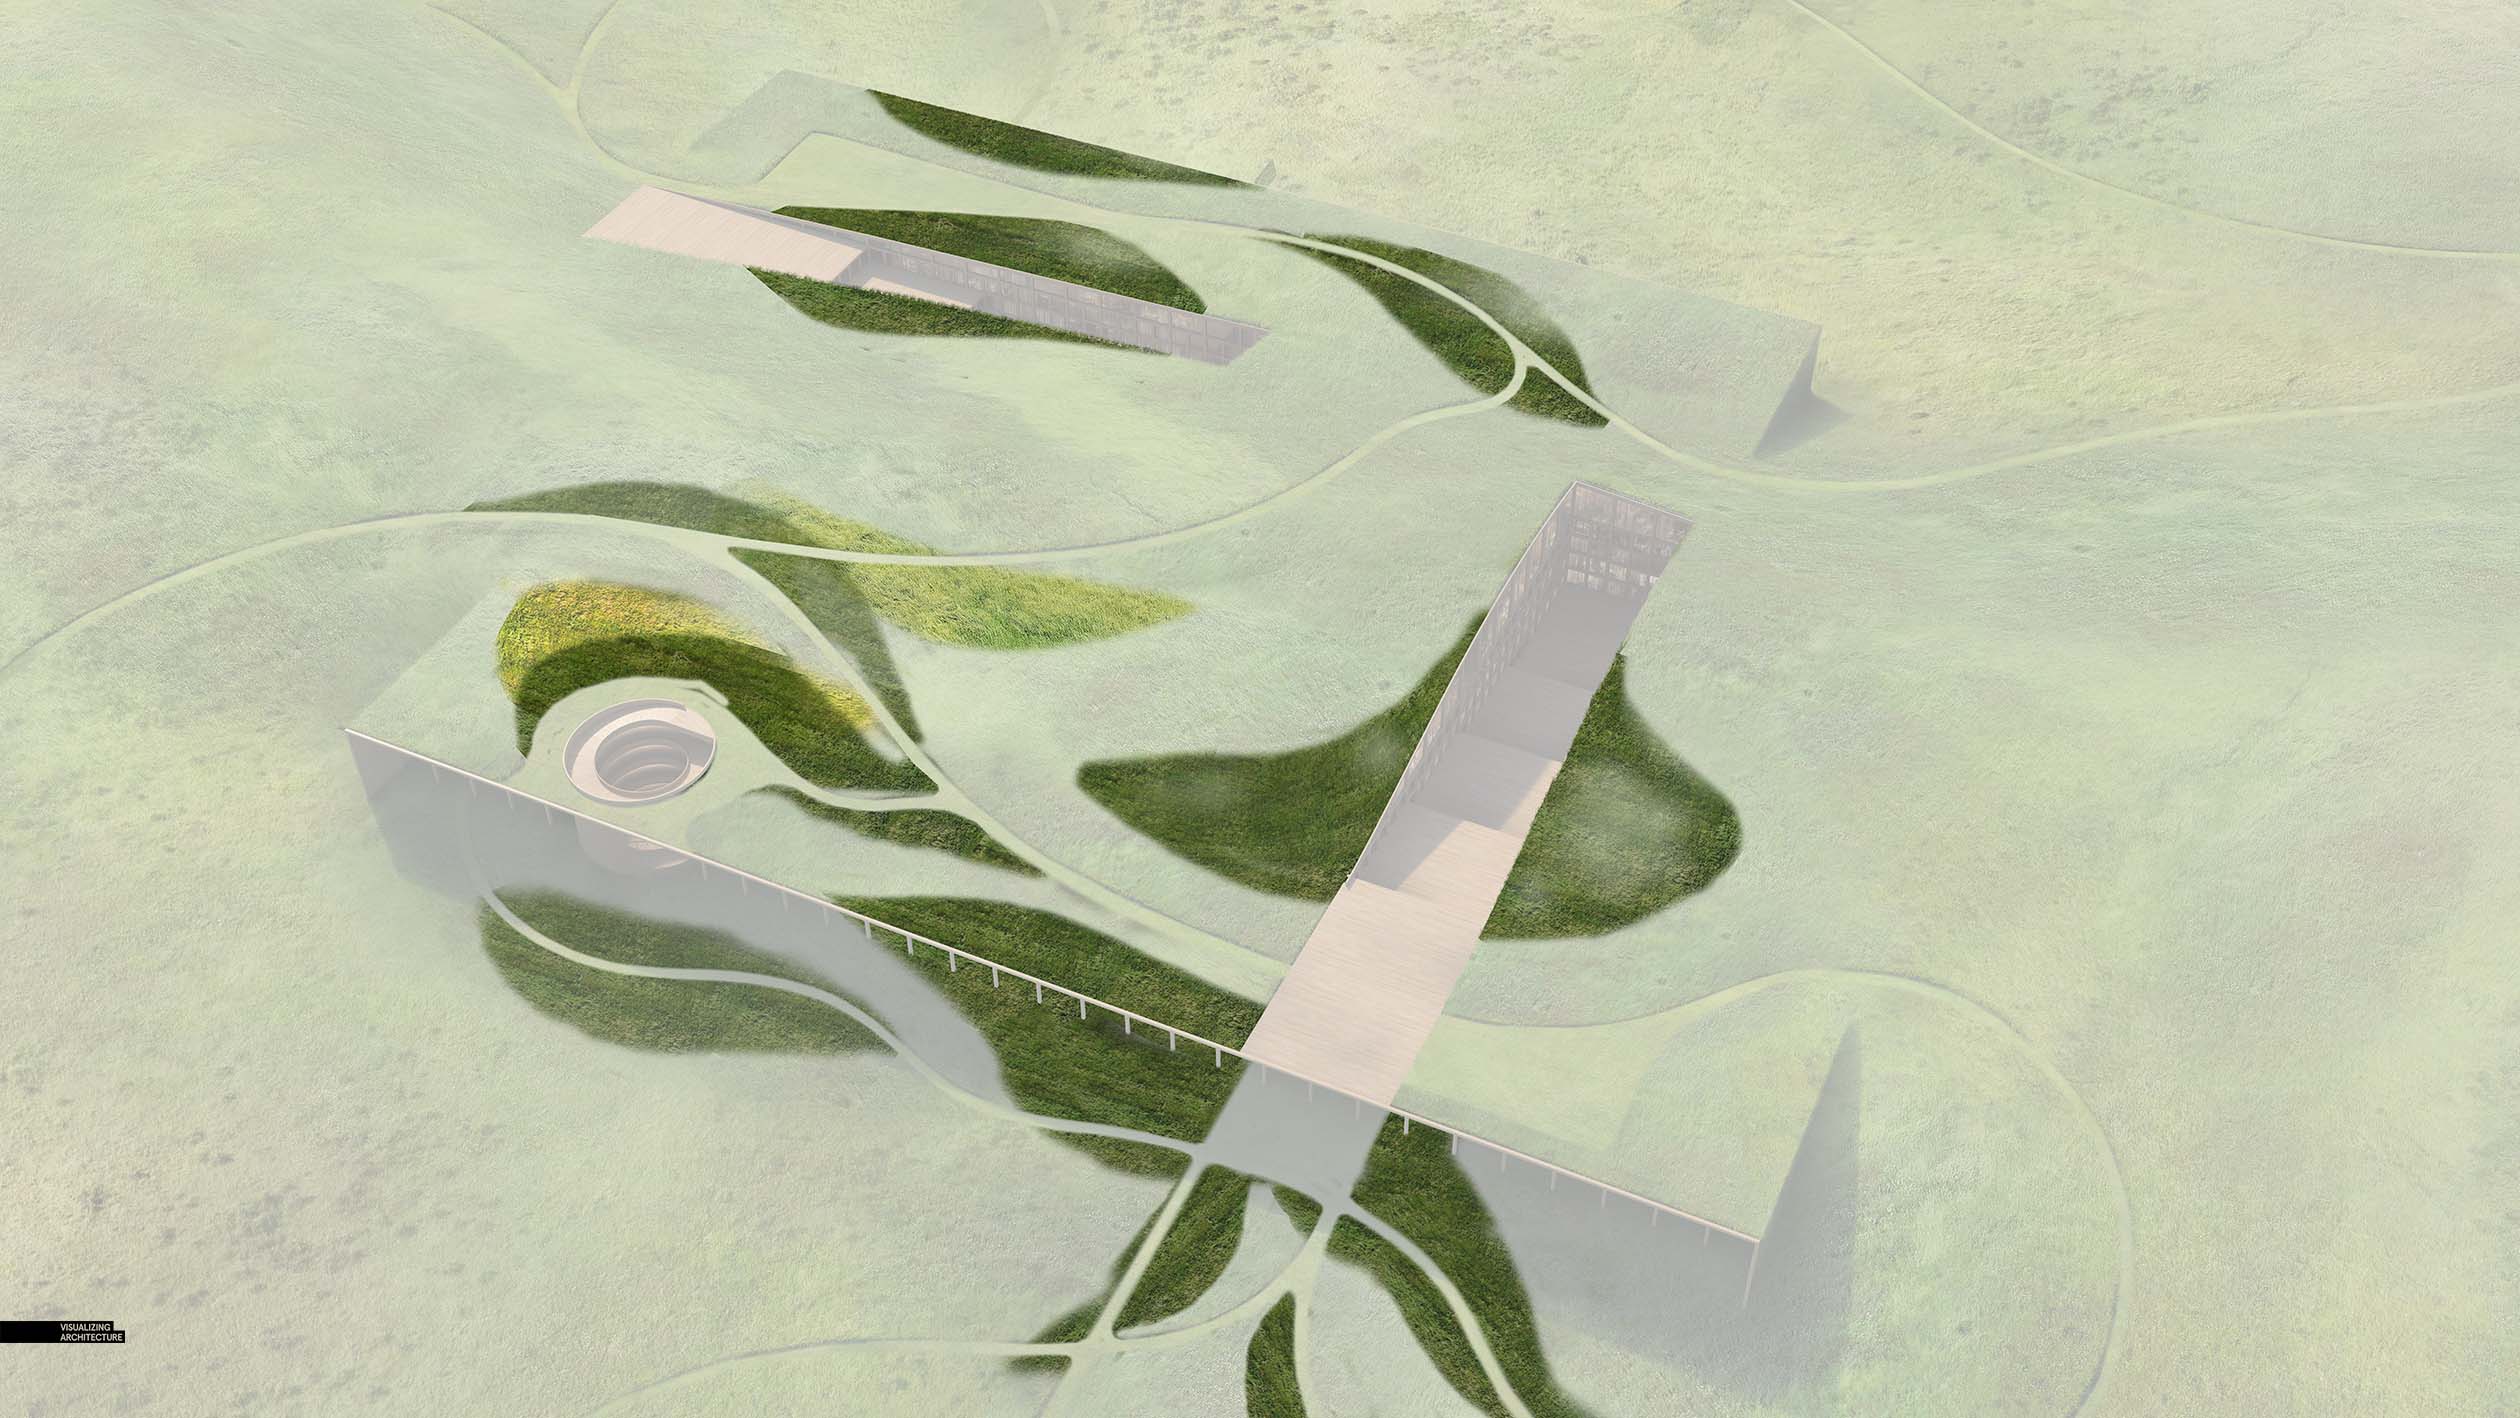
1 Base Rendering
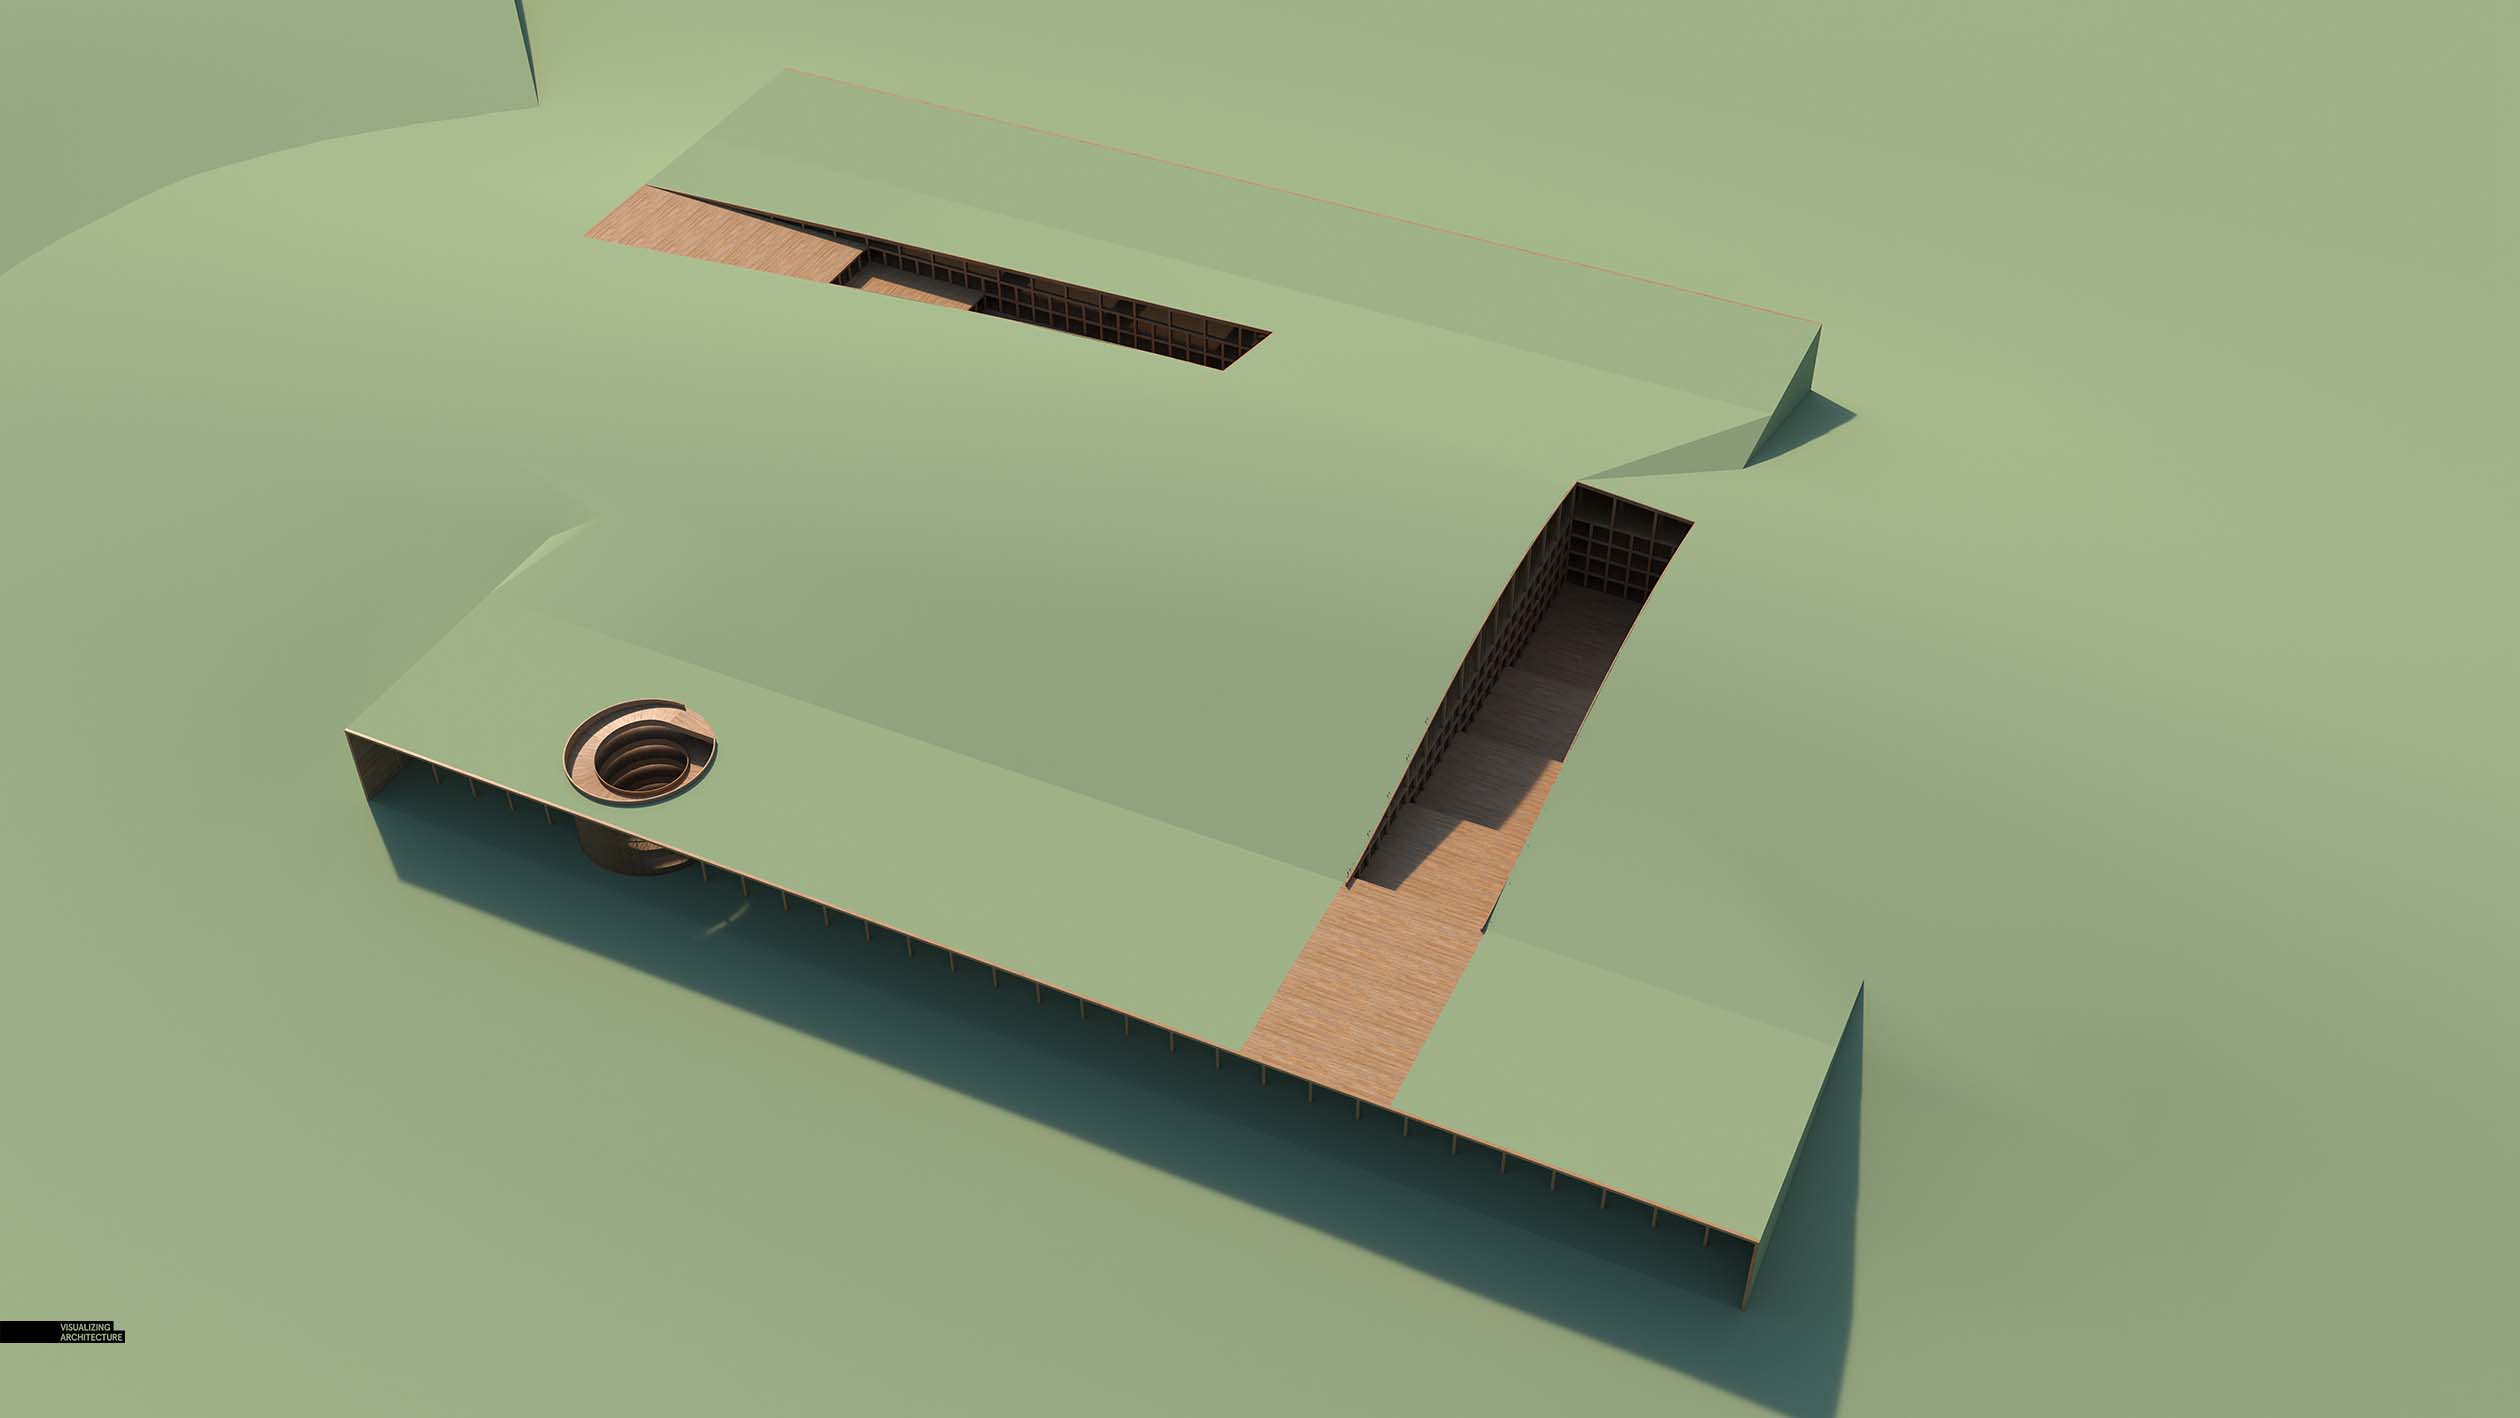
Most of my base renderings look bad starting out, but this one looks exceptionally horrible. Getting started on this image, I saw this base rendering and this was one of the moments that I just about backed out of this image haha.
2 Prairie Grass
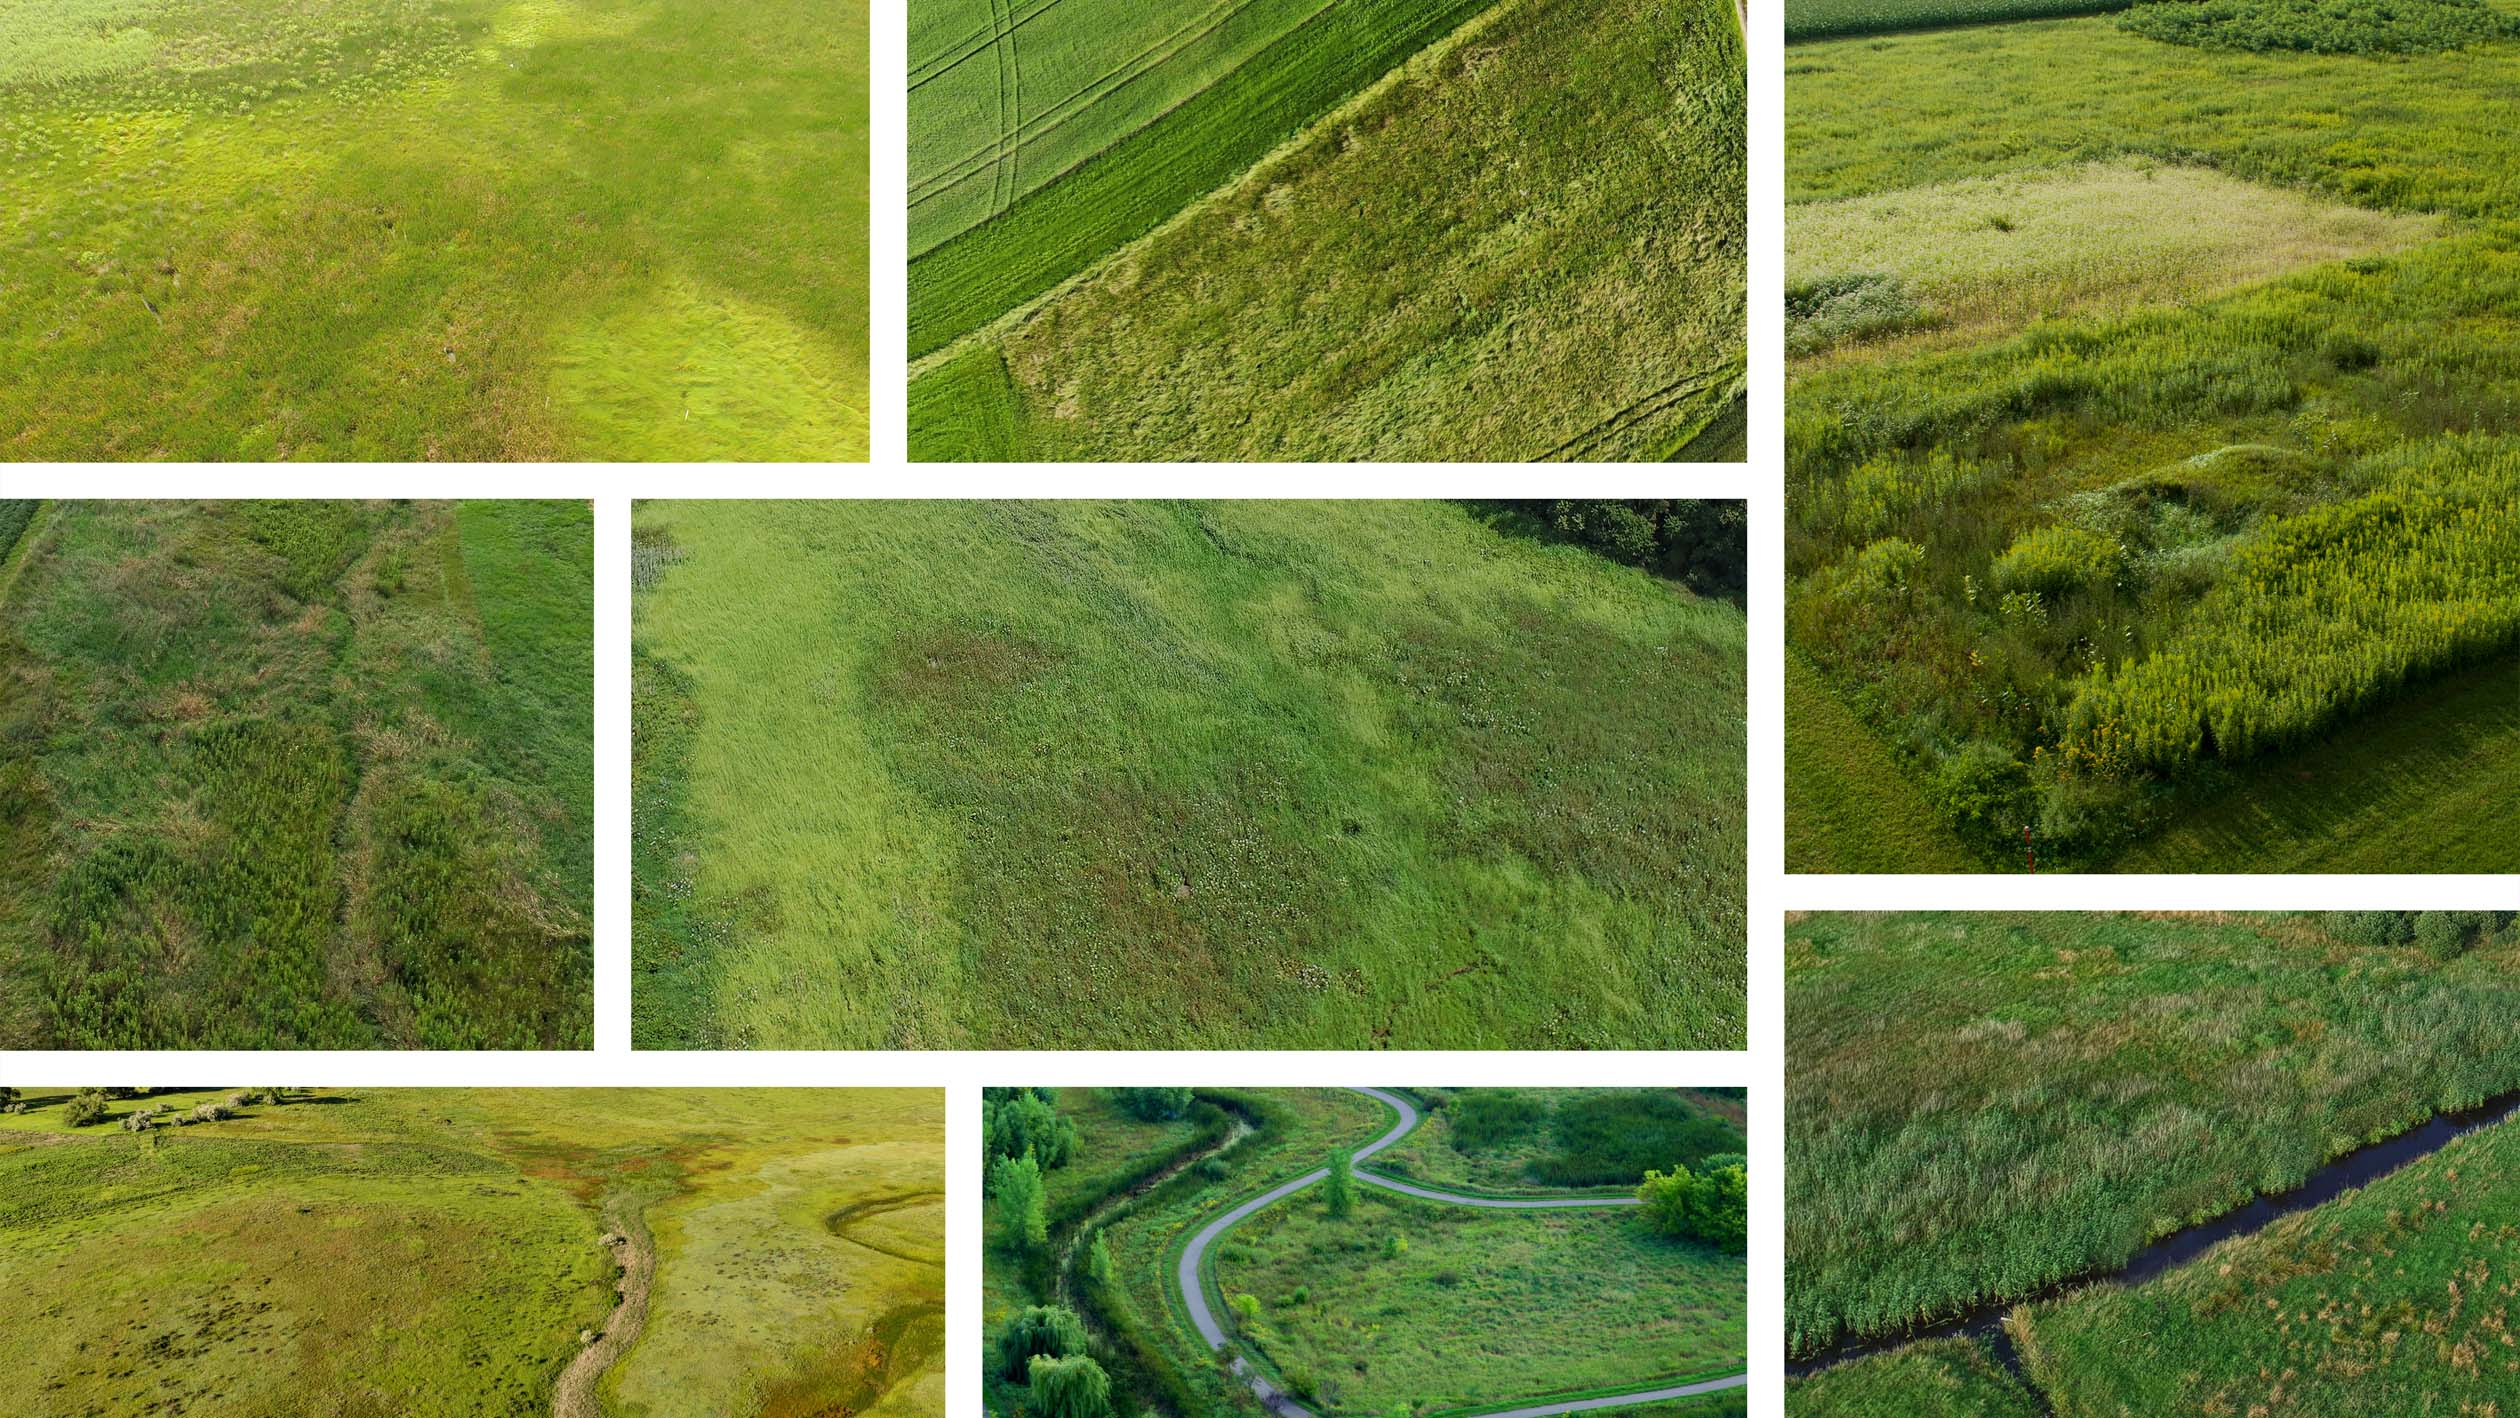
A lot of time was spend finding good high quality textures through Google image searches. These are just some of the ones that I used.


As I mentioned above, I combined many different textures to build in a diversity of color tones and densities throughout the site while maintaining sharpness and detail up close. There was quite a bit of time spent rotating and skewing the textures so that they had the feeling of going up and down hills. You may notice that towards the end, you start to see a lot of repeat textures, however, this gets broken up and lost in some of the following steps as I add in paths and trees.
3 Paths
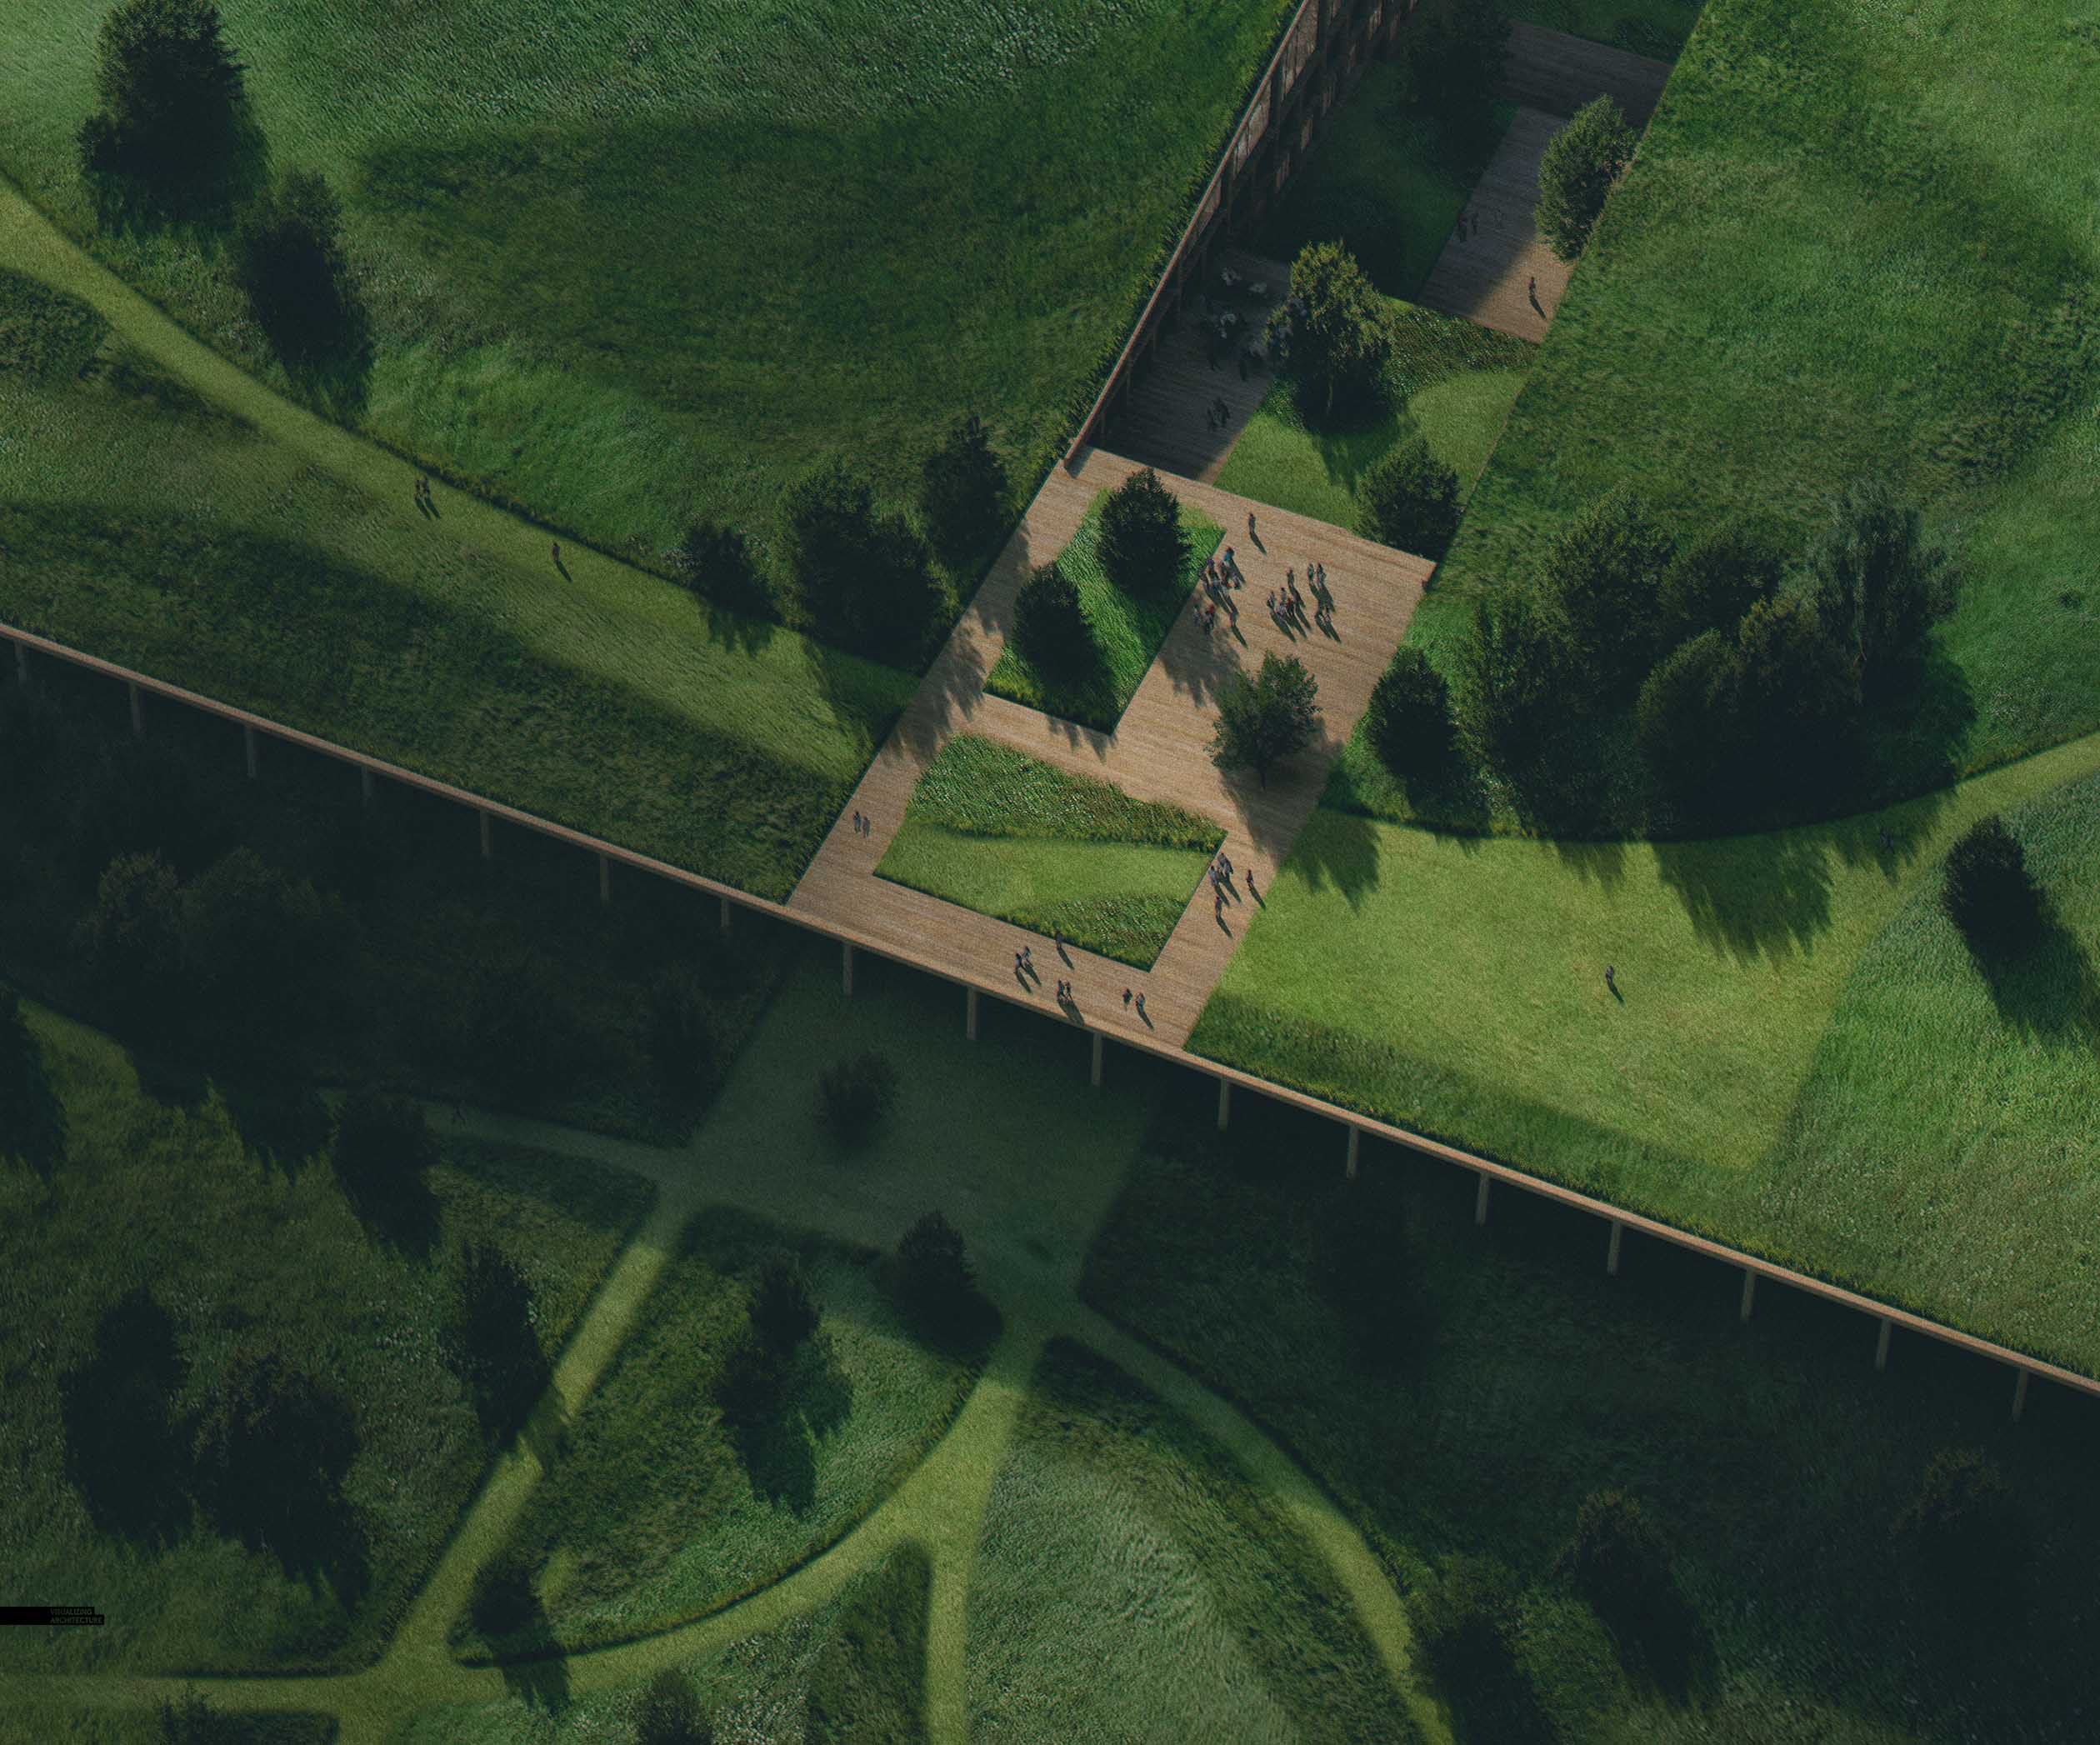
One of the reasons for this image was to think through the flow of the landscape and test out some paths systems. I started out simply roughing in the paths with solid paint. Once I had their locations determined, I cleaned up the geometry and turned them into a mask so that I could quickly place in a manicured grass texture.
With the paths in place, I then added slight shadows to give them depth and help define them from the wild grasses.
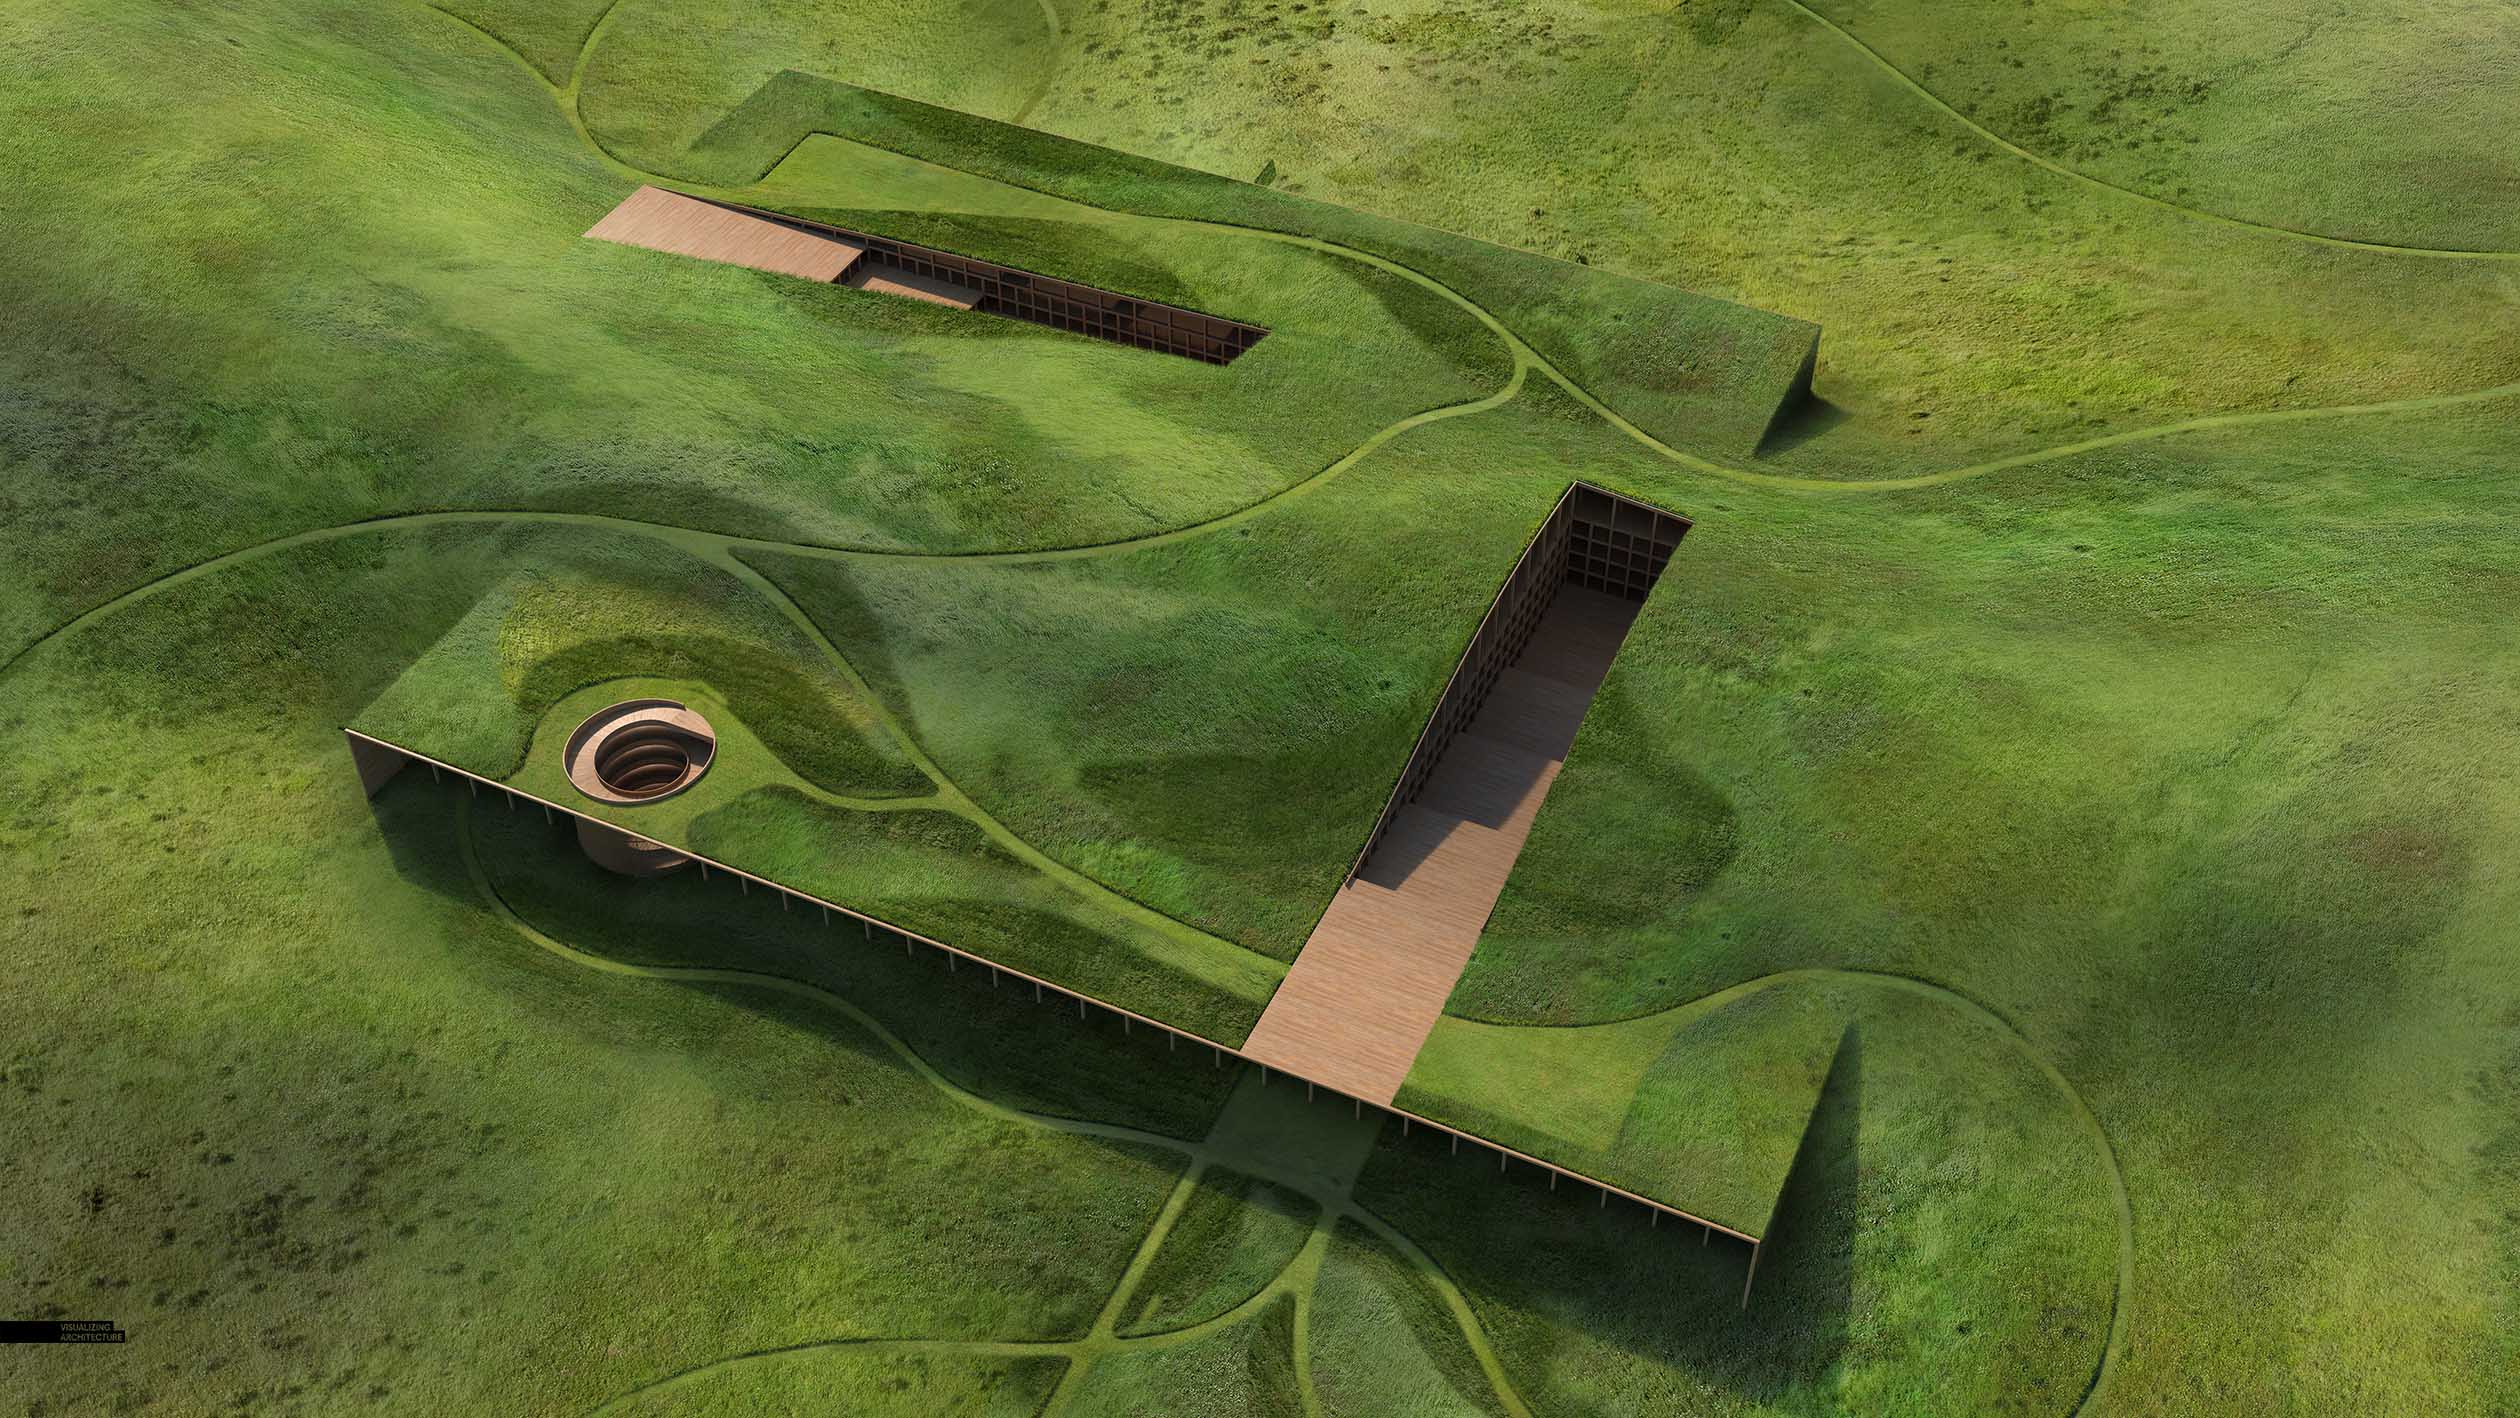
4 Prairie Flow
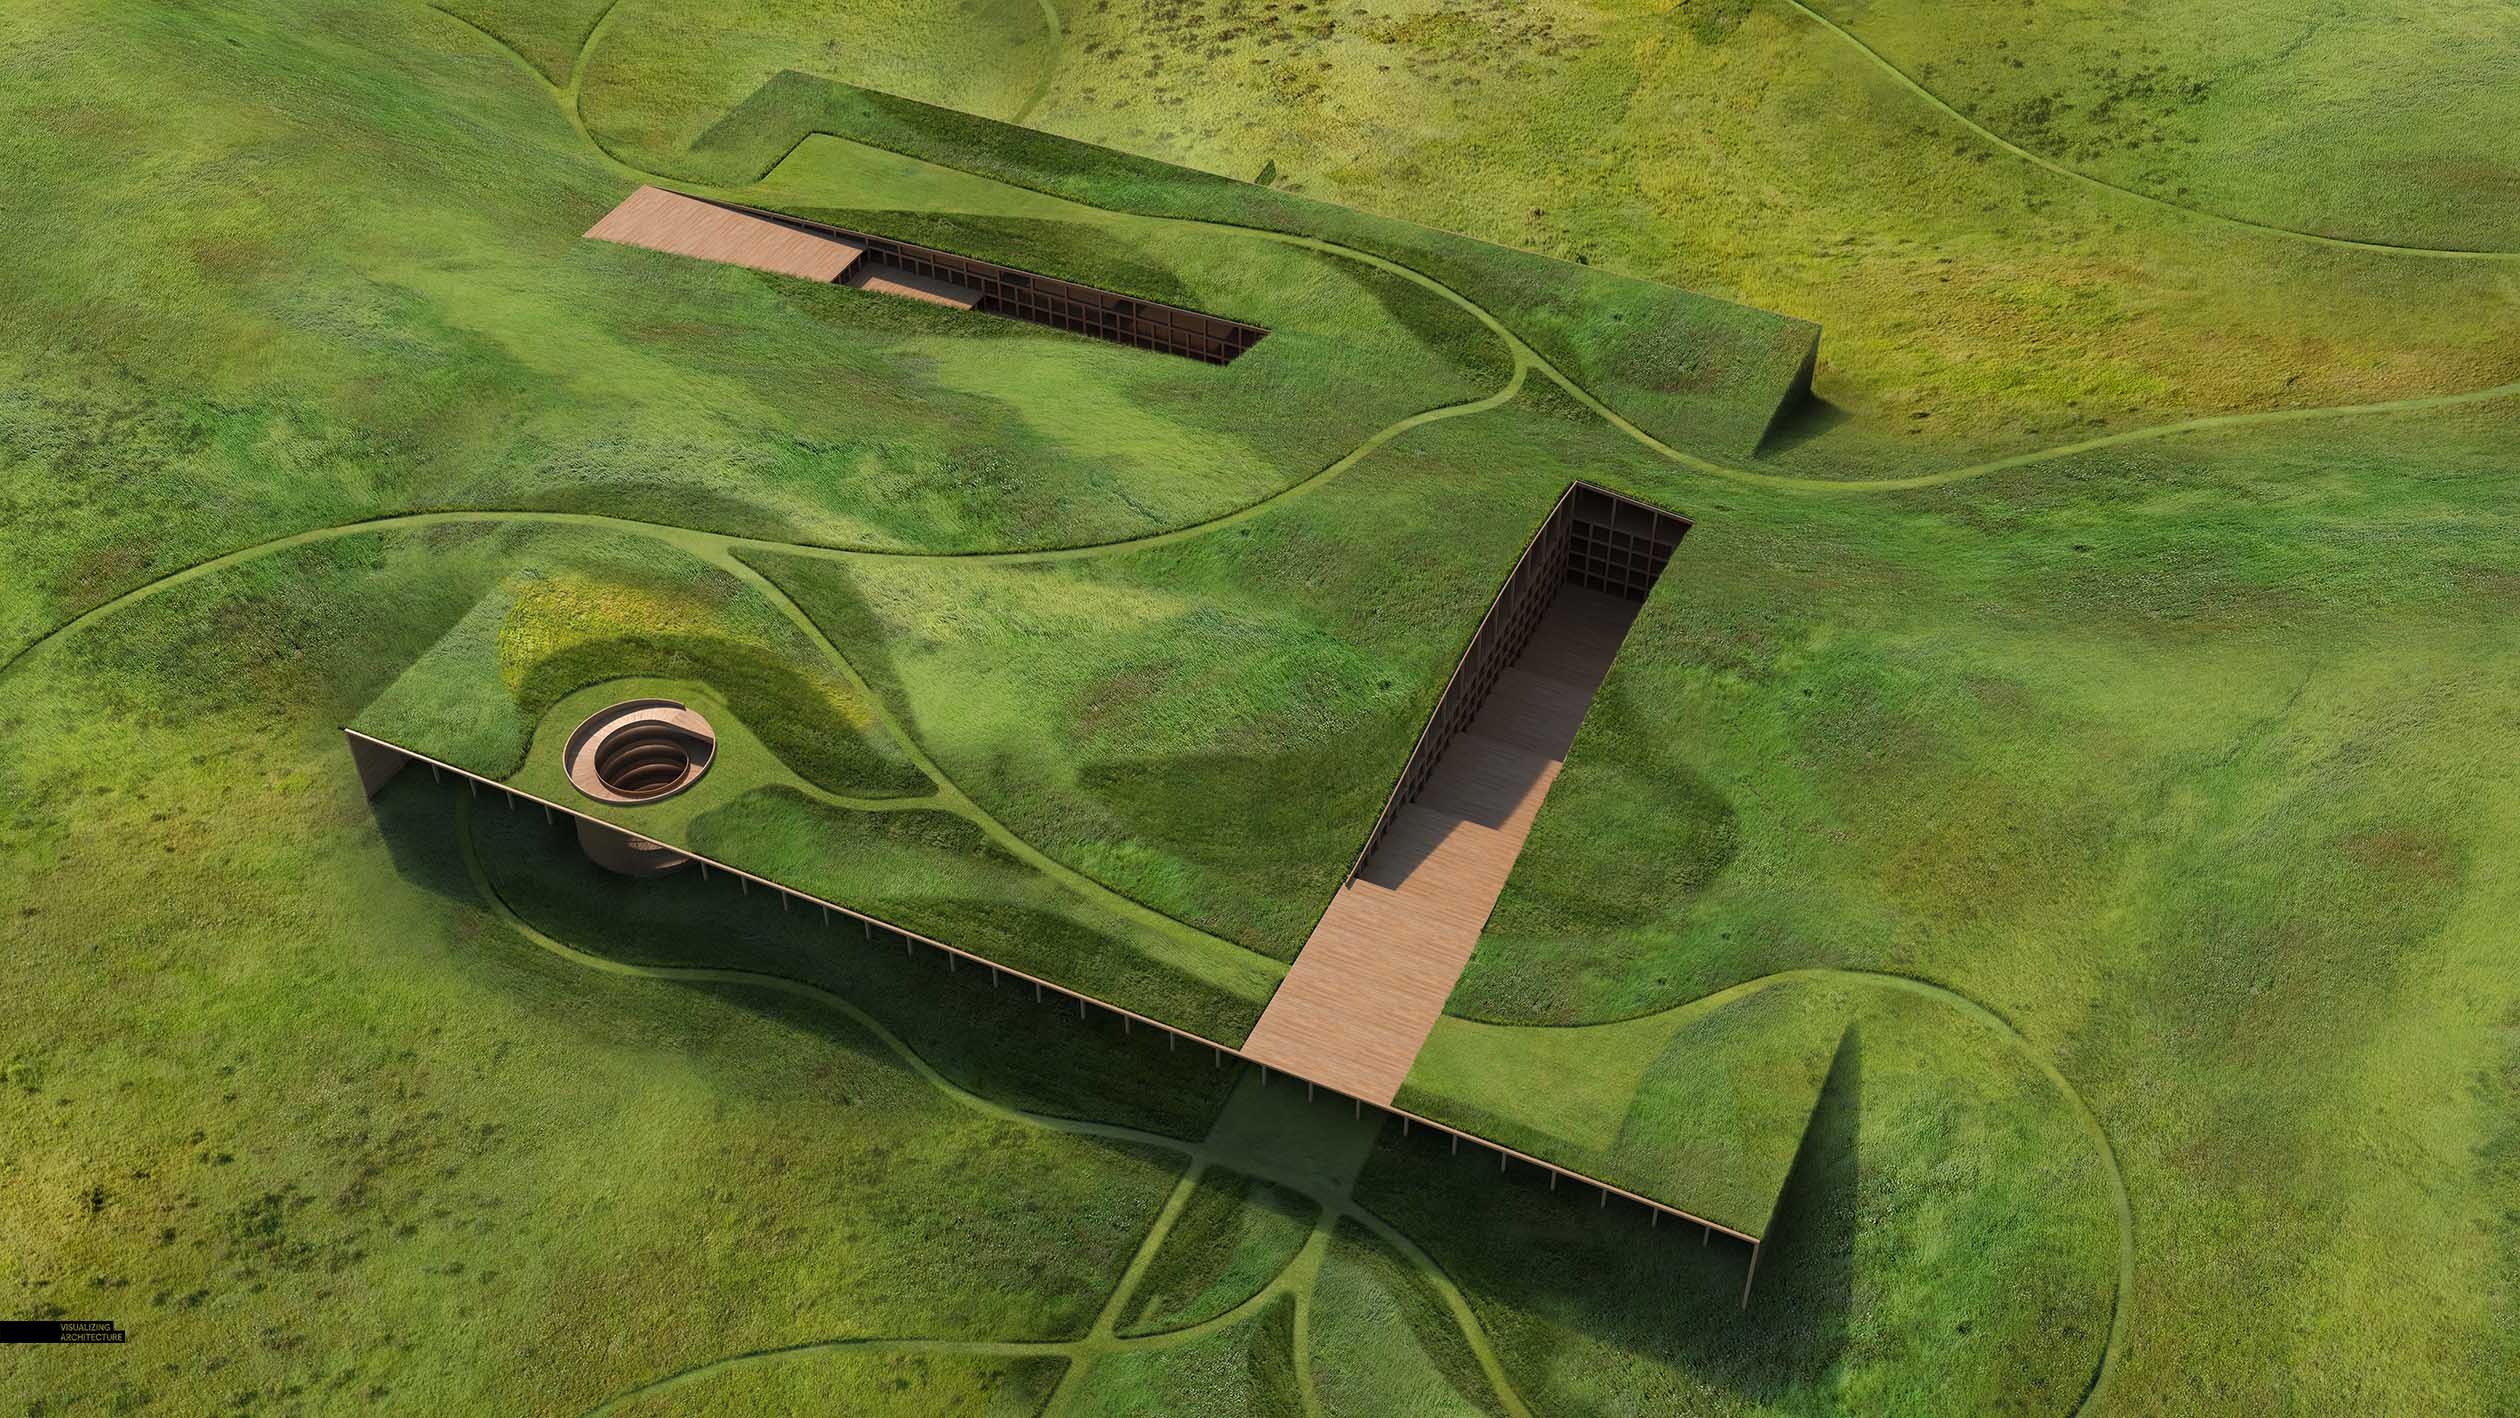
Up until this point, the prairie grass was still feeling too wild and even. I wanted to set up some moments where the site was a little more designed and where groupings of the same plant created light and dark patches. Since the paths were in place, I used them as a framework from which the dark and light garden patches flowed around.
5 Subtle Shadow and Light
The image was still too flat at this point, so I faked in some subtle light and shadow to help clarify the hills and topography.
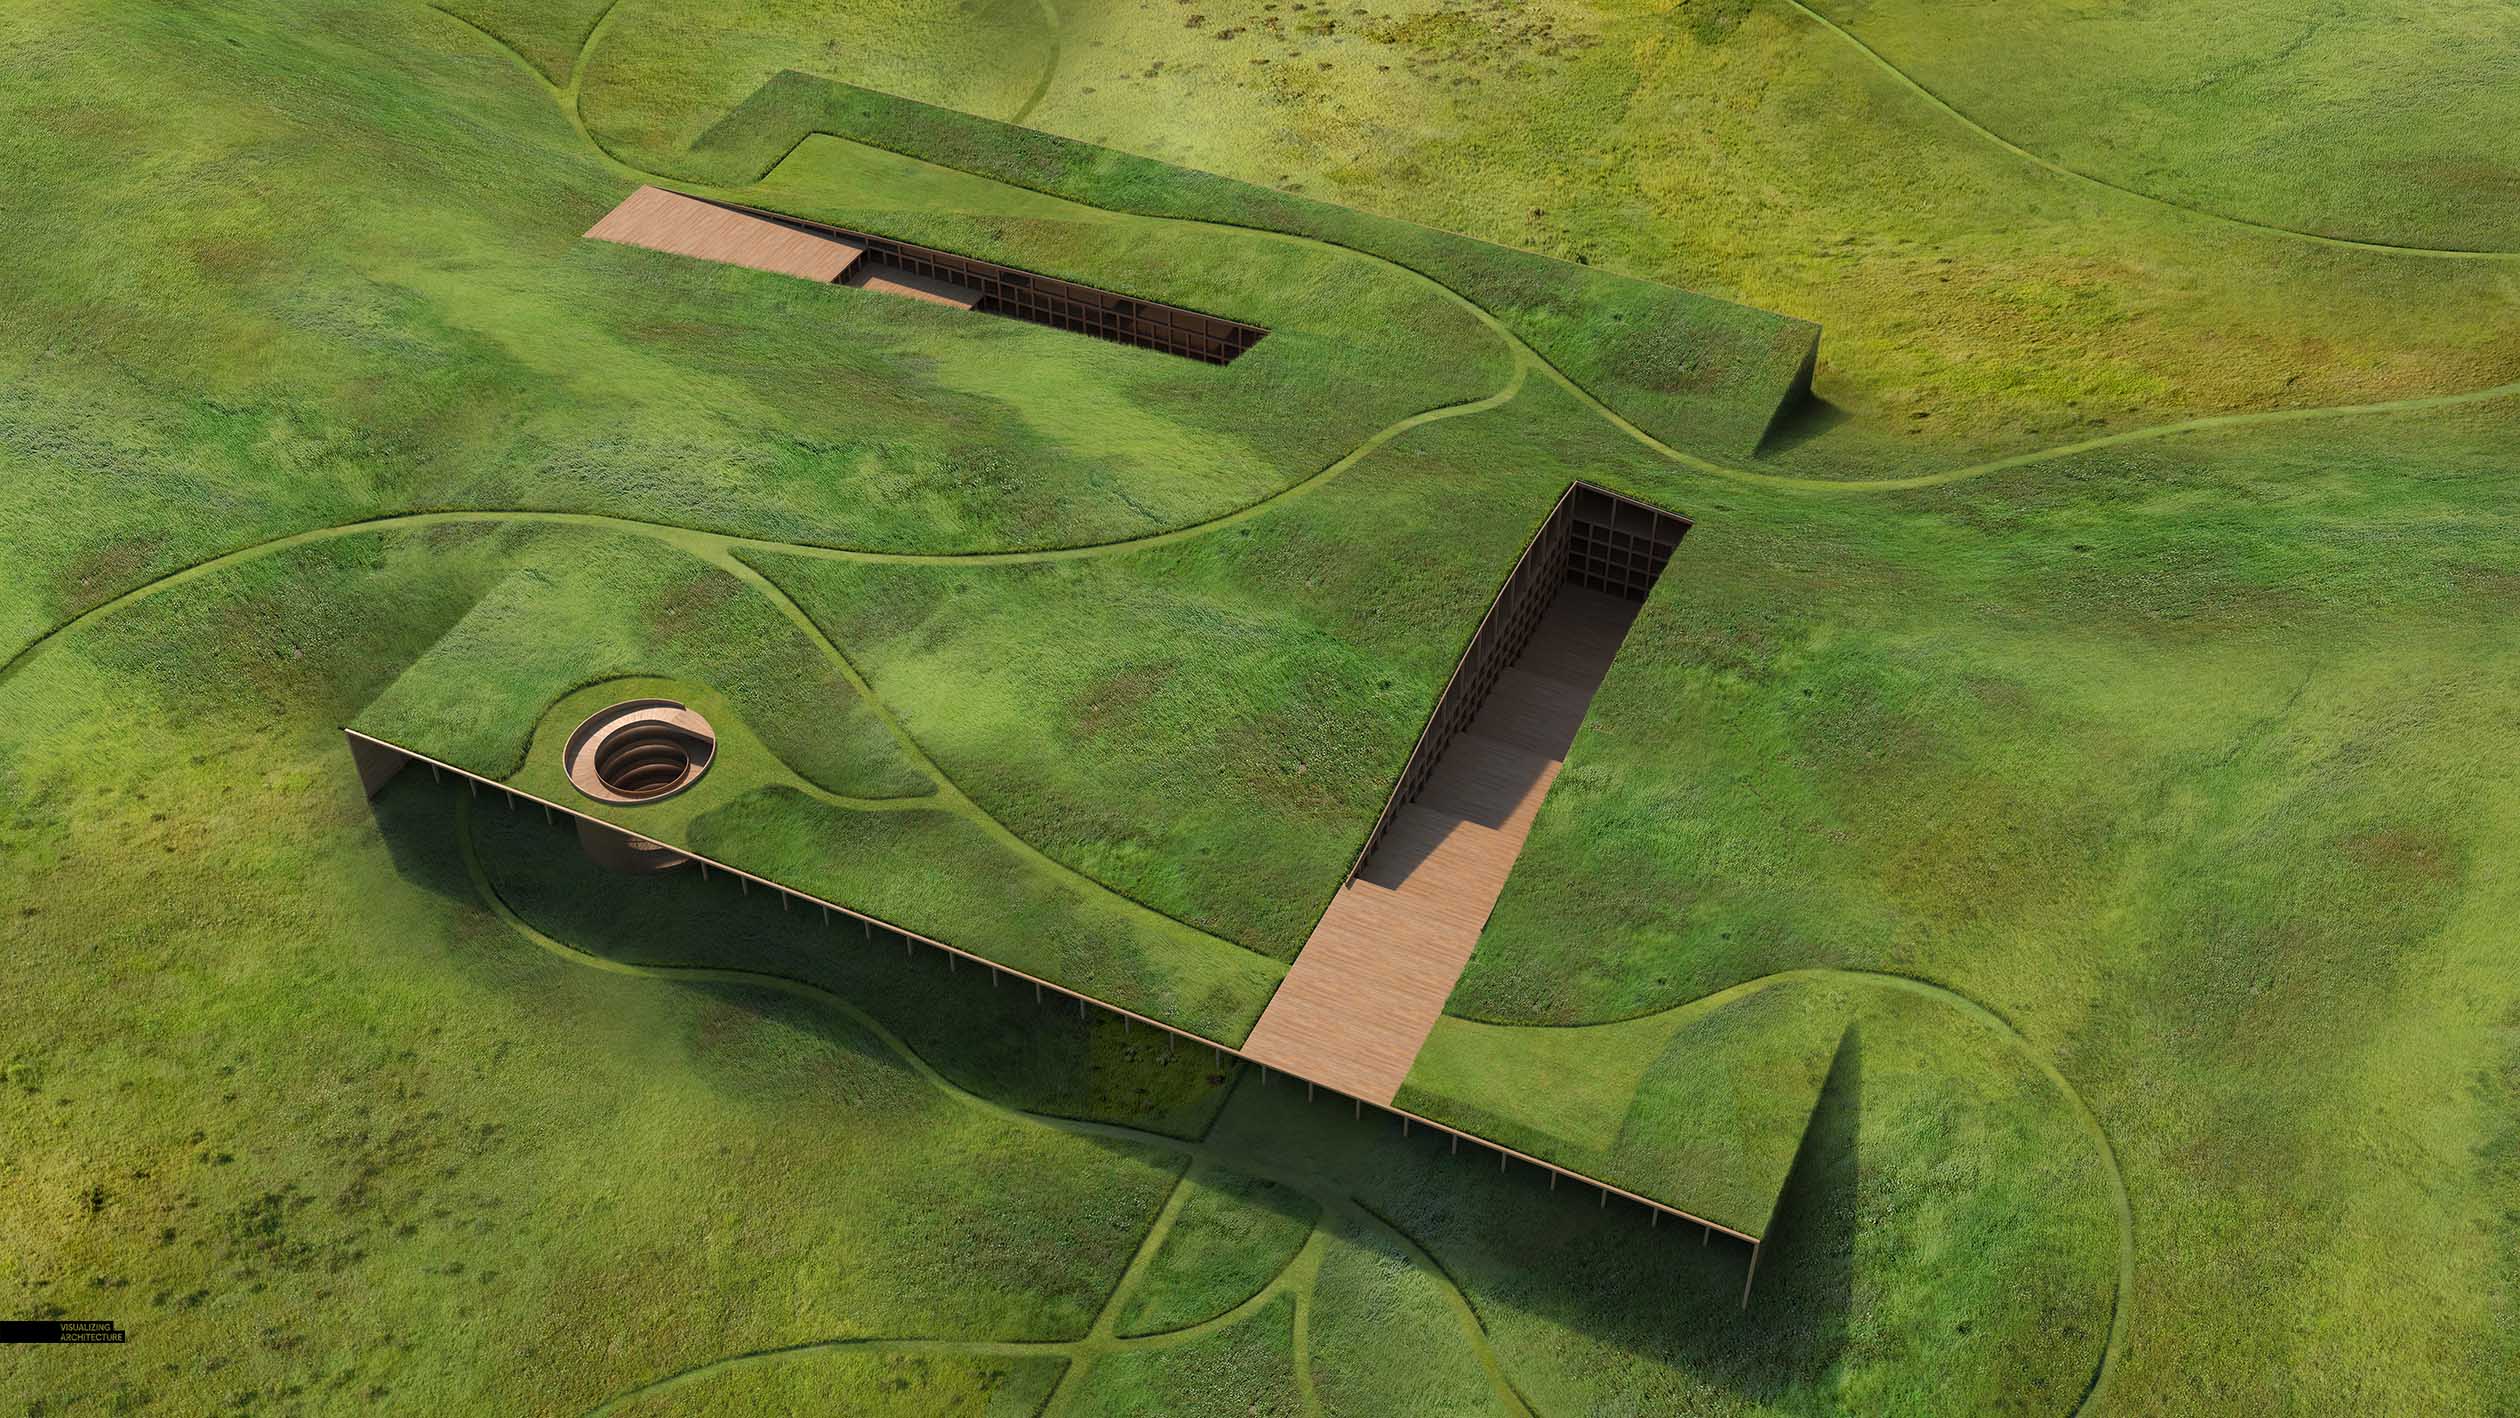
6 Details
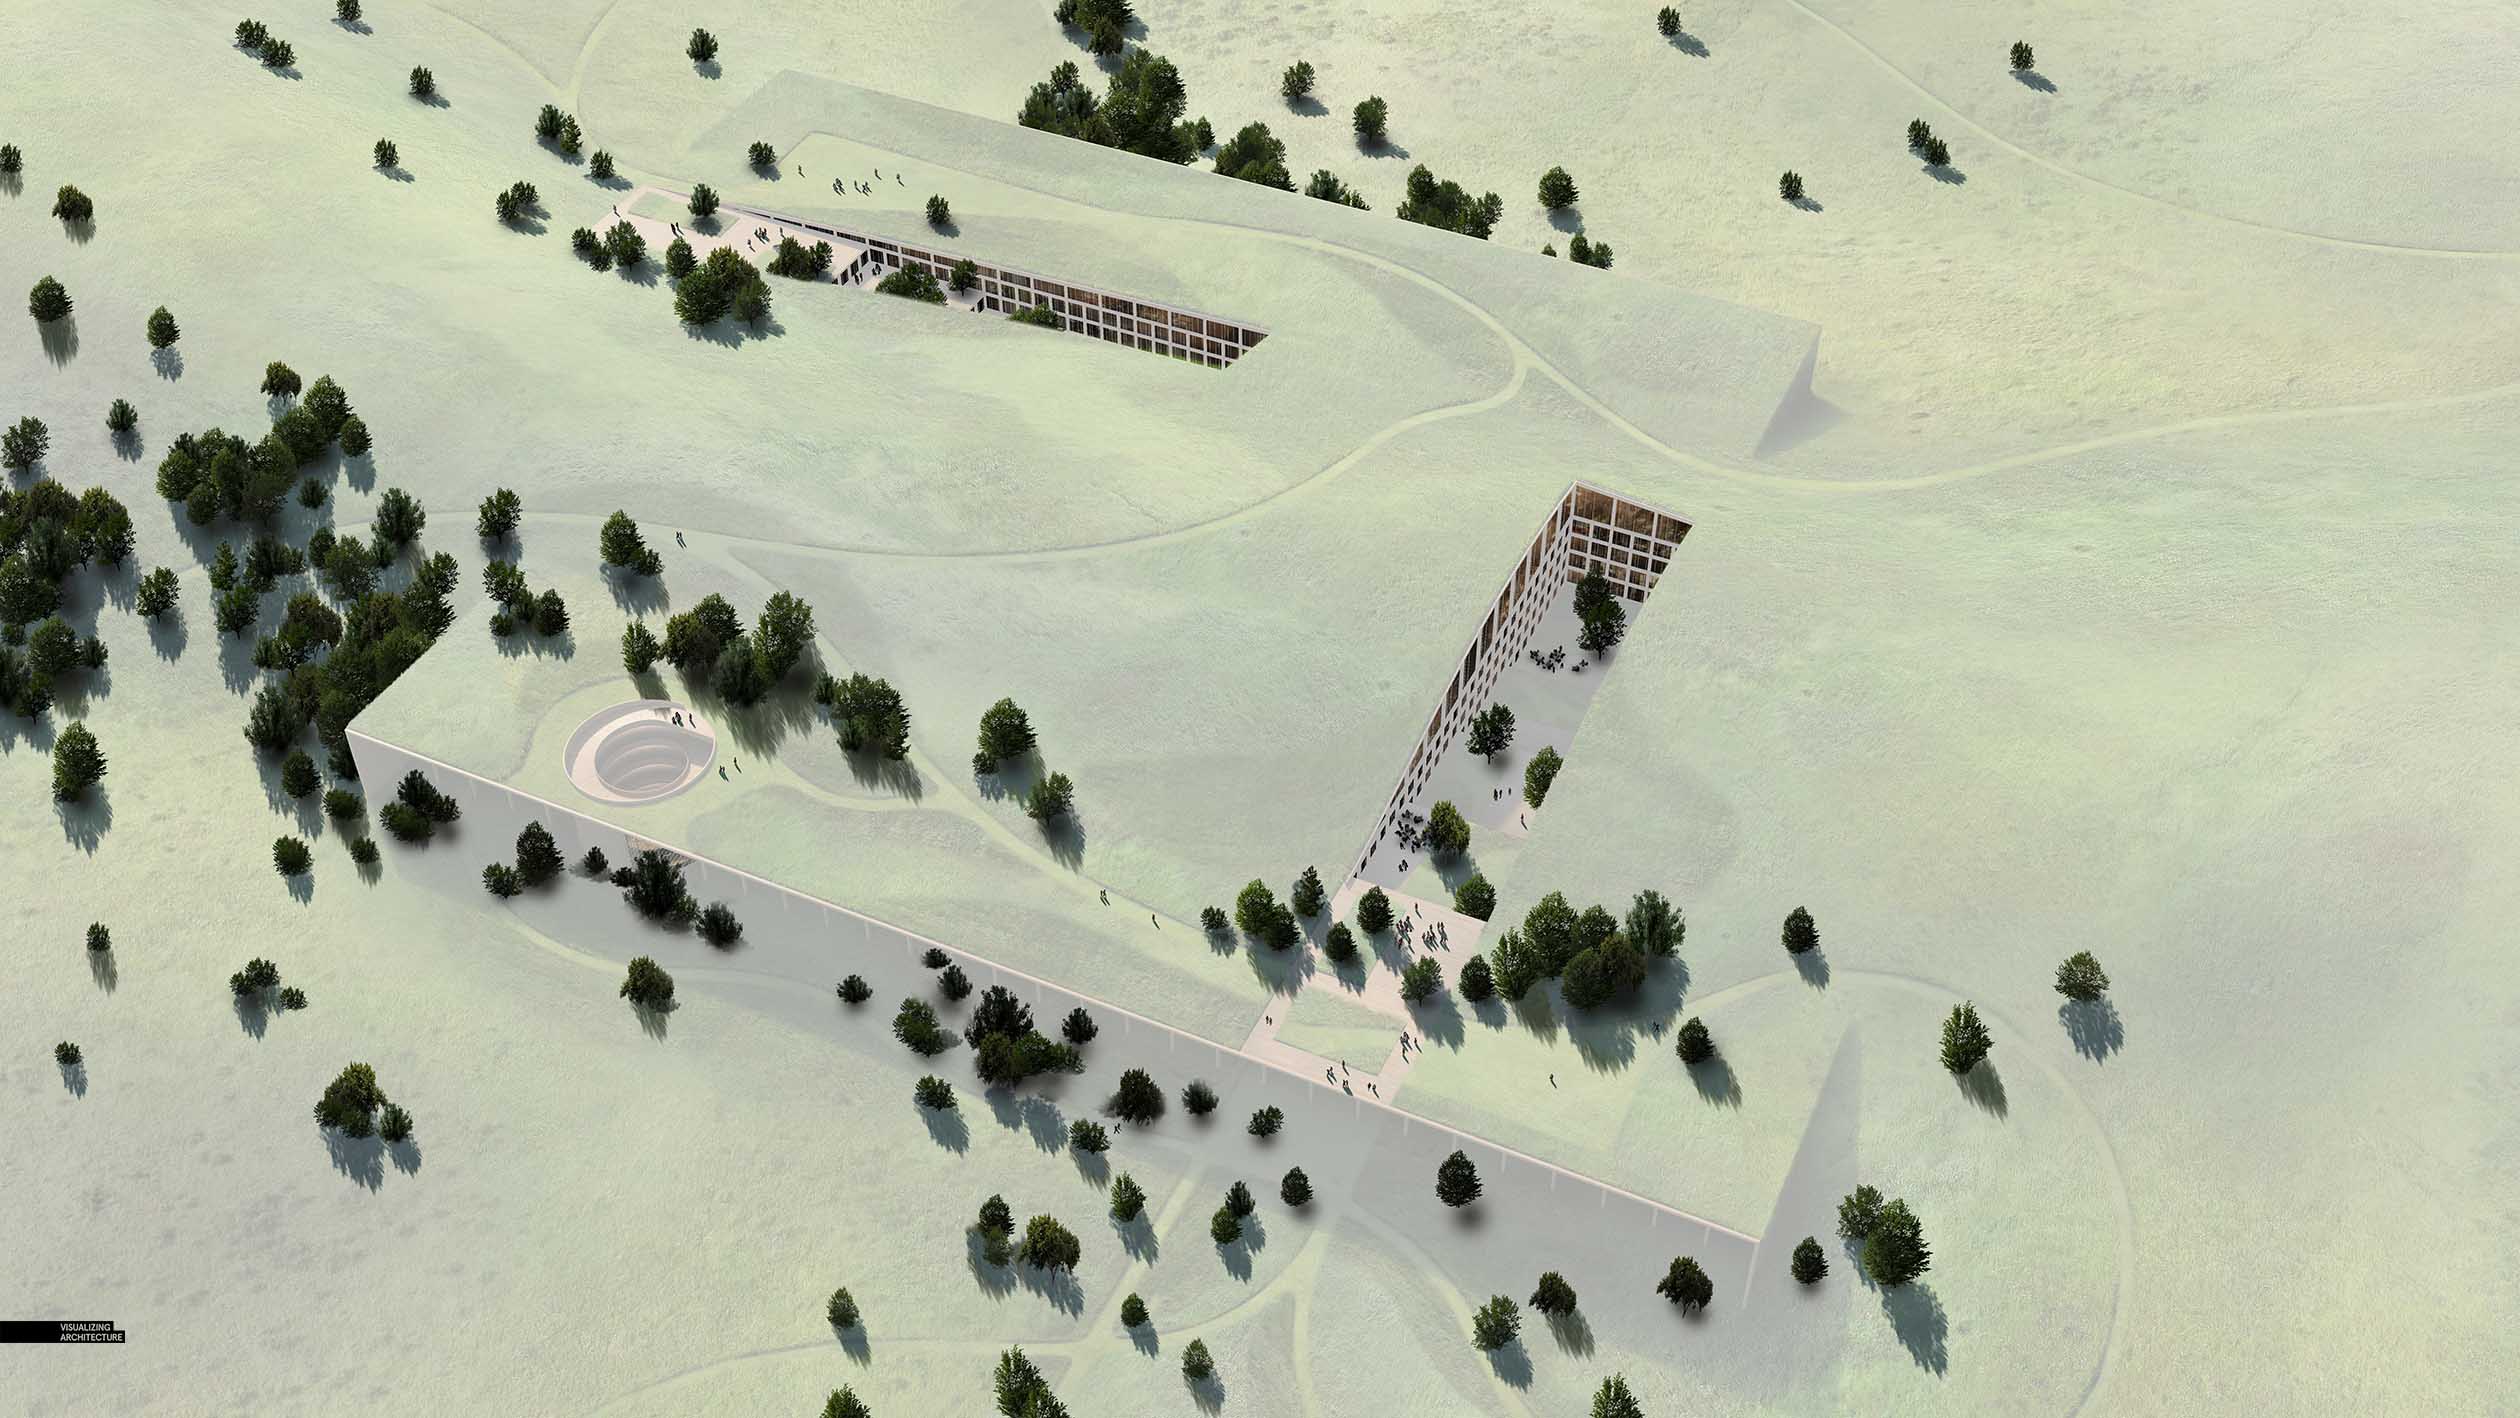
With the grasses in place, I could start to add in the details. The trees were important to emphasizing the idea of the landscape flowing around and over the project. Again, since the paths were in place, I used them as a framework to help place the trees. I also added lots of people which at this point, was just another way to build in a little more texture.
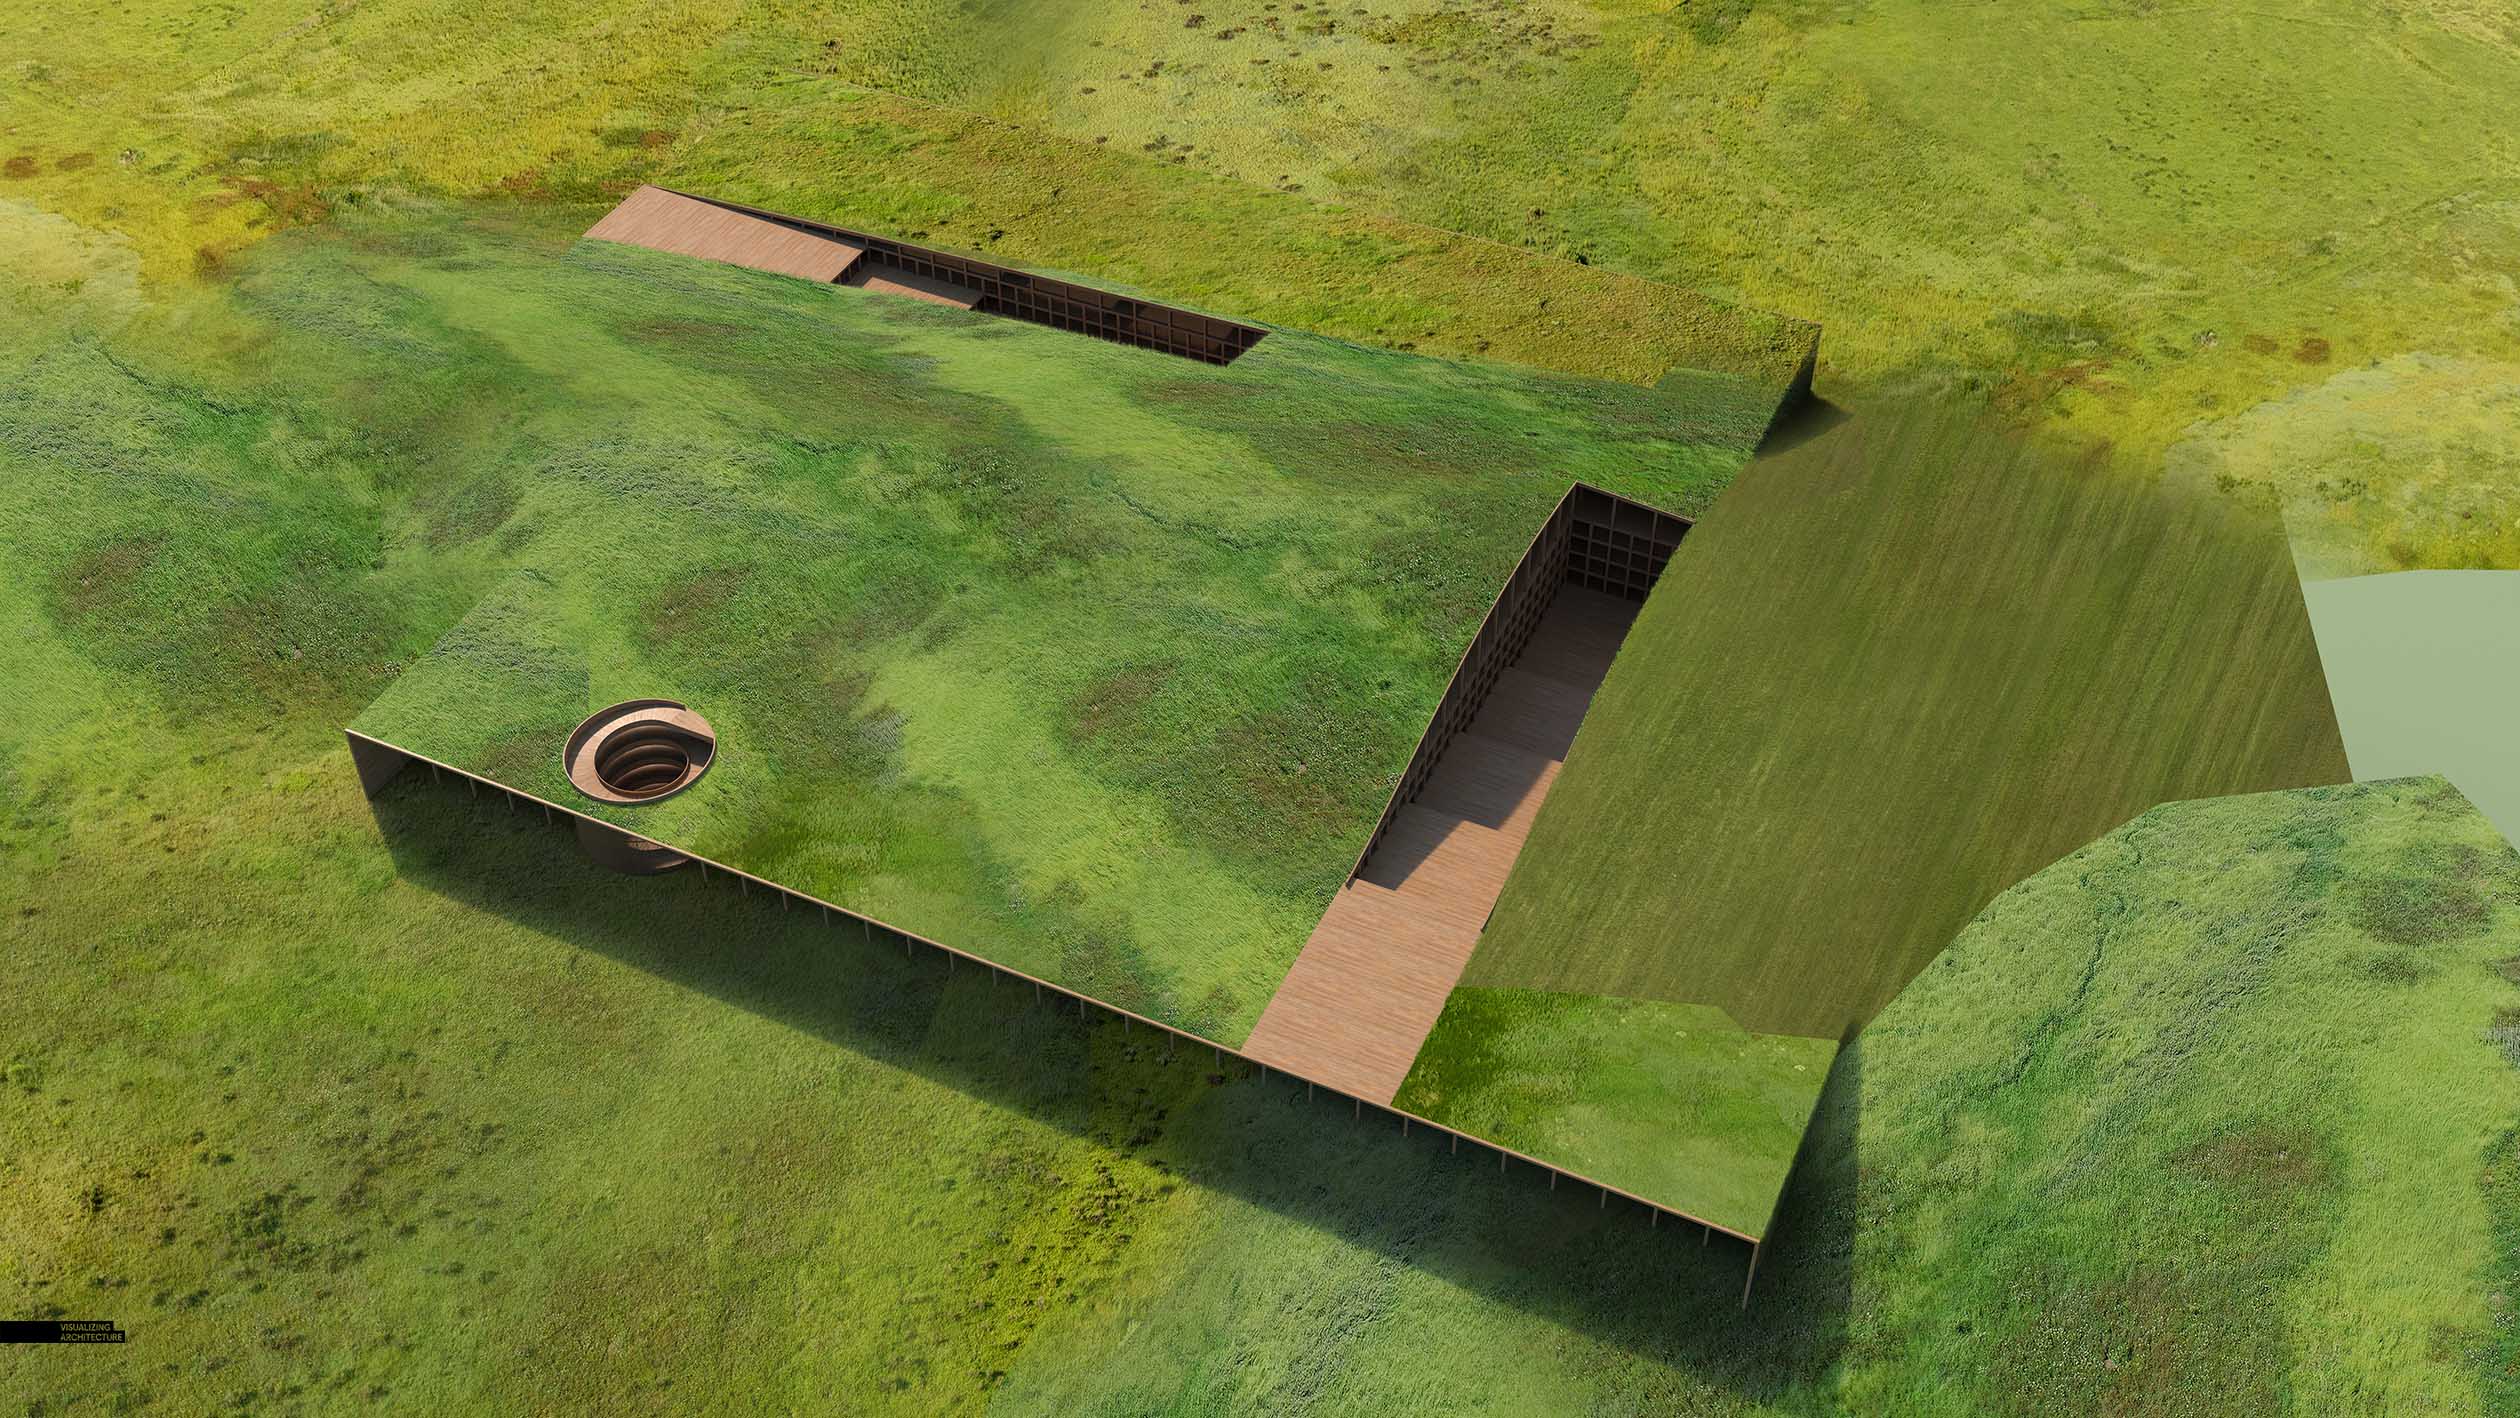
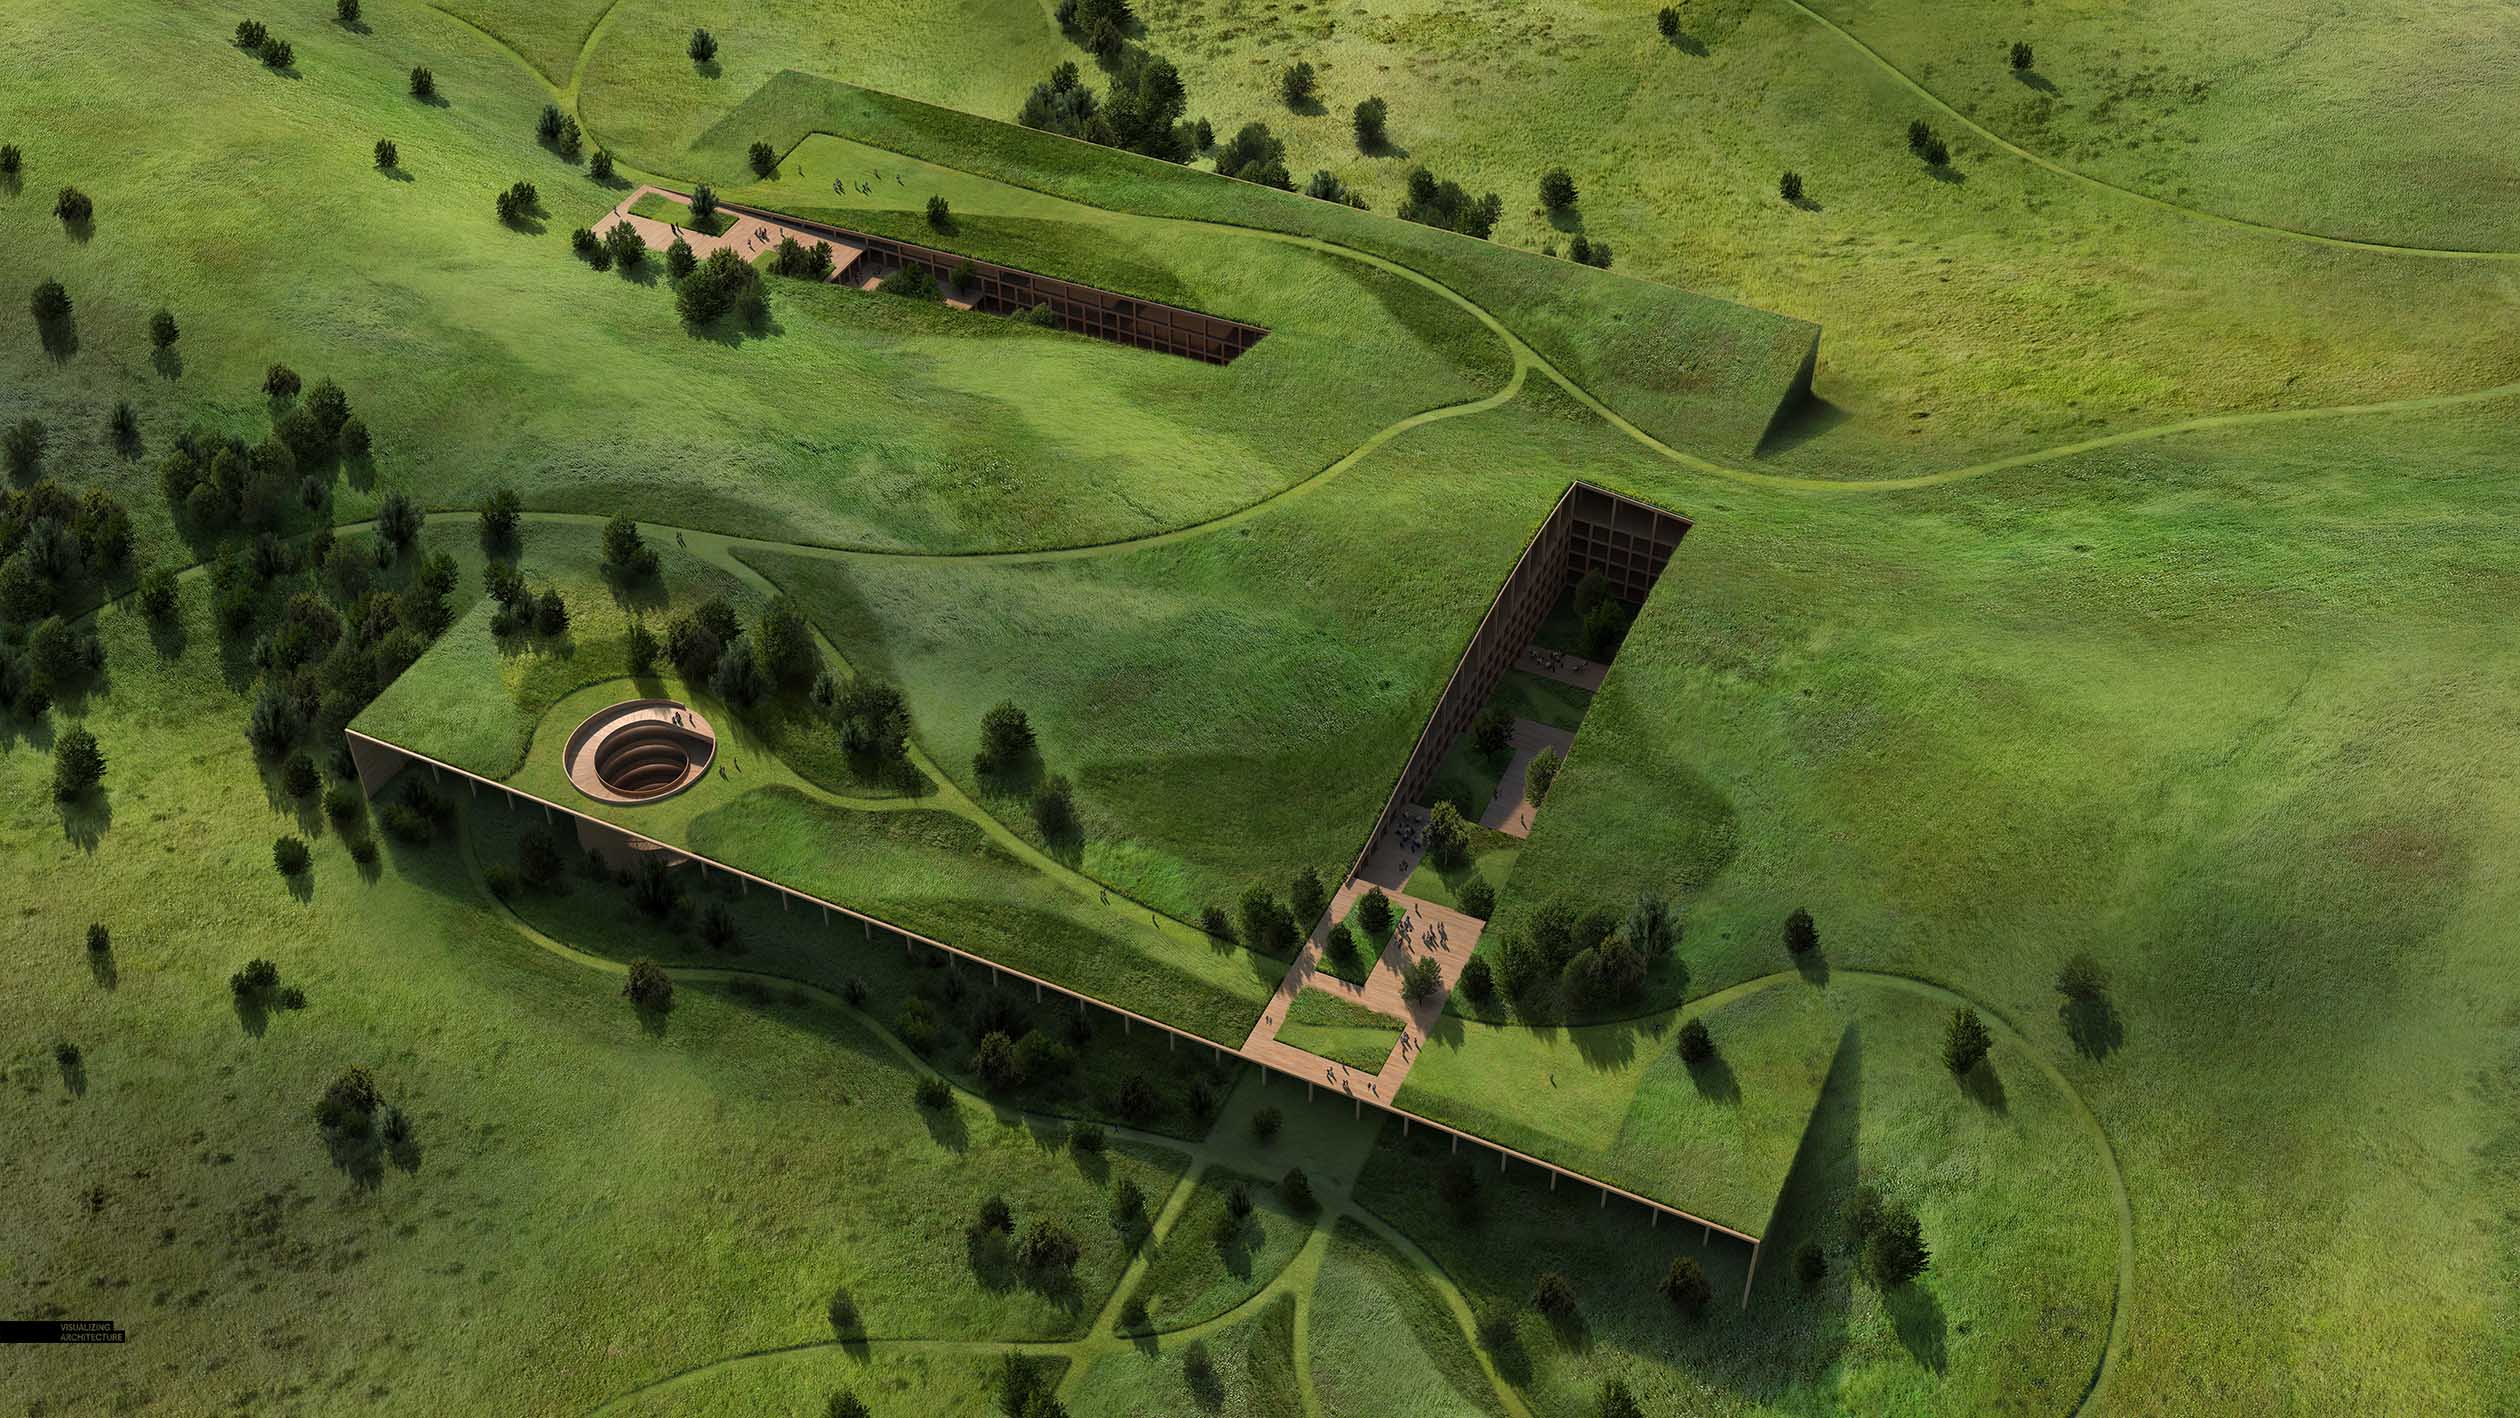
7 Final Effects

I dropped in some diffuse cloud shadows so that there were moments of strong highlight that pulled the eye from one spot to another around the image. I was also a little bored of the image up to this point and wanted to amp up the drama.
Finally, I softened the shadows, pulled back some of the warmth, and tried to grab back some of the detail lost in the dark parts of the image.


this is amazing Alex, thanks for sharing it
Thanks Arqcova
Wow, absolutely stunning vegetation in this image! How do you start looking for trees from such a high angle?
Thanks Andras, These are just all normal eye level cutout trees, I just remove the trunk and push the shadow further underneath the tree. It takes some trial and error but certain eye level trees work better for aerials than others.
It is beautiful! Great work as always, Alex!
Thanks Manisha
Amazing work, Alex! I was wondering how you sourced the tree details? They look so varied and yet all come at the same perspective, colour, and texture.
I am using about 10-15 different cutout trees. I am constantly flipping and scaling them to make them feel more varied. The flipping ans scaling goes a long way to getting a more natural look and you don’t really need a lot of different cutout trees because of it.
You may have been bored but this is a stunning image. Been following your work for years and it keeps getting better although I miss some of the more detailed breakdowns you used to do 🙂 Once again, your ability to combine (and discover!) so many textures is wonderful!
Thanks Kb, much appreciated.
Wow….this is stunning, i’m currently studying Architecture and your works are my inspirations. I really hope to learn more from you! Thank you Alex!
Originally saw this on Instagram and thought how beautiful and impressive this was! Thank you for taking the time to explain the process and early workings. As always, very well done!
Amazing work. But i still wonder how you make “Subtle Shadow and Light” and how to use Photoshop to add them in??