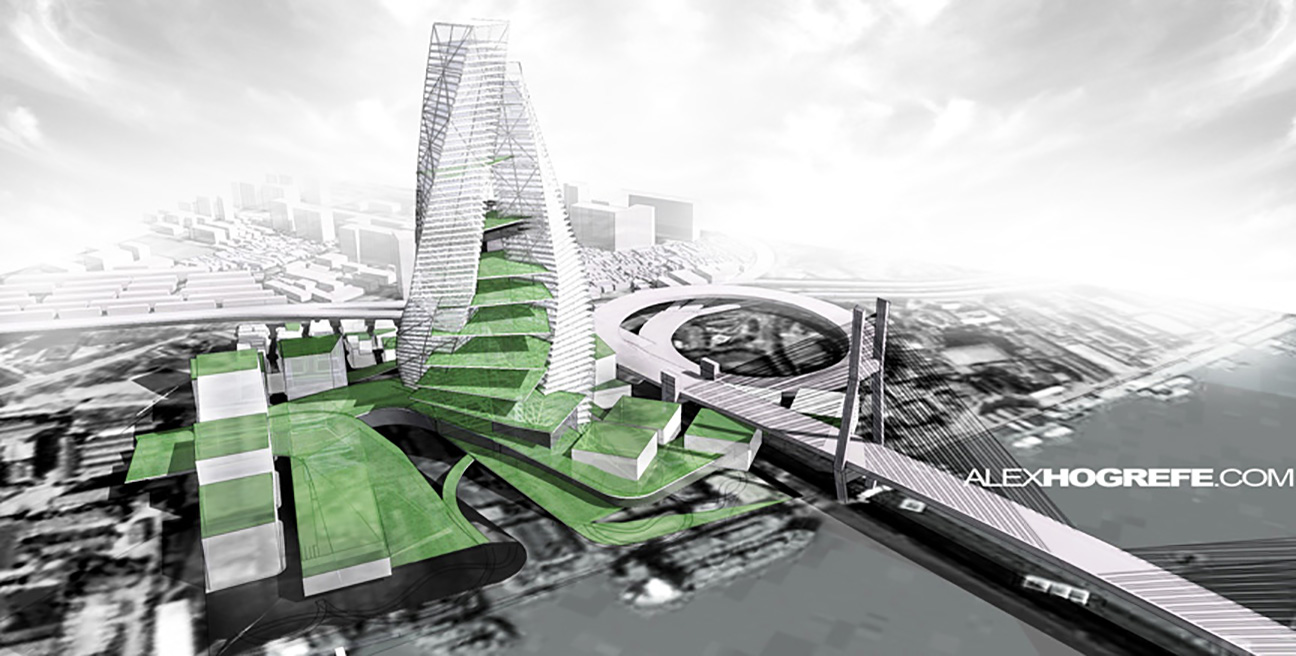
Vignetting is something you see a lot in photography, and it works just as well in architecture illustrations. The idea is simple, the edges of the illustration are darkened to “frame” the image and draw attention to the center. If there is a lot going on in the rendering, this is an easy way to draw the eye to your design in the center, and avoid distracting geometry around the perimeter.
There are many ways to produce this effect. Many of them can be automated with software such as Photoshop (Filters>Distort>Lens Correction) and Lightroom. I prefer to paint in the shadows because I don’t always want even shading around the perimeter. Here is how its done:
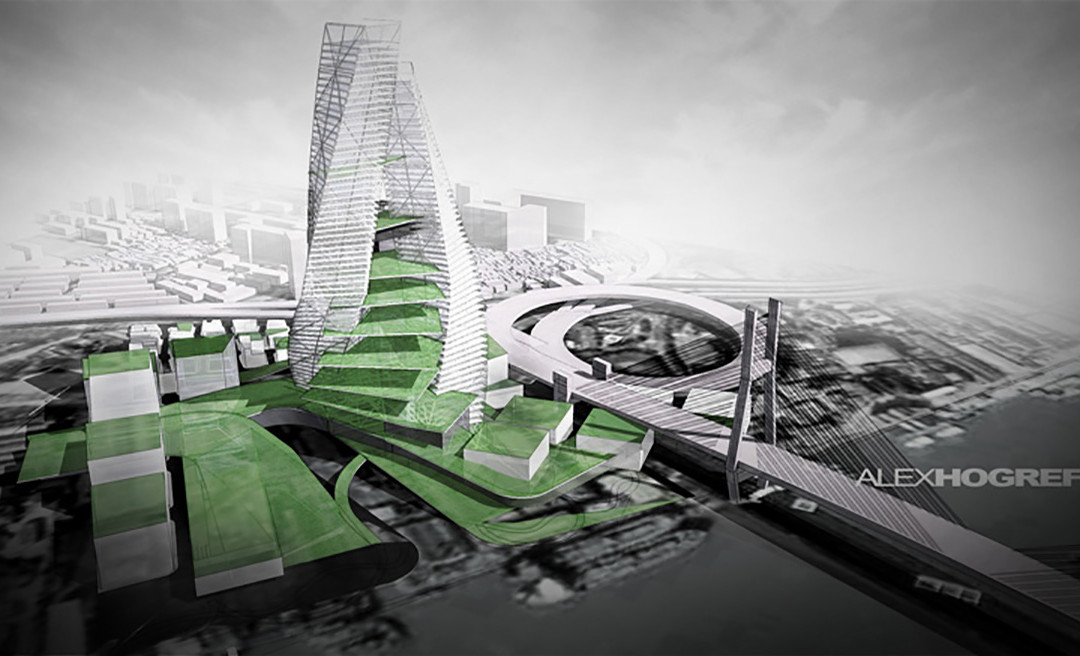
First, open the image in Photoshop. The image I will be using is below. For the most part, it looks finished. However, there were many buildings, to the sides and in the distance, were not modeled. Adding vignetting will draw attention to the center of the illustration and put the focus on my design instead of what I did not design.
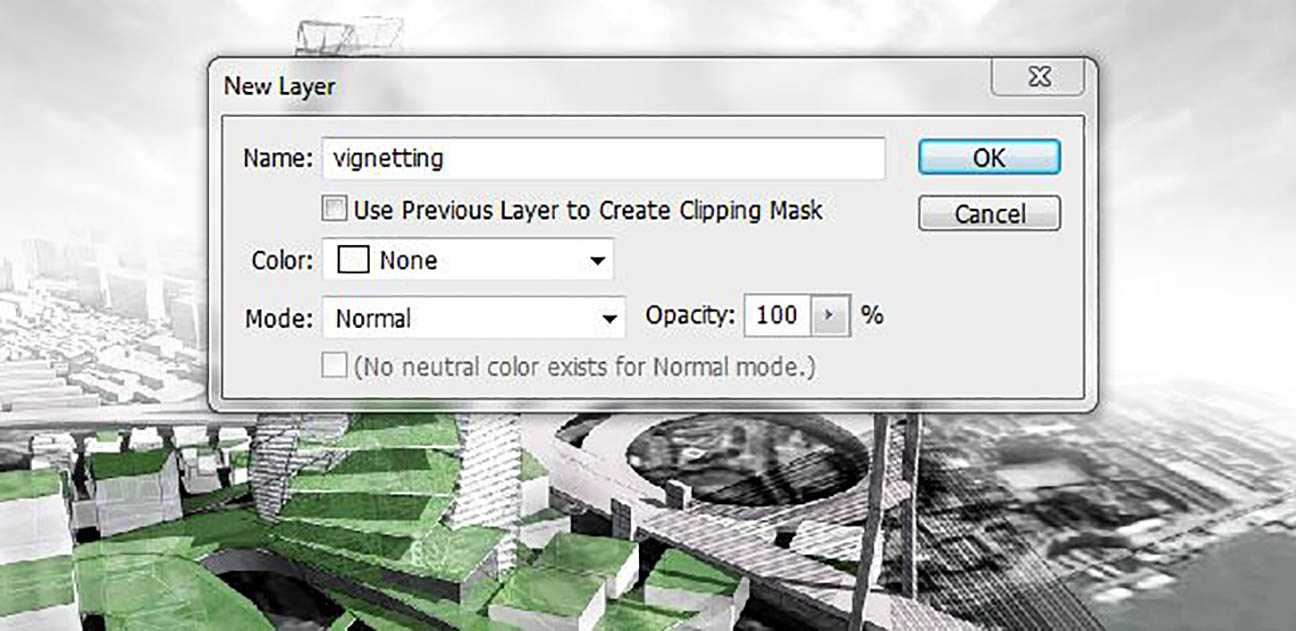
Create a new layer and move that layer to the top of the layers pallet.
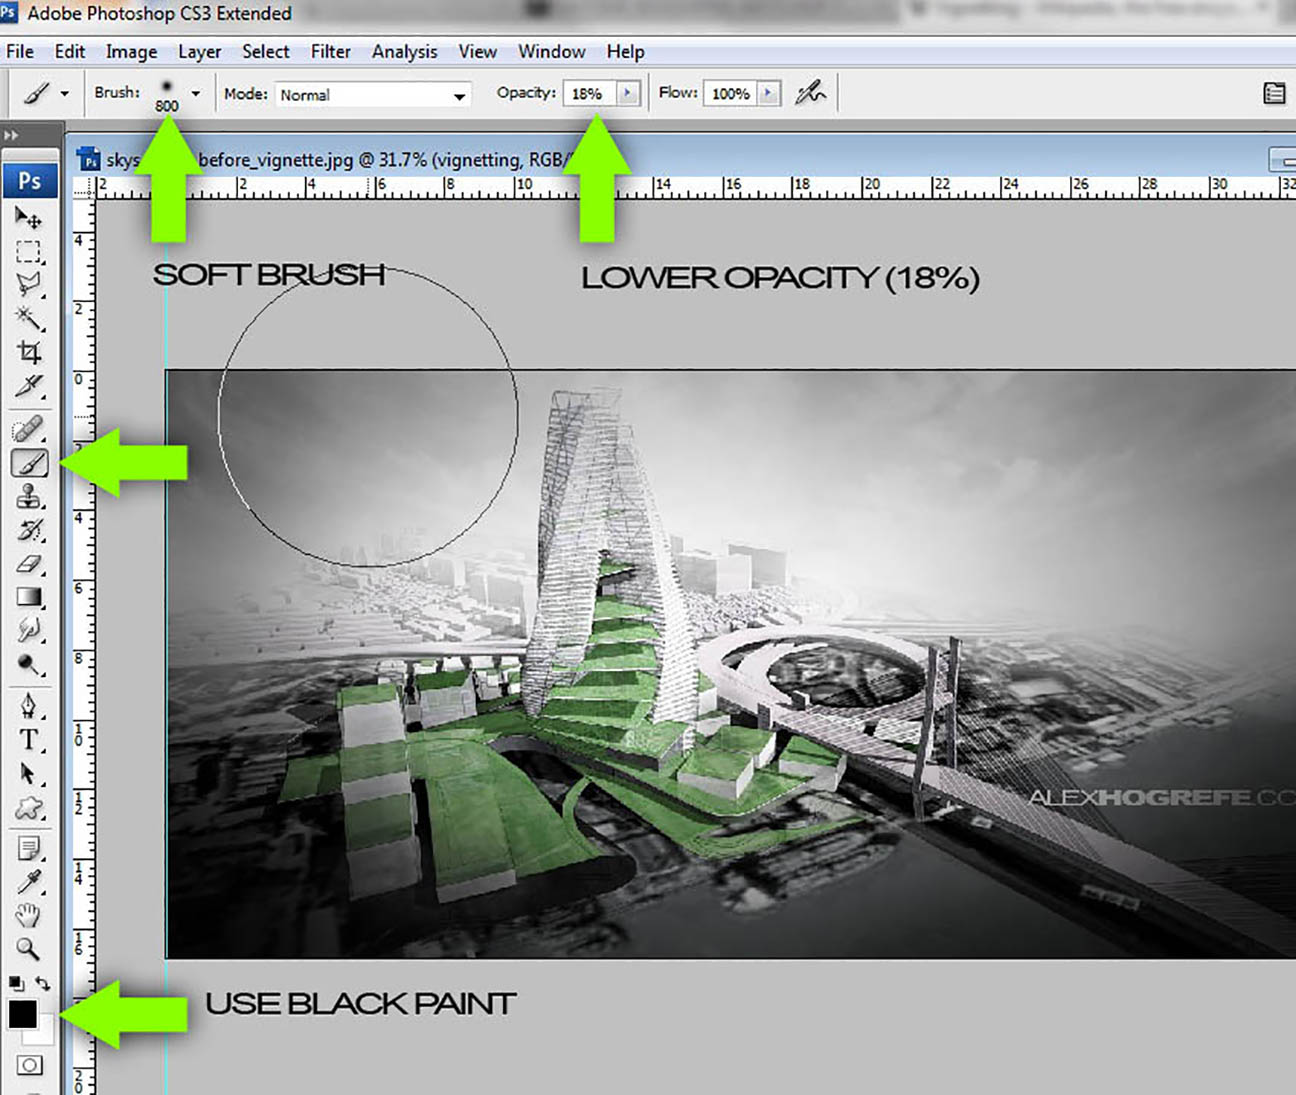
Select the “Paint Brush” tool, and with black paint, a soft brush, and an opacity below 20%, begin to paint the perimeter. In this case, I wanted to play up the horizon, so I focused most of the darkness in the corners, with less shading on the sides.
Going to Filter>Distort>Lens Correction or using the gradient tool could also be used to achieve a similar effect, but like I said above, sometimes it’s not desired to have an even gradient around the image. Most of the time, a subtle bit of shading is all that is needed.


I continue to be amazed at both your skills and that you go to the trouble to make tutorials for the rest of us. Thanks a million for passing on the knowledge, your work is great inspiration!
The architecture is getting more simple ways for painting and design for the rendering work. The distracting and good lightrooms are setting for to produce the effects. The illustration and good vignetting is possible for all visitors. The attention and essential software to used for make photo-shop. The shading and perimeter and geometry is possible for using this software. The shadows and shading works are perfectly done for the architecture. Tools and corrections are perfectly managed by them