In Part 3 of the Kerkythea tutorials, I explain the process of creating night renderings. Instead of using Kerkythea lights, I go a different route and paint surfaces in Sketchup, then tell that material to emit light in Kerkythea. This method allows you create lights that work with the spaces of the design and avoids navigating around within Kerkythea.
NOTES:
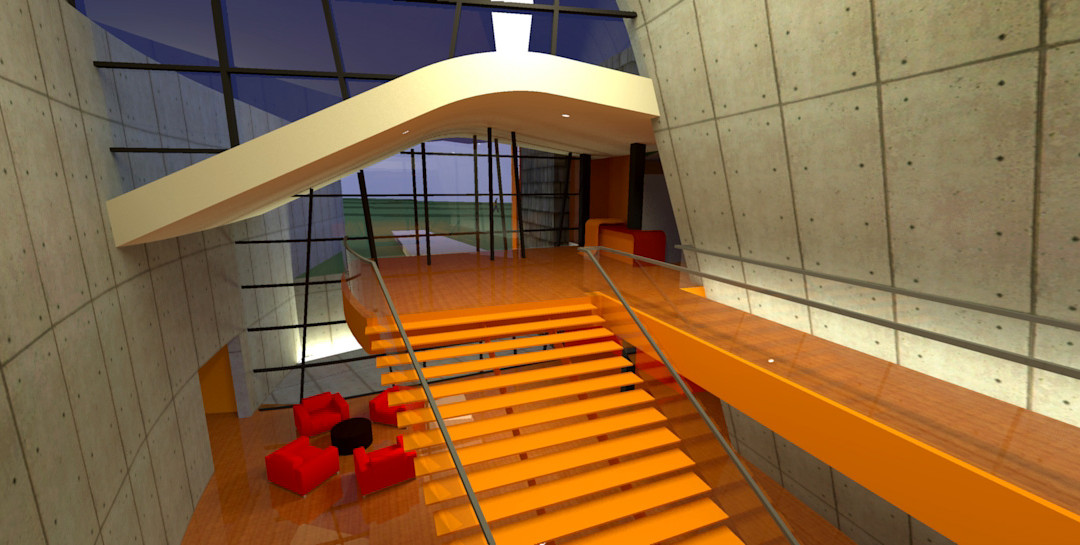
The more lights you have, the longer the rendering will take. This rendering only uses a few, leaving some areas darker than they should be. This will allow me to show some post processing tricks in the next tutorial.
Make sure the color you use for the lights in Sketchup is not used anywhere else in the model to avoid lighting areas you don’t want to in Kerkythea.
Use multiple materials for different lights so that each can be adjusted differently in Kerkythea.
Use simple shapes for the lights. The more facets the object has, the more calculations the program will have to do, really increasing rendering times. For example, don’t use a sphere for a light.


Thank you Alex, great tutorial as usual.
I've been using sketchup and kerkythea for a while, but I was trying to achieve a photorealistic look only using materials and lights in kerky. So I was about to give up and start learning vray and max.
Seeing your workflow has increased my interest back for skp and kerky 😀 Looking forward to the post processing tutorial.
Alex, just to add to Nick's comment, you have thinned out the density of Kerky's interface to get the results we dreamed of. You are the man!
Hey Alex,
I was wondering if you could do a short tutorial on how you do terrain in sketchup. I know a little about the sandbox tool but a short video would go a long way for me.
Thanks,
Chris
Thanks for giving us this blog. ArchLabs is a dynamic architectural design firm with creative, edgy, and innovative designs that caters to residential,commercial, hospitality, institutional and recreational designs.
Thank you for sharing your great work. I just want to see more and lean more-wish I was your student. Thanks and keep doing beautiful work
Kala