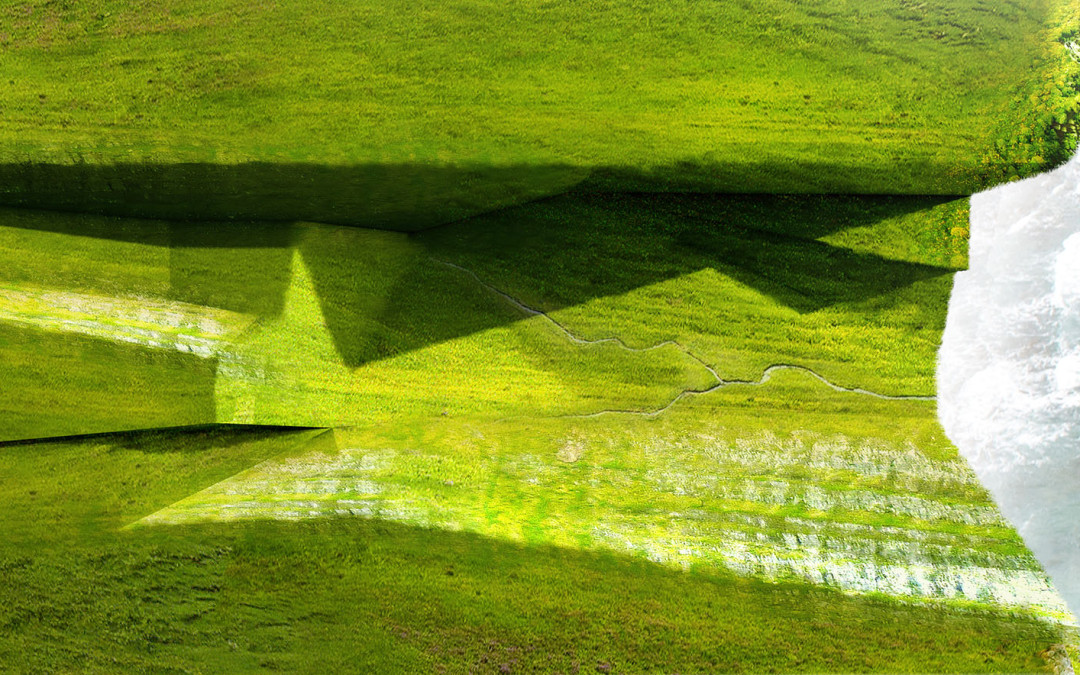
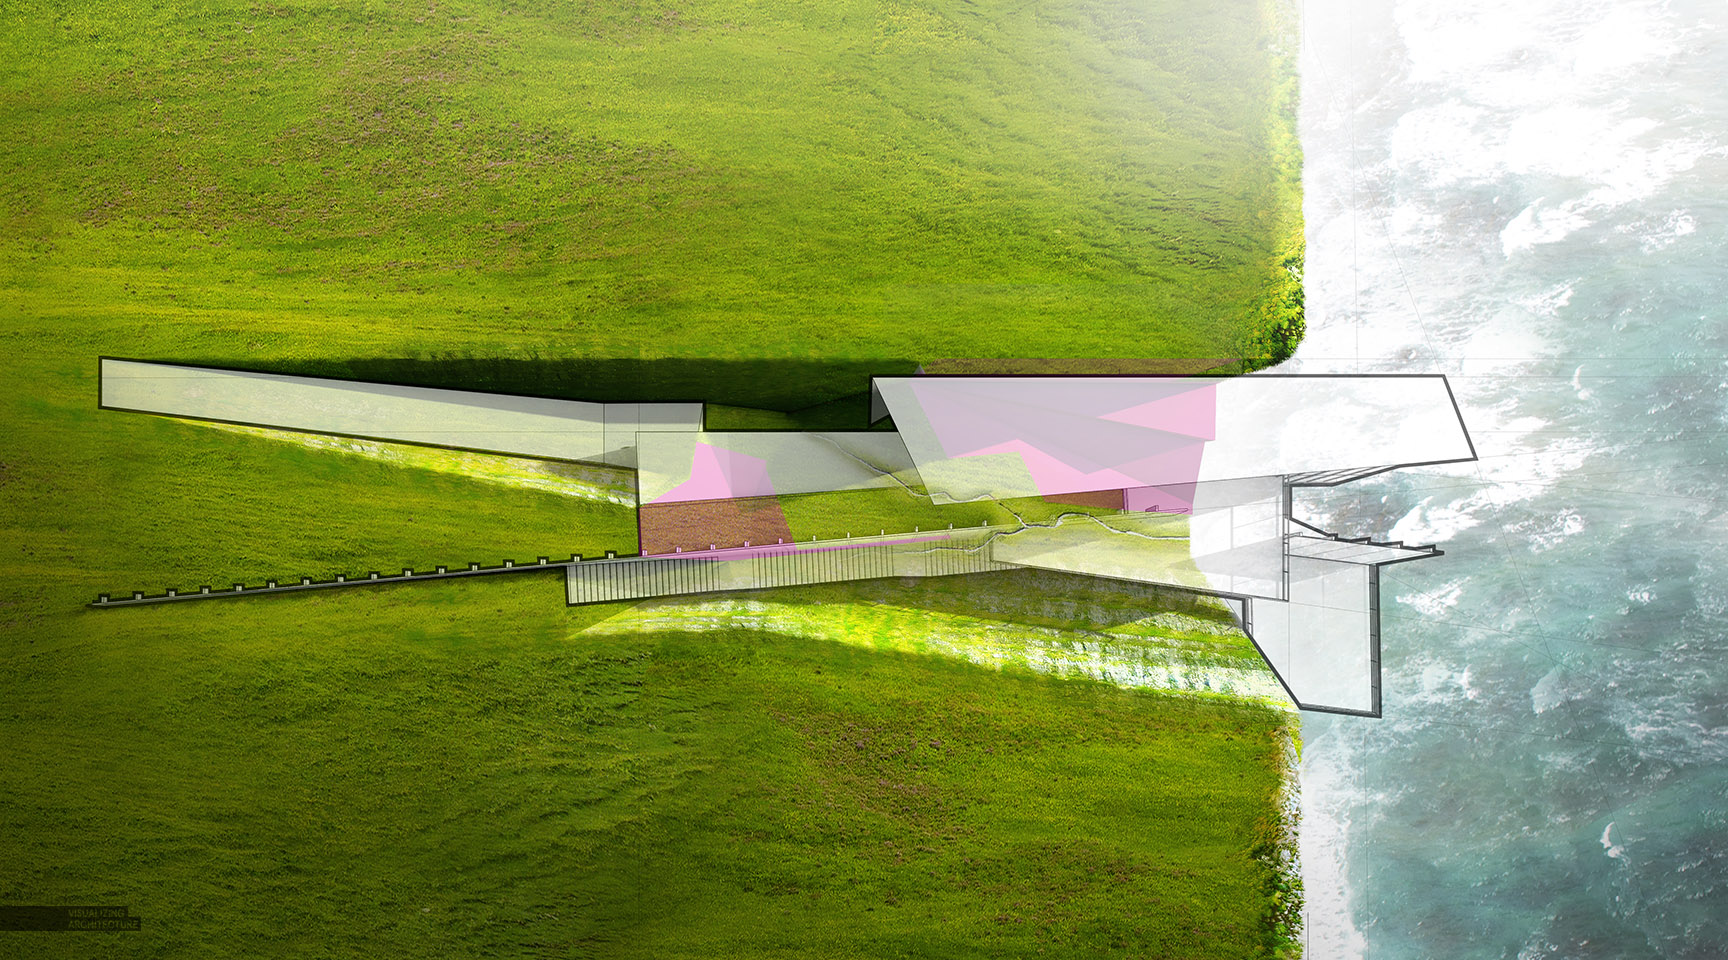
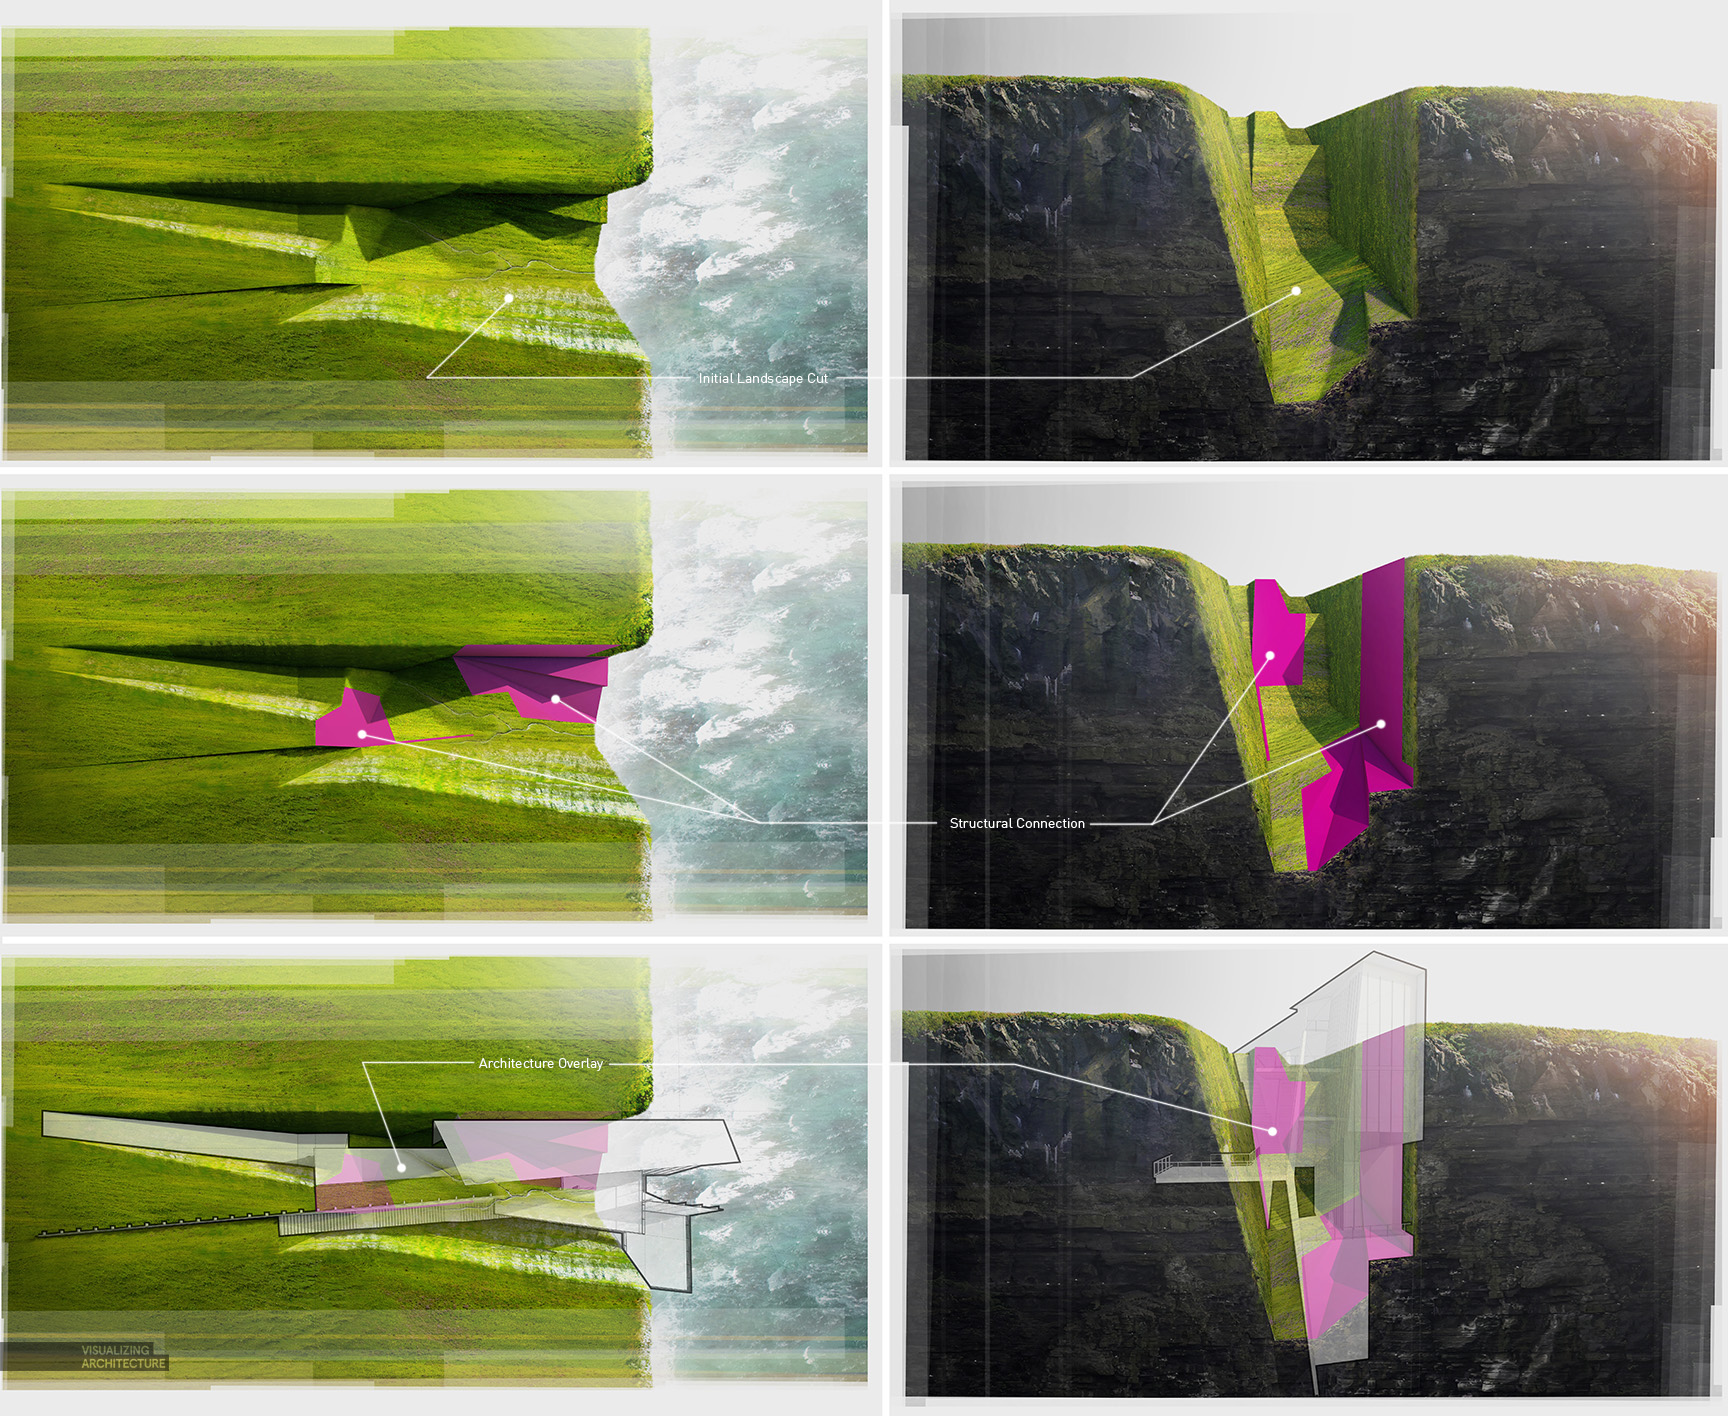
A big part of this design is how the landscape slips under and around the structure. As a way for me to understand the relationship between the landscape and architecture, I put together a few diagrams. The success of this image relies heavily on the textures. The vegetation is the focus with the architecture playing a subsidiary role, hence why the grasses are so saturated and the architecture transparent. Below, I put together a quick breakdown of how the images were created.
1. Clay Model
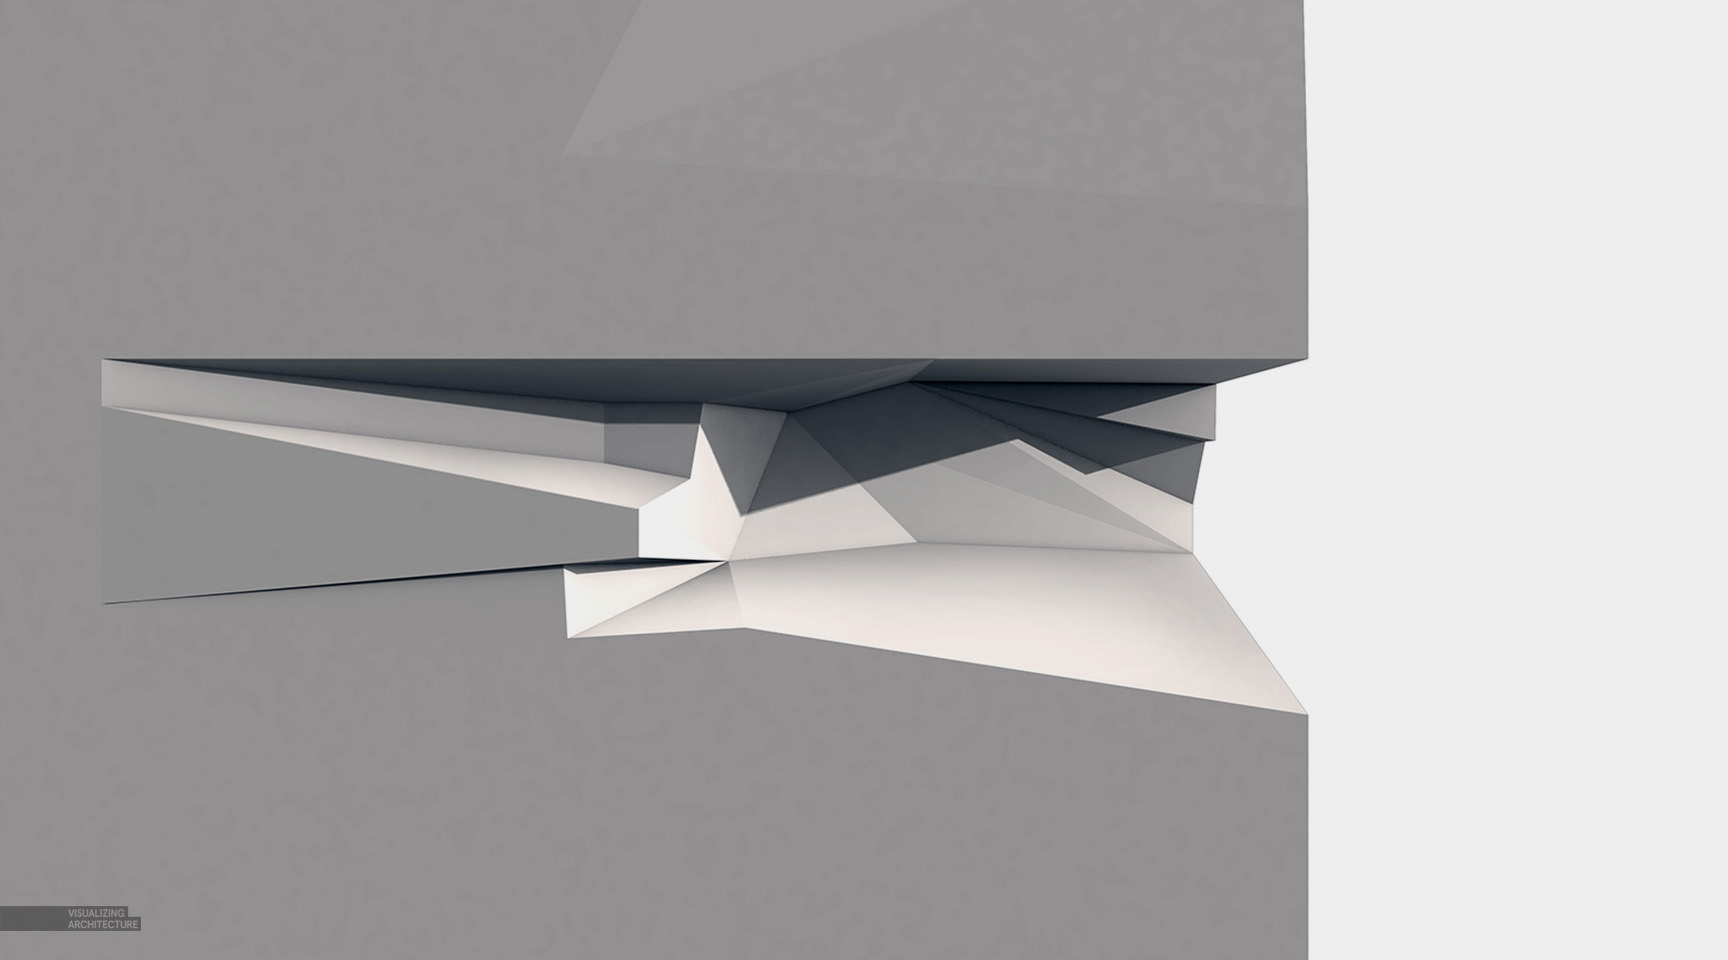
I am starting out with a simple V-Ray clay rendering of my Sketchup model to act as a base to which I will add texture and lighting. This rendering took minutes to generate, but gives me good light and shadows to work with.
2. Smudge the Edges
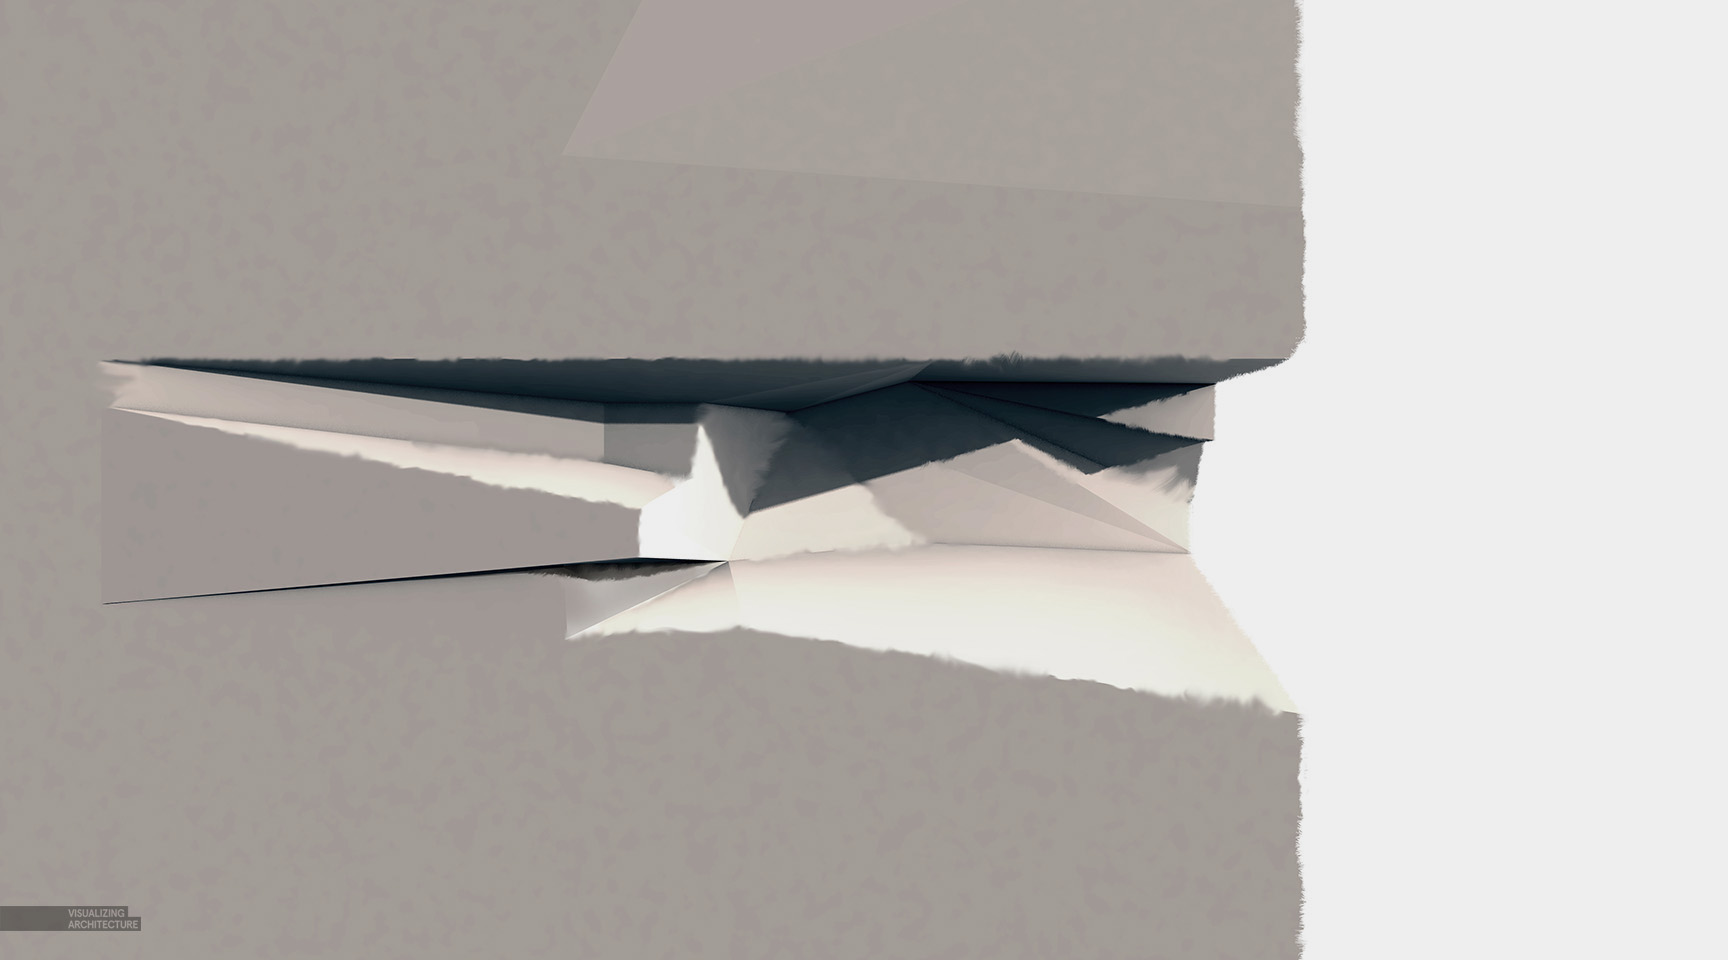
Since this image will be covered with vegetation, I used the smudge tool in Photoshop to rough up the edges and give the geometry a more weathered look.
3. Add Texture
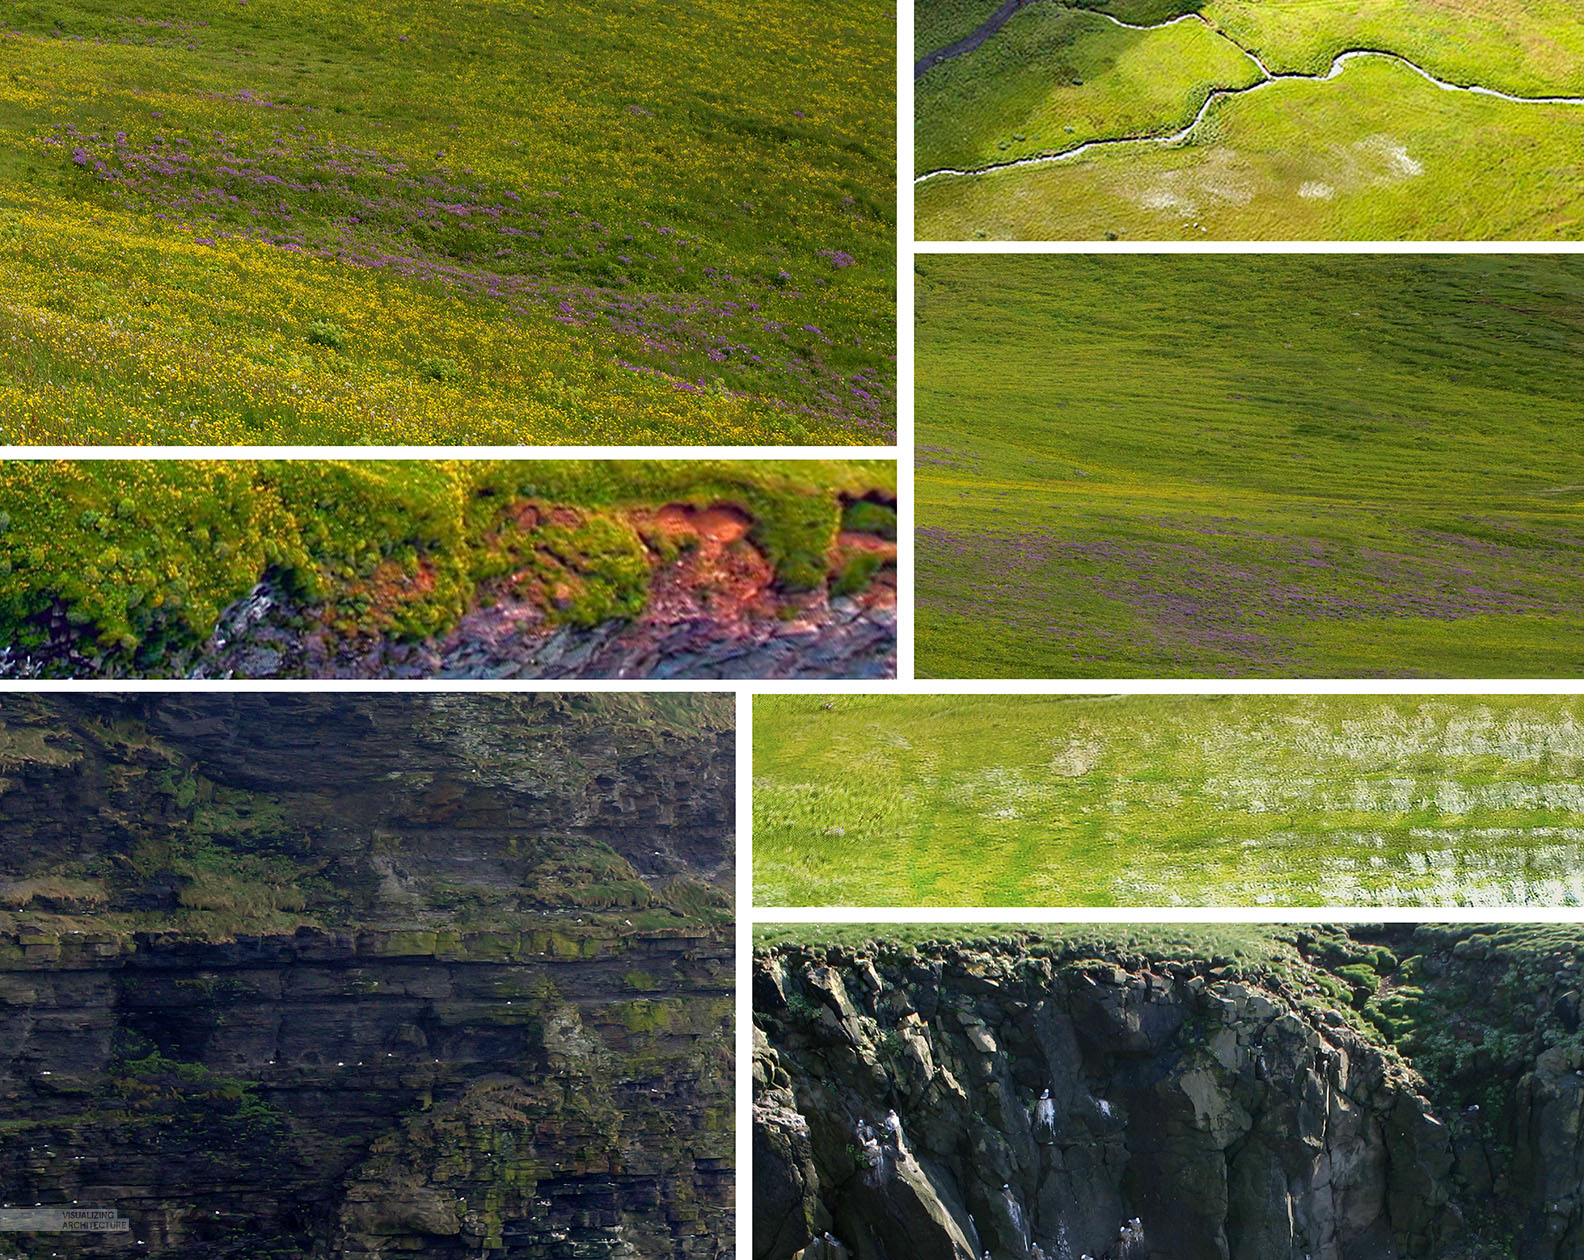
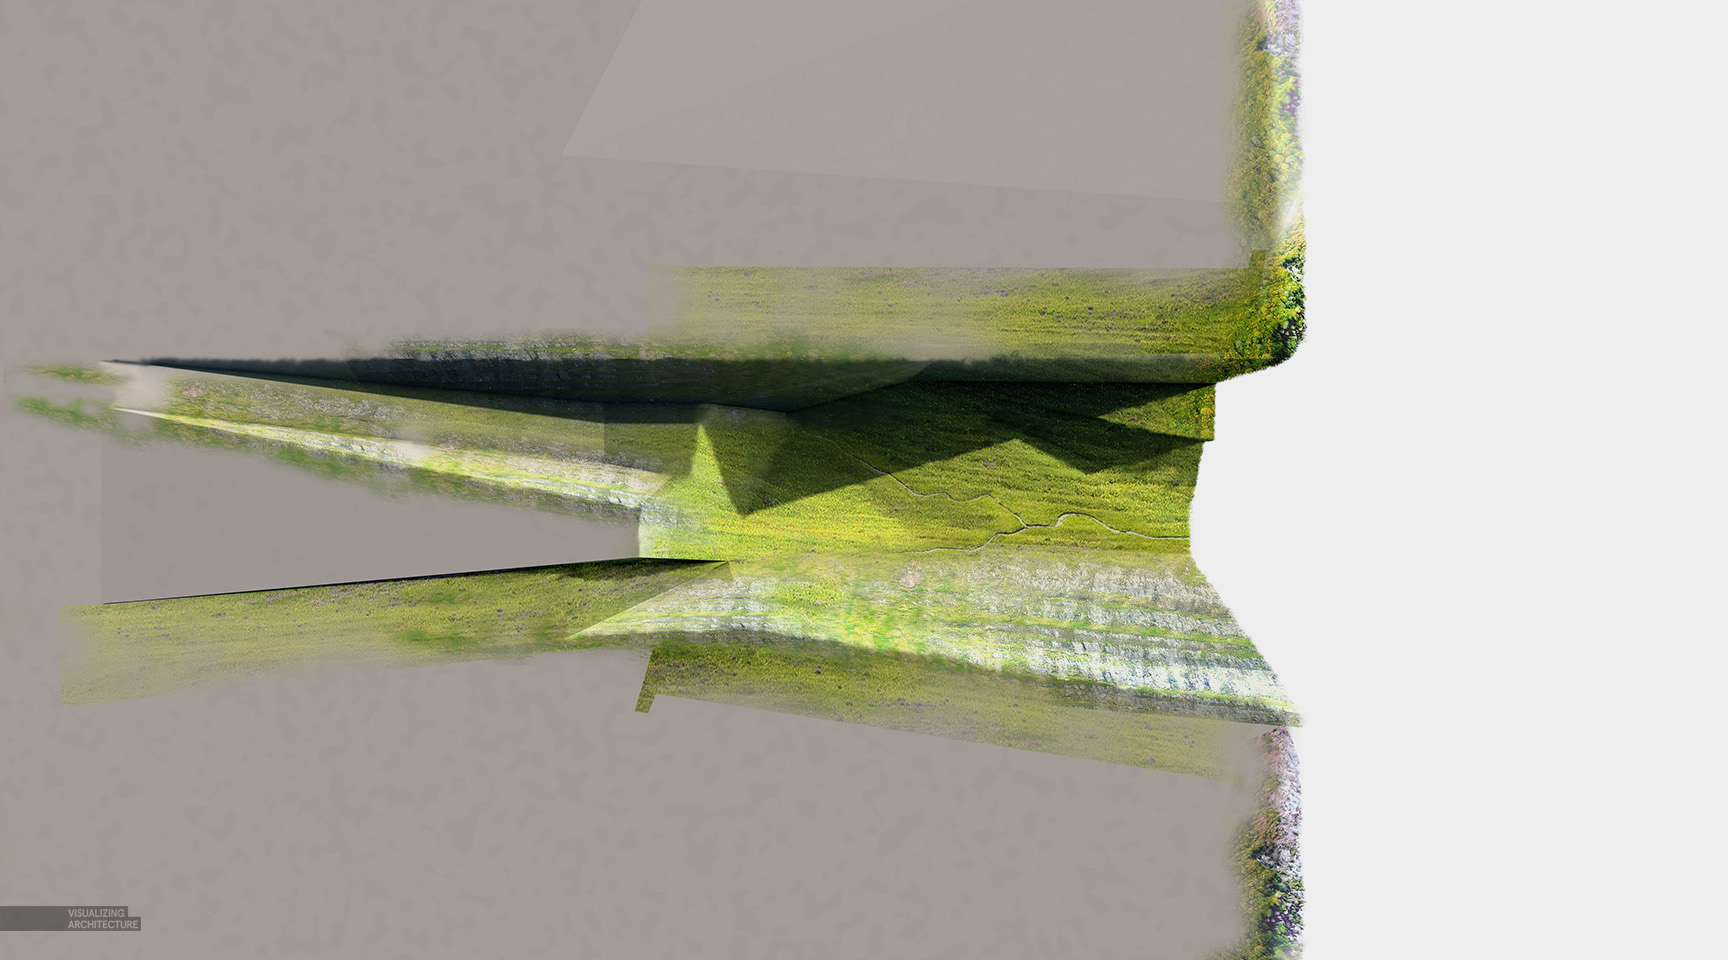
I compiled a large amount of textures of all of the different conditions that I would run into in this image. This includes several wild grasses at both a straight-on angle and side angle, the cliff wall, cliff edge, rock and grass mixture, etc. Once I had all of my textures, I slowly pieced them into the clay model. By setting the texture layers to “Multiply” in the layer blend mode dropdown, I was able to merge the colors and textures with the shading of the clay model base.
4. Architecture Clay Model
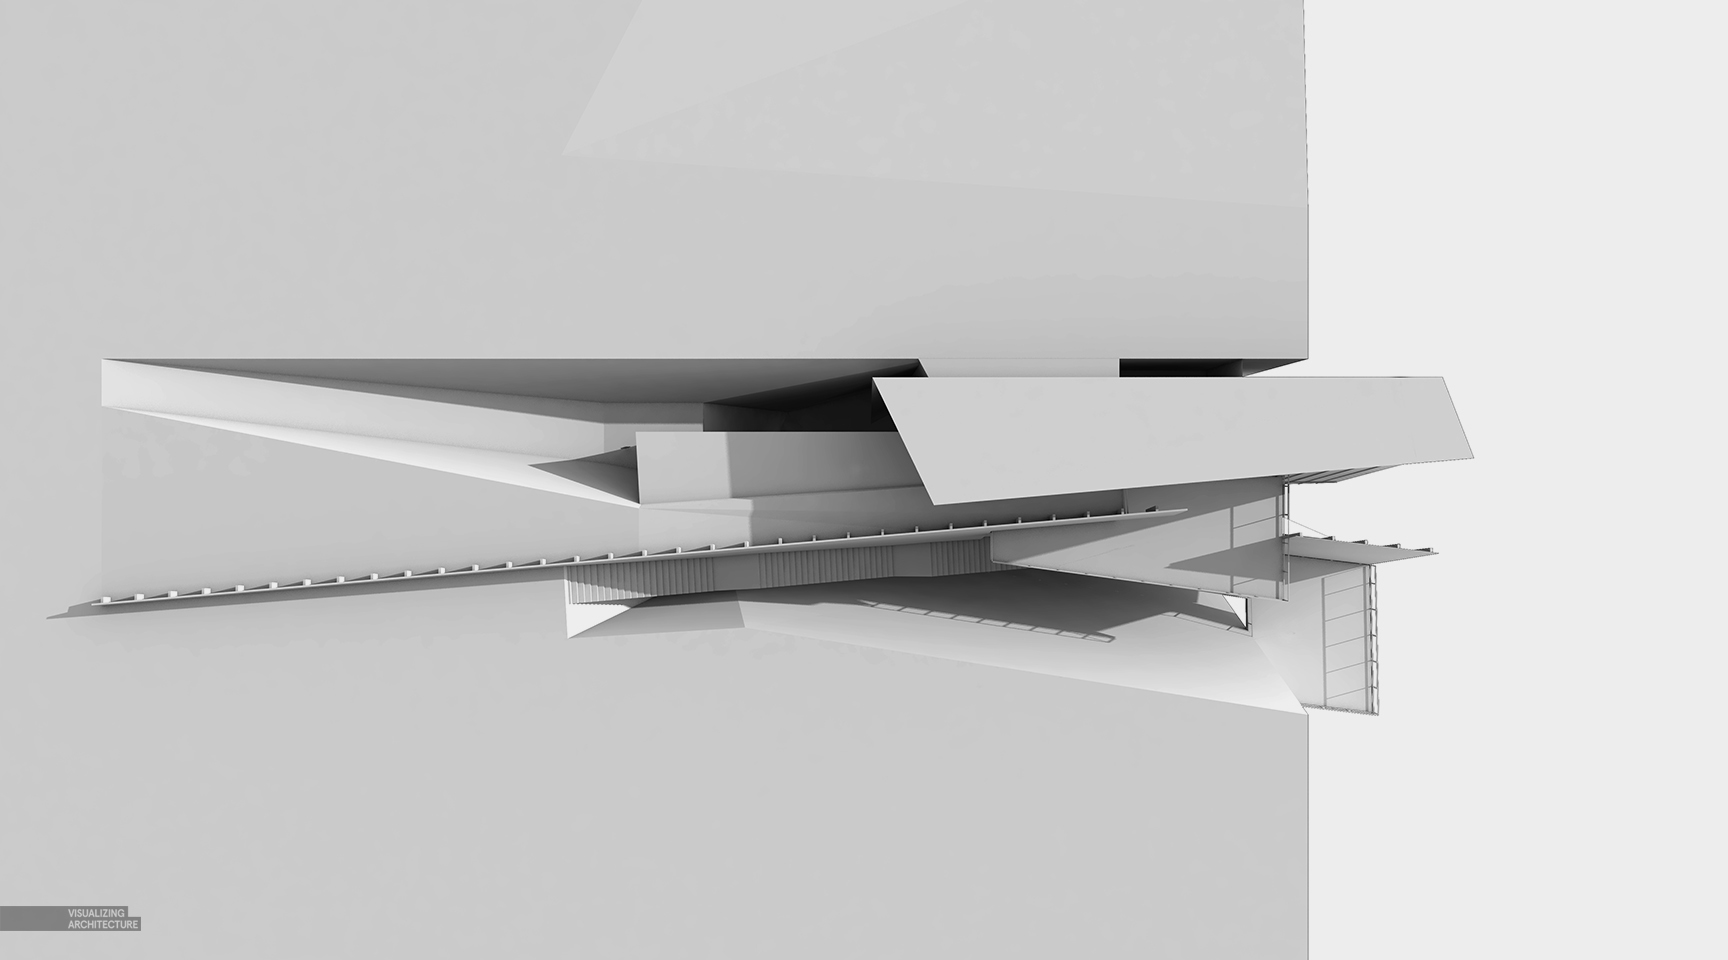
An important part of the diagrams is the relationship of the architecture to the landscape. I therefore needed to overlay the architecture into the illustration. To do this, I generated a second clay model rendering with the architecture layer turned on in the 3D model. In Photoshop, I then masked out the background and merged the shadows of the architecture with the landscape.
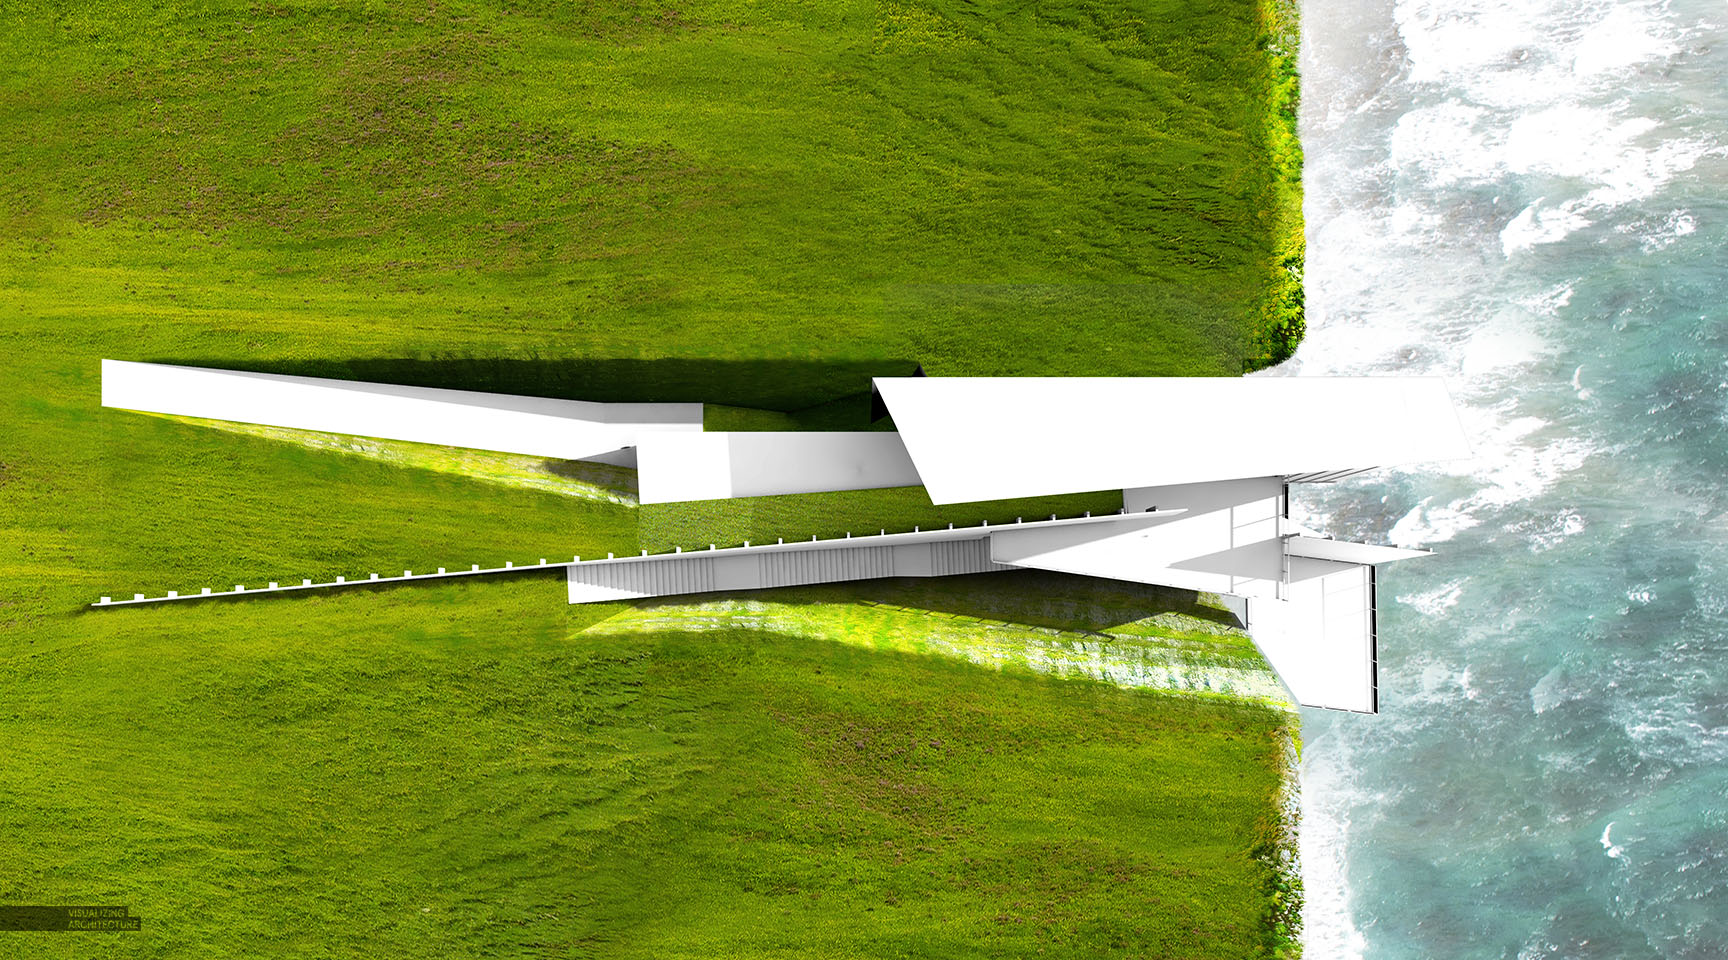
5. Dilute and Outline
The architecture clay model seemed too bold and distracting, so I lowered the opacity and then gave it a thick outline so that it read more diagrammatic and allow some of the landscape texturing to show through.
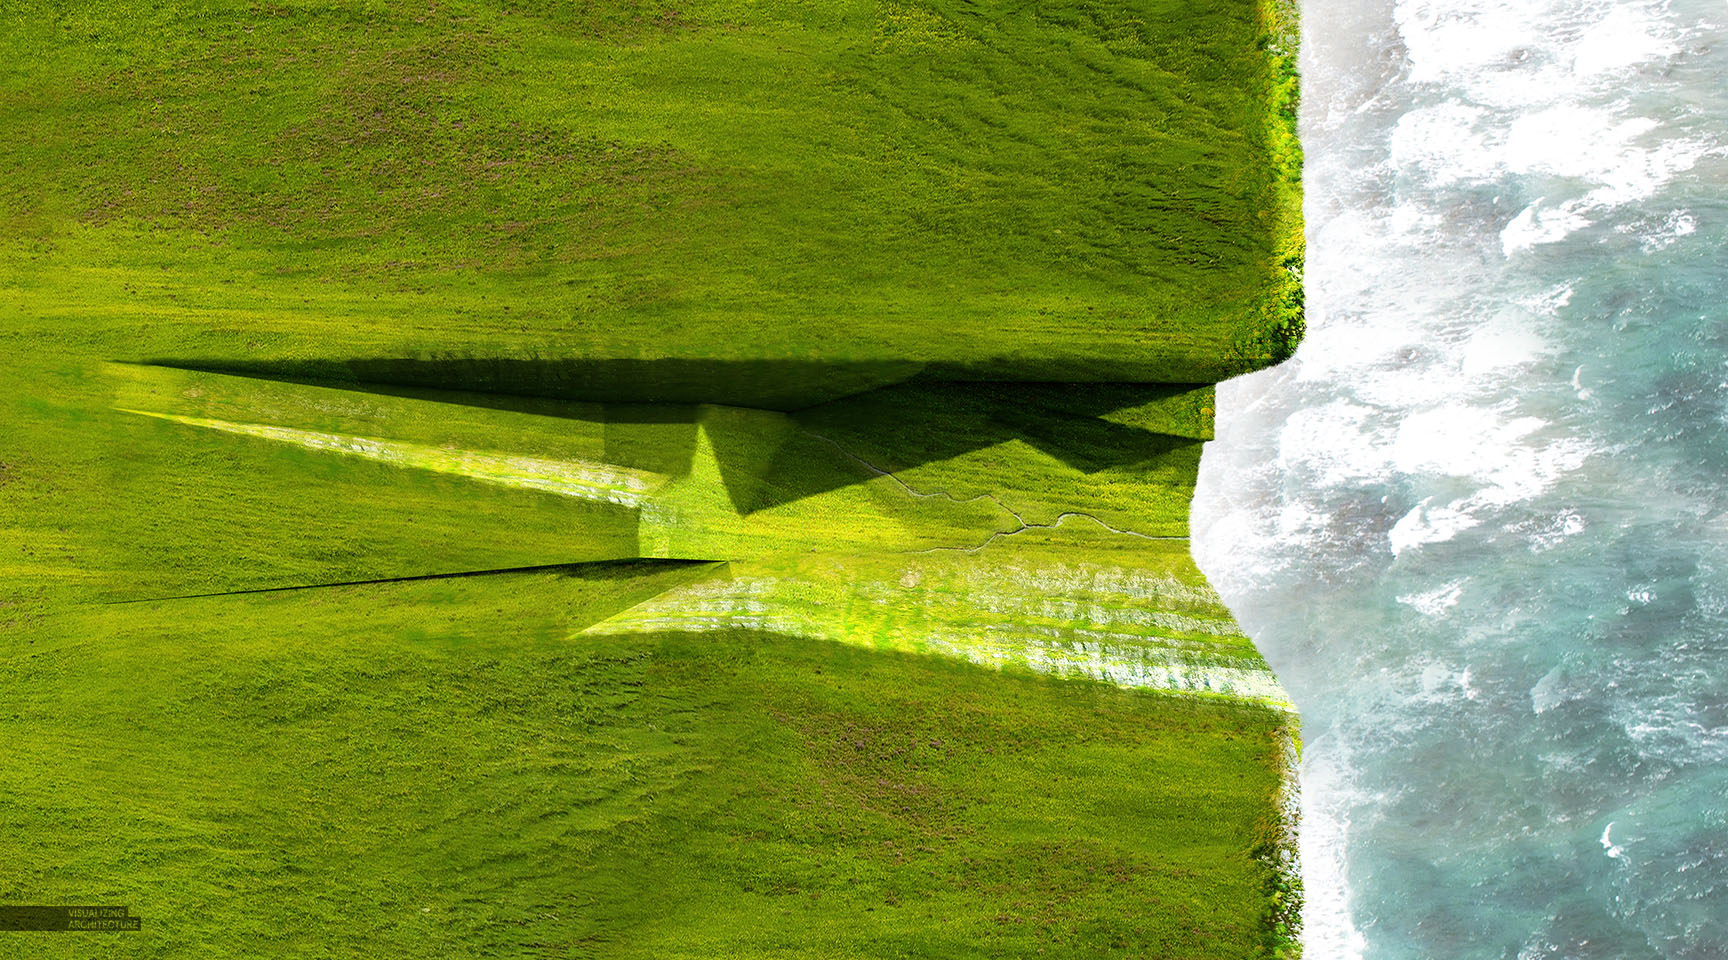
Final Image
The design is still in flux, but since I have the Photoshop files already setup, I can simply update these diagrams as the form develops. It seemed that most of my time was spent searching for the textures online. The toughest part is finding images at a high enough resolution. Once I had the textures, the illustration moved relatively fast. The good thing is that I now have a good library of images going that I can use for the rest of my illustrations for this project.


Hi Alex. Just wondering what is your best resource for finding high quality photos for photoshop? Flickr?
What I particularly enjoy about your website are the various articles you have stating ‘favourite architecture cutouts/textures’ etc. Was wondering if you could please also suggest best resources for finding great photos for Photoshop (i.e. Landscapes, cityscapes etc).
Google, my friend.
mrcutout.com (cheap membership)
google
stock websites if willing to pay
Find the style you like on pinterest first, then save it and pic search on Google for high quality one
Hi Alex. I have a question to you regarding sketchup, how do you manage working with large files, is there any tips you can give, also do you use any other software like archicad, revit etc. aswell?
Clay Model…How You Created That!
To create a clay model you need kerkythea, or you can do it by this in vray for sketchup, vray->options->global switches ->override material
Alex, very cool concept and execution. is this a side project you’re working on? or purely conceptual content for your website?
Hi,
Firstly, thanks for this significantly useful website.
Here’s what I want to ask for, Is it possible to share your textures too you use for each tutorial? I know that you just google them but although I google them by image you put in tutorials, I can’t find them on google.
Thank you
maybe you can try some more specific keywords like ‘Ice Land landscape’, you’ll find some really nice high quality photography
Alex,
Your insight and artistry truly are gifts for those of us who learn from you: thanks very much.
That being said, i wonder if you could offer some general insight on your opinion to render vs photoshop work? Where do you, personally, draw the line? Are there any guidelines that you have come to use when deciding what you want to render vs what you want to edit in photoshop? Thank you.
This is interesting! I’m excited for the result of this project of yours. 😀
This is interesting! I’m excited for the result of this project of yours.
Sir if u only know Blender Software and teach us some Archi Design Tips using it….u will also be a big help for Archiviz lovers
If someone want to get best website for their business and also need digital marketing service than we are here.